
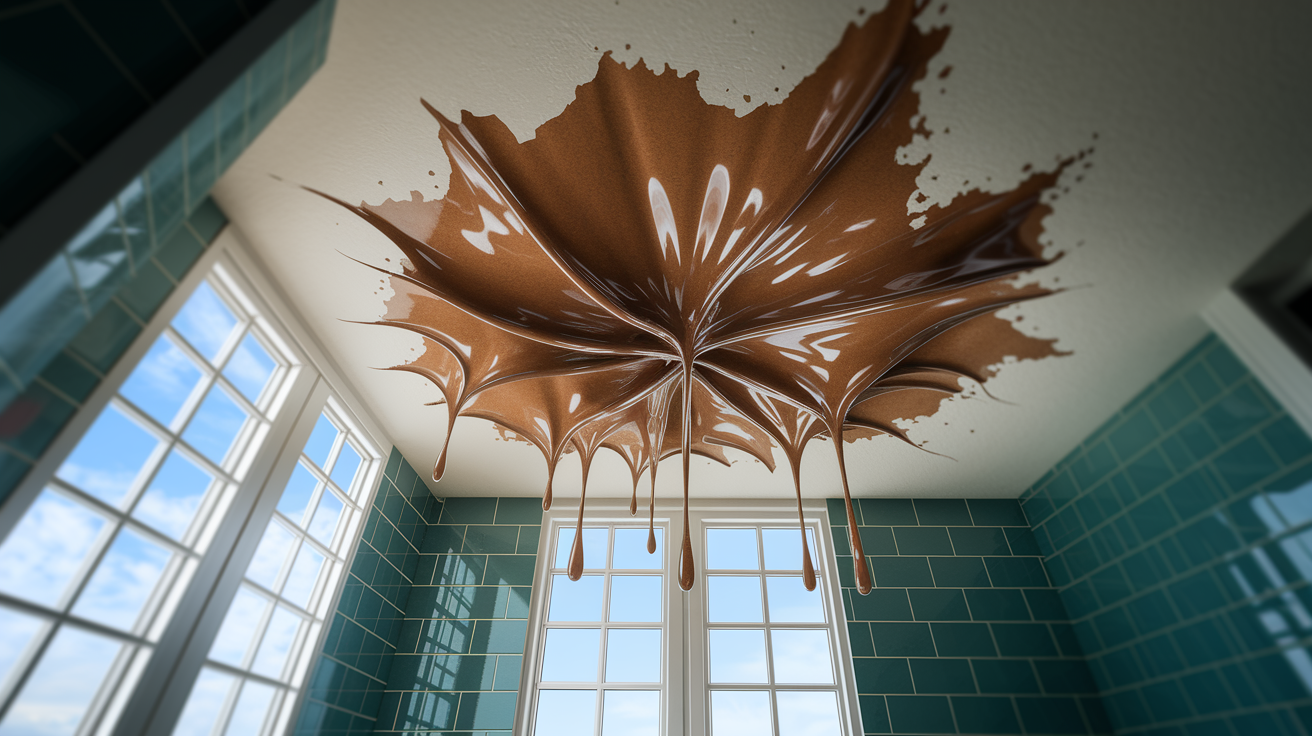
You check the ceiling in the room below your shower and there it is: a brown water stain spreading across the white paint. That stain means water’s escaping from somewhere it shouldn’t, and the shower pan is often the culprit. Shower pan leaks happen when waterproofing breaks down, installation mistakes create weak spots, or materials wear out over time. The good news is you can catch warning signs early, test for leaks yourself, and understand what needs fixing before water damages the structure underneath your bathroom.
Primary Causes of Shower Pan Leaks
Shower pan leaks come from a few key failure points: waterproofing breakdowns, installation mistakes, and materials wearing out. The shower pan sits under the floor you see and acts as your main defense against water sneaking into subfloors and structural parts below. When this system fails anywhere, water finds its way into places where it causes damage that just keeps getting worse.
Waterproofing System Failures
The waterproof membrane is supposed to stop leaks, but it’s vulnerable in several ways. Cracks or punctures develop in the pan liner from physical stress, whether it’s PVC, CPE, or hot mop. These barriers can get hairline fractures over time as the structure underneath settles or shifts a bit.
Seam failures where edges overlap and corners fold become common entry points for leaks. Corners are the most vulnerable spots. Installers have to carefully fold the membrane material there, and any gap or incomplete seal lets water through. Physical damage like punctures or tears can happen during installation when something sharp hits the membrane. Or years later when you drop something heavy on the shower floor. Even a pinhole compromises everything since water naturally moves toward any opening it finds.
Installation Problems
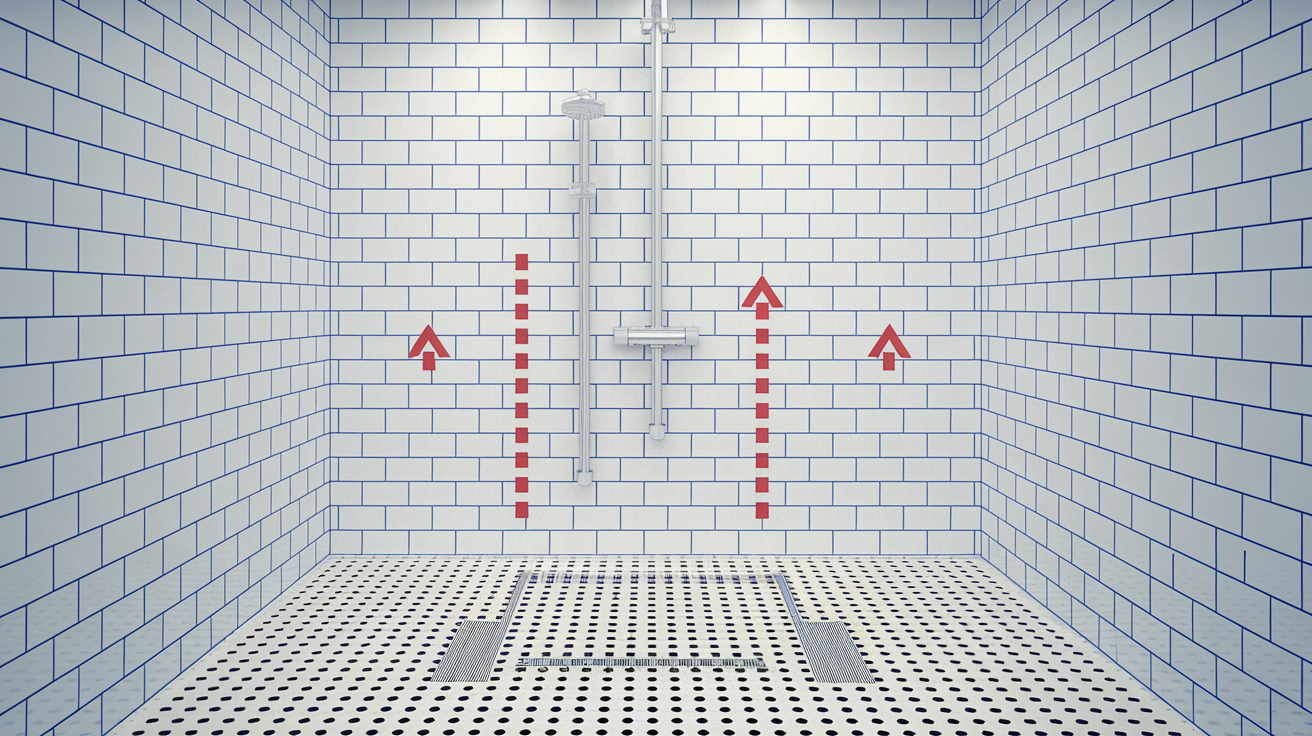
Poor installation of the waterproof membrane creates problems that don’t show up right away but will definitely cause leaks eventually. Not having enough pre-slope under the liner makes water pool instead of draining toward the weep holes. That standing water puts constant pressure on seams and weak spots.
Wrong membrane placement means the barrier doesn’t reach where it needs to go. Bad corner folds and seam overlaps leave gaps that look sealed on the surface but let water through underneath. A lot of leaks trace back to not extending the waterproof barrier high enough on the walls. The membrane should go at least 3 inches above the shower pan’s finished height, but cutting corners here creates pathways for water to bypass the pan entirely.
Fastener penetrations through the waterproof layer are another installation mistake. Every screw, nail, or staple through the membrane creates a potential leak. Poor prep work before putting the membrane down, whether from debris, not cleaning properly, or uneven surfaces, stops it from sticking right. Rushed or skipped steps make all these problems worse. A properly installed shower pan needs careful attention to each layer. When installers rush, they create weak points that will fail.
Drain and Slope Issues
The drain assembly connection is where the pan liner meets the drainage system. It’s critical. Failed drain connections with worn gaskets or loose joints let water seep past instead of flowing down the drain. The seal between the drain flange and pan liner can break down or maybe was never set up properly to begin with.
A cracked drain body can leak, sending water into spaces below instead of into the drainage system. Clogged weep holes stop water from draining properly between the liner and mortar bed. These small holes exist specifically to drain this space. When they clog, pressure builds until water finds weak spots in seals.
Not having enough slope makes water pool instead of flowing toward the drain. You need at least 1/4 inch of slope per foot, but wrong pitch in both the pre-slope and mortar bed means water just sits there. Standing water eventually finds weak points. When water stays in contact with vulnerable areas for a long time instead of draining away fast, even minor flaws become leak pathways.
Sealant and Surface Breaking Down
Grout breaks down through natural aging. Failed silicone caulk at wall transitions and edges lets water get behind the visible surfaces. These sealants are your first line of defense at critical junctions, but they don’t last forever.
Cleaning chemicals weaken the bonds in both grout and caulk over time. Every cleaning session hits these materials with harsh stuff that gradually breaks down their structure. Temperature changes cause expansion and contraction, which creates stress. The shower cycles between cold and hot repeatedly, making materials expand when heated and contract when cooled.
Hard water deposits don’t just create buildup you can see. They actually weaken sealant by forcing their way into tiny gaps and gradually making them bigger. Everything breaks down with age. Even good quality grout and caulk have lifespans. You typically need to replace them every few years to keep water barriers working.
Usually multiple causes work together instead of one single failure creating the problem. A small crack in grout lets water in, which then reaches a minor seam flaw in the membrane, which leads to water sitting on a pre-slope that doesn’t drain right. Finding the specific cause needs systematic checking of all these potential failure points. You have to check each part in the waterproofing system to figure out where the breakdown happened.
Visible Signs That Your Shower Pan Is Leaking
Catching warning signs early makes the difference between a manageable repair and major structural damage that needs extensive work.
These visible indicators signal that water’s escaping from your shower pan:
-
Water stains on ceilings below the bathroom. Brown or yellow discoloration on the ceiling in the room right under your shower means water’s getting through the floor structure.
-
Discoloration on walls next to the shower. Water traveling sideways through wall cavities creates stains on surfaces that don’t get directly wet during normal shower use.
-
Loose or moving tiles in the shower floor. Tiles that shift or feel spongy when you step on them mean the adhesive underneath has failed because of moisture.
-
Musty odors indicating hidden moisture. A persistent damp smell, especially when the shower hasn’t been used recently, points to water sitting in spaces where it doesn’t dry naturally.
-
Mold or mildew growth beyond normal shower condensation. Black or green patches showing up on walls outside the shower area, or in corners where direct spray never reaches, suggest moisture getting in rather than just surface dampness.
-
Movement or deflection when standing on the shower pan. Any up and down give under your weight means serious problems. Properly installed pans should never shift or flex.
-
Visible cracks in the pan surface or grout lines. Hairline fractures in plastic pans or separation gaps in grout create direct paths for water to escape.
-
Peeling paint or wallpaper near the shower. Moisture behind wall surfaces makes finishes lose their grip and bubble or peel away.
Some signs show up in areas away from the shower itself. You need to check surrounding spaces systematically. Water follows the path of least resistance, which means leak evidence might show up several feet from where it’s actually failing. Check the bathroom floor around the shower base for any dampness or soft spots. Look at the ceiling and walls in the room directly below. Search for water marks behind toilets or vanities next to the shower. Where the leak is and where the visible damage is frequently don’t match up, so you need comprehensive inspection to see the full scope of the problem.
Step by Step Shower Pan Leak Detection Methods

Systematic testing reveals leak sources instead of just identifying symptoms in surrounding areas.
The flood test gives you the most reliable method for confirming whether your shower pan has developed leaks. Seal the drain completely using a test plug or even a plastic bag filled with water that creates a tight seal. Pour exactly 2 inches of water into the pan, measuring carefully to keep it consistent. Mark the water level clearly using a grease pencil or painter’s tape on the shower wall. Wait 8 hours without touching anything. Don’t step in the shower, don’t touch the water, and don’t create any vibrations that might affect the water line. Check if the water level dropped by comparing it to your original mark. A drop of more than 1/4 inch means there’s a leak in either the pan itself or the drain connection.
The flood test works because it isolates the pan from all other potential leak sources. You’re not running the shower valve, so any supply line problems don’t matter. You’re not using the drain actively, which takes drain trap issues out of the equation. The test simply asks: can this pan hold standing water? If it can’t, then the waterproof barrier has failed somewhere beneath that water level.
Other inspection steps give you additional information about where problems exist. Look at the pan surface for cracks under good lighting. Get down close to the floor and look from different angles. Small hairline cracks become visible when light hits them right. Check all grout lines and caulk joints for gaps, running your fingernail along the seams to feel for separations you might not see. Look at the drain connection for looseness by grabbing the drain cover and checking whether it moves independently from the surrounding pan. Watch for water building up in the bathroom or rooms below during and after the test. Have someone stationed in the room below while you do the flood test, watching for drips or water stains appearing on the ceiling.
Testing that shows water level drops or visible leaks in surrounding areas means you’ve got problems that need professional assessment. Some people try to pinpoint exact leak locations by adding food coloring to the test water and watching where colored water shows up below, but this risks creating staining damage. Once you’ve confirmed a leak exists, the priority shifts to stopping shower use and getting professional evaluation instead of doing more DIY diagnostics that might cause additional water damage.
Drain Assembly Problems That Cause Shower Pan Leaks
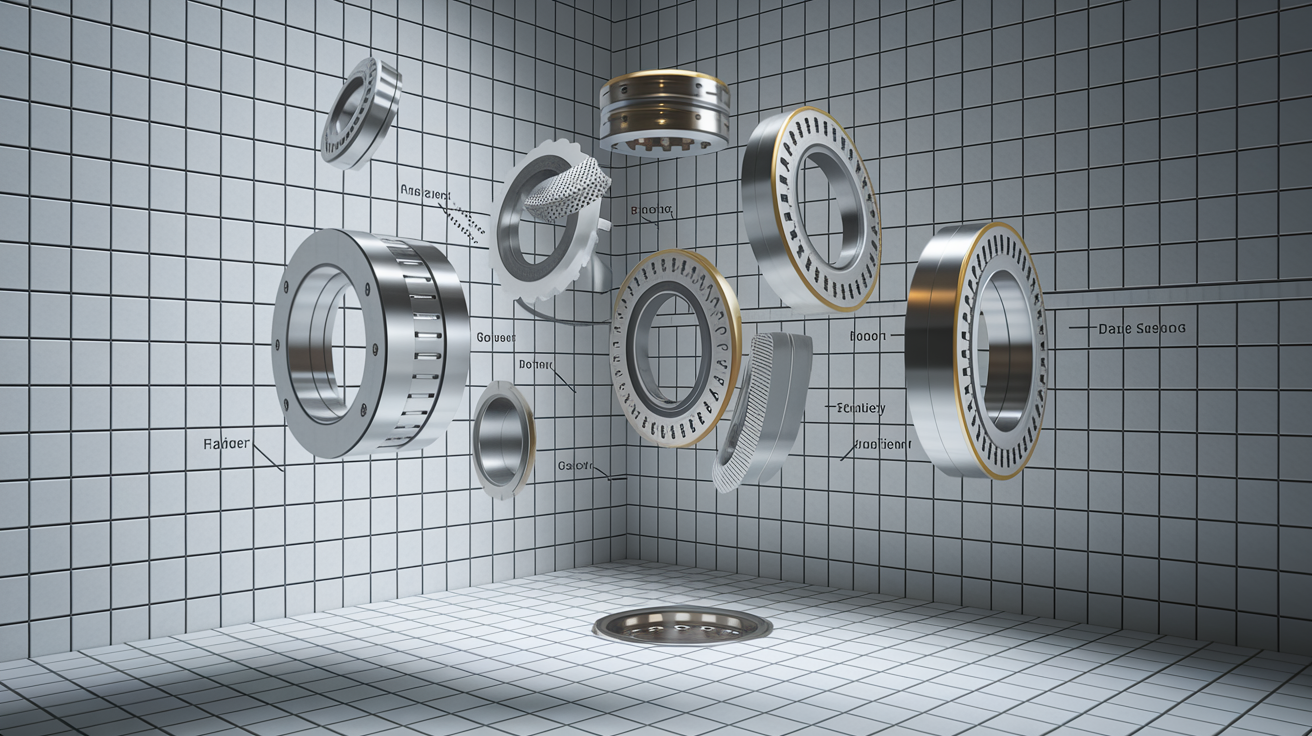
The drain assembly is a critical connection point where multiple components have to maintain perfect seals to prevent leaks.
| Drain Component | Common Failure Mode | Result |
|---|---|---|
| Drain Flange | Separation from pan liner or not enough clamping force | Water seeps past the flange and liner connection into the subfloor below |
| Gaskets and Seals | Worn, compressed, or missing rubber parts between drain pieces | Leak pathways develop at compression joints where gaskets don’t fill gaps anymore |
| Drain Body | Cracks from physical impact, over tightening, or breaking down with age | Water escapes through fractures in the drain structure itself |
| Weep Holes | Clogged by mortar, grout, or mineral deposits blocking drainage | Water trapped between liner and mortar bed builds pressure and finds leak points |
| Compression Joints | Loose connections from wrong tightening or component breaking down | Gaps form where threaded parts meet, letting water bypass |
Proper drain installation needs precise alignment and secure fastening of multiple components that all have to keep their seal. The two piece drain design common in shower pans relies on the upper and lower sections compressing the pan liner between them, with gaskets creating the waterproof seal. When installers don’t get proper alignment during installation, the compression happens unevenly, leaving gaps. If they overtighten the connection, they can crack the drain body itself or deform the gaskets beyond their ability to seal right. The weep holes in particular need careful attention during installation. These small openings should stay clear and functional, but mortar or grout often blocks them during the finishing process. Once blocked, they can’t do their drainage job, and the water that builds up finds its way through any weakness in the surrounding connections.
Water Damage and Structural Issues From Shower Pan Leaks
Leaks cause damage that goes far beyond the immediate shower area, affecting structural components and creating safety hazards.
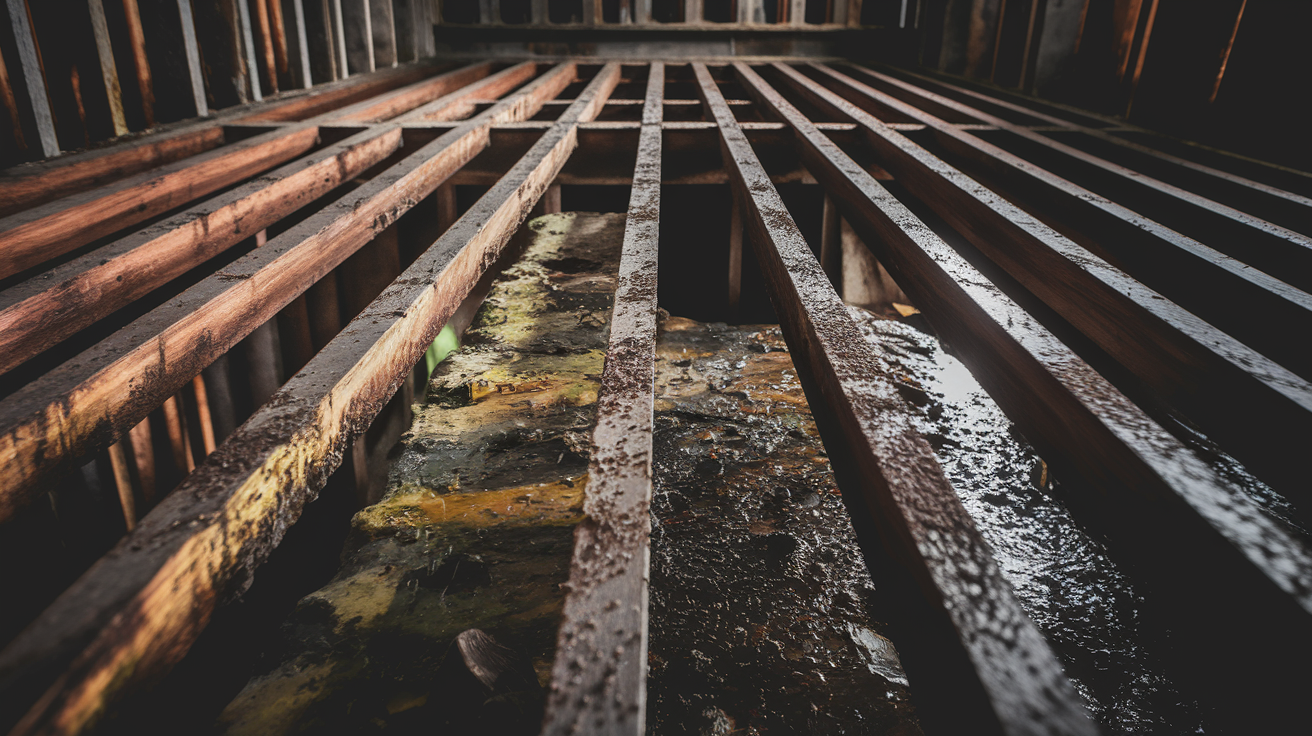
Water getting into subfloors creates rot in joists and beams beneath the bathroom. Wood loses its strength when it’s exposed to moisture repeatedly, developing soft spots that eventually mess up its load bearing capacity. The deflection you might feel when stepping into the shower doesn’t just mean a pan problem. It signals that the wooden structure underneath has started failing. This creates dangerous conditions since floors can eventually collapse under normal use if the rot goes far enough. What started as water dripping through a failed pan liner becomes a fundamental structural problem affecting the entire floor system.
Moisture trapped in wall cavities and under flooring creates perfect conditions for mold growth and wrecks structural integrity in ways you can’t see until the damage becomes severe. Wall studs exposed to constant moisture develop similar rot to floor joists. Mold colonies set up shop in the dark, damp spaces between walls where they spread across large areas before becoming visible on finished surfaces. The moisture also damages insulation, making it ineffective and creating conditions where the problem speeds up. Damp insulation loses its thermal properties and holds moisture against surrounding materials, spreading water damage further. Electrical systems in these spaces face increased risk of shorts and fire hazards when exposed to water. Drywall and plaster soaked with water lose structural integrity, needing complete replacement instead of simple patching.
Structural damage often costs way more to repair than the original leak fix would have cost. A shower pan replacement might run $900 to $2,300, but once water damage gets into floor joists, wall studs, and surrounding rooms, costs jump quickly. Structural repairs can add $2,000 to $10,000 or more depending on how bad the damage is and how easy it is to reach. Some homeowners face complete bathroom gut jobs where every surface, fixture, and structural component needs replacement because leak damage wasn’t dealt with when first signs showed up.
DIY Temporary Fixes for Minor Shower Pan Leaks
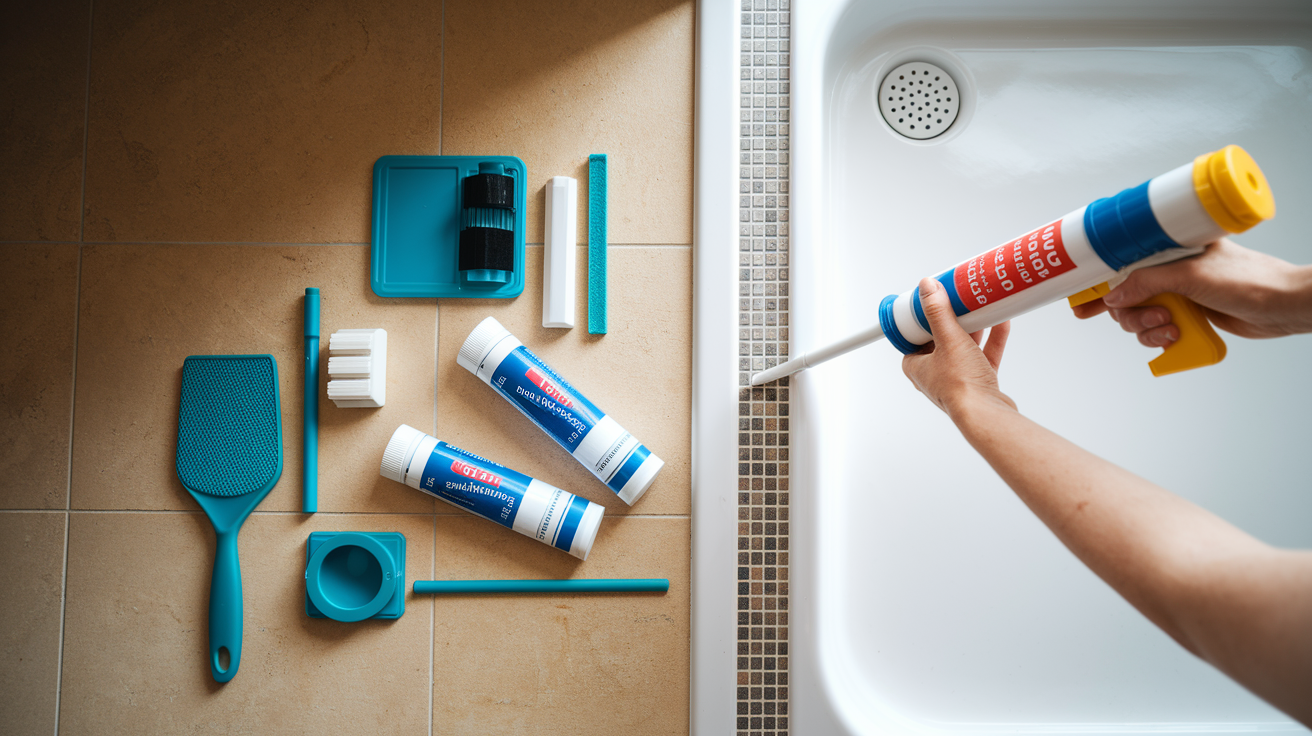
These repairs give you temporary measures while you plan for permanent solutions. They’re not long term fixes that replace proper repair.
Apply thick layers of new grout over cracked grout lines, focusing on areas where you can see gaps have developed. Use silicone caulk designed for wet areas to seal gaps at wall transitions and edges where the pan meets the wall surface. Apply masonry sealer or epoxy to small holes or loose areas in the pan surface itself. These approaches buy time by reducing water escape, but they don’t fix the underlying failures that caused the problems.
Materials you need for these temporary fixes include:
- Silicone caulk rated for wet areas and continuous water exposure
- Grout matching your existing color as closely as possible
- Small trowel or grout float for applying and smoothing grout
- Cleaning supplies and grout removal tool to prep surfaces
- Masonry sealer or epoxy rated for underwater or constant moisture applications
How you apply things matters for even these temporary measures to work. Clean all surfaces thoroughly before applying any sealant. Grout and caulk won’t stick to soap residue, mold, or mineral deposits. Remove loose or damaged material from cracks instead of applying new material over failing old material. Let each product cure for the full time the instructions specify before exposing it to water. Apply sealants generously instead of trying to make a small amount stretch. Thin applications fail quickly.
These fixes typically last months instead of years and should be considered stopgap measures while arranging permanent repairs. Grout applied over existing grout without addressing the underlying pan failure might hold for several months before the same movement and moisture that damaged the original grout affects the new layer. Caulk at wall transitions typically lasts 6 to 18 months in the best conditions, and less time when applied over a leaking pan where moisture attacks the caulk from behind. Epoxy or sealant applied to the pan surface can’t repair cracks in the waterproof liner beneath the visible surface. It only slows water movement through those cracks. Think of these repairs as buying time to arrange professional service or save money for proper replacement, not as permanent solutions to ongoing leak problems.
When Shower Pan Leaks Require Professional Repair
Certain situations go beyond DIY capabilities and need licensed contractors with proper tools and expertise.
Structural and Hidden Leaks
Leaks happening within walls, under floors, or involving subfloor damage need professional access and repair. These situations involve opening walls or removing flooring to reach the leak source, then repairing damaged structural components before addressing the waterproofing failure. Subfloor replacement, joist sistering, or wall stud repair fall well outside typical homeowner skill sets and tool availability. Water damage in these hidden spaces often extends further than visible evidence suggests. You need professional assessment to figure out the repair scope.
Extensive Mold or Water Damage
When damage extends beyond the immediate shower area or shows signs of long term moisture getting in, professional remediation becomes necessary. Mold growth larger than about 10 square feet needs professional removal following proper containment and safety procedures. Water damage affecting multiple rooms, causing ceiling or floor sagging, or creating electrical hazards needs immediate professional attention. These situations need not just fixing the leak but also dealing with all secondary damage created by water getting in over time.
Complete Pan Failure
Cracks in the pan itself, significant deflection, or failed waterproof membranes need full replacement instead of patch repairs. When the pan moves under your weight, the subfloor beneath has suffered water damage that messes up its structural integrity. Visible cracks in plastic pans mean complete pan failure that patch efforts can’t fix. The entire pan needs replacement. Multiple leak points, recurring leaks after attempted repairs, or leaks from the pan itself instead of just surface sealants all signal that the waterproofing system has failed completely.
Stop using the shower immediately when these conditions are present. Every additional shower use sends more water into damaged areas, speeding up structural deterioration and increasing repair costs. Using a shower with known pan failure risks sudden floor collapse if the subfloor has rotted enough. The temporary inconvenience of showering elsewhere prevents thousands of dollars in additional damage.
Shower Pan Replacement Costs and Repair Pricing

Costs vary based on how much damage there is, what materials you choose, and how much structural repair the leak damage created.
| Repair Type | Typical Cost Range | Timeline |
|---|---|---|
| Minor grout or caulk repairs | $30 to $500 | 1 to 2 hours |
| Epoxy or sealer application | $50 to $300 | 2 to 4 hours |
| Prefabricated pan replacement | $900 to $2,300 | 2 to 3 days |
| Custom tile pan rebuild | $2,000 to $4,600 | 4 to 7 days |
| Structural subfloor repair | Add $500 to $2,000 | 1 to 3 additional days |
| Water damage remediation | Varies widely | Depends on extent |
Material choice affects cost significantly. Acrylic pans offer the most affordable replacement option, typically costing $200 to $500 for the pan itself plus installation labor. Fiberglass units fall in a similar price range but generally last longer than basic acrylic. Custom tile installations with proper waterproof membranes, pre-slope, mortar bed, and tile finish can cost $2,000 to $4,600 for labor and materials. Stone or high end tile selections push costs toward the upper end of this range. The labor intensive nature of custom tile work explains the price difference. Installers have to build the waterproofing system layer by layer instead of setting a prefabricated unit in place.
Additional structural repairs or damage remediation can significantly increase the total investment beyond basic pan replacement. Discovering rotted subfloor adds $500 to $2,000 depending on how much flooring needs replacement and whether floor joists need repair or reinforcement. Water damage extending into walls adds drywall replacement, painting, and potential electrical work. Mold remediation requires specialized containment, removal, and treatment procedures that can add $500 to $3,000 depending on the affected area size. Some contractors can’t give you final pricing until they remove the old pan and check the underlying structure. Homeowners should expect this uncertainty when leak damage has been present for extended periods.
Preventive Maintenance to Avoid Shower Pan Leaks
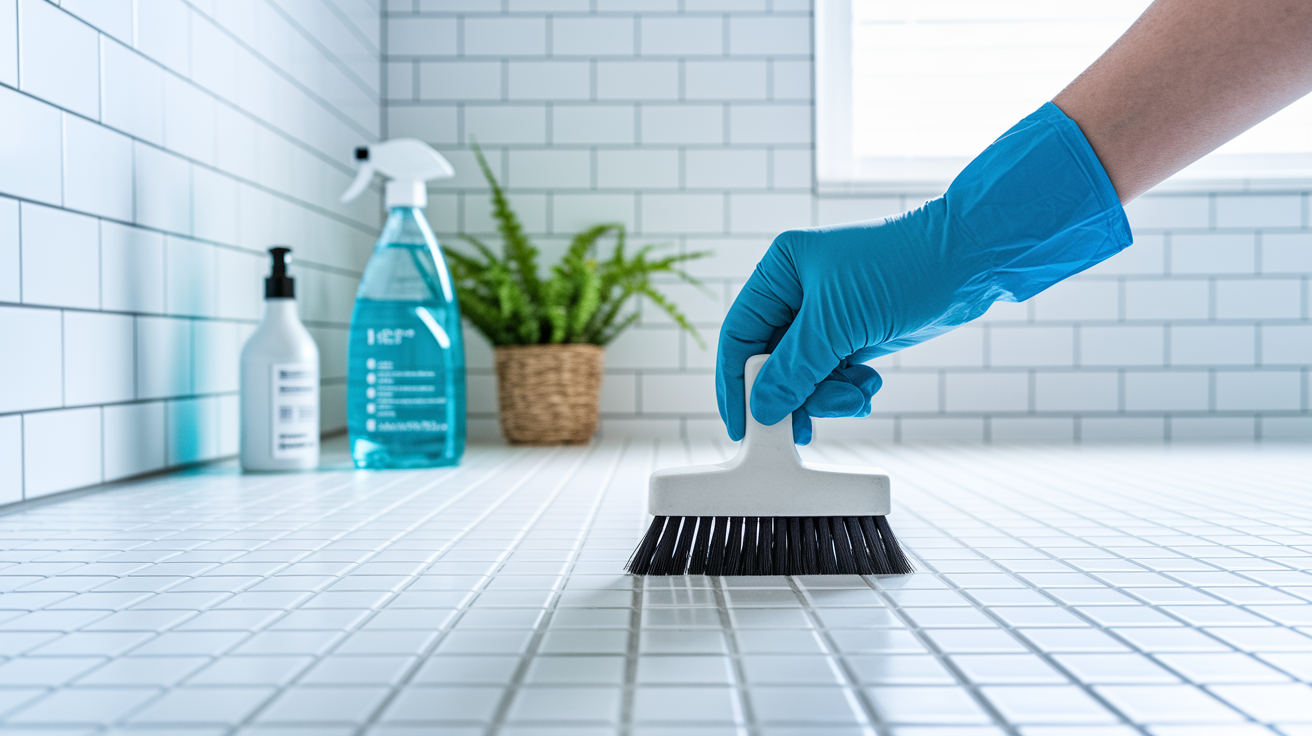
Prevention proves more cost effective than repair by catching small issues before they develop into major leak problems.
Follow these maintenance tasks to extend your shower pan’s functional life:
-
Inspect and reseal grout lines annually. Clean grout thoroughly, check for cracks or gaps, and apply fresh grout sealer to maintain water resistance.
-
Replace perimeter caulk every 1 to 2 years. Remove old caulk completely, clean the joint, and apply fresh silicone caulk designed for wet area use.
-
Clear drain of hair and debris weekly. Remove the drain cover and clean out material that’s built up and restricts water flow.
-
Check for loose tiles or movement quarterly. Press on tiles to detect any that have loosened, dealing with adhesive failures before water gets underneath.
-
Avoid abrasive cleaners that damage sealants. Use pH neutral cleaners instead of harsh chemicals or abrasive scrubbers that wear down protective layers.
-
Address hard water deposits promptly. Remove mineral buildup before it works its way into microscopic gaps in grout and caulk, preventing material breakdown.
-
Inspect caulk and grout after any bathroom remodeling nearby. Vibrations and movement during construction can crack sealants in adjacent showers.
-
Perform visual inspection for cracks or gaps monthly. A quick look takes two minutes but catches problems when they’re still manageable with simple sealant application.
These simple tasks extend shower pan life from 10 years up to 45+ years depending on materials. Regular maintenance doesn’t just prevent leaks. It protects the investment you made in the bathroom by keeping all components working as designed.
Catching small issues early prevents them from turning into structural damage that costs way more to repair. A $5 tube of caulk and 20 minutes of work today prevents the $3,000 subfloor replacement job next year. Monthly visual inspections take almost no time but give you the chance to spot hairline cracks before they widen, grout gaps before water gets through, and caulk separation before moisture gets behind surfaces.
Age, Material Deterioration, and Shower Pan Longevity

All materials have finite lifespans. Shower pans eventually need replacement no matter how good the installation quality or maintenance efforts are.
Different pan materials break down at different rates based on what they’re made of and how well they hold up in the bathroom environment. Porcelain shower pans typically last 30 to 45 years when properly maintained, though the grout and caulk around them needs more frequent attention. Ceramic pans generally give you 20 to 30 years of service before material fatigue creates problems. Fiberglass units offer 15 to 25 years of functional life, with surface scratching and wear sometimes needing refinishing before structural failure happens. Plastic pans are the most economical option but also have the shortest lifespan at 10 to 20 years before cracks develop from repeated stress and flexing.
Repeated expansion and contraction from temperature changes creates stress that eventually produces cracks and separations even in high quality materials. Every time you run a hot shower, the pan material expands slightly. When it cools, it contracts. This cycle repeats thousands of times over the pan’s life. The waterproof membrane beneath the visible surface goes through similar stress. Where different materials meet, like the pan edge against the wall or the drain flange against the liner, these expansion and contraction rates don’t match perfectly. The resulting forces gradually work seams apart and create microscopic cracks that widen over time. No material can handle infinite cycles of this stress, which explains why even perfectly installed pans eventually fail.
Homes built with outdated waterproofing methods or lower quality materials experience failures sooner, while modern installation standards and materials offer improved longevity. Older installations might use tar paper as a waterproof barrier, which breaks down much faster than modern PVC or CPE membranes. Single layer waterproofing from decades past doesn’t give you the redundancy that current best practices include. Modern installations often use multiple protective layers. A pre-slope for drainage, a waterproof membrane, a mortar bed, and then the finish surface. This redundancy means a minor failure in one layer doesn’t immediately create a leak since other layers still provide protection.
Final Words
Shower pan leaks develop from waterproofing failures, installation errors, drain problems, and natural material breakdown working alone or in combination.
The key is catching warning signs early. Water stains, musty smells, loose tiles, and movement all signal trouble that gets worse the longer it sits.
Testing your pan with a simple flood test confirms the leak. From there, you’ll know if it’s a quick caulk fix or time to call in a pro.
Regular grout maintenance, caulk replacement, and keeping drains clear can prevent most of these problems before they start.
FAQ
Why would a shower pan leak?
A shower pan leaks when its waterproofing membrane develops cracks or separations, when drain connections fail, when improper installation leaves gaps in protection, or when grout and caulk deteriorate over time, allowing water to seep through the barrier beneath the shower floor.
What is the life expectancy of a shower pan?
The life expectancy of a shower pan ranges from 10 to 45 years depending on the material used, with porcelain lasting 30-45 years, ceramic 20-30 years, fiberglass 15-25 years, and plastic 10-20 years when properly installed and maintained.
Does insurance cover a leaking shower pan?
Insurance typically covers a leaking shower pan only if the leak resulted from sudden, accidental damage rather than gradual deterioration from age or poor maintenance, making it essential to document when damage first appeared and review your specific policy coverage.
How much does it cost to repair a leaking shower pan?
Repairing a leaking shower pan costs between $30 and $500 for minor grout and caulk fixes, while full pan replacement ranges from $900 to $4,600 depending on materials chosen, extent of water damage, and whether structural subfloor repairs are needed.
How do you test if your shower pan is leaking?
You test if your shower pan is leaking by sealing the drain completely, pouring exactly 2 inches of water into the pan, marking the water level, waiting 8 hours without disturbance, and checking if the water level dropped, indicating a leak.
What are the first signs of shower pan water damage?
The first signs of shower pan water damage include water stains on ceilings below the bathroom, discoloration on adjacent walls, musty odors indicating hidden moisture, loose or moving tiles in the shower floor, and mold growth beyond normal shower condensation.
Can you temporarily fix a leaking shower pan yourself?
You can temporarily fix a leaking shower pan yourself by applying thick layers of new grout over cracked grout lines, using silicone caulk designed for wet areas to seal gaps at transitions, and applying masonry sealer to small holes or loose areas.
When should you stop using a shower with a leaking pan?
You should stop using a shower with a leaking pan immediately if you notice cracking or splintering in the pan, significant deflection when standing on it, structural movement, or extensive water damage to prevent further deterioration and serious structural problems.
What causes shower drain assemblies to leak?
Shower drain assemblies leak when the drain flange separates from the pan liner, when gaskets between drain parts become worn or missing, when the drain body cracks, when weep holes become clogged, or when compression joints loosen over time.
How does improper installation cause shower pan leaks?
Improper installation causes shower pan leaks through inadequate pre-slope beneath the liner causing water pooling, incorrect membrane placement and securing, improper corner folds and seam overlaps, failure to extend waterproof barriers high enough on walls, and fastener penetrations through the waterproof layer.