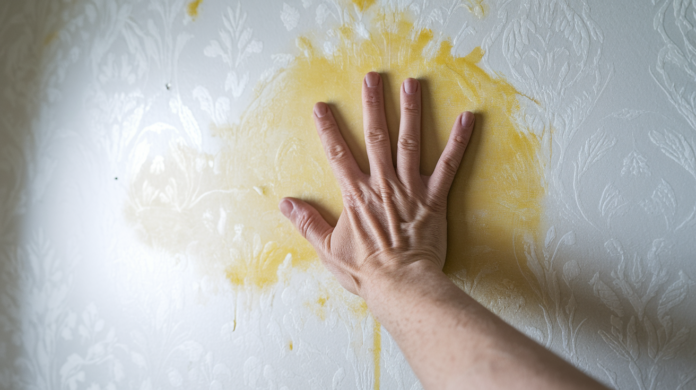

Wallpaper hides problems better than almost any other wall covering. A wall can look fine from the outside while drywall behind it turns soft, stained, or even moldy from hidden moisture. Most homeowners only discover the damage when a bulge appears, a musty smell won’t go away, or wallpaper starts peeling for no clear reason. The good news is you don’t need to rip down every sheet to check what’s happening underneath. There are clear signs to watch for and simple tests you can do right now to tell if moisture is soaking into your drywall.
Signs and Simple Tests to Detect Wet Drywall Behind Wallpaper
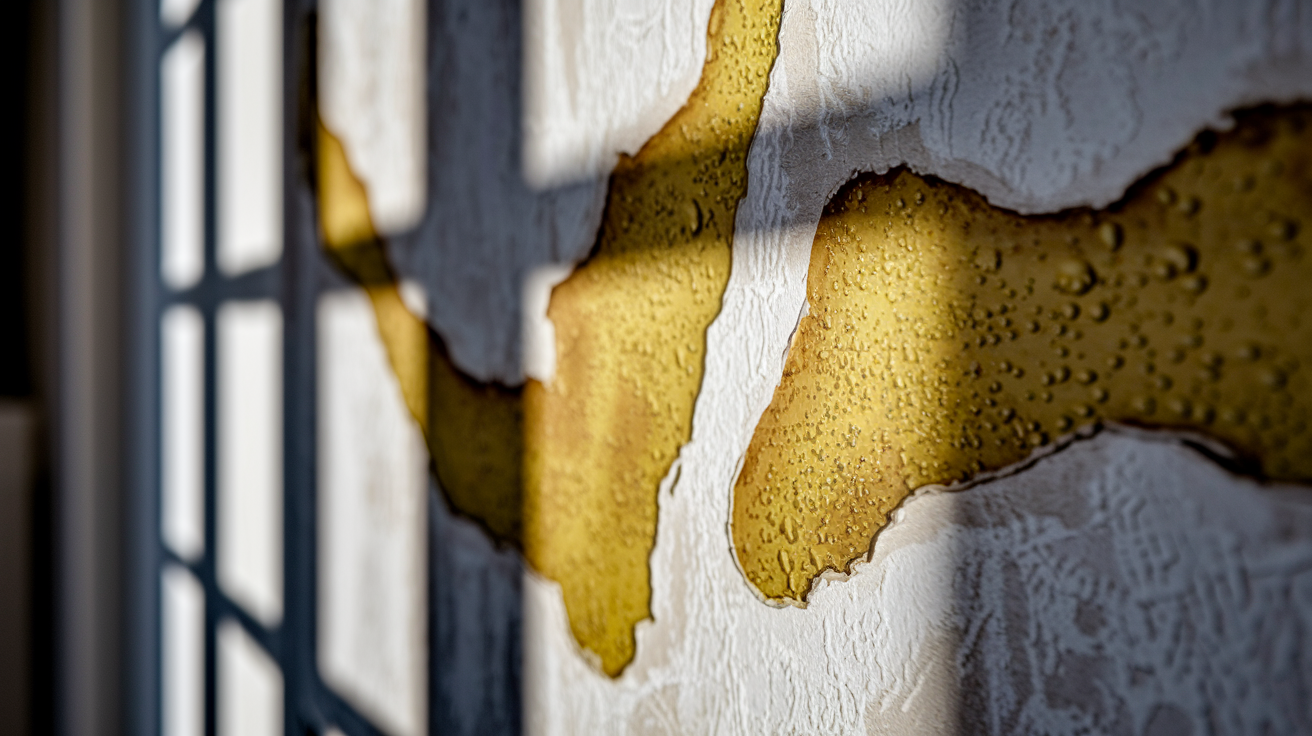
Detecting moisture behind wallpaper requires attention to both visible and subtle warning signs that indicate hidden water damage. You can confirm most of these through simple physical testing. Most homeowners can spot these indicators without specialized equipment.
Watch for these common signs:
- Discoloration patterns including yellow, brown, or dark spots that appear gradually or suddenly
- Bubbling or blistering wallpaper surface that looks raised or inflated
- Peeling edges or corners where wallpaper lifts away from the wall
- Soft spots when pressed that feel different from surrounding areas
- Musty or moldy odor that’s strongest near affected walls
- Visible mold patches appearing as black, white, green, or brown fuzzy growth
- Sagging or bulging areas where the wall surface appears uneven
- Texture changes in the wallpaper that feel different to the touch
The touch test is your most reliable no-tool method. Gently press wallpaper-covered walls in suspected areas to feel for softness, sponginess, or areas that give way under pressure. Healthy drywall feels solid and doesn’t compress when you push on it with moderate force. Sinking or buckling indicates water weakening on the backside. “Before I pressed that spot, I had no idea anything was wrong. The second my hand went through a little, I knew we had a problem.”
Systematic inspection covers problem-prone zones throughout your home. Start with exterior walls, especially those facing prevailing weather. Check bathrooms around tubs and showers, kitchens near sinks and dishwashers, and areas below windows where condensation accumulates. Look for color variations across the wallpaper surface. Examine seams for separation, and inspect corners and baseboards for dampness indicators. Touch various wall sections and note temperature differences. Damp areas often feel cooler than dry sections. Pay special attention to rooms above or adjacent to known plumbing.
Visible damage often understates the true extent of moisture problems. What appears as a small stain on wallpaper might conceal extensive saturation behind the surface. Water stains can run short or long distances, sometimes extending from wall to floor as moisture follows gravity and spreads through wall cavities. Early detection prevents structural damage and mold growth that becomes exponentially more expensive and disruptive to remediate.
Using Moisture Meters to Detect Hidden Wetness Behind Wallpaper
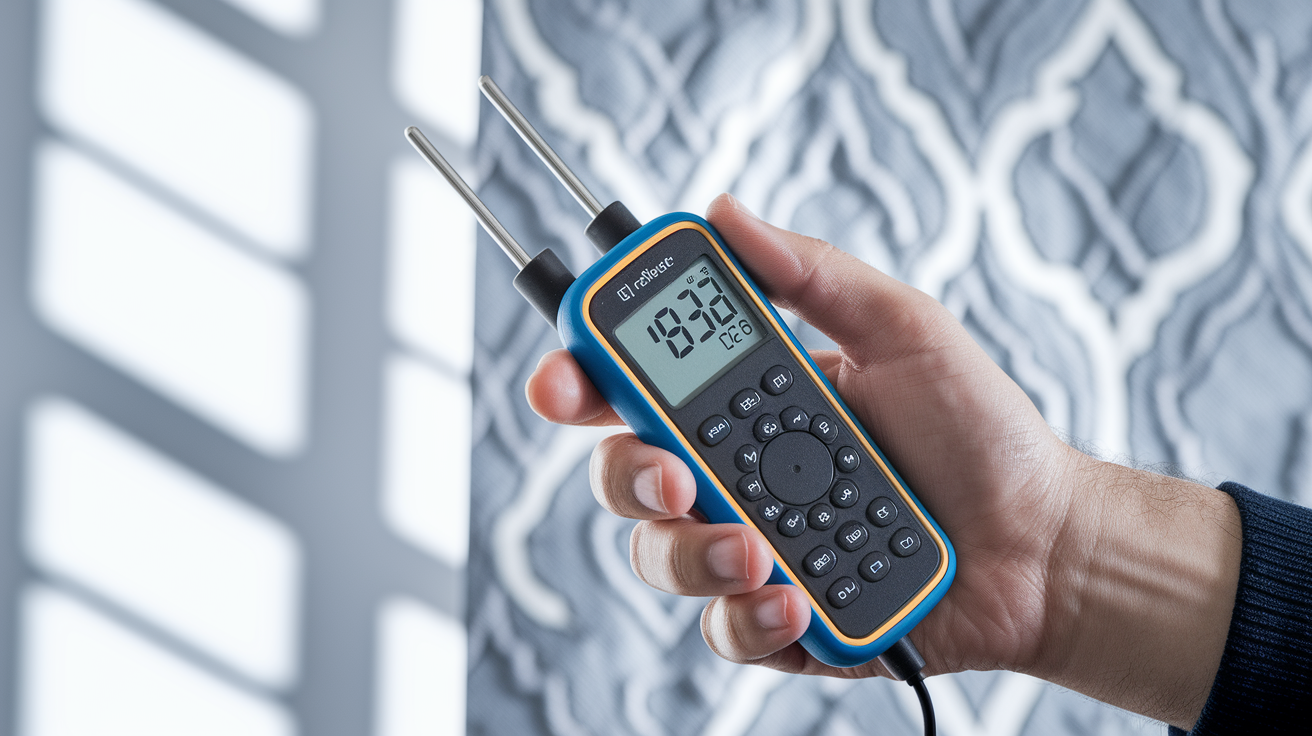
Moisture meters are affordable, accurate tools that quantify moisture levels rather than relying on guesswork. These handheld devices provide precise readings that help you understand exactly how wet your drywall has become.
Pin-type meters penetrate wallpaper and drywall to measure moisture content directly by sending an electrical current between two metal probes. You press the pins through the wallpaper into the drywall beneath, and the device displays a percentage reading. They’re best for targeted testing of suspicious areas where you’ve noticed stains, soft spots, or other warning signs. Pin-type devices work for close inspection and let you check specific problem zones with accuracy.
Pinless meters scan wall surfaces without creating holes, using electromagnetic signals that penetrate both wallpaper and drywall to detect moisture. You hold the sensor flat against the wallpapered surface and move it across larger areas. This non-invasive approach is ideal for testing extensive sections during initial assessment and preserving wallpaper integrity when you’re still determining the scope of the problem. Pinless varieties scan larger areas without wall damage.
Follow these steps for proper moisture meter technique:
-
Calibrate your meter according to manufacturer instructions before starting. This ensures accurate baseline readings.
-
Test multiple spots across the suspected area, checking every 12 to 18 inches to map the extent of moisture and identify patterns.
-
Record readings with notes about location. Create a simple sketch or take photos to document which areas show elevated moisture.
-
Interpret results using these ranges: typically 5 to 12 percent is normal for drywall, 12 to 17 percent indicates elevated moisture requiring attention, and above 17 percent indicates water damage requiring immediate action.
-
Mark problem areas with painter’s tape or sticky notes for further investigation, tracking whether readings increase, decrease, or remain stable over several days.
Advanced Detection Tools: Thermal Imaging for Wallpaper Moisture Issues
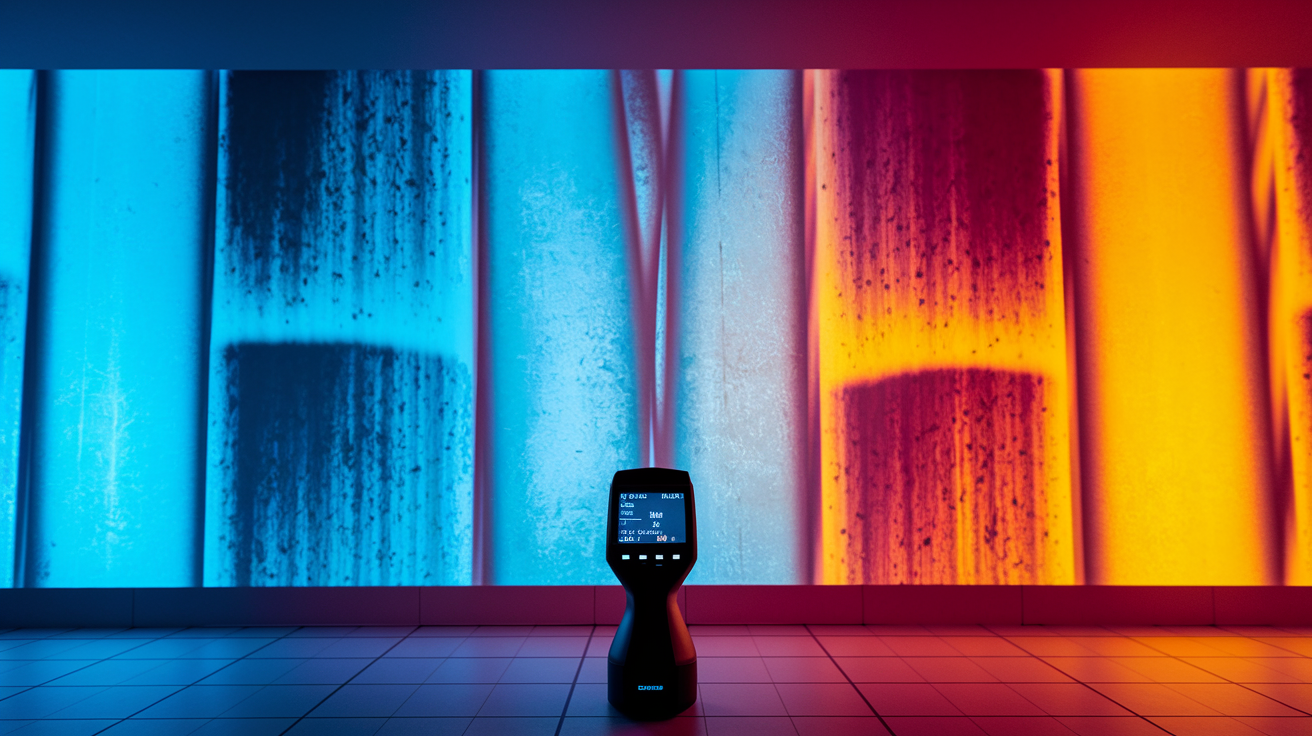
Infrared cameras detect temperature variations caused by moisture evaporation behind wallpaper, creating visible thermal patterns that reveal hidden dampness. Wet areas appear cooler than dry sections because evaporating water draws heat away from the surface.
Thermal images reveal patterns invisible to the naked eye. Cooler spots show up as different colors on the camera display, indicating dampness and helping you see the full extent of water migration across wall cavities. The technology identifies original leak sources like plumbing or roof issues that may be distant from visible damage. “The stain was in the bedroom, but the thermal camera showed us the leak was actually from a bathroom pipe two rooms over.” You can trace moisture movement through wall studs and insulation, understanding how water traveled from its entry point to where symptoms finally appeared.
Professional inspectors use thermal cameras as standard equipment, or homeowners can rent these devices from tool rental centers for around 40 to 75 dollars per day. This technology is worth the investment when dealing with elusive leaks, recurring moisture problems, or situations where you need to minimize exploratory damage to walls. For straightforward cases with obvious sources, simpler methods like moisture meters usually provide sufficient information.
Recognizing Mold Growth and Associated Health Risks
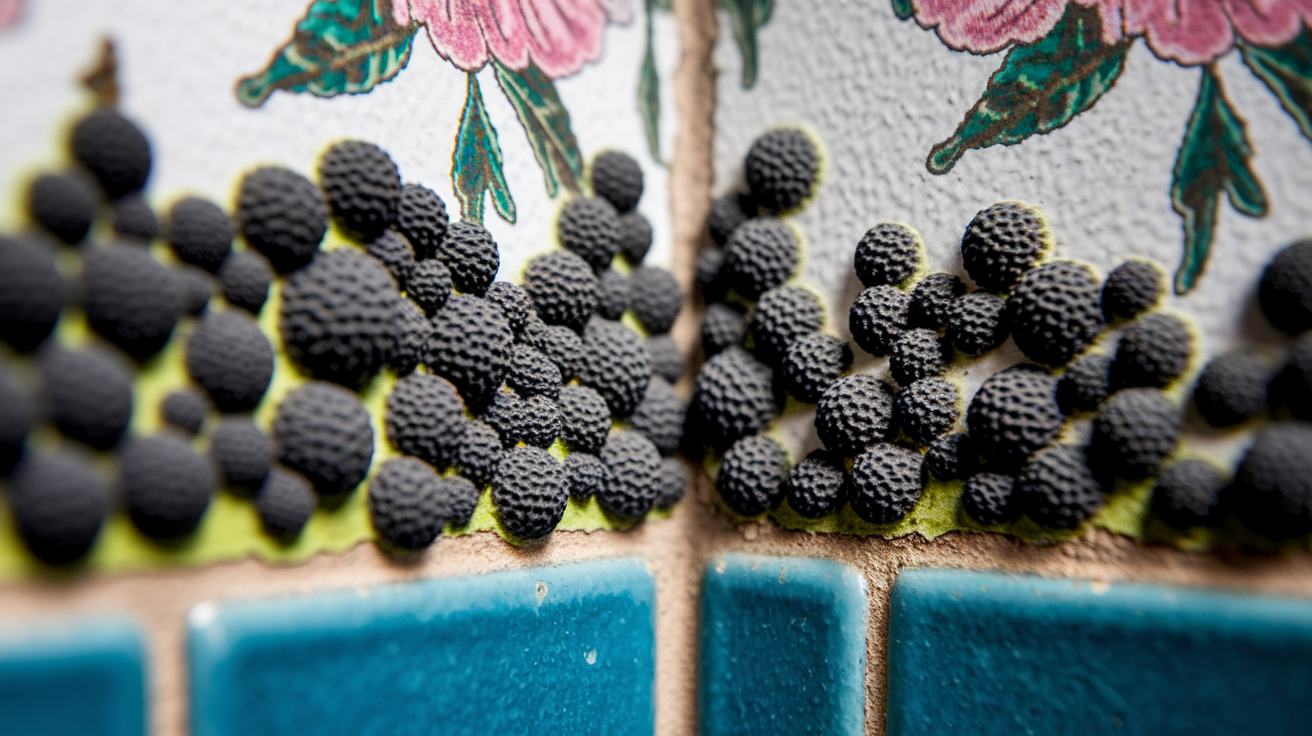
Identifying mold during wallpaper moisture inspection requires attention to both visible indicators and sensory clues that something’s growing behind the surface. Visible mold appears as black, white, green, or brown patches with fuzzy or slimy texture and spreading patterns. Check seams where wallpaper meets, corners where moisture accumulates, and any area showing water stains or discoloration. Mold needs only 24 to 48 hours of moisture exposure to begin growing. It thrives in common locations including bathrooms, basements, kitchens, and exterior walls where temperature differences create condensation.
The musty or earthy odor is mold’s calling card. This smell indicates potential mold growth behind walls requiring immediate inspection, even when you can’t see any visible growth. Trust your nose. If it smells like a damp basement or wet towels that never fully dried, you’re probably dealing with mold.
Health symptoms associated with mold exposure provide another warning system. Watch for respiratory problems like coughing, wheezing, or shortness of breath that improve when you leave home. Allergic reactions including sneezing, runny nose, and itchy eyes often worsen in rooms with hidden mold. Headaches, fatigue, and worsening asthma all connect to mold contamination. Children, elderly individuals, and anyone with compromised immune systems face higher risk from exposure. Home-specific allergy symptoms (feeling fine at work but congested at home) warrant investigation of wallpapered walls and other moisture-prone surfaces.
Damage severity indicators tell you when simple drying won’t solve the problem. Extensive discoloration, bulging or sagging sections, and damp earthy odors signal mold contamination requiring professional assessment rather than DIY fixes. Musty odors without visible source indicate serious contamination spreading through wall cavities or insulation. At this stage, you’re past prevention and into remediation territory.
Step-by-Step Guide to Safely Removing Wallpaper for Drywall Inspection
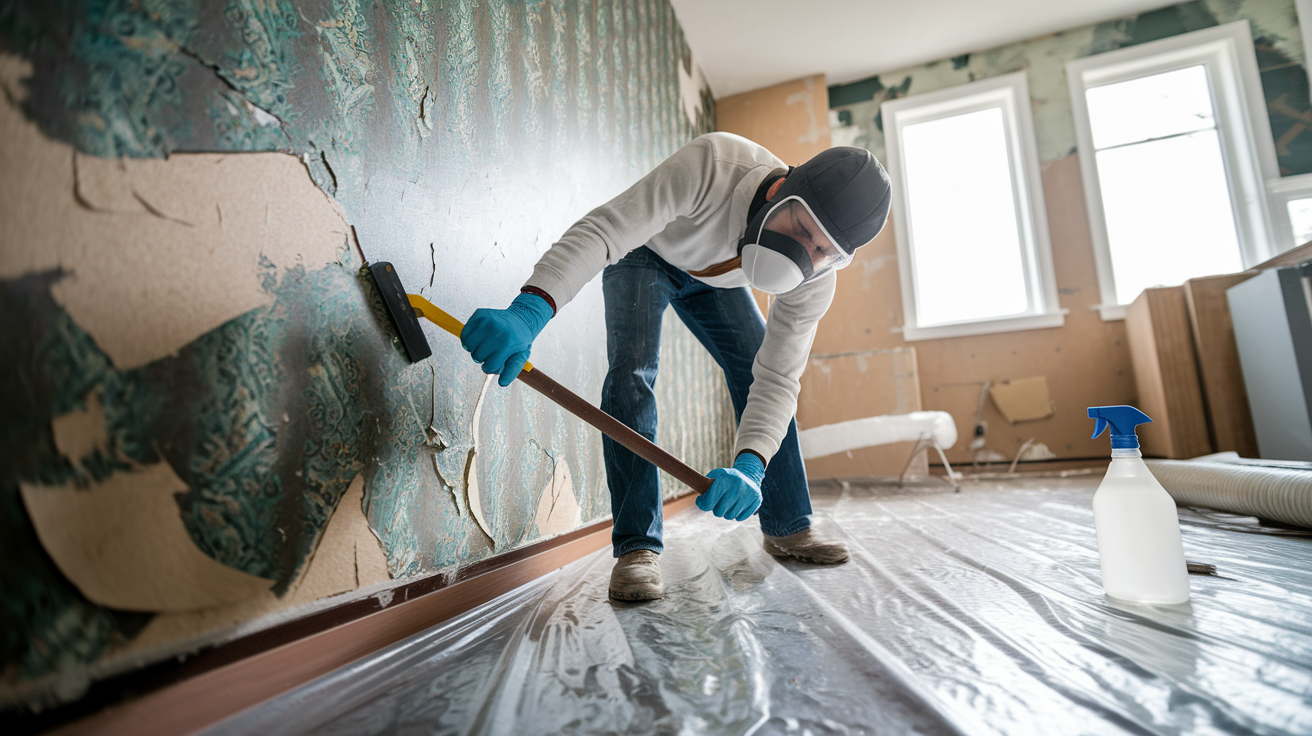
Safety precautions come first because you’re potentially exposing yourself to mold spores and compromised wall materials. Wear protective equipment including gloves, an N95 mask, and eye protection. Ensure proper ventilation by opening windows and running fans that exhaust air outside. Turn off electricity to affected areas at the breaker box. Water and electricity don’t mix, and wet drywall can conduct current to switches and outlets.
Follow this removal process:
-
Gather tools including a scoring tool, spray bottle, wallpaper scraper, plastic sheeting, and bucket of warm water or wallpaper removal solution.
-
Protect flooring and furniture by covering them with plastic sheeting and moving items away from the work area to prevent water damage and mold spore contamination.
-
Score the wallpaper surface using a scoring tool to create small perforations that allow water and removal solution to penetrate behind the paper without damaging underlying drywall.
-
Apply warm water or removal solution generously with a spray bottle or sponge, working in manageable sections of about three to four feet square.
-
Wait 15 to 20 minutes for adhesive softening, reapplying solution if areas begin drying before you can work them.
-
Carefully peel back sections starting from seams or damaged areas, using a scraper to lift stubborn spots while avoiding gouging the drywall beneath.
-
Inspect exposed drywall immediately for discoloration, soft or crumbling texture, visible mold growth, and structural integrity by gently pressing the surface to check for weakness.
Once wallpaper is removed, homeowners can accurately assess whether drywall needs drying, antimicrobial treatment, or complete replacement. Documenting the damage with photos helps when consulting professionals or filing insurance claims. When the damage severity includes extensive mold, structural compromise, or saturation affecting large areas, professional intervention becomes necessary to prevent further property damage and health risks.
Understanding Moisture Sources and Prevention Strategies

Identifying the moisture source is essential for permanent resolution and preventing recurrence after repairs. Fixing visible damage without addressing the underlying cause guarantees you’ll face the same problem again.
Common moisture sources include:
- Leaking pipes behind walls from failed connections, corrosion, or freeze damage
- Roof leaks that travel down wall cavities before showing interior symptoms
- Window seal failures and condensation from poor insulation or worn weatherstripping
- Plumbing fixture leaks around toilets, sinks, tubs, and shower pans
- Foundation cracks allowing groundwater intrusion during heavy rain or snow melt
- High indoor humidity levels, especially in bathrooms and kitchens without adequate ventilation
- Condensation from temperature differences between interior and exterior walls
- HVAC system leaks or condensation lines that drip inside wall cavities
- Exterior water infiltration through compromised siding, missing caulking, or damaged flashing
Water damage visible on wallpaper may originate far from the actual source. A stain on a second-floor bedroom wall might trace back to roof damage 15 feet away, with water following rafters and wall studs before finally soaking through. Systematic investigation of potential leak points throughout the home becomes necessary. Sometimes professional leak detection services using pressure testing, smoke tests, or thermal imaging locate elusive sources that aren’t obvious during visual inspection. For additional guidance on tracking down various leak origins that affect wallpapered walls, see Understanding Common Home Water Leak Sources.
Prevention is significantly less expensive and disruptive than remediation, making proactive measures worthwhile investments. An ounce of prevention really does save you from pounds of moldy drywall removal.
Implement these prevention strategies:
-
Schedule regular plumbing inspections annually or every two years, checking supply lines, drain connections, and fixture seals before small drips become major leaks.
-
Use proper bathroom and kitchen ventilation by running exhaust fans during showers, cooking, and dishwashing, then continuing for 20 minutes afterward to remove lingering moisture.
-
Maintain indoor humidity below 50 percent year-round using dehumidifiers in damp seasons and proper ventilation during dry periods.
-
Apply moisture-resistant primers before wallpaper installation, creating a protective barrier that slows water penetration and makes future removal easier.
-
Install vapor barriers in high-moisture areas like bathrooms, laundry rooms, and basement walls before finishing with drywall and wallpaper.
-
Repair roof and window leaks promptly when you notice water stains, drips during rain, or ice dam formation in winter.
-
Conduct seasonal home inspections checking caulking around windows and tubs, examining roof condition, and looking for early warning signs in vulnerable areas.
-
Install dehumidifiers in basements or chronically damp spaces where natural ventilation doesn’t adequately control moisture levels.
Establish a maintenance schedule that fits your home’s specific needs. Quarterly visual inspections of wallpapered areas take 15 minutes and catch problems early. Annual professional plumbing checks cost 100 to 200 dollars but identify hidden issues before they cause damage. Seasonal adjustments to ventilation and dehumidification based on weather patterns (running dehumidifiers more during humid summers, monitoring condensation during cold winters) keep moisture levels stable. Proactive moisture monitoring maintains home safety, protects indoor air quality, and prevents water-related problems before they turn into expensive emergency repairs.
When to Call a Professional for Wallpaper and Drywall Water Damage
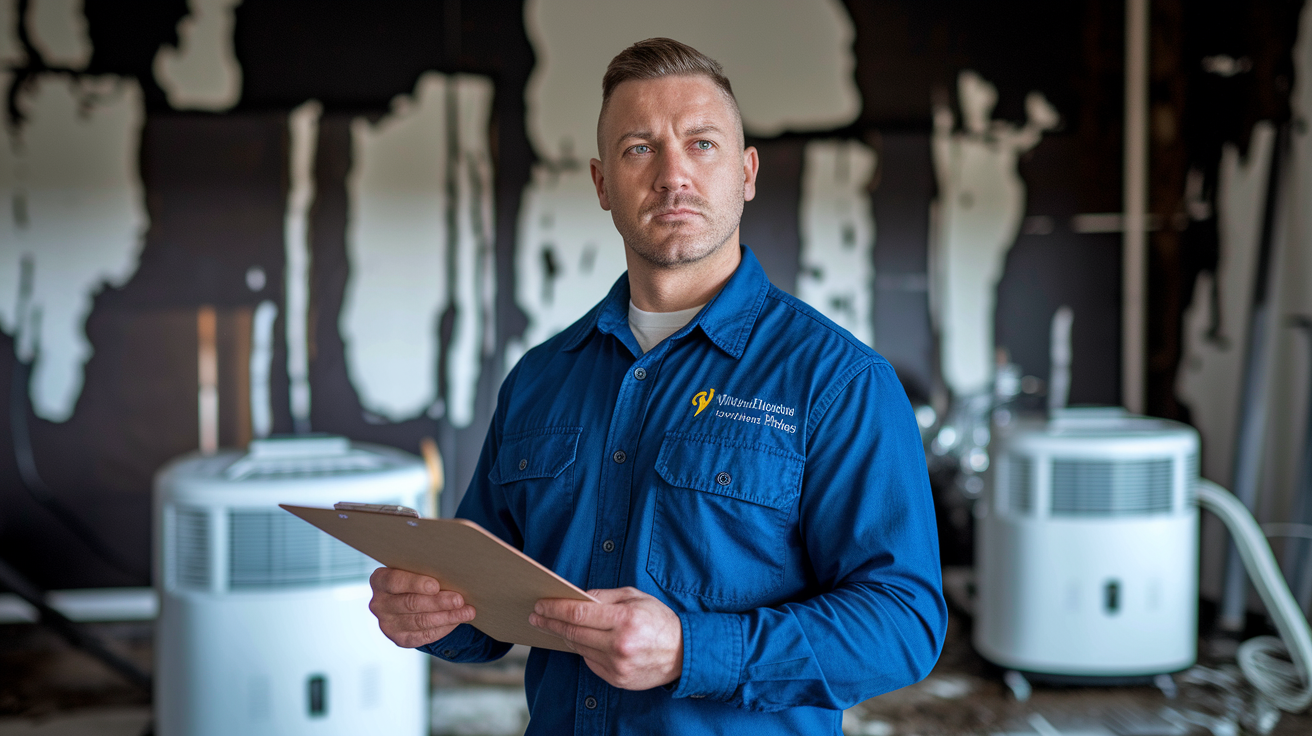
While homeowners can perform initial detection using the methods we’ve covered, certain conditions demand professional expertise for safety and complete remediation. Knowing when you’ve reached the limit of DIY capability protects both your home and your health.
Improper handling carries real risks. Attempting to remove wet drywall yourself can spread mold spores to other rooms through air circulation, contaminating previously clean areas. Electrical hazards from wet walls near outlets or fixtures create shock and fire risks that require professional assessment. Incomplete drying leads to recurring problems. Surface drywall might feel dry while moisture remains trapped in wall cavities and insulation. Structural compromise worsens over time when load-bearing components stay saturated, and what starts as cosmetic damage becomes a safety issue.
Call professionals when you encounter:
- Extensive water damage affecting multiple walls or entire rooms where the scope exceeds spot repairs
- Visible mold growth covering more than 10 square feet, the threshold where DIY removal risks inadequate containment
- Musty odors without visible source, indicating hidden contamination in inaccessible spaces
- Sagging or bulging drywall showing structural weakness that could collapse
- Water damage near electrical outlets, switches, or fixtures where moisture and electricity create dangerous conditions
- Recurring moisture problems after attempted repairs, suggesting unresolved source issues
- Any situation involving sewage or contaminated water requiring specialized cleaning and disinfection protocols
Certified water damage restoration companies offer equipment and expertise that ensure thorough remediation. For guidance on finding qualified professionals, see Professional Water Damage Assessment Services. Industrial dehumidifiers move 10 times the air volume of consumer units. Air movers create proper circulation patterns for complete drying, and moisture mapping tools track wetness through multiple wall layers. Professionals understand drying science, antimicrobial treatments, and reconstruction requirements that prevent future problems.
Drywall Remediation Options and Associated Costs
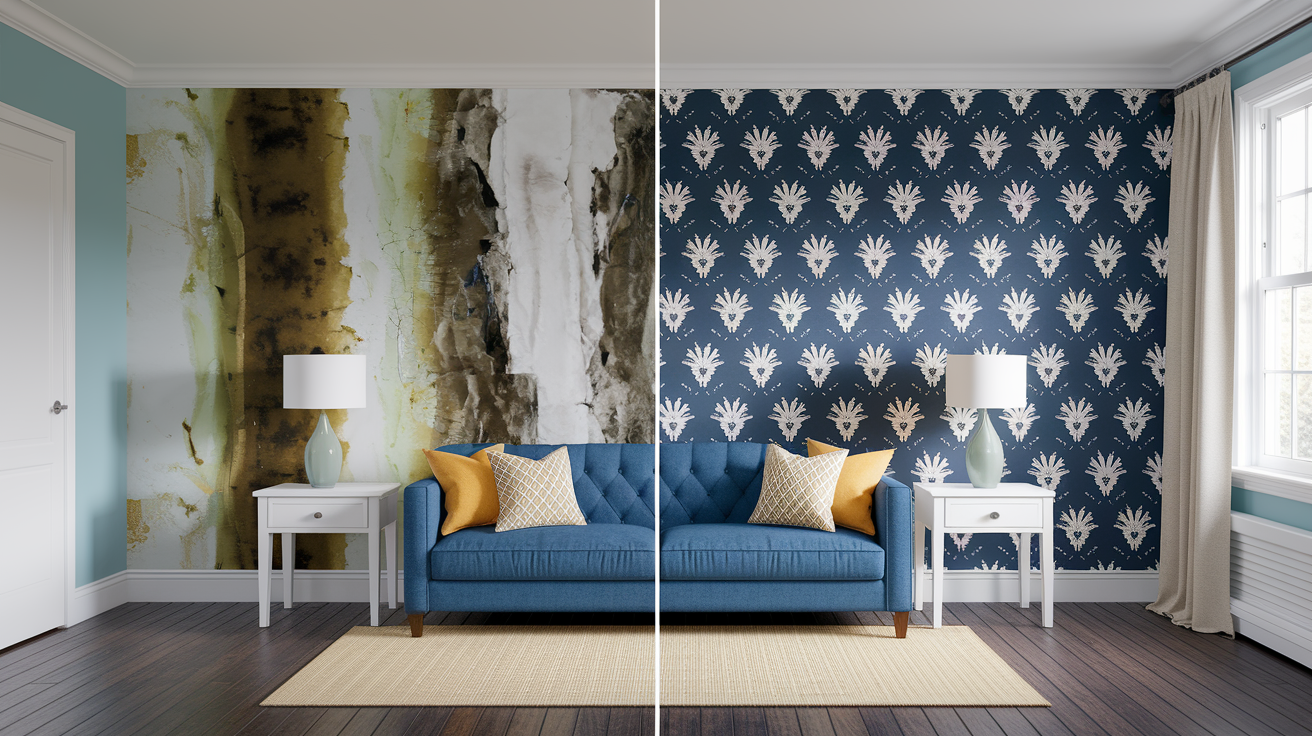
Remediation approach depends on damage severity, whether you’ve controlled the moisture source, and if mold is present. Understanding your options helps you budget appropriately and make decisions about DIY versus professional work.
| Repair Scenario | Typical Cost Range | Timeline |
|---|---|---|
| Minor drying and repainting (small area, no mold) | $150 – $400 | 3-5 days |
| Wallpaper removal and drywall drying (moderate moisture, no replacement needed) | $400 – $900 | 5-7 days |
| Partial drywall replacement (one wall section, minor mold treatment) | $800 – $1,800 | 1-2 weeks |
| Full wall replacement with mold remediation (extensive damage, professional treatment required) | $2,000 – $5,000 | 2-3 weeks |
| Extensive multi-room restoration (major water event, structural repairs, complete remediation) | $5,000 – $15,000+ | 3-6 weeks |
The drying process determines whether you can save existing drywall or need replacement. Dehumidifier usage runs 24 to 72 hours for minor dampness where surface moisture hasn’t penetrated deeply. Saturation requires 5 to 7 days of continuous drying with industrial equipment. Air circulation from fans speeds evaporation. Position them to move air across wet surfaces and out of the room. Monitor moisture levels daily using your meter until readings return to normal range below 12 percent. Rushing this process leaves hidden moisture that causes mold growth and material failure weeks later.
Factors affecting costs include room size and accessibility. Small bathrooms cost less than large living rooms, and finished basements with limited access run higher. Extent of structural damage matters because wet framing, insulation, or subfloor increases material and labor requirements. Mold presence requiring antimicrobial treatment, containment barriers, and special disposal adds 500 to 2,000 dollars depending on contamination extent. Related repairs pile on when the moisture source needs fixing. Plumbing repairs run 200 to 1,500 dollars, roof leak repairs cost 300 to 3,000 dollars, and these happen simultaneously with drywall work.
Final Words
Spotting wet drywall behind wallpaper comes down to watching for the warning signs: stains, soft spots, musty smells, and bubbling surfaces. Touch tests and moisture meters confirm what your eyes suspect.
If you find dampness, act fast. The longer moisture sits, the more damage spreads. Early detection protects your walls, your air quality, and your wallet.
When you’re not sure how to tell if drywall is wet behind wallpaper, trust your instincts. A simple press test or a quick inspection can save you from bigger headaches down the road. And if things look serious, we’re here to help you fix it right.
FAQ
How can you tell if there is dampness behind wallpaper?
You can tell if there is dampness behind wallpaper by checking for discoloration (yellow, brown, or dark spots), bubbling or peeling sections, soft spots when pressed, musty odors, visible mold patches, sagging areas, and texture changes in the wallpaper surface.
What does wet drywall feel like to the touch?
Wet drywall feels soft, spongy, or gives way under gentle pressure, unlike the firm surface of dry drywall. You might notice areas that sink or buckle when pressed, indicating water has weakened the gypsum board on the backside.
Can you detect moisture behind drywall without removing wallpaper?
You can detect moisture behind drywall without removing wallpaper by using moisture meters (pin-type or pinless models), performing touch tests for soft spots, looking for visual warning signs like stains or bubbling, smelling for musty odors, or using thermal imaging to reveal temperature variations.
How do you test for mold behind wallpaper?
You test for mold behind wallpaper by checking for musty or earthy odors, looking for visible black, white, green, or brown patches, monitoring for home-specific allergy symptoms, and carefully peeling back small sections in suspicious areas to inspect the drywall surface directly.
What moisture meter reading indicates water damage in drywall?
A moisture meter reading above 17% indicates water damage in drywall, while normal drywall typically measures between 5% and 12%. Readings in the danger zone mean the drywall is saturated enough to support mold growth and structural weakening.
What does thermal imaging show when detecting moisture behind walls?
Thermal imaging shows cooler spots where moisture is evaporating, reveals water migration patterns across wall cavities, and identifies the original leak source like plumbing or roof issues that may be located far from the visible damage on wallpaper.
When does wet drywall behind wallpaper require professional help?
Wet drywall behind wallpaper requires professional help when damage affects multiple walls, visible mold covers more than 10 square feet, musty odors persist without visible source, drywall is sagging or bulging, moisture appears near electrical outlets, or problems recur after attempted repairs.
How long does it take to dry out wet drywall?
It takes 24 to 72 hours to dry out wet drywall with minor dampness using dehumidifiers and air circulation, while saturated drywall typically needs 5 to 7 days of active drying with moisture levels monitored until readings drop below 12%.
What are the most common sources of moisture behind wallpaper?
The most common sources of moisture behind wallpaper are leaking pipes hidden in walls, roof leaks traveling down cavities, window seal failures, plumbing fixture leaks, foundation cracks, high indoor humidity, condensation from temperature differences, and HVAC system leaks.
How can you prevent moisture from building up behind wallpaper?
You can prevent moisture buildup behind wallpaper by maintaining indoor humidity below 50%, running bathroom exhaust fans during and 20 minutes after showers, fixing plumbing and roof leaks promptly, using moisture-resistant primers before installation, and conducting quarterly visual inspections.
What health risks come from mold growing behind wallpaper?
Health risks from mold growing behind wallpaper include respiratory problems, allergic reactions, headaches, fatigue, and worsening asthma, with special concern for children, elderly individuals, and people with compromised immune systems exposed to spores in contaminated indoor air.
How much does it cost to repair water-damaged drywall behind wallpaper?
The cost to repair water-damaged drywall behind wallpaper ranges from minor drying and repainting (low hundreds) to partial drywall replacement (mid hundreds to low thousands), full wall replacement with mold remediation (several thousand), or extensive multi-room restoration (potentially over ten thousand dollars).