
You keep flushing, but that faint hissing won’t stop. The toilet’s still running, the tank never quite fills right, and your water bill just jumped for no clear reason. That’s your fill valve refusing to shut off, and it’s dumping gallons down the drain every single day. The good news: most fill valve problems have straightforward fixes you can handle yourself in under an hour. We’ll walk you through exactly what’s failing, how to diagnose it fast, and which solutions actually work so you can stop the waste and get your toilet working right again.
Stop Your Running Toilet Now: Immediate Actions
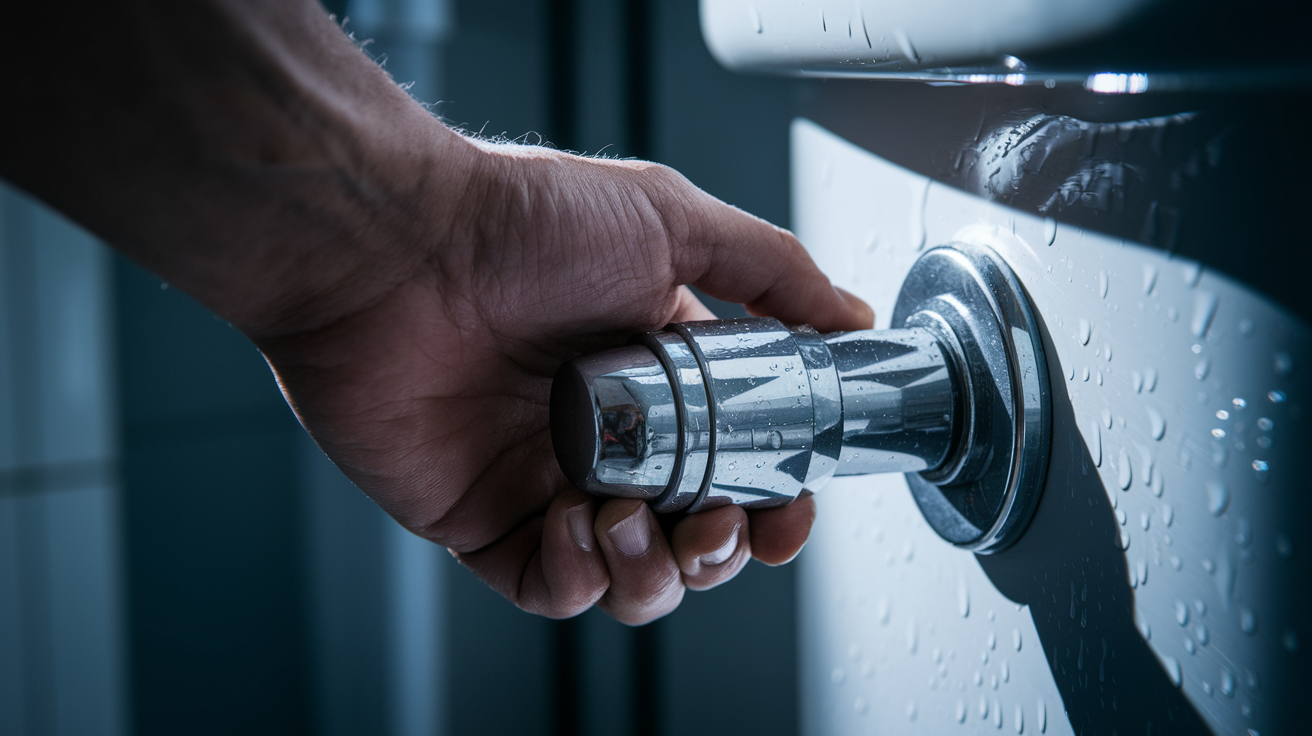
Find the shutoff valve behind your toilet near the floor. It’s usually an oval knob or a small lever. Turn it clockwise until it stops completely. The water should quit flowing right away.
No shutoff valve back there? Head to your basement or wherever your water heater sits. Locate the main water supply shutoff and turn it clockwise until it’s closed. This cuts water to your whole house, but it stops the waste and prevents overflow.
Once the water’s off, flush the toilet one time. This empties the tank and silences that running sound. Leave it empty while you figure out what’s next.
Here’s what’s actually going on inside that tank. The fill valve should close automatically when water hits the right level. When it doesn’t, water keeps flowing in and typically spills over into the overflow tube, that tall pipe in the tank’s center. The water drains continuously into the bowl, and the fill valve keeps trying to replace it. It’s a cycle that wastes water and bumps up your utility bills.
The usual suspects: the float mechanism gets stuck and can’t signal the valve to shut off, debris or hard water minerals gum up the valve’s internals, a rubber seal or diaphragm inside wears out and won’t seal tight anymore, the float sits too high and never triggers shutoff, or your home’s water pressure is too strong and forces the valve to stay open. These emergency steps buy you time. But you’ll need to diagnose and fix the root cause to actually solve it.
Float Adjustment Methods to Stop Continuous Filling
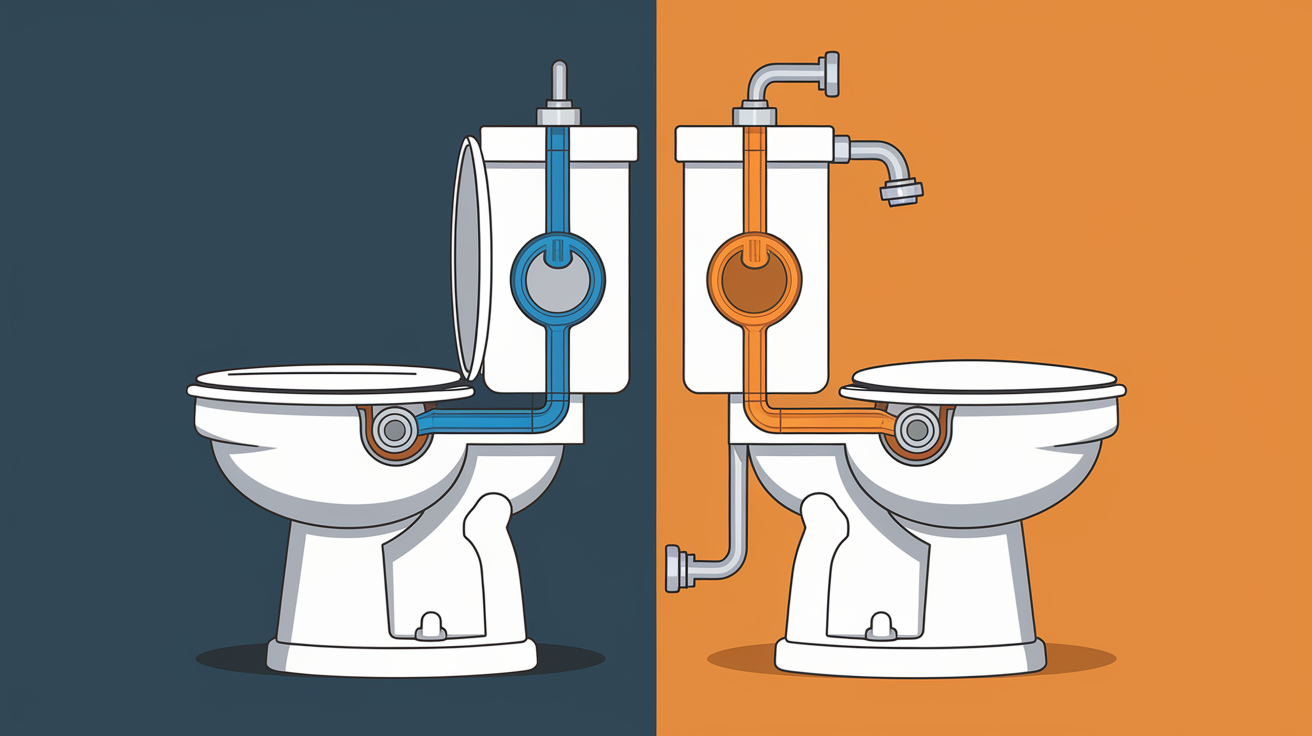
Your toilet has one of two float systems. Older models use a float ball, a hollow ball on a metal or plastic arm that swings up as water rises. Modern toilets typically have a float cup, a cylinder that slides up and down the fill valve shaft. Knowing which type you’ve got determines how you adjust it.
Adjusting Float Ball Systems
Find where the float arm connects to the fill valve. If your model has an adjustment screw at that connection point, turn it counterclockwise. This lowers the arm and the ball with it.
No screw? You can carefully bend the float arm downward. Use both hands and apply gentle, steady pressure. Bend it just slightly, maybe a quarter inch at first.
Turn the water back on and watch the tank fill. You want the water to stop about one inch below the top of the overflow tube. Still too high? Repeat the adjustment in small steps. Test after each change.
Adjusting Float Cup Systems
Look at the fill valve shaft where the float cup surrounds it. You’ll see either a clip on the side of the cup or an adjustment screw on top of the fill valve.
For a clip system, pinch or squeeze the clip and slide the entire float cup downward about half an inch. Release the clip to lock it.
For a screw system, turn the screw on top counterclockwise. This drops the cup’s position on the shaft.
Turn the water supply back on. Watch the fill cycle and check where the water stops. Adjust again if needed until the level sits right.
Find the overflow tube, that vertical pipe in your tank’s center. Most have a mark or line showing the critical water level. Your water should stop filling when it reaches about one inch below the tube’s top edge. This gives you a safety margin.
If you’ve adjusted the float properly and the toilet still runs, the valve itself has internal problems. Debris might be blocking it, or the seal inside has worn out. Adjustment only works when the valve mechanism itself is functional.
Comprehensive Diagnosis: Identifying the Exact Problem
Before you start replacing parts or taking things apart, figure out exactly what’s wrong. The right diagnosis saves you from buying parts you don’t need and fixes the problem faster.
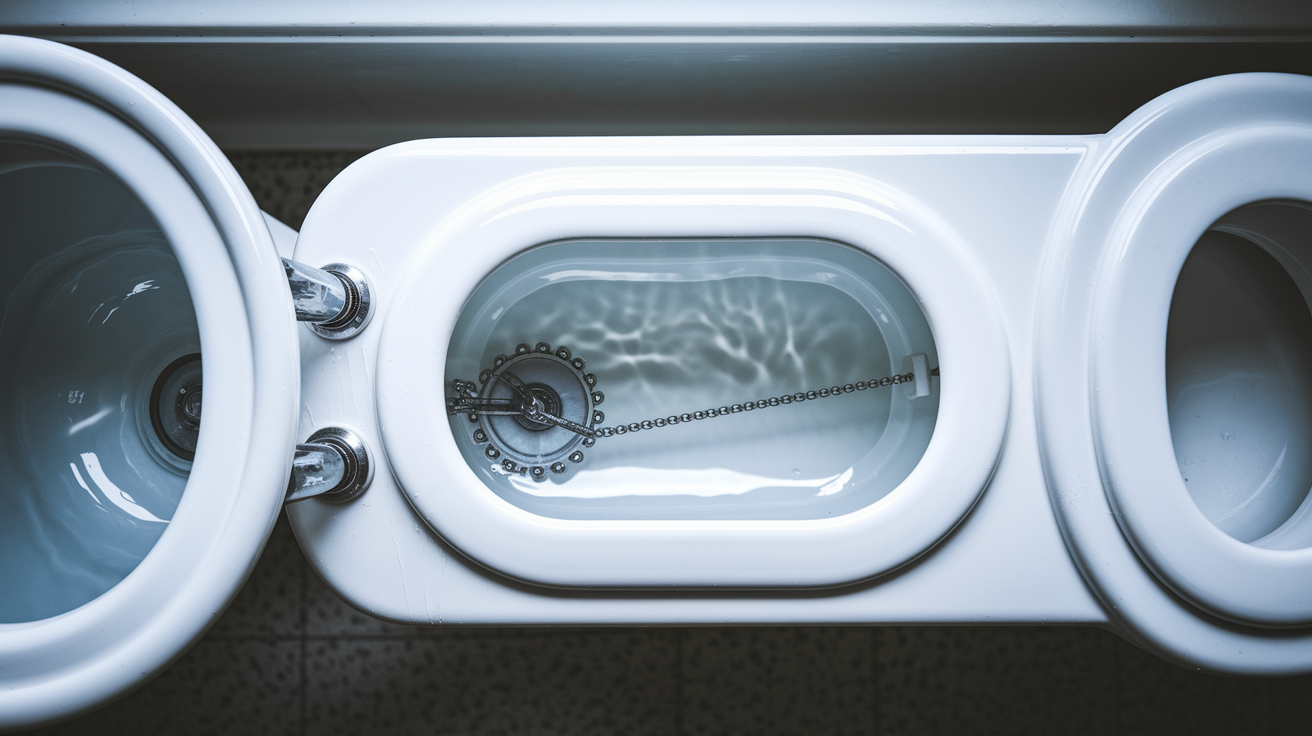
Remove the tank lid and set it somewhere safe. On a folded towel on the floor works well. Porcelain breaks easily, so give it padding. Watch the water level during a complete fill cycle starting from empty. Notice when the water flow begins, how fast it fills, and whether it ever actually stops. Check if the water rises above the top of the overflow tube and drains into the bowl continuously. Examine the float and make sure it moves smoothly up and down without catching on anything or tilting sideways. Look closely at the fill valve body for white crusty buildup, green corrosion, or bits of debris in the openings. Listen carefully while the tank fills. Is there a hissing sound coming from the valve itself, or from somewhere else? Try lifting the float all the way up manually with your hand and see if the water flow stops immediately. Watch how quickly the tank fills. If it’s rushing in fast and seems forceful, your water pressure might be too high. Make sure the small refill tube that clips into the overflow tube is positioned correctly and not creating a siphon. Look for any cracks or damage along the overflow tube, especially near the bottom where it connects to the flush valve.
Now connect what you observed to the actual problem. If you lifted the float and the water immediately stopped flowing, the valve mechanism itself works fine. Your issue is either float positioning or a waterlogged float that’s too heavy to rise properly. If water continuously spills over the overflow tube, the float is definitely set too high or has lost buoyancy by taking on water inside. If you hear hissing from the valve and it continues even after the float rises fully, the internal rubber seal or diaphragm is worn out and lets water squeeze past. When you see white mineral deposits or visible dirt around the valve openings, a thorough cleaning might fix it without needing a new valve. If the water rushes in with unusual force and fills the tank very quickly, your household water pressure probably exceeds 80 PSI and could be forcing the valve to stay open even when it’s trying to close.
Sometimes the diagnosis gets trickier. If all your basic checks look normal but the toilet still runs on and off randomly, you might be dealing with a cracked overflow tube that’s hard to spot, a faulty anti-siphon device built into the fill valve that’s creating back pressure, or problems with the flush valve seal at the bottom of the tank that let water leak into the bowl and trigger the fill valve to keep refilling. When the toilet keeps running even after you’ve adjusted the float and cleaned everything you can see, the valve’s internal components have failed. That typically means either a complete disassembly for deep cleaning or just replacing the whole valve. And replacement is usually easier. Watch for warning signs that point to problems beyond just the fill valve: water pooling on the floor around the toilet base, strange gurgling or bubbling sounds when you flush, noticeable changes in how strongly the toilet flushes, or visible hairline cracks in the porcelain tank.
After your diagnosis, you’ll hit a decision point. Simple adjustments and cleaning work for minor issues. Stuck floats, surface debris, incorrect settings. Component replacement is needed when parts are actually worn out, damaged, or too corroded to function properly. And for complex problems or hidden damage you can’t easily see or access, professional assessment becomes the practical choice.
Cleaning Debris and Mineral Buildup From Your Fill Valve
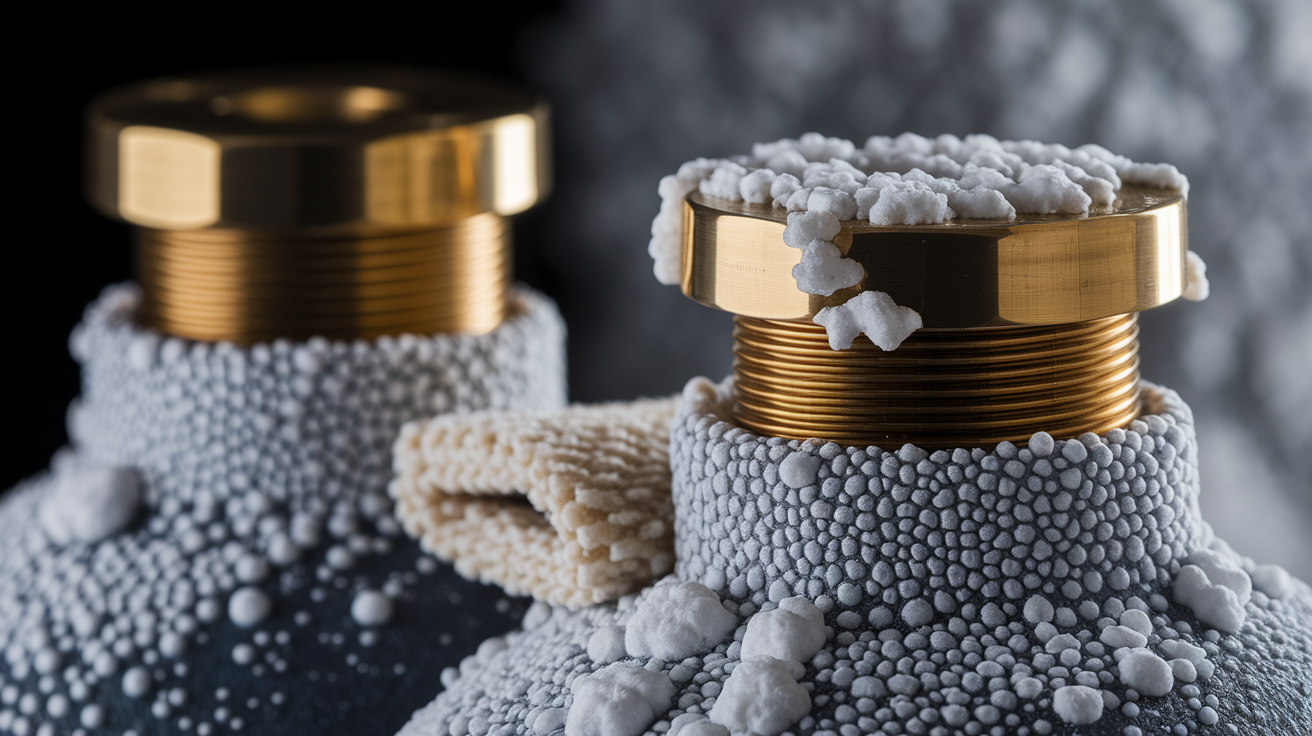
Hard water leaves calcium and mineral deposits inside your fill valve over time. Sediment from your pipes settles into the small openings. Eventually, these buildups gum up the moving parts and prevent the valve from closing properly.
Turn off the water supply at the shutoff valve and flush the toilet to empty the tank. Remove the fill valve cap. Most twist counterclockwise, but some models have clips you squeeze to release. Set the cap aside carefully.
Hold a paper cup or small container upside down over the open valve body. This catches the spray. Turn the water supply back on for just a couple of seconds. The sudden water pressure flushes debris out of the valve. Turn the water back off immediately.
Look at the rubber seal and diaphragm you can now see inside the valve. Check for white crusty deposits or deterioration of the rubber itself. Take a cloth, soak it thoroughly in white vinegar, and use it to wipe down all the valve components you can reach. The vinegar dissolves calcium buildup naturally. Let it sit for a few minutes if the deposits are thick.
Rinse everything with clean water. You can use a small cup to pour water over the parts, making sure all the vinegar and loosened debris wash away. Reassemble the valve cap carefully. Line it up correctly before twisting or clipping it back into place.
Turn the water back on and watch the complete fill cycle. The valve should operate smoothly and shut off cleanly at the proper water level.
Regular cleaning prevents problems before they start. If you have hard water in your area, consider installing a whole house water softener. It protects your fill valve along with your other fixtures and appliances. Even with softened water, plan to clean your fill valve once a year as basic maintenance. This simple step can extend the valve’s working life well beyond the typical 5 to 7 years. But be realistic. If you see significant corrosion, if the rubber components feel stiff and cracked, or if cleaning doesn’t restore proper operation, the valve is done. At that point, replacement makes more sense than trying to nurse a failing part along.
When and How to Replace a Faulty Fill Valve
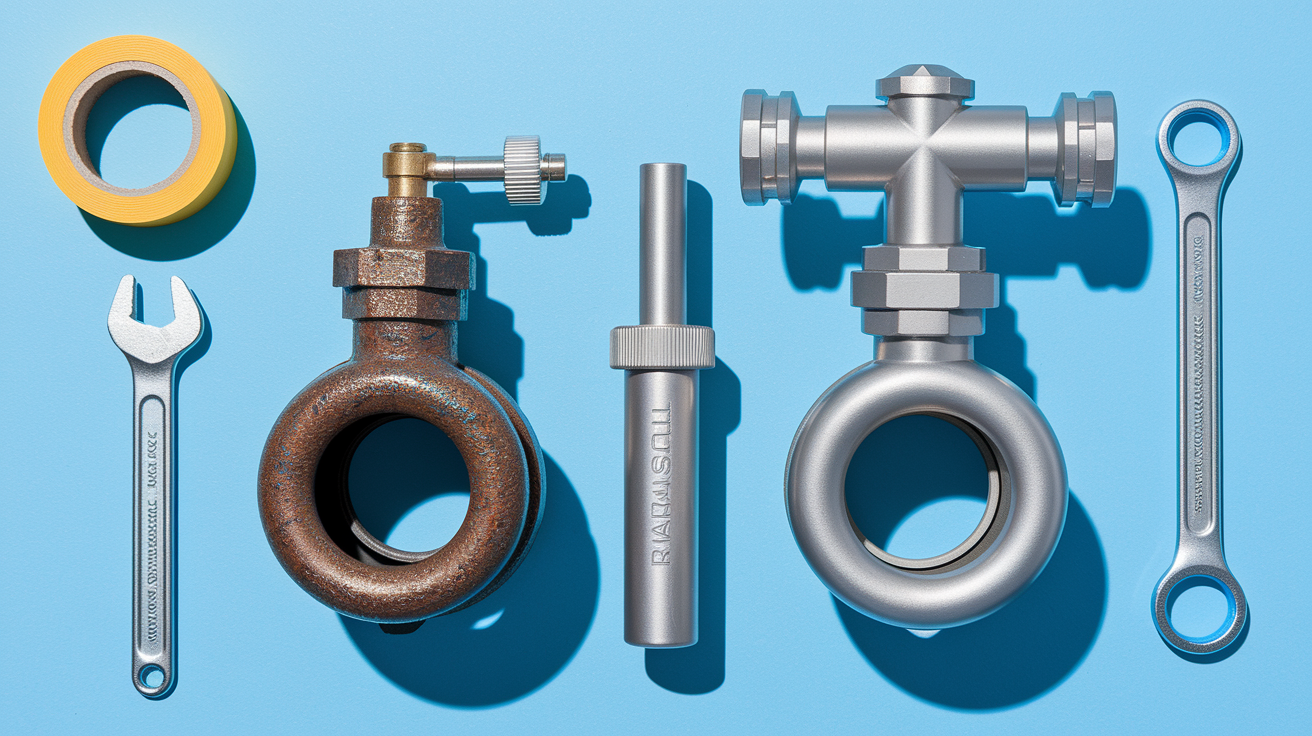
Some problems don’t respond to adjustment or cleaning. Here’s when you know it’s time for a new valve. If your fill valve is over 5 to 7 years old, it’s lived a full life. Rubber seals degrade with age even when they look fine. Visible cracks in the plastic valve body, green corrosion on metal parts, or rust stains around the base all mean the valve’s integrity is compromised. If you’ve already tried adjusting the float and cleaning out debris but the toilet still runs, the internal components are worn beyond repair. Persistent leaking right where the valve connects at the tank bottom indicates gasket failure or thread damage.
Selecting the right replacement is straightforward. Universal fill valves, brands like Fluidmaster 400A or Korky QuietFill, fit the vast majority of toilets made in the last 40 years. Before you head to the store, measure from the bottom of your tank to the overflow tube top. Standard valves adjust from about 9 to 14 inches, but some tanks need shorter or taller models. When you’re at the hardware store, you’ll see both fixed height and adjustable height options. Adjustable costs a couple dollars more but works in more situations.
Here’s what you need to have ready:
- Adjustable wrench or channel lock pliers
- New fill valve assembly
- Bucket and several old towels
- Plumber’s tape for sealing threads
- Replacement supply line if the current one shows corrosion or cracks
Now for the cost reality. A good quality replacement fill valve kit runs $8 to $25 at any hardware store. Fluidmaster and Korky are reliable names in that price range. The decision between repair and replace depends on the valve’s age and how bad the problem is. If the valve is relatively new and you just have debris issues, cleaning makes sense. But if it’s old or if you’ve already tried fixes that didn’t work, don’t waste time on temporary patches. A new valve will function reliably for another 5 to 7 years with basic maintenance. Doing the replacement yourself saves you the $150 to $250 most plumbers charge for this straightforward job. The work itself is simple enough for most homeowners. No special skills required, just patience and the ability to follow steps carefully.
Complete Fill Valve Replacement Instructions
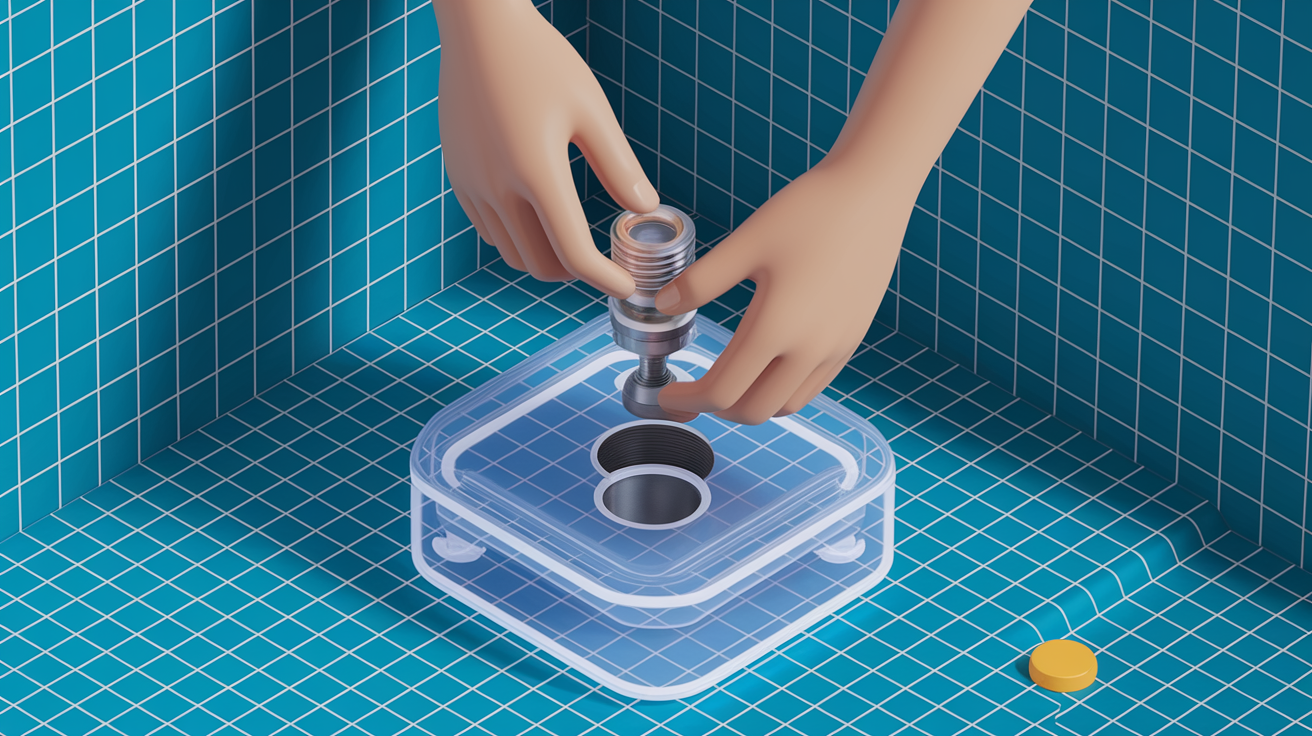
Set aside about 15 to 30 minutes. That’s typically enough time for this job when you’re working at a comfortable pace.
Turn the shutoff valve behind the toilet clockwise until it’s completely tight. The water flow should stop immediately. Flush the toilet and hold the handle down to drain as much water as possible from the tank. Use a large sponge or old towel to soak up the remaining water in the bottom of the tank. You want it as empty as you can get it.
Place a bucket directly under the point where the water supply line connects to the bottom of the tank. Use an adjustable wrench to grip the coupling nut on the supply line and turn it counterclockwise to disconnect it. Water will drip out. That’s what the bucket’s for.
Look underneath the tank and find the large plastic lock nut that holds the fill valve in place. It’s threaded onto the valve stem that comes through the tank bottom. Turn this nut counterclockwise. Most are plastic and can be loosened by hand, though you might need channel lock pliers if it’s been there a while.
Once the lock nut is off, lift the old fill valve straight up and out through the top of the tank. It should come free easily.
Take your new fill valve and extend or adjust it to the proper height for your tank. Follow the manufacturer’s instructions on the package. Make sure the rubber gasket is positioned correctly on the valve stem. Insert the new valve down through the hole in the tank bottom.
From underneath the tank, thread the lock nut onto the valve stem. Hand tighten it firmly, turning clockwise. You want it snug but not so tight that you crack the porcelain. Use reasonable hand pressure, not tools unless the instructions say to.
Reconnect the water supply line to the threads on the new fill valve. Hand tighten the coupling nut first, then use your wrench to snug it up about a quarter turn more.
Slowly turn the water supply back on. Watch carefully while the tank fills. Check the connections at the supply line and under the tank for any drips or leaks. If you see water, tighten those connections a bit more.
| Step | Key Point | Common Mistake |
|---|---|---|
| Water Shutoff | Turn valve completely off, no half turns | Leaving valve partially open leads to continued dripping during repair |
| Supply Line Disconnection | Place bucket before loosening, water will come out | Forgetting bucket creates floor mess and potential water damage |
| Gasket Positioning | Rubber gasket must sit flat against tank bottom | Twisted or misaligned gasket causes leaks at valve base |
| Lock Nut Tightening | Firm hand tight is enough, don’t force it with tools | Over tightening cracks porcelain; under tightening allows leaks |
| Leak Checking | Watch connections for full fill cycle before considering job done | Assuming no leaks without testing leads to water damage later |
Fixing Related Components That Cause Running Toilets
Fill valve problems don’t always happen alone. Several other tank components can cause running water that looks and sounds identical to a fill valve issue. Check these systematically.
Flapper Problems and Chain Adjustments
The flapper is the rubber seal at the tank bottom that lifts when you flush. Inspect it closely for cracks, tears, or areas where the rubber feels stiff instead of flexible. A flapper that’s deteriorated won’t seal properly. Water leaks into the bowl constantly, and the fill valve keeps refilling the tank to replace it.
Look at the chain that connects your flush handle to the flapper. It needs about half an inch of slack when the flapper is closed. If the chain is too tight, it holds the flapper slightly open even when you’re not flushing. If it’s too long and gets tangled under the flapper, that also prevents a good seal. Adjust the chain length at the clip where it connects to the flush handle. Just move the clip to a different chain link.
Flappers are inexpensive, usually $4 to $8. If yours looks worn or if adjusting the chain doesn’t help, replace it.
Flush Valve Seal Issues
The flush valve is the plastic assembly at the tank bottom where the flapper sits. The sealing surface, where the flapper makes contact, needs to be completely smooth. Run your finger around this surface. If you feel chips, cracks, or rough areas from mineral buildup, the flapper can’t create a watertight seal no matter how new it is.
Clean the flush valve seat thoroughly with a scrubbing pad and white vinegar to remove mineral deposits. If the plastic itself is damaged or eroded, you’ll need to replace the entire flush valve assembly. That’s a bigger job than just swapping a flapper.
For detailed guidance on seal issues and related leaks, see How to Fix a Leaking Toilet Tank.
Refill Tube Position
Find the small flexible tube that clips into the top of the overflow tube. This refill tube is supposed to direct a small stream of water into the bowl during tank refilling. Make sure it’s properly clipped in place and positioned so water flows into the overflow tube, not outside it.
If this tube isn’t secured correctly, it can create a siphon effect that continuously pulls water out of the tank. Position it so the end sits about an inch inside the overflow tube top. Not too deep, not hanging loose.
Start with the fill valve when diagnosing a running toilet. It’s the most common culprit. But if adjusting or replacing the valve doesn’t solve it, move to the flapper and chain next. Then check the flush valve seat and refill tube positioning. Working through these components systematically prevents you from replacing parts that aren’t actually broken.
Cost Analysis: Repair vs. Professional Replacement
Understanding the real costs helps you make a practical decision about handling this yourself or calling a plumber.
| Repair Scenario | DIY Cost | Time Required | Professional Cost |
|---|---|---|---|
| Basic adjustment (float or chain) | Free | 10 minutes | $100 to $150 service call |
| Valve cleaning | $0 to $5 for supplies | 20 minutes | $125 to $175 |
| Fill valve replacement | $8 to $25 parts | 30 minutes | $150 to $250 |
| Multiple component replacement | $25 to $50 parts | 45 to 60 minutes | $200 to $350 |
| Complex diagnosis needed | Minimal | Varies | $150 to $200 diagnostic plus repair |
| Emergency after hours service | Parts only | Not applicable | $300 to $500 |
DIY makes sense in several situations. If you’ve identified a straightforward problem, like a single fill valve that needs replacing, the savings are significant. When you have the basic tools (or can borrow them), the only expense is the replacement part. If you’ve got an afternoon available and don’t mind taking your time to get it right, the job is manageable. And if you’re reasonably confident following written instructions and watching a fill cycle or two, you’ll likely succeed on the first try.
Professional service justifies the cost in other scenarios. If you’ve already attempted a DIY fix and it didn’t solve the problem, something more complex is going on that needs trained diagnosis. When you’re dealing with other plumbing issues at the same time (slow drains, odd noises, water pressure problems), it’s worth having a plumber assess everything together. If you don’t own the tools and would need to buy them, the cost difference shrinks. When time is tight and you need the toilet working today, paying for immediate professional service beats the frustration of incomplete DIY attempts. For older toilets where hidden problems might exist (corroded pipes, unusual valve configurations, discontinued parts), professional experience prevents throwing money at parts that won’t solve the underlying issue. And if you want warranty coverage on both the parts and the labor, professional installation typically includes that protection.
Tools and Materials Needed for Fill Valve Repair
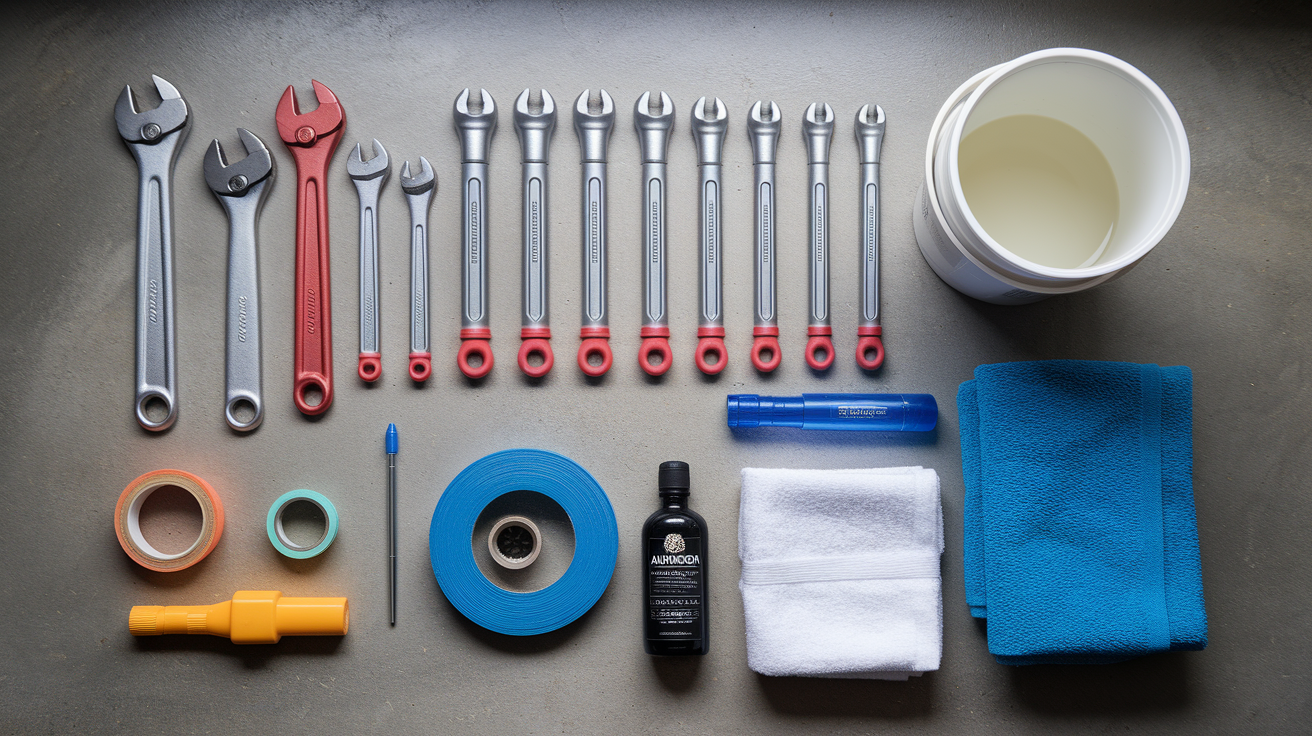
Get everything together before you start. It makes the job go smoothly.
You’ll need these tools:
- Adjustable wrench (10 inch or 12 inch works for most toilets)
- Flathead screwdriver for turning adjustment screws
- Channel lock pliers for stubborn connections that won’t budge
- Bucket for catching water when you disconnect lines
- Old towels or a large sponge for cleanup
- Flashlight for seeing into the tank clearly
- Replacement fill valve kit
- Plumber’s tape for sealing threads on connections
These items aren’t required but they help:
- Rubber gloves if you prefer not to put bare hands in tank water
- White vinegar for cleaning mineral deposits
- Small wire brush for scrubbing debris from valve openings
- Your phone camera to take before photos of how everything connects
- The manufacturer’s instruction sheet that comes with the new valve (read it before starting)
Buy your replacement valve from a reputable hardware store or plumbing supply shop. The staff can usually help you pick the right model if you’re unsure. Keep your receipt in case the part doesn’t fit or you need to return it for a different size. Stick with recognized brands. Fluidmaster and Korky are the two most common, and they both make reliable products. The advantage of popular brands is that replacement parts and repair kits are widely available if you ever need them down the road.
Preventing Future Fill Valve Problems
Taking care of your fill valve before problems start extends its life and prevents the annoyance of a constantly running toilet.
Inspect the tank internals whenever you’re cleaning the bathroom. Just lift the lid and take a quick look. Obvious problems are easier to fix when you catch them early. Perform a thorough valve cleaning once a year to remove any mineral deposits before they cause sticking. Every three months, test your fill valve by listening carefully after someone flushes. You should hear the water fill, then complete silence when it shuts off. If you have hard water that leaves white buildup on faucets and fixtures, either install a water softener or use descaling products regularly. Plan to replace your fill valve proactively every 5 to 7 years even if it’s still working. Wear happens gradually, and this prevents unexpected failures. If your toilet fills unusually fast or with a lot of force, check your household water pressure with a gauge. Pressure consistently above 80 PSI is too high and can force valves open. Watch your monthly water bill for unexpected increases that might indicate a slow leak you haven’t noticed yet.
For a complete approach to preventive care beyond just the fill valve, see Professional Plumbing Maintenance Services.
A toilet that runs constantly wastes more than 200 gallons per day. Over a year, that’s 73,000 gallons you’re paying for that goes straight down the drain without being used. At typical water rates, a running toilet can cost you $500 or more annually in wasted water charges. Beyond your budget, there’s the environmental impact. Unnecessary strain on water treatment systems and natural water resources during a time when many regions face water scarcity. Proper maintenance protects both your wallet and the broader community’s water supply.
Learn to recognize early warning signs before your toilet runs constantly. A subtle hissing sound that comes and goes means the valve is starting to stick occasionally. Slight fluctuations in water level when you check the tank at different times suggest the valve isn’t closing consistently. The toilet cycling on briefly without anyone flushing it means water is leaking somewhere slowly and the valve is compensating. Minor changes in how strongly the toilet flushes can indicate valve problems affecting tank filling. These small signs are your opportunity to adjust, clean, or replace components before you’re dealing with a toilet that runs nonstop.
When to Call a Professional Plumber
Even with good instructions, some situations need professional expertise rather than DIY attempts.
Call a plumber if you’ve replaced the flapper and adjusted or replaced the fill valve but the toilet still runs. Something else is wrong that requires diagnostic experience to identify. When you see visible cracks in the porcelain tank, stop working immediately. Cracked tanks can fail suddenly and flood your bathroom. If water pools around the toilet base, the problem isn’t just the fill valve. You likely have a tank or bowl leak, a damaged wax ring, or floor flange issues. Multiple toilets in your home running or acting up simultaneously points to a whole system problem like water pressure irregularities or supply line contamination. Corrosion or damage where the supply line connects to the wall or the toilet means those connections need professional assessment for safety. If the toilet physically rocks or shifts when you sit on it, the floor flange bolts are loose or the flange itself is damaged. That’s a more involved repair than most homeowners want to tackle. When you’re not comfortable locating or operating the shutoff valves, don’t risk a flooding situation. And if you’re concerned about existing water damage to your floor, subfloor, or the ceiling below the bathroom, professional assessment prevents more expensive repairs later.
Licensed plumbers bring skills and resources beyond what DIY attempts provide. They can properly diagnose complex problems that have multiple causes working together. They have access to commercial grade parts that last longer than consumer versions. Most offer warranties covering both their labor and the parts they install, typically 90 days to a year depending on the company. They spot code violations and safety issues you might miss, like improper venting or cross connections. They’re experienced with older toilets and unusual models that don’t match standard instructions. And they prevent costly water damage by getting repairs right the first time rather than through trial and error.
When you do need professional help, choose carefully. Look for licensed and insured plumbers. This protects you if something goes wrong during the repair. Ask specifically about toilet repair experience rather than just general plumbing. Toilets have their own quirks. Get a written estimate before any work begins so you know what you’re paying. Confirm they offer emergency availability if you’re dealing with a situation that can’t wait until normal business hours. And check online reviews from other homeowners who had similar toilet problems. Real customer experiences tell you how the plumber communicates, shows up on time, and stands behind their work.
Final Words
A toilet fill valve not shutting off wastes serious water and drives up your utility bill fast. But most cases come down to a stuck float, mineral buildup, or a worn valve seal—all fixable with basic tools and a little patience.
Start with the shutoff valve. Adjust the float height. Clean out debris if you see it. Replace the valve if adjustment and cleaning don’t stop the running.
If you’ve tried the basics and water’s still flowing, that’s when we step in. We’ll find the real cause, fix it correctly, and make sure it holds.
FAQ
Why does my toilet fill valve fail to shut off?
A toilet fill valve fails to shut off when the internal mechanism can’t close properly after the tank reaches the correct water level. This happens most often because of a stuck float preventing valve closure, debris or mineral buildup blocking internal components, a worn rubber seal or diaphragm inside the valve, incorrect float height settings, or excessive water pressure forcing the valve to stay open. The water keeps flowing and usually drains into the overflow tube, which wastes water and drives up your utility bill.
How can I fix a toilet fill valve that keeps running?
You can fix a toilet fill valve that keeps running by first adjusting the float to lower the water level. For float ball systems, bend the arm downward slightly or turn the adjustment screw counterclockwise. For float cup systems, pinch the adjustment clip or turn the screw to slide the cup downward on the valve shaft. The water level should sit about 1 inch below the overflow tube top. If adjustment doesn’t stop the running, clean debris from the valve or replace it completely.
Why does my toilet keep filling even with the shutoff valve closed?
Your toilet keeps filling even with the shutoff valve closed because the shutoff valve itself is worn out or has mineral buildup preventing complete closure. The internal washer or seal has deteriorated over time, allowing water to pass through even when turned to the off position. You’ll need to replace the shutoff valve or temporarily shut off the main water supply to your home to stop the flow completely until you can repair or replace the faulty valve.
Why does my shutoff valve continue letting water through when closed?
Your shutoff valve continues letting water through when closed because the internal components have worn out from age or mineral deposits have built up inside the valve body. The rubber washer that creates the seal has hardened or cracked, or sediment is preventing the valve stem from seating properly. Shutoff valves typically last 10-15 years, and yours likely needs replacement rather than repair to restore proper shutoff function.