
That hissing sound from your toilet isn’t just annoying. It’s a 24/7 water leak that can waste 200 gallons a day and spike your bill by $50 or more each month. The noise is your fill valve struggling to shut off completely, usually because of mineral buildup, a worn seal, or a leaking flapper forcing it to run nonstop. Most of these problems take 30 minutes and basic tools to fix yourself. We’ll walk you through the quick checks that pinpoint the real cause, the simple cleaning steps that work, and when it makes more sense to replace the valve instead of patching it again.
Quick Diagnosis: Identifying Your Hissing Toilet Problem
A hissing toilet means water’s flowing somewhere it shouldn’t. That continuous trickle wastes water 24/7 and drives up your bills. The good news? Most hissing problems come from just a handful of causes, and you can figure out which one in about 10 minutes.
Immediate diagnostic checks to perform:
-
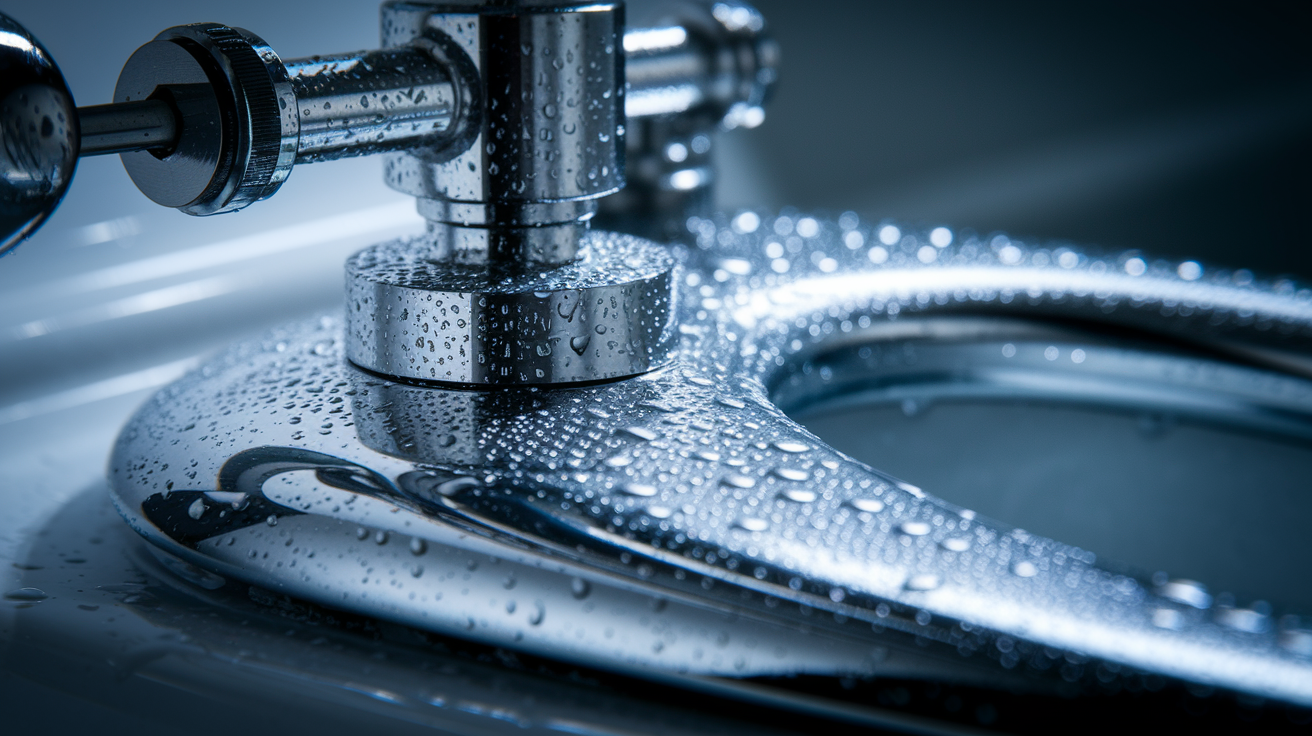
Visual inspection of fill valve assembly and float position. Lift the tank lid and look at the tall tower mechanism (that’s your fill valve). Check for corrosion, mineral buildup, or debris stuck anywhere. Make sure the float cup isn’t jammed or sitting too high.
-
Listen carefully to locate exact hissing source. Get your ear close to the tank. Is the hissing coming from the top of the fill valve, down at the bottom of the tank where the flapper sits, or at one of the connection points? Pinpointing the sound helps narrow down the cause fast.
-
Flapper valve examination. Watch the tank while it refills after a flush. The flapper is the rubber seal at the tank bottom. Does it settle flat and seal tight, or does it wobble or stay slightly lifted? Check for slime buildup on the flapper or the seat it closes against.
-
Dye test procedure. Add a few drops of food coloring to the tank water. Wait 15 to 20 minutes without flushing. If color shows up in the bowl, your flapper isn’t sealing and the fill valve keeps running to replace the leaking water.
-
Water pressure assessment. Turn the shut-off valve all the way on and watch how fast the tank refills. Does water spray hard into the tank or overflow the top of the fill valve? That’s a sign of excessive pressure forcing the valve to stay partially open.
Most common causes discovered through diagnosis:
Faulty or worn fill valve components get you most of the time. The internal washers and rubber seals break down over time. When they get brittle or cracked, they can’t seal properly, so water keeps trickling through.
Debris and mineral deposits blocking proper valve seal cause problems too. Hard water leaves calcium and sediment inside the valve. Even a tiny grain of sand can prevent a tight seal. This is especially common if you live in an area with mineral heavy water.
A leaking flapper valve causing continuous tank refilling happens all the time. The rubber gets slimy, warped, or worn. Sometimes the flapper just sits crooked. Either way, water leaks from the tank into the bowl, and the fill valve hisses as it tries to keep up.
High water pressure preventing proper valve closure matters more than most people think. If your home pressure runs above 60 psi, the fill valve struggles to shut off completely. The force keeps pushing water through even when the valve tries to close.
Float adjusted too high causing overflow into overflow tube is another frequent culprit. When the float sits too high, the tank overfills. Excess water spills into the overflow tube (the hollow tube in the center), and the fill valve keeps running to replace it.
Most of these causes connect to each other. A leaking flapper forces the fill valve to run constantly, which wears out the valve faster. High pressure damages both the valve and the flapper. Getting the diagnosis right means you replace only what’s actually broken, not every part in the tank.
Most of what you’ll find has a straightforward fix you can handle yourself. The key is acting quickly. A hissing toilet wastes 200 gallons or more per day. That’s money down the drain and unnecessary strain on parts that are still working fine.
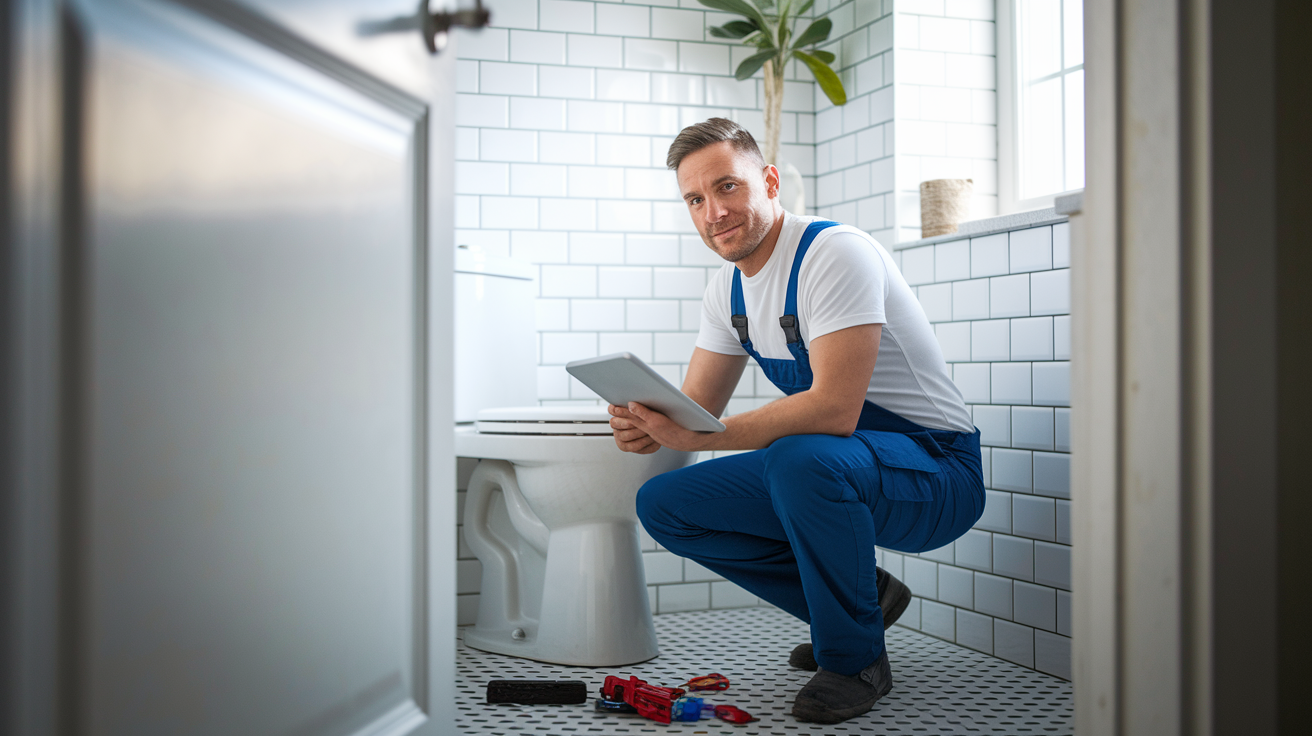
Step by Step Fix for a Hissing Fill Valve
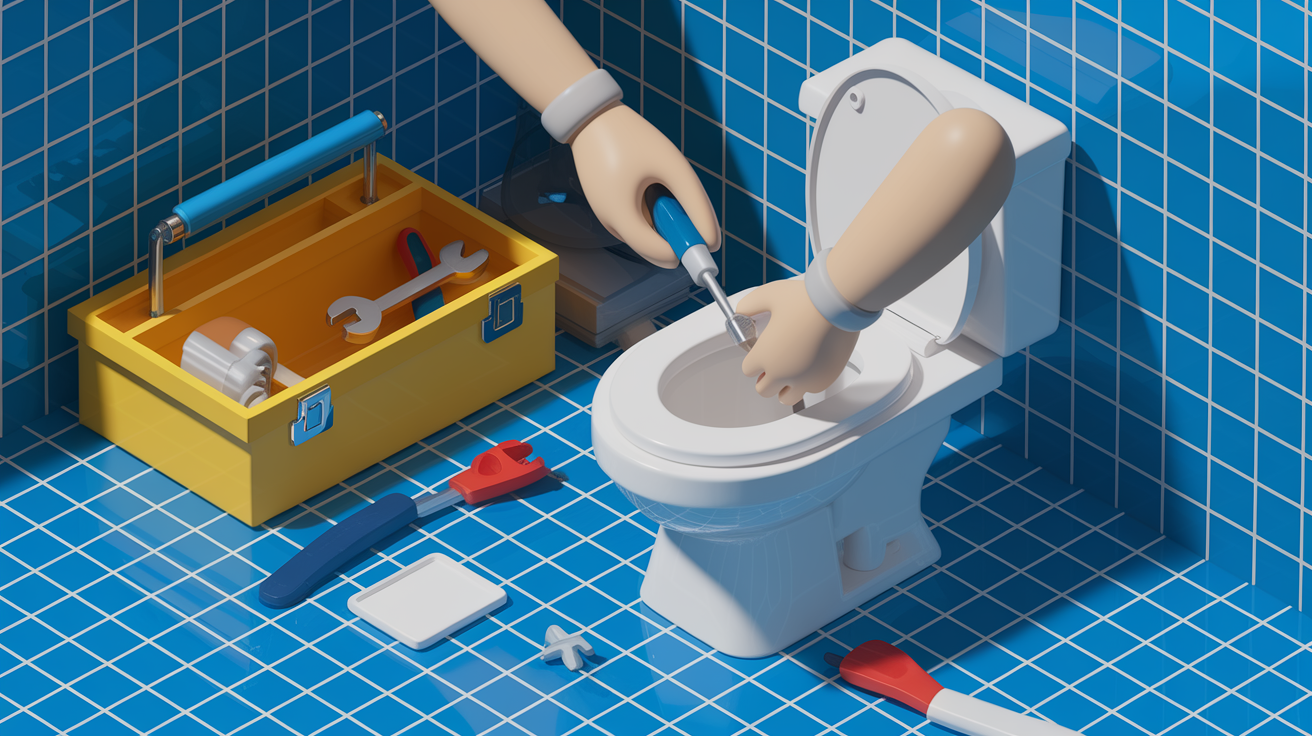
Grab an adjustable wrench, a sponge, a bucket, some towels, white vinegar, and an old toothbrush. Before you touch anything inside the tank, turn off the water supply at the shut-off valve on the wall behind the toilet. Skip this step and you’ll have a wet floor.
Complete repair process:
-
Turn off the shut-off valve and flush to drain tank. Twist the valve clockwise until it stops. Hold the flush lever down to empty as much water as possible. Use the sponge to soak up what’s left.
-
Remove tank lid and inspect fill valve assembly for visible damage. Set the lid somewhere safe where it won’t fall. Look at the fill valve for cracks, heavy corrosion, or parts that look warped or broken.
-
Check and adjust float cup height. The float cup slides up and down the fill valve shaft. It should sit about 1 inch below the top of the overflow tube when the tank is full. If it’s too high, pinch the clip and slide it down.
-
Inspect and clean or replace flapper valve. Unhook the flapper from the chain and lift it off the pegs. Feel the rubber. If it’s slimy, stiff, or torn, replace it. If it just has buildup, scrub it with the toothbrush. Check the chain length. It should have about a half inch of slack when the flapper is closed.
-
For mineral deposits and debris, remove fill valve cap and soak components in white vinegar for 15 to 20 minutes to dissolve calcium buildup. Most fill valves have a cap that twists or unclips at the top. Take it off carefully. Inside you’ll see a small seal or diaphragm. Put the cap, seal, and any small parts into a bowl of white vinegar. Let them sit while the acid eats through the mineral crust.
-
Scrub valve components and diaphragm seal with toothbrush to remove stubborn deposits. After soaking, use the toothbrush to scrub every surface. Pay attention to the rubber diaphragm. If you see cracks or tears, you’ll need a new fill valve. If it’s just crusty, keep scrubbing.
-
Rinse all components thoroughly with clean water and inspect diaphragm seal for damage. Hold each part under the faucet. Make sure no vinegar residue or loose debris remains. Look closely at the seal. Any damage means it won’t seal tight.
-
Clean debris from fill valve opening and overflow tube connection. Wipe out the valve body where the cap sits. Check the small refill tube that clips onto the overflow tube. Make sure nothing is blocking the connection.
-
Check refill tube connection to overflow tube. The little flexible tube must stay clipped or positioned so it directs water into the overflow tube. If it’s loose or disconnected, reattach it. This tube refills the bowl after each flush.
-
Turn water back on slowly and observe initial fill cycle. Open the shut-off valve gradually. Watch the tank fill. Listen for any hissing. The water should rise smoothly, then stop completely when it reaches the fill line.
After the tank fills, wait 10 to 15 minutes. Listen carefully during that time. No hissing means the repair worked. Check that the water level stays steady at the fill line without rising or falling.
Flush once and watch the entire cycle from flush to refill to shut-off. Everything should run quietly and stop cleanly. If you still hear faint hissing, you might’ve missed some debris or the float needs another small adjustment. If the hissing is just as loud as before, the internal valve seal is likely damaged and you’ll need to replace the whole fill valve.
When Fill Valve Replacement Becomes Necessary
A typical fill valve lasts 5 to 7 years under normal conditions. After that, seals dry out, plastic weakens, and internal parts wear down. You can clean and adjust an aging valve, but eventually you’re spending more time on repeated repairs than the valve is worth. Replacement makes sense when the cost of your time and frustration outweighs the price of a new part.
Modern fill valves have come a long way. Newer designs use quieter operation technology like QuietFILL, which reduces the sound of water entering the tank. Some valves are built from materials that are twice as strong as standard models, and many come with 10 year warranties. When you’re replacing a valve that’s already failed once or twice, upgrading to a better quality part can save you from doing this job again in two years.
Signs that indicate replacement rather than repair:
Persistent hissing after cleaning and adjustment attempts tells you the valve’s internal seal is shot. If you’ve scrubbed out the mineral buildup, adjusted the float, and replaced the flapper, but the hissing continues, you’re done trying to patch it.
Visible cracks or corrosion on valve body mean the plastic has degraded past the point of reliable function. Corrosion that you can’t fully clean off indicates the valve has been failing for a while.
Multiple component failures at once signal a valve that’s reached the end of its service life. When the float, seal, and diaphragm all show problems simultaneously, you’re looking at a complete replacement situation.
Age of current valve exceeds 7 to 10 years? Even if it’s still working okay, an old valve is living on borrowed time. Replacing it before it fails completely saves you from an emergency repair.
Repeated problems within short time periods mean it’s time to stop patching. If you’re fixing the same toilet every few months, replace the valve.
Installing a New Fill Valve in Your Toilet Tank

This is a beginner to intermediate job. If you can use a wrench and follow instructions, you can handle it. Expect to spend 30 to 45 minutes, including cleanup. You’ll need an adjustable wrench, a bucket, some towels, and the new fill valve kit.
Complete installation process:
-
Turn off water supply at shut-off valve. Twist the valve on the wall behind the toilet clockwise until it stops completely.
-
Flush toilet and sponge out remaining water from tank. Hold the lever down to empty the tank. Use the sponge and bucket to remove the last inch of water sitting at the bottom.
-
Disconnect water supply line from bottom of tank. Look under the tank where the water line connects. Use the wrench to unscrew the coupling nut. Have the bucket ready. A little water will drip out.
-
Unscrew lock nut holding old fill valve and remove. Reach under the tank and find the large plastic nut securing the fill valve. Turn it counterclockwise by hand or with the wrench. Lift the old valve straight up and out of the tank.
-
Clean tank opening where valve sits. Wipe away any gunk, mineral deposits, or old rubber gasket material from the hole at the bottom of the tank. You want a clean surface for the new gasket to seal against.
-
Insert new fill valve and hand tighten lock nut from underneath. Follow the height instructions in the new valve’s packaging. Most valves adjust by twisting or sliding a section. Set it to the correct height, then drop it into the tank opening. Reach under the tank and thread the lock nut on by hand as tight as you can get it.
-
Attach refill tube to overflow tube. The small flexible tube that comes with the new valve clips onto the top of the overflow tube. Make sure it’s secure so water flows into the tube, not onto the tank floor.
-
Reconnect water supply line. Thread the coupling nut back onto the bottom of the fill valve. Hand tighten it, then give it another quarter turn with the wrench. Don’t overtighten or you’ll crack the plastic.
-
Adjust float height according to manufacturer’s specifications. Most new valves have a clip or dial you can adjust without tools. Set it so the water will stop about 1 inch below the top of the overflow tube.
-
Turn water back on and adjust water level as needed. Open the shut-off valve slowly. Watch the tank fill. If the water rises too high or stops too low, adjust the float until the level sits right at the fill line marked inside the tank.
Let the tank fill completely, then wait for the valve to shut off. Listen for any hissing. Flush the toilet and watch the full cycle. The valve should open, let water flow smoothly into the tank, then shut off cleanly with no noise.
Check under the tank for drips at the water supply connection and around the lock nut. If you see water, tighten the connections slightly. Flush two or three more times to make sure everything works consistently. If the valve stops cleanly and quietly every time, you’re done.
Water Pressure Problems Causing Fill Valve Hissing

High water pressure doesn’t just make your showerhead spray hard. It forces water through plumbing fixtures faster than they’re designed to handle. When pressure pushes against the fill valve diaphragm with too much force, the valve can’t seal completely. Water keeps trickling through, and you hear that steady hissing sound.
The ideal pressure range for home plumbing sits between 40 and 60 psi (pounds per square inch). Below 40, you get weak flow at faucets and slow filling toilets. Above 60, you start stressing seals, valves, and connections throughout the house. Pressure above 80 psi can damage appliances, cause leaks, and shorten the life of every fixture in your home.
If your fill valve hisses even after you’ve cleaned it and replaced the flapper, pressure might be the hidden cause.
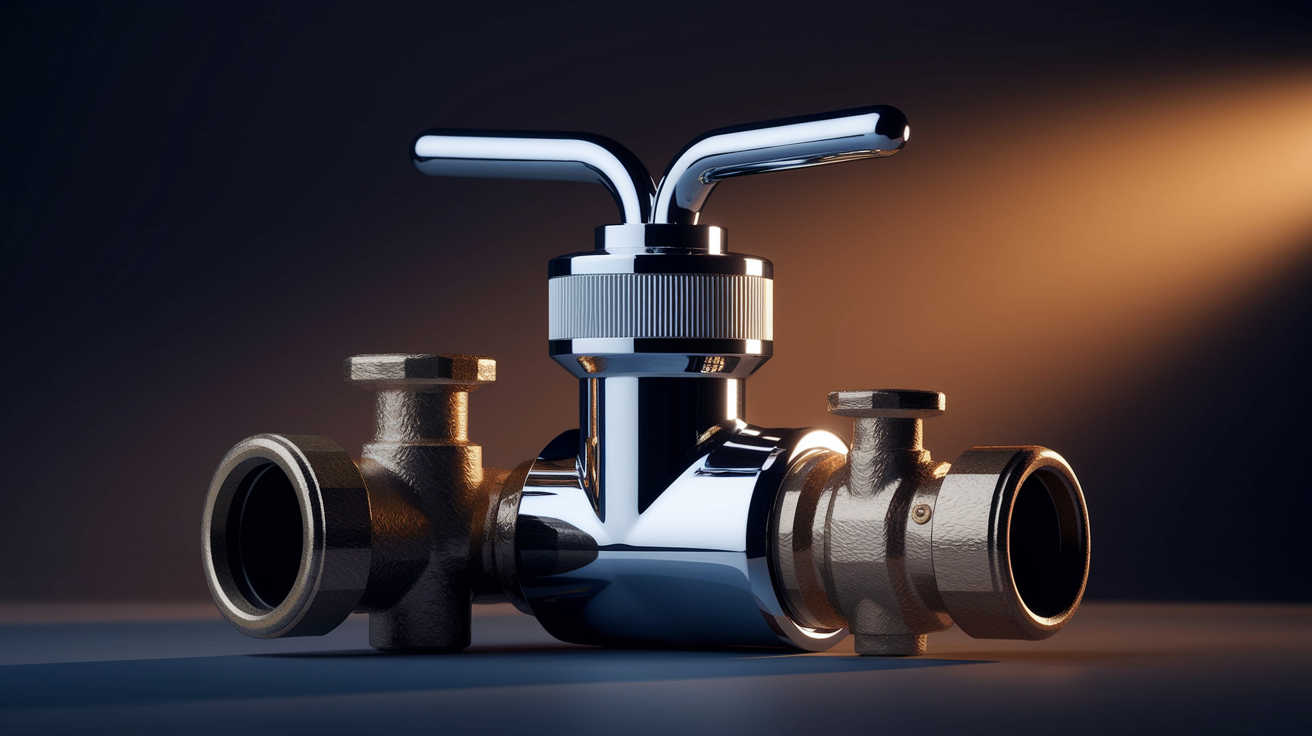
You can test your home’s water pressure with a simple gauge that screws onto any outdoor hose connection. Turn off all water use inside the house, attach the gauge, and open the valve fully. The needle will show your pressure. If it reads over 60 psi, you’ll want a pressure reducing valve installed on your main water line. This is usually a job for a plumber. The valve installs where the main line enters your house and regulates pressure to every fixture downstream.
Some homes have pressure that spikes during certain times of day when municipal supply changes. Even if your average pressure looks okay, those spikes can cause intermittent hissing. A pressure reducing valve solves that too by keeping the pressure steady no matter what’s happening at the street.
| Water Pressure Level | Effect on Fill Valve | Recommended Action |
|---|---|---|
| Under 40 psi | Slow tank refilling, weak flush, valve may not fully open | Check for main line restrictions or partially closed shut-off valve. Contact water utility if problem persists. |
| 40 to 60 psi (optimal) | Normal operation, proper valve sealing, efficient water use | No action needed. Perform regular maintenance to keep system functioning well. |
| 60 to 80 psi | Occasional hissing, increased wear on seals, faster component degradation | Consider installing pressure reducing valve, especially if hissing occurs or components fail frequently. |
| Above 80 psi | Persistent hissing, premature valve failure, potential for leaks and water hammer throughout home | Install pressure reducing valve immediately. High pressure damages all plumbing fixtures and appliances. |
Cost and Time Estimates for Hissing Toilet Repairs

What you’ll spend depends on whether you’re fixing a simple flapper or dealing with a pressure problem that affects the whole house. DIY repairs cost less in dollars but require your time and a willingness to work inside the tank.
| Repair Type | DIY Cost | DIY Time | Professional Cost |
|---|---|---|---|
| Flapper replacement | $5 to $15 | 15 to 20 minutes | $100 to $150 |
| Fill valve cleaning | $0 (vinegar and brush) | 30 to 40 minutes | $120 to $175 |
| Fill valve replacement | $15 to $35 | 30 to 45 minutes | $150 to $250 |
| Pressure valve installation | $50 to $100 (parts only, not recommended DIY) | 2 to 4 hours (requires plumbing knowledge) | $300 to $500 |
| Complete diagnosis and repair | $20 to $50 (parts as needed) | 1 to 2 hours | $200 to $350 |
DIY saves money when the problem is straightforward. Replacing a flapper yourself costs $10 and takes 20 minutes. Paying a plumber for the same job costs $100 or more, mostly for the service call. If you’re comfortable working in the tank and the diagnosis is clear, DIY makes sense.
Professional service provides value when the issue gets complex. If you’ve tried a new flapper and a new fill valve but the hissing continues, a plumber can test pressure, inspect connections you can’t easily see, and identify problems you might miss. Plumbers also guarantee their work. If the repair doesn’t hold, they come back and fix it at no extra charge. That peace of mind matters when you’ve already spent time and money on parts that didn’t solve the problem.
The hidden cost of ignoring a hissing toilet adds up fast. A steady leak wastes 200 to 300 gallons per day. At typical water rates, that’s $10 to $20 per month going straight down the drain. Let it run for six months and you’ve spent $60 to $120 on wasted water. That’s enough to cover multiple DIY repairs or a good chunk of a professional visit.
Worse, prolonged leaking can cause water damage to flooring, subfloor, or ceiling below if the leak spreads beyond the toilet. A $15 flapper now beats a $1,500 floor repair later.
Preventing Future Fill Valve Hissing Problems
Catching small issues before they become noisy leaks saves you from middle of the night discoveries and emergency repairs. A little regular attention keeps everything running quietly.
Preventive maintenance practices:
Quarterly visual inspection of tank components helps you spot trouble early. Lift the lid every few months and look around. Check for mineral buildup, corrosion, or parts that look worn. Spotting trouble early means you can fix it on your schedule.
Annual fill valve cleaning prevents buildup before it causes problems. Once a year, remove the fill valve cap and soak the components in white vinegar. Scrub away deposits before they build up enough to cause hissing. If you have hard water, do this twice a year.
Check and adjust water level twice yearly to keep things running right. Water levels can drift over time as the float shifts or sediment builds up. Make sure the water sits about 1 inch below the overflow tube top.
Replace flappers every 3 to 5 years regardless of visible wear. Rubber deteriorates even when it looks fine. Replacing the flapper on a schedule prevents surprise leaks. Flappers are cheap insurance.
Install sediment filter if home has hard water or old pipes. A whole house filter or a filter on the toilet supply line catches minerals and debris before they reach the fill valve. This is especially helpful if you’re constantly fighting calcium buildup.
Monitor water bills for unexpected increases indicating leaks. A sudden jump in your water bill often means a hidden leak. Check your toilets first. They’re the most common source of unnoticed water loss.
Listen periodically for phantom flushing or subtle noises. Phantom flushing is when the toilet refills on its own every 10 or 15 minutes. It means the flapper is leaking slowly. Catch it early before it wears out the fill valve from constant cycling.
Test flush performance and refill speed regularly. A toilet that refills slower than it used to might have sediment restricting flow. One that flushes weakly could have a partially clogged rim or a water level that’s dropped too low. Address small performance changes before they turn into bigger problems.
Using quality parts makes a difference. Not all flappers and fill valves are the same. Cheap parts wear out fast and often don’t fit as precisely. Stick with parts made by reputable manufacturers like Fluidmaster or Korky. They’re designed to meet specific standards and usually come with warranties.
Check your toilet model before buying parts. Universal parts work for most toilets, but some older or specialty toilets need specific components. Using the wrong flapper or a valve that doesn’t fit correctly leads to leaks and noise no matter how carefully you install it. A few extra dollars for the right part saves you from doing the job twice.
When to Call a Professional for Your Hissing Toilet
You can handle most hissing toilets yourself. But some situations call for someone with more tools, training, and experience. Knowing when to stop troubleshooting and pick up the phone prevents frustration and costly mistakes.
If you’ve replaced the flapper, cleaned or replaced the fill valve, and checked the water level, but the toilet still hisses, something else is going on. The problem might be in the water supply line, the shut-off valve, or the connection points you can’t easily inspect. A plumber has diagnostic tools that can measure pressure, detect leaks behind walls, and isolate issues that aren’t obvious from looking inside the tank.
Not everyone feels comfortable working with plumbing, and that’s fine. If you’re uncertain about what you’re doing, uncomfortable turning off water supplies, or worried you might break something, calling a professional is the smart move. Plumbing repairs are straightforward when you know what you’re doing, but mistakes can turn a simple fix into a bigger, more expensive problem. A plumber can knock out a fill valve replacement in 20 minutes and know for sure that everything is sealed and adjusted correctly.
Situations requiring professional plumber:
Hissing continues after fill valve and flapper replacement. You’ve covered the most common causes. Persistent hissing means the issue is deeper in the system or involves something you haven’t identified yet.
Signs of water damage need immediate attention. Stains on the ceiling below the bathroom, mold growing around the toilet base, or soft spots in the floor indicate a leak that’s been active for a while. This needs professional work to prevent structural damage.
Multiple toilets hissing simultaneously points to a system wide problem. When more than one toilet in the house develops the same problem at the same time, the cause affects all your fixtures. Likely it’s a pressure issue, not individual toilet failures.
Need for pressure reducing valve installation requires professional work. This involves working on the main water line, usually near the water meter. It requires cutting into pipes, soldering or using compression fittings, and understanding how to set and adjust the pressure regulator.
Uncertainty about diagnosis or uncomfortable performing repairs? If you can’t figure out what’s causing the hissing, or if the steps required make you nervous, don’t force it. A plumber’s diagnostic visit costs less than repairing damage from a DIY attempt gone wrong.
Toilet age exceeds 15 to 20 years and parts are getting harder to match. Older toilets have components that don’t match modern systems well. A plumber can assess whether it makes more sense to repair or replace the entire toilet.
If you see active leaking around the base of the toilet, water pooling on the floor, or a ceiling below the bathroom that’s sagging or dripping, that’s an emergency. Turn off the water supply immediately and call a plumber right away. Water damage spreads fast, and waiting even a few hours can turn a fixable leak into a major repair involving drywall, flooring, and possibly mold remediation.
Final Words
A toilet fill valve making hissing noise points to water flowing when it shouldn’t. That steady sound means wasted water, higher bills, and potential damage if ignored.
Most hissing comes down to a worn flapper, a dirty fill valve, or the float set too high. The good news? Those fixes are straightforward.
Start with the quick checks. Clean the valve. Adjust the float. Replace the flapper if needed. Test it. If the hissing stops, you’re done.
If it keeps going after you’ve tried the basics, that’s when you call someone in. Either way, you’ve protected your home and stopped the waste.
FAQ
Why is my Korky toilet fill valve making a hissing sound?
Your Korky toilet fill valve is making a hissing sound because water is continuously flowing through the valve, usually due to a worn internal washer, debris buildup, or a faulty seal that prevents proper closure.
Why is there a hissing sound coming from my toilet?
A hissing sound comes from your toilet when water flows continuously somewhere in the tank, most often through a leaking flapper valve or a fill valve that won’t shut off completely after the tank refills.
Will a hissing toilet increase the water bill?
A hissing toilet will increase your water bill because it indicates continuous water flow, which can waste hundreds of gallons monthly depending on the severity of the leak or valve malfunction.
How do I know if a toilet fill valve is bad?
You know a toilet fill valve is bad when you hear continuous hissing, see water trickling into the overflow tube, notice the toilet randomly refilling, or observe visible cracks and corrosion on the valve body.