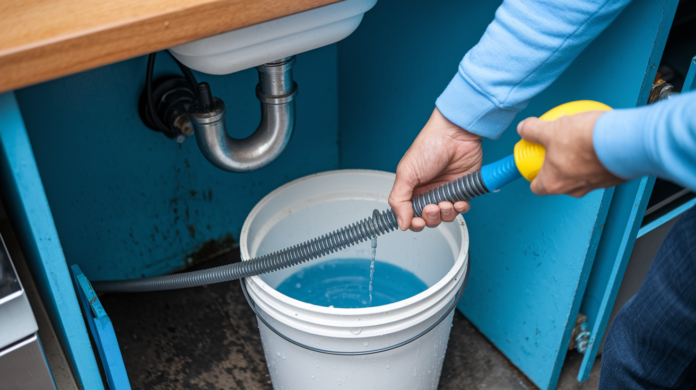

You probably think a drain snake is something you grab only after trying every bottle under the sink and calling your neighbor for advice. Actually, snaking your kitchen drain should be your first move when water starts backing up, not your last resort after hours of frustration. Most kitchen sink clogs sit in the P-trap right under your sink, where grease and food particles build up over time, and a simple snake clears about 95 percent of them faster than anything else you’ll try.
Identifying Kitchen Sink Clogs and Whether a Snake Will Help
Drain snakes clear about 95 percent of kitchen sink clogs, which makes them one of the most reliable tools when water starts backing up. You just need to figure out what you’re dealing with before you start pulling equipment out from under the sink.
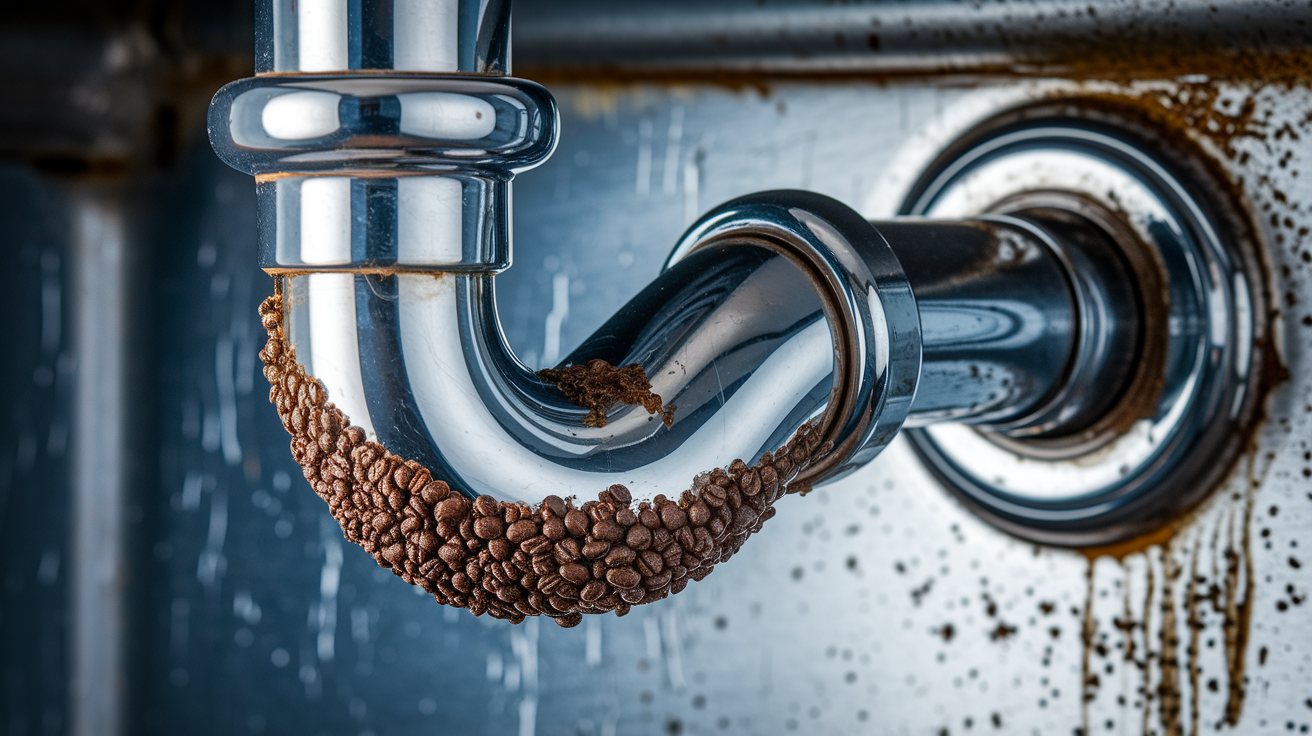
Most kitchen sink blockages respond well to snaking. Common culprits include grease that’s built up in the P-trap and trap arm, coffee grounds compacted in drain curves, food particles lodged somewhere in the drain assembly, soap scum mixed with organic matter, small objects caught in the P-trap, and debris at the garbage disposal connection point.
Kitchen sink clogs usually happen in the P-trap and trap arm, where grease or coffee grounds settle and harden over time. Slow draining is typically the first sign that buildup is restricting flow. Complete blockage with standing water means the clog has fully closed off the pipe. Gurgling sounds indicate air trapped behind the blockage, and foul odors suggest organic matter decomposing in the drain. All of these symptoms point to clogs that snakes can typically handle.
Sometimes the problem isn’t in your kitchen sink drain at all. If multiple fixtures in your home are backing up at the same time, you’re likely dealing with a main sewer line blockage that’s beyond what a kitchen sink snake can reach. Venting issues cause slow drainage across several fixtures without an actual blockage in the pipes. Structural pipe damage or collapsed drain lines need repair, not snaking. If you open the cabinet under your sink and see water leaking from pipes or wet spots on the cabinet floor, that’s pipe damage.
Stubborn blockages sometimes need multiple snaking passes to fully break apart. Hard grease that’s been accumulating for months won’t always clear on the first attempt. You might need to work the snake back and forth several times, or step up to an electric auger for more power.
Choosing the Right Drain Snake: Types, Prices, and Where to Buy or Rent
Drain snakes work specifically well for kitchen sink clogs because they can navigate the confined P-trap spaces where grease and food particles tend to settle. Selecting the right tool makes the difference between clearing the clog in twenty minutes or struggling for an hour with equipment that’s not quite up to the task.
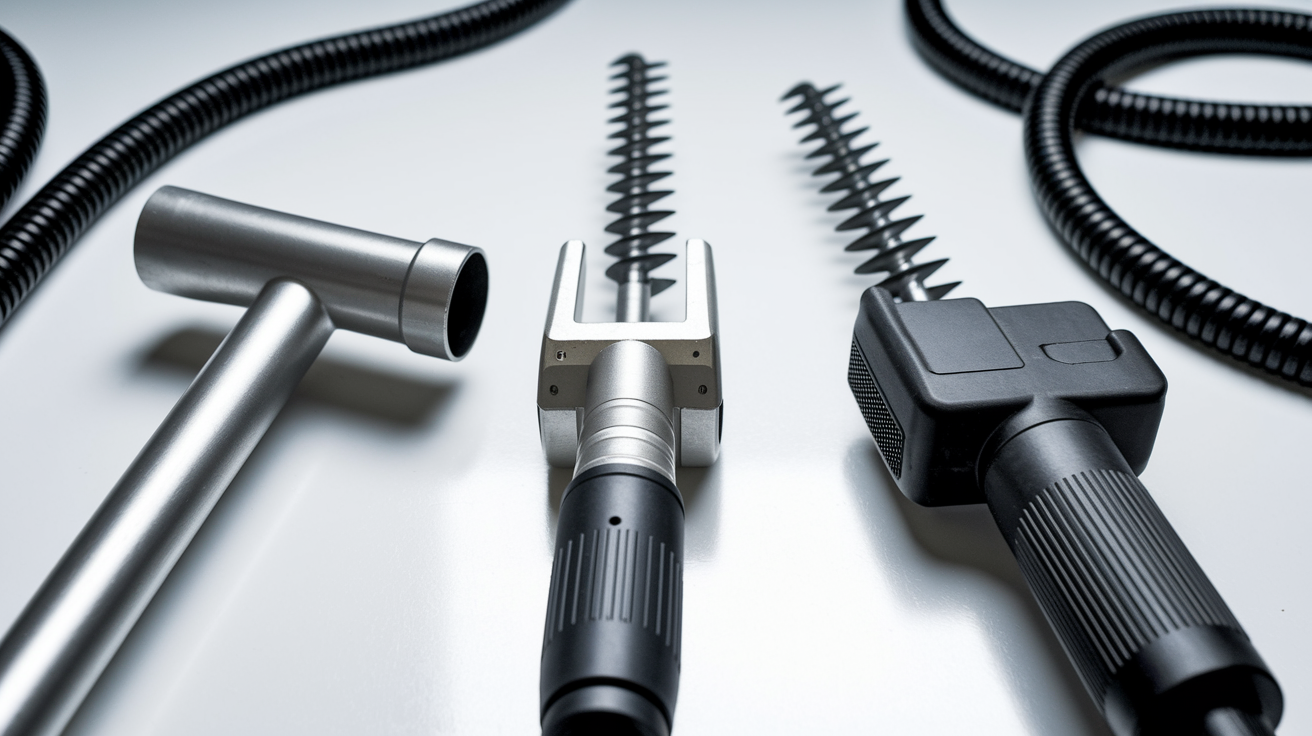
Manual hand crank snakes are sufficient for most kitchen sink applications. A 1/4 inch diameter cable handles typical clogs caused by food particles, soap scum, and light grease. For stubborn blockages or recurring problems, a 3/8 inch diameter cable provides more cutting power through hardened grease. Cable length matters too. Most kitchen sink clogs sit within fifteen feet of the drain opening, but having a 20 to 25 foot cable gives you the reach to work through the P-trap and into the drain line that runs into the wall. The rotating mechanism typically includes a hand crank with a setscrew to lock the cable at different extension lengths. Handle types range from simple drums you rotate with both hands to pistol grip designs that give you better leverage in tight under sink spaces.
Electric auger options make sense when you’re dealing with recurring clogs, extremely stubborn blockages, or multiple drains that need attention. Power snake models plug into an outlet and do the rotating work for you, which saves your hands and wrists during extended snaking sessions. Drill attachment models convert your power drill into a drain snake, giving you variable speed control and consistent torque. These work particularly well for kitchen sink applications where grease has hardened into a tough blockage that would take forever to break through with manual cranking.
Budget options run $15 to $25 for basic handheld models with 1/4 inch cable and 15 foot reach. You’ll find these at any hardware store. Mid range models cost $30 to $50 and usually include better quality cable that resists kinking, longer reach distance up to 25 feet, and more comfortable handle designs. Professional grade equipment ranges from $75 to $150 for electric auger or drill attachment models. Hardware stores like Home Depot and Lowe’s, plumbing supply stores, and online retailers all carry these options. Check warranty coverage before buying, and read customer reviews to see how the tool holds up to actual kitchen sink clogs.
Rental equipment offers an alternative worth considering. Most tool rental centers and some hardware store locations rent professional grade drain snakes for $15 to $30 per day. Renting makes sense for one time use, if you’ve never had a clog before and don’t expect to need the tool again. It’s also the smart move for stubborn blockages that really need the power of a professional model. The cost comparison is straightforward. Renting a $200 professional snake for one day costs less than buying a $40 cheap snake that might not have the reach distance or cable strength to actually clear your clog. Rental equipment also gives you versatile applications. You can tackle multiple drains throughout your house in the same day if needed.
| Option Type | Price Range | Best For |
|---|---|---|
| Manual Hand Crank | $15-$50 | Typical food and grease clogs, occasional use |
| Electric/Drill Attachment | $75-$150 | Stubborn blockages, multiple drains, frequent use |
| Professional Rental | $15-$30/day | One time tough clogs, testing before buying |
| Plumber Service | $150-$300 | When DIY attempts fail, complex blockages |
Key factors to consider when selecting your drain snake: cable diameter and flexibility for kitchen drain pipes (1/4 inch for most situations, 3/8 inch for tough grease), reach distance needed for under sink access (20 feet handles most kitchen configurations), handle design for comfortable cranking (pistol grip reduces hand fatigue), head types for different clog materials (auger heads for grease, retriever heads for objects), and budget versus quality considerations. A $30 mid range option often outlasts three $15 budget models.
Step-by-Step: How to Snake Your Kitchen Sink Drain
Working with a drain snake in the confined space under a kitchen sink requires attention to tool safety and pipe damage prevention. PVC pipes can crack if you apply too much force, and even metal pipes can develop leaks at connection points if you’re not careful with the cable.
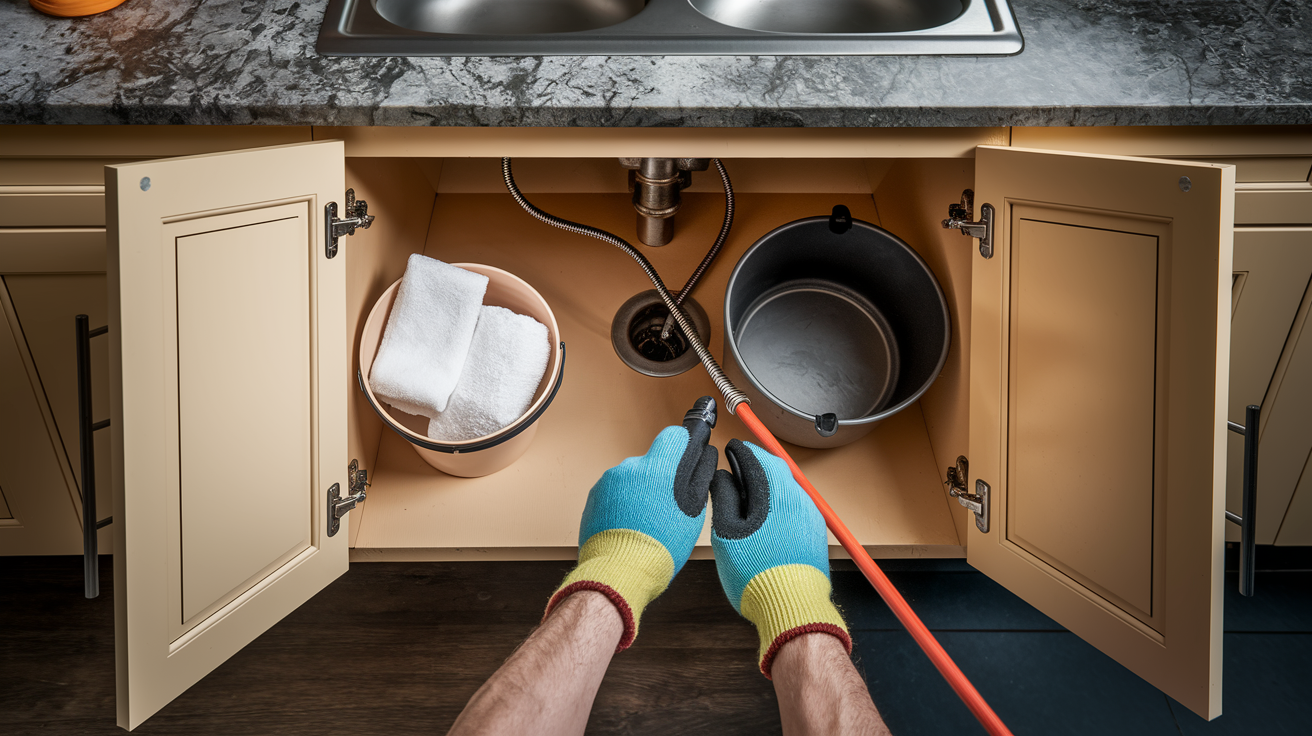
Before you start feeding the snake into your drain, gather everything you’ll need. The drain snake itself, a bucket to catch water backup, protective gloves because you’ll be handling dirty water and debris, and several old towels. Clear out everything stored in the cabinet under your sink so you have room to work. Protective gloves aren’t optional. Drain water contains bacteria and your hands will be in direct contact with whatever backed up your sink. Place the bucket directly under the P-trap area to catch any water that spills when you remove components or when water suddenly releases after breaking through the clog. If you used chemical drain opener at any point in the past few days, do not snake the drain due to splash burn risk. The snake will agitate that chemical and it can splash onto your skin or into your eyes. If your kitchen has a garbage disposal, turn off the power at the breaker before you start. Workspace preparation also means having adequate lighting. Grab a flashlight or work light if the cabinet area is dim.
Protecting your pipes during the snaking process means recognizing what you’re working with. PVC pipes are lighter and can crack under pressure that metal pipes would handle easily. When you feel resistance, pause and assess whether you’ve hit a pipe joint or elbow versus an actual clog. Pipe joints feel solid and won’t give at all. Clogs have a different feel. There’s some give to them, even if they’re stubborn. Avoid excessive force that could damage the trap where the curved pipe meets the tailpiece connection. Proper cable tension management means applying steady, gentle pressure rather than shoving the cable forward aggressively.
- Remove standing water down to about 3 to 4 inches, or add water if the drain is empty and dry
- Remove the strainer basket or drain assembly cover to expose the drain opening
- Feed the snake cable slowly into the drain opening, letting it find its own path
- Pull out 6 to 10 inches of cable from the drum, then tighten the setscrew to lock it in place
- Rotate the handle clockwise while applying gentle forward pressure. The cable will advance into the drain
- Continue this process when you hit resistance, cranking through the obstruction rather than forcing it
- Feel for the breakthrough resistance drop that tells you the cable has penetrated the clog
- Slowly retract the snake while continuing to rotate, which helps pull debris back with the cable
After you feel that breakthrough resistance drop, your work isn’t quite done. Continue to work the snake back and forth through the clog area several times. This breaks up material that might still be clinging to pipe walls. When you pull the snake out, you’ll likely see debris on the cable. Grease, food particles, coffee grounds, or combinations of buildup. Clean this off before feeding the snake back in for another pass. Once you’re satisfied the clog is fully cleared, pull the snake completely out and immediately clean it. Remove all debris from the cable, spray it with disinfectant, and dry it thoroughly to prevent rust. Coil the cable loosely back into the drum or storage container, avoiding kinks that will make it harder to use next time.
Testing your success is straightforward. Run hot water for thirty seconds and watch how quickly it drains. Water should flow smoothly without any gurgling sounds. If you still see slow draining or hear air bubbles, the clog isn’t completely cleared and you’ll need to snake again.
Accessing Kitchen Sink Drain Components for Snake Use
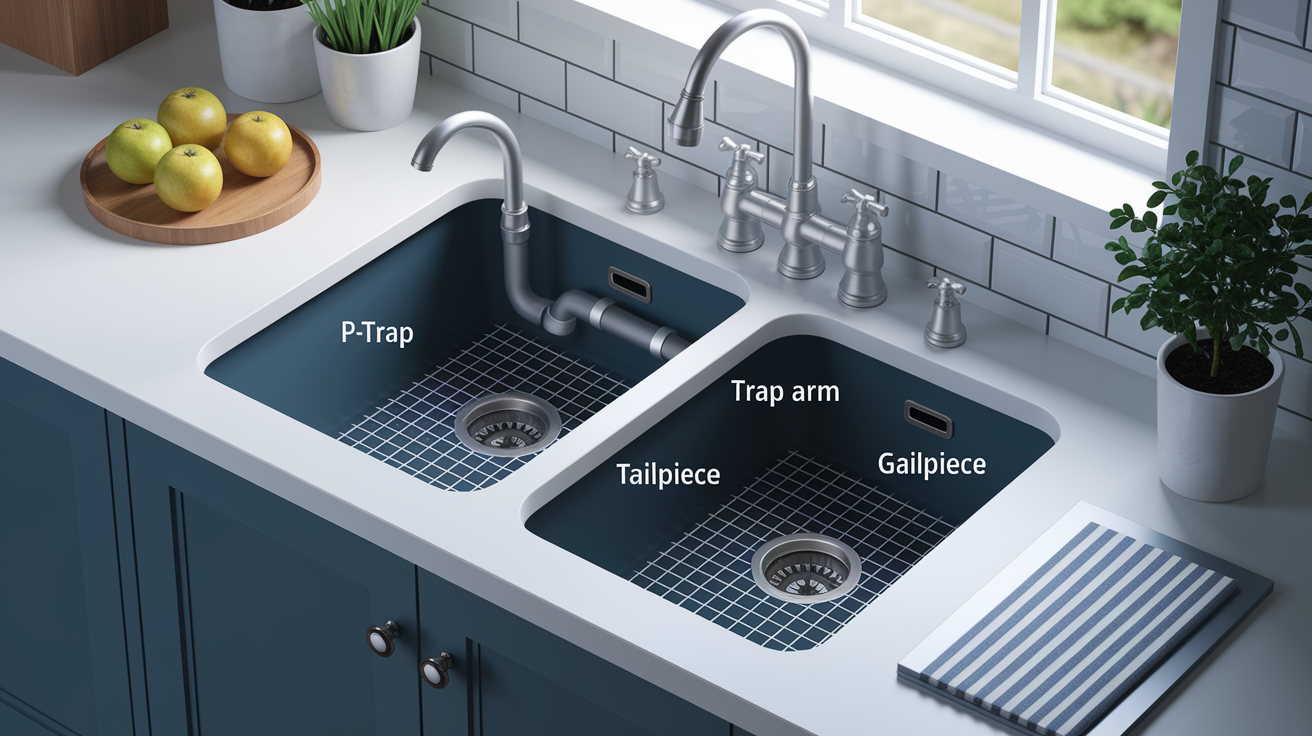
Kitchen sink clogs typically occur in the P-trap and trap arm, the curved section of pipe under your sink and the horizontal pipe that connects to the wall drain. Understanding how to access these areas helps you position the snake where it will actually reach the blockage.
Garbage disposal considerations come first. If your sink has a disposal, check whether it’s jammed before you assume you have a drain clog. Insert an Allen wrench into the hole on the bottom of the disposal unit and manually turn the blades back and forth. If the disposal motor is silent when you flip the switch, press the reset button on the bottom of the unit. It’s usually red and will click when you push it. Never try to snake directly through a garbage disposal. The snake cable can damage the disposal’s internal components or get tangled in the grinding mechanism. Instead, you’ll need to access the drain line beyond the disposal connection point. This usually means removing the P-trap to snake directly into the wall drain line, or snaking from the opposite basin if you have a double sink.
Sometimes the most effective approach is to remove the P-trap entirely for direct access to the wall drain line. Loosen the slip joint nuts that hold the trap in place. There’s one where the trap connects to the tailpiece coming down from the sink, and another where it connects to the trap arm going into the wall. Place your bucket underneath before loosening these nuts, because water trapped in the P-trap will pour out. Check the rubber or plastic gaskets inside these connections while the trap is apart. If they’re worn, cracked, or compressed flat, replace them before reassembling. When you put the trap back together, hand tighten the slip joint nuts first, then give them a quarter turn with pliers. That’s sufficient to create a watertight seal without over tightening, which can crack the nuts or strip the threads.
Double sink configurations require a decision about which drain opening gives you the best access to the main drain line blockage. If one side connects directly to the wall drain while the other side connects to the first basin, you’ll want to snake from the side closest to the wall connection. The path is shorter and more direct.
Troubleshooting When Your Kitchen Sink Snake Isn’t Working
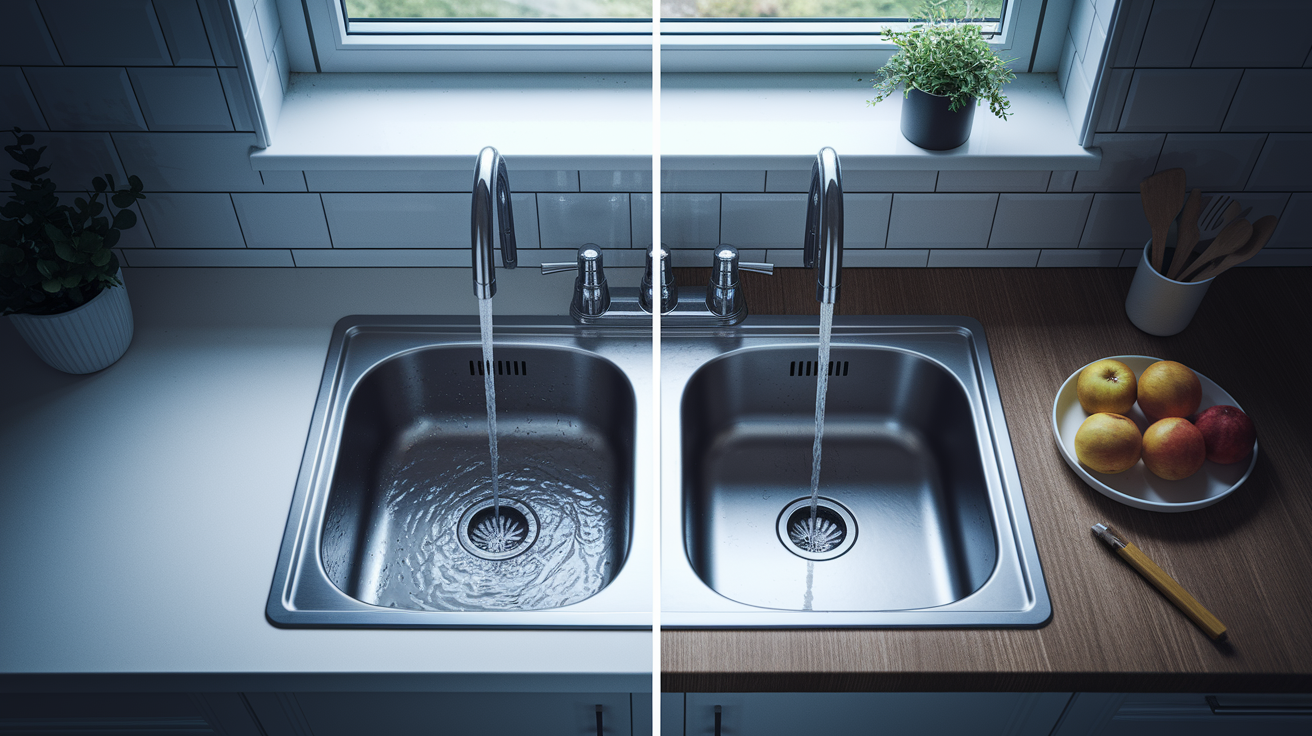
Sometimes you work the snake through what feels like the entire drain system and water still won’t flow properly. Before you assume the worst, there are several troubleshooting steps that can identify what’s actually happening.
- Verify the snake is reaching the actual clog location, not stopping at a P-trap curve. The cable should extend at least 10 to 15 feet to get past the trap and into the drain line
- Try snaking from different access points. If snaking through the strainer opening didn’t work, remove the P-trap and snake directly into the wall drain line
- Ensure clockwise rotation is maintained throughout the process. Counterclockwise can actually tighten some clogs instead of breaking them apart
- Check if breakthrough resistance occurred but debris extraction is incomplete. You might have poked a hole through the clog without fully clearing the pipe
- Assess whether multiple fixture backup indicates a main drain line issue beyond your snake’s reach distance. If your toilet or bathtub is also backing up, the problem is deeper in the system
Recurring clogs that come back every few weeks tell you something about the root cause. Inadequate disposal maintenance means food waste is building up faster than occasional snaking can handle. Improper waste disposal habits create conditions where clogs are inevitable. Pouring grease down the drain, not running enough water after using the disposal, letting coffee grounds go down instead of into the trash. Pipe slope issues can cause water to drain slowly, leaving deposits that gradually build into blockages. Vent stack problems prevent proper drainage even when pipes are clear. When symptoms point to any of these deeper issues, snaking treats the effect but not the cause.
Call a professional plumber when you see signs that the blockage is beyond DIY solution capability. If you’ve snaked twice and the clog returns within days, there’s an underlying problem that needs diagnosis. Emergency plumbing situations need immediate professional attention. Sewage backing up into the sink, water leaking from pipes, or multiple fixtures backing up simultaneously. Video inspection might be necessary to see exactly what’s happening inside pipes, especially if you suspect the main drain line is affected or if you’re in an older home where pipes might have deteriorated.
Preventive Maintenance After Successful Snaking
Right after you’ve cleared the clog and tested the water flow, take a few minutes for maintenance that will help prevent the next blockage. Pour half a cup of baking soda into the drain, followed by half a cup of white vinegar. Let this combination sit for a few minutes while it fizzes and works on any remaining grease. Then flush everything down with warm water for thirty seconds. This breaks down fat deposits that might be clinging to pipe walls, giving you a cleaner starting point. The initial hot water flush also carries away debris residue that the snake loosened but didn’t fully remove.
Prevention practices that actually work:
Install or maintain a strainer basket to catch food particles before they enter the drain. Run hot water flush for 30 seconds after each sink use, especially after washing greasy dishes. Never pour grease down the drain. Pour it into an old can or jar and throw it in the trash once it solidifies. Use a mesh screen over the garbage disposal opening to catch items that shouldn’t go down. Perform disposal maintenance monthly by grinding ice cubes with citrus peels to clean the grinding mechanism. Monthly preventive maintenance with enzyme cleaner breaks down organic buildup without harsh chemicals.
Proper prevention reduces the need for future clog removal and extends the time between drain cleaning sessions from months to years.
Alternative Methods to Kitchen Sink Drain Snakes
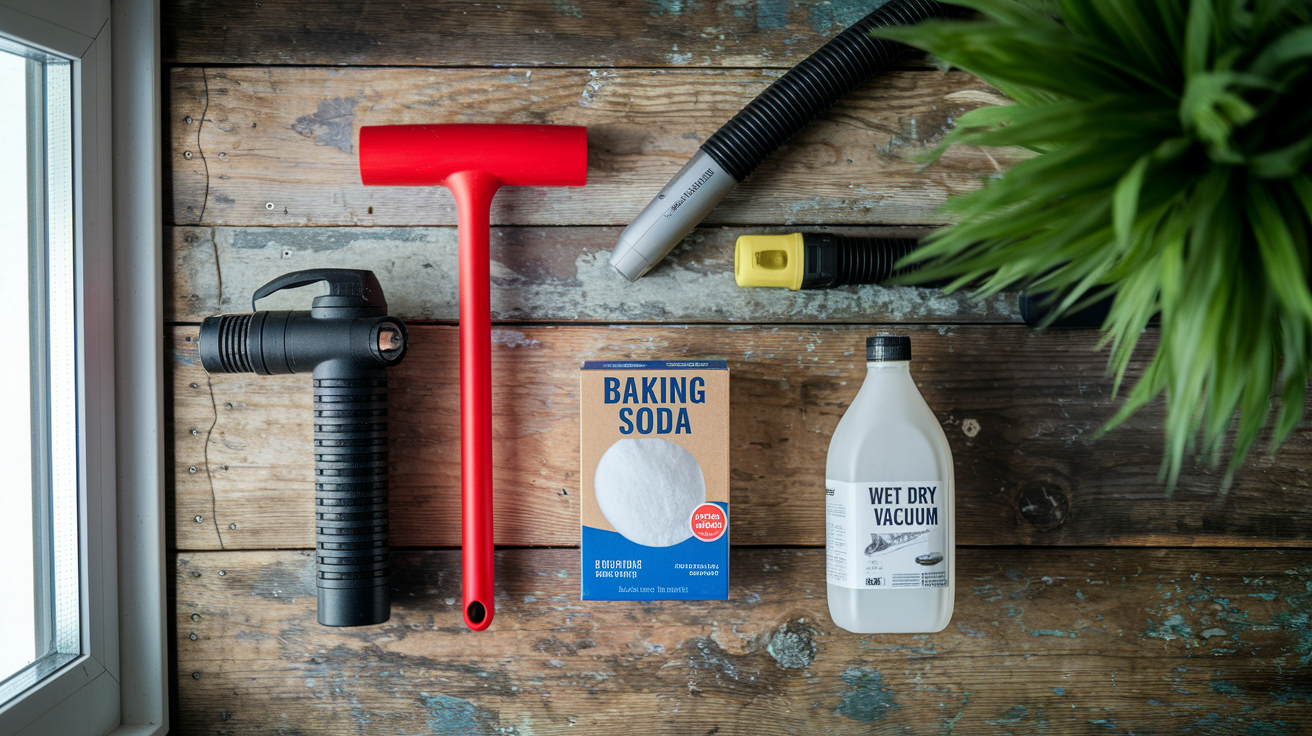
While drain snakes are highly effective, several alternative methods can work for different kitchen sink clog situations. Some clogs respond better to other approaches, and sometimes you need to try a combination of methods before finding what clears your particular blockage.
Manual Plunger Alternative
A plunger can clear many kitchen clogs before you need to reach for a snake. Fill your sink with 3 to 4 inches of water to create the seal and pressure you need. Roll the plunger head into the water rather than pushing it straight down. This forces water into the drain instead of just air. Plunge vigorously for about twenty seconds with quick, forceful movements. This method works particularly well for soft clogs like food particles that haven’t hardened yet, or for fresh grease that’s still somewhat pliable.
Natural DIY Solution Options
The boiling water method can dissolve grease if you catch it before it hardens completely. Boil a full kettle of water and pour it directly down the drain in two or three stages, waiting a few seconds between pours. Baking soda and vinegar work for mild blockages. One cup of baking soda followed by one cup of vinegar, let it sit for thirty minutes, then flush with hot water. Enzyme cleaner products use natural bacteria to break down organic matter over time, which makes them excellent for monthly preventive maintenance even if they don’t provide the immediate clearing power of mechanical methods.
Specialized Tools and Professional Options
A wet dry vacuum can sometimes pull clogs out if you can create a good seal around the drain opening. Set it to vacuum liquids, cover the vent to increase suction, and hold the hose firmly over the drain. Compressed air devices force air pressure into the drain to blast clogs loose, though they work better on some blockage types than others. The GT Water Products Drain King attaches to your garden hose and uses water pressure combined with vibration to clear clogs without chemicals. You insert it into the drain, turn on the water, and the pulsating pressure breaks up blockages. For major blockages that resist every DIY attempt, renting hydro jetting equipment or calling a professional plumber with hydro jetting capability might be the most cost effective choice, even if the upfront cost seems higher than another round of snaking.
Avoid chemical drain opener products despite their promises of easy clog removal. They rarely work effectively on kitchen sink clogs caused by grease and food particles. The chemicals can damage pipes, especially older metal pipes or PVC connections. They create safety risks. Caustic chemicals that can burn skin, create toxic fumes, and remain in your pipes for days. They’re also harmful to septic systems and the environment. If they don’t clear the clog, you’ve created a bigger problem because now you have caustic chemicals sitting in standing water, making it unsafe to plunge or snake without risking splash burns.
Final Words
A snake for kitchen sink clog problems works fast when you match the right tool to your specific situation and follow proper technique.
Most kitchen blockages clear with a basic hand-crank model and straightforward clockwise rotation through the P-trap area.
The key is good prep work—protecting your pipes, accessing the right drain opening, and knowing when you’ve broken through.
Regular hot water flushes and smart disposal habits keep those drains flowing between deeper cleanings. If your clog fights back after a solid snaking effort, that’s your signal to call in a pro before things get worse.
FAQ
Can you unclog a kitchen sink with a snake?
A: You can unclog a kitchen sink with a snake in about 95% of cases involving grease buildup, food particles, or debris stuck in the P-trap. Snakes effectively clear blockages in the trap arm and drain curves where most kitchen sink clogs occur.
What is the best thing to use to unclog a kitchen sink?
A: The best tool to unclog a kitchen sink is a manual drain snake with a quarter-inch to three-eighths-inch cable and 15 to 25 feet of reach. For tougher blockages, an electric auger or professional-grade rental equipment provides more power to break through stubborn grease buildup.
What size drain snake do I need for a kitchen sink?
A: A kitchen sink drain snake should have a quarter-inch diameter cable for typical clogs or a three-eighths-inch cable for stubborn blockages. The cable length should be 15 to 25 feet to reach through the P-trap and into the drain line beyond.
Why does my kitchen sink keep clogging after snaking?
A: Your kitchen sink keeps clogging after snaking because the root cause hasn’t been addressed, such as grease buildup habits, improper garbage disposal maintenance, or pipe slope issues. Recurring clogs can also indicate main drain line problems beyond the P-trap area that require professional diagnosis.