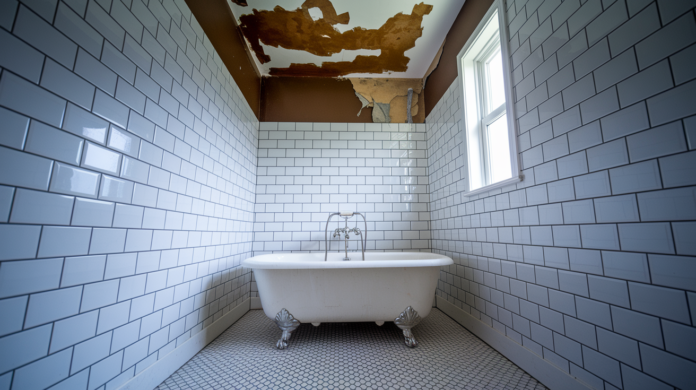

Ever wonder why water damage shows up in your living room ceiling when your shower is on the second floor? That’s because shower pan leaks don’t play by the rules you’d expect. Water escapes underneath everything you can see, traveling through hidden spaces until it finds somewhere to appear, usually far from the actual problem. Most homeowners miss the early warning signs because they’re looking in the wrong places. If you’ve noticed musty smells, soft spots near your shower, or ceiling stains in the room below, your shower pan might be quietly flooding the inside of your walls right now.
Common Shower Pan Leak Symptoms and Associated Risks
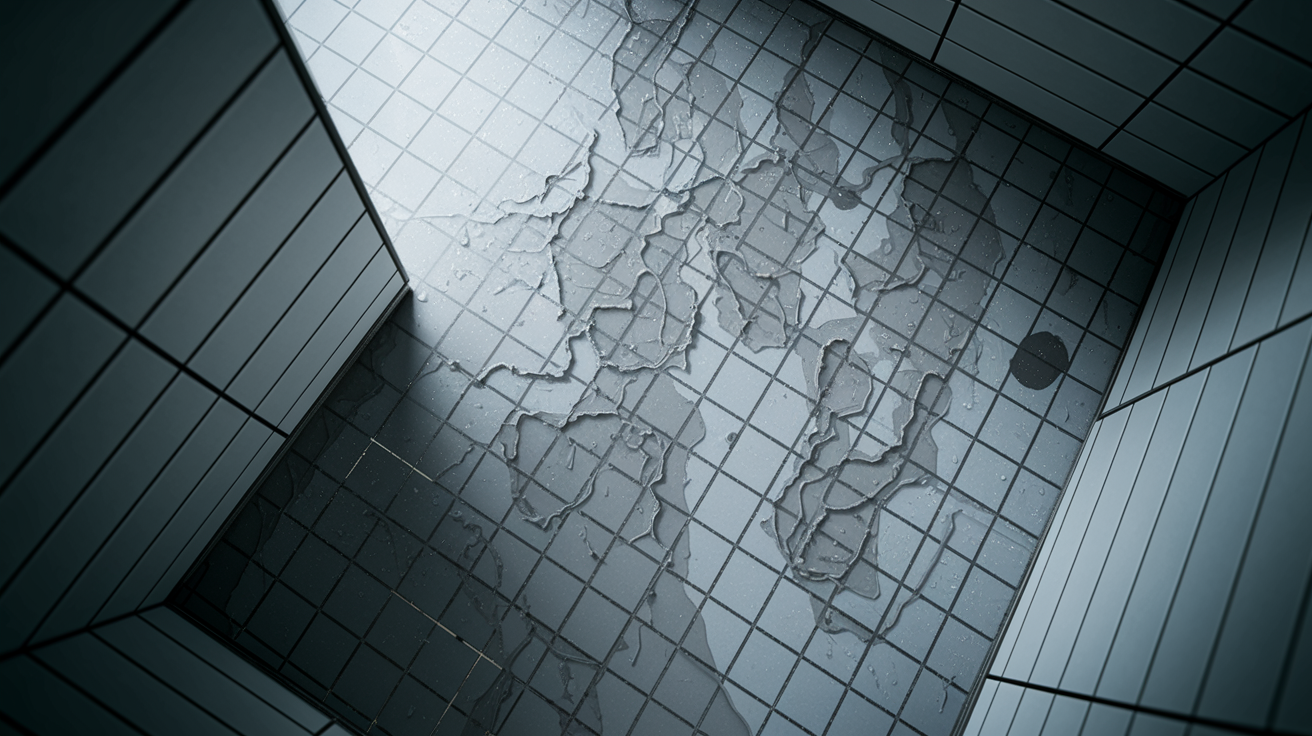
Shower pan leaks don’t usually show up with just one symptom. You’ll notice a combination of warning signs, and here’s the thing: the visible damage often appears in rooms below or next to the shower rather than inside it.
Catching this stuff early stops small problems from turning into structural nightmares. A slow leak might not seem like much at first, but hidden moisture spreads through floor joists, wall cavities, and subfloor layers where you can’t see what’s happening. By the time the symptoms become obvious, you’re often looking at expensive repairs.
Here’s what to watch for:
Brown or yellow water stains on the ceiling below your bathroom. These discolorations show water traveling along joists or pipes to areas that might seem totally unrelated to the actual shower.
Soft, spongy spots on the bathroom floor near the shower. Push down with your foot. If the floor flexes or feels soft, water is weakening the subfloor beneath.
Persistent musty or earthy smell that won’t go away even after cleaning. This tells you water is accumulating somewhere it can’t evaporate properly.
Visible mold or mildew growing in grout lines, corners, or along baseboards. Dark spots or fuzzy growth mean moisture levels have been too high for too long.
Peeling, bubbling, or flaking paint on walls near the shower or in the room below. Moisture pushing through wall surfaces causes paint to lose adhesion.
Loose tiles that sound hollow when you tap them. Water beneath the tile surface weakens the substrate and breaks the tile’s bond.
Standing water or damp spots that never fully dry, even hours after your last shower. This suggests water pooling where drainage should be working.
Damp or discolored baseboards right next to the shower enclosure. Water escaping at floor level seeps into baseboards and adjacent walls.
Watermarks or staining on the ceiling directly below the bathroom. One of the clearest signs of a shower floor or base leak.
Sagging or bulging drywall on the ceiling below or on walls next to the shower. Water saturated drywall loses structural integrity and starts to collapse under its own weight.
Shower pan leaks cause damage that gets progressively worse the longer water keeps escaping. What starts as surface moisture quickly moves deeper into your home’s structure.
Here’s how the damage progresses:
Subfloor softening and warping. Wood materials absorb water and lose strength, creating those soft spots you feel underfoot.
Wood rot in floor joists and framing members. Once rot sets in, structural lumber can’t support weight properly and may need complete replacement.
Mold growth behind walls and underneath flooring. Hidden mold colonies spread through damp cavities where air doesn’t circulate.
Structural compromise requiring extensive demolition and reconstruction. Weakened framing, rotted joists, and compromised subflooring mean major repairs beyond just fixing the shower.
Adjacent room damage as water spreads from the leak source. Water follows gravity and pathways of least resistance, damaging rooms that seem unrelated to the bathroom.
Foundation concerns in severe long term cases. Years of unchecked leaking can affect your home’s structural integrity.
Homeowners spend between $2,500 and $8,000 on average fixing water damage from untreated shower leaks. The hidden moisture accelerates deterioration in ways you can’t see until the damage becomes severe. A small leak that might cost a few hundred dollars to fix today can require thousands in structural repairs, mold remediation, and reconstruction if you wait.
Water doesn’t stop on its own. Any combination of these symptoms requires immediate investigation through leak detection and repair. The longer water travels through your home’s structure, the more expensive the fix becomes.
Inspection and Testing Methods for Identifying Shower Pan Leaks

You can perform several inspection methods yourself before calling in professional help, but it’s important to understand both what you can check safely and when you need specialized diagnostic equipment.
The 15 Minute Flood Test
This simple test identifies active shower pan leaks without complicated equipment:
- Clean and dry the shower floor completely. Use towels to remove all standing water and moisture. Wait at least a few hours or overnight if the shower was recently used.
- Seal the drain opening completely with several layers of duct tape. Press the tape firmly to create a watertight seal. No water should be able to escape through the drain.
- Fill the shower pan with 1 to 2 inches of water. Use lukewarm water and make sure it covers the entire floor surface evenly, reaching all corners and edges.
- Wait 15 minutes without disturbing the water. Don’t walk in the shower or create movement that might affect the test results.
- Check the ceiling or area directly below the shower for new moisture, drips, or stains. If you see fresh water damage or active dripping, your shower pan is leaking.
Visual Inspection Checklist
Walk through these visual checks before running the flood test. Look at the grout lines between tiles for hairline cracks or sections where grout has crumbled away. Tap tiles with your knuckle, listening for a hollow sound that indicates water has compromised the substrate underneath.
Examine the caulk around the shower threshold where the shower pan meets the bathroom floor. Check all corners and along the walls where the pan meets vertical surfaces for standing water that pools instead of draining. If you can access the underside of the shower pan from a basement or crawl space, look for discoloration, water stains, or active moisture on the pan’s exterior surface.
Professional Diagnostic Tools
Some leak situations require equipment homeowners don’t have. Moisture meters measure exact moisture content inside walls, floors, and substrates without cutting holes. Professionals insert probe tips into small openings to detect hidden moisture that visual inspection misses.
Thermal imaging cameras reveal temperature differences that indicate wet areas behind walls. Water saturated materials appear cooler than dry surfaces. Infrared detection maps temperature patterns across large areas, showing the path water takes through your structure.
Controlled water testing procedures go beyond basic flood tests, using measured flow rates and multiple test points to pinpoint exactly where water escapes.
DIY methods work well for visible, accessible leaks where the source is clear. You can confirm the leak exists and get a general sense of the problem. But DIY inspection has real limitations. Surface level checks miss hidden moisture behind walls or underneath subfloors. Without specialized tools, you might misidentify where water is actually coming from. A ceiling stain in one spot doesn’t always mean the leak is directly above it. Water travels along joists, pipes, and framing before it becomes visible.
Professional diagnostics catch what DIY methods miss. Non destructive testing finds problems without tearing apart your bathroom. Controlled water procedures isolate the exact failure point, distinguishing between a pan leak, a drain problem, grout failure, or something else entirely.
Experienced contractors recognize patterns you might not notice, assessing secondary damage to help you understand the full scope. Quality contractors bring specialized shower installation experience and proper diagnostic equipment. They should carry the right licensing and insurance, and they’ll communicate clearly about what they find and what it means for your home.
| Situation | Recommended Action |
|---|---|
| Visible symptoms like loose tiles or damp spots, and you can access the area easily | Start with DIY flood test and visual inspection, then call professional if test confirms leak |
| Multiple symptoms appearing in different areas, and you’re not sure where water is coming from | Skip DIY attempts and go straight to professional diagnostic tools like moisture meters and thermal imaging |
| Water stains appearing on ceiling below bathroom | Professional assessment needed to determine if it’s the pan, drain, supply pipes, or grout |
| Soft subfloor, sagging ceiling, or signs of structural damage | Immediate professional inspection required before problem worsens or becomes dangerous |
| Previous DIY repair didn’t work or symptoms returned after temporary fix | Professional diagnosis to find the root cause your first repair missed |
Differentiating Shower Pan Leaks From Other Bathroom Moisture Issues
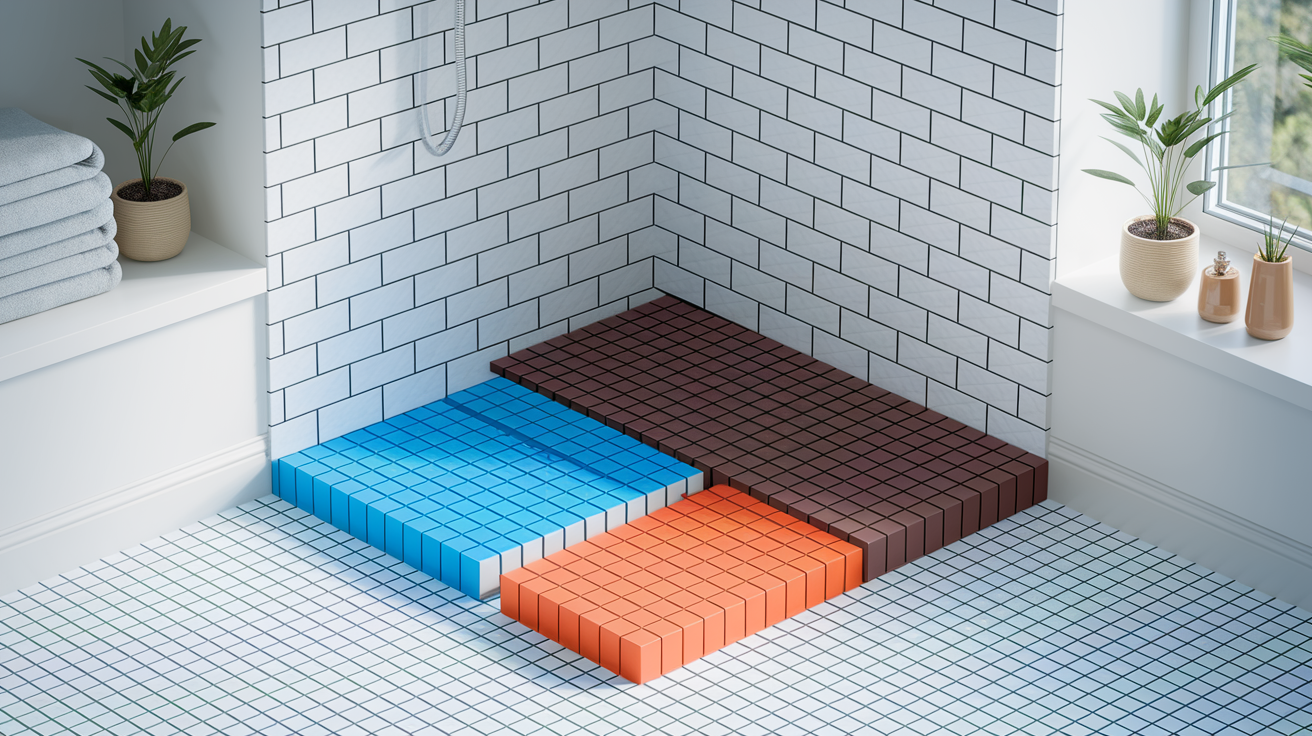
Shower pan leaks occur below the tile surface, in the waterproof membrane or pan liner that’s supposed to contain water before it reaches your subfloor. When the pan fails, water escapes during every shower and travels down through floor joists or along framing members.
You typically see damage on ceilings below the bathroom or feel soft spots in the floor near the shower. Pan leaks create symptoms that appear away from the shower itself because water is escaping underneath everything.
Grout leaks, by contrast, happen at the tile level where you can see them. Water seeps through cracked or missing grout between tiles, getting behind the tile but often caught by a properly installed waterproofing membrane underneath. Grout problems usually show up as dampness or staining right at the grout lines.
Grout and tile issues create a different damage pattern than pan failures. Cracked grout or deteriorating tile grout allows surface water to penetrate, but the wet areas correspond to specific grout lines or tile sections. You might notice one wall stays damp longer than others, or moisture appears only at certain tile intersections.
Spray one wall at a time with water, then wait and watch. If you see moisture seeping through at grout joints, that’s your problem area. Regrouting those vulnerable portions often fixes the issue without touching the shower pan. The key difference is that tile and grout leaks usually affect localized spots, while pan leaks cause broader, more distributed moisture problems.
Drain assembly problems look different from both pan and grout leaks. When your drain fails, moisture concentrates right around the drain area rather than spreading across the entire shower floor. Drain leaks often get worse during active drainage when water is flowing out.
You might see drips on the ceiling below the drain specifically, or moisture that appears only when the shower is draining rather than throughout the entire shower. The good news is that drain failures are usually straightforward to fix and less expensive than pan replacement. A plumber can often replace the drain assembly without major demolition work.
Shower doors and threshold leaks are the easiest to identify because they create puddles on the bathroom floor outside the shower rather than ceiling stains or subfloor damage. Failed door seals or poor fit around the door frame let water escape onto your bathroom floor during showering.
You’ll see standing water near the shower door or threshold, but the ceiling below stays dry and the subfloor doesn’t soften. Fixing these leaks usually means replacing door seals, adjusting door alignment, or re-caulking the threshold where the shower pan meets the bathroom floor.
Root Causes and Available Repair Solutions
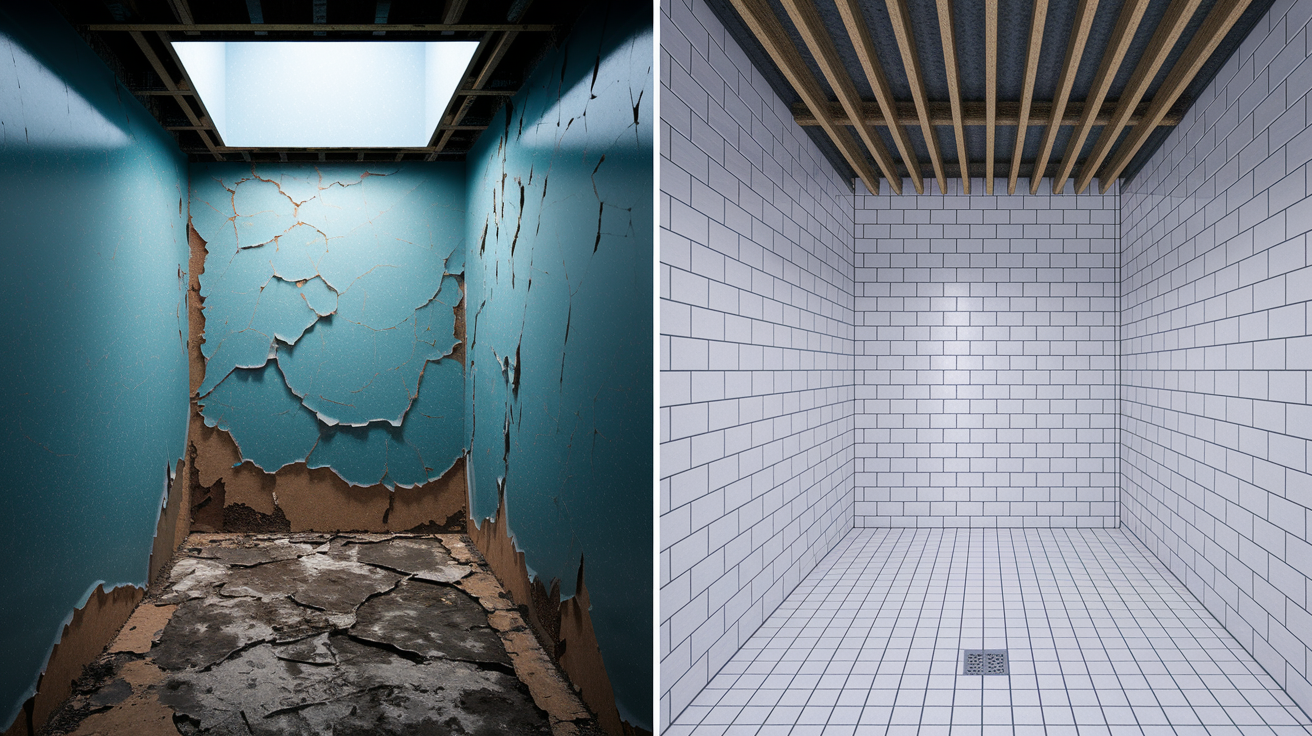
Understanding what caused your shower pan to fail helps determine whether you need a minor repair or complete shower replacement.
Installation defects are one of the most common causes of early shower pan failure. Incorrect pan slope means water pools instead of draining properly, sitting on the pan surface long enough to find any weak point or seam failure. If the installer didn’t create an adequate pre slope underneath the pan liner or mixed the mortar bed incorrectly, the pan won’t perform as designed.
Water will migrate to low spots and eventually escape. Improperly sealed corners and seams at wall floor junctions are especially vulnerable. These inside corners concentrate water and stress, and if the waterproofing membrane wasn’t properly folded, lapped, and sealed at these transition points, water will find the gap.
Vulnerable zones like shower curbs and built in niches require extra attention during installation. Shortcuts in these areas cause leaks that might not show up for months or years.
Material deterioration and external factors cause leaks even in well installed showers. Shower pan liners don’t last forever. The membrane material degrades over time from constant exposure to water, cleaning chemicals, temperature changes, and physical stress. After 15 to 20 years, many pan liners develop hairline cracks or lose their waterproof integrity.
Expansion and contraction as your house settles and temperature fluctuates creates stress on rigid materials. A membrane that was perfectly sealed during installation can develop microscopic breaches as the structure shifts.
Physical damage from dropped objects, renovation work, or aggressive cleaning can puncture or tear the membrane. Meanwhile, structural issues outside the shower itself can compromise pan integrity. If floor joists deteriorate from age, moisture, or pest damage, they stop providing stable support for the shower pan. Wood rot affecting the subfloor creates soft spots, and the shower pan sags or flexes in ways it wasn’t designed to handle.
The right approach depends on what failed and how extensively damage has spread. Not every leak requires tearing out your entire shower.
When Repair Is Sufficient
Repair makes sense when the damage is recent and hasn’t spread beyond a small area. If your waterproofing system is mostly intact and only needs minor sealing work, a targeted repair saves money and time.
Isolated grout joint failure is one of the most straightforward fixes. Regrouting vulnerable portions restores the water barrier without touching the pan underneath. Simple drain assembly failure, where the drain connection has loosened or the drain seal has deteriorated, often just needs the drain replaced. That’s a straightforward and inexpensive repair compared to full shower replacement.
If your shower was built with modern construction methods and quality materials, and the pan itself is still in good shape, repair is usually the better choice. These showers are worth preserving as long as the underlying waterproofing layers remain functional.
When Complete Replacement Is Necessary
Replacement becomes necessary when you’re dealing with systemic failure rather than isolated problems. Multiple leak sources showing up in different areas suggest the entire waterproofing system has failed, not just one component.
If the shower pan itself is cracked or the subfloor underneath has warped from water exposure, repairs won’t hold. The foundation is compromised. Widespread mold and rot mean moisture has been present too long and has affected too many building materials. At that point, trying to patch individual problems doesn’t address the extent of contamination and structural damage.
Old construction methods, especially in showers built before modern waterproofing standards, often lack the multiple protective layers newer showers have. These older installations might not even have a proper waterproofing membrane, just mortar and tile over wood. When leaks develop in these systems, replacement with modern multi layer waterproofing is the only reliable fix.
Large membrane breaches affecting significant portions of the shower floor can’t be effectively patched. The labor to access and repair extensive membrane damage often exceeds the cost of complete replacement done right.
Professional assessment determines the appropriate scope and prevents the common problem of incomplete repairs that fail again within months. Plumbing and fixture repairs done correctly address the root cause, not just the visible symptoms. A contractor who knows shower waterproofing will tell you honestly whether repair or replacement makes more sense for your specific situation.
Health Implications of Untreated Shower Pan Moisture

Visible mold or mildew growth in grout lines or corners shows that moisture retention has exceeded what normal drying can handle. But the mold you can see is often just a small portion of the problem.
Persistent moisture from shower pan leaks creates ideal conditions for mold colonies behind walls, underneath flooring, and inside wall cavities where air doesn’t circulate. These hidden colonies release spores into your home’s air continuously.
A persistent musty or earthy odor, similar to an old basement smell, indicates water is accumulating without proper evaporation conditions. That smell doesn’t disappear with surface cleaning because it’s coming from behind your walls or under your floor. The musty odor itself is a health indicator, signaling that mold and mildew are actively growing in hidden locations.
Mold exposure triggers a range of health problems, especially for people with existing sensitivities. Allergic reactions include sneezing, runny nose, red eyes, and skin rashes that seem to worsen when you’re in the bathroom or in rooms adjacent to the leak source.
Respiratory issues get worse with prolonged mold exposure. People with asthma often experience more frequent or severe attacks. Others develop new respiratory symptoms like coughing, wheezing, or throat irritation that won’t go away. Indoor air quality throughout your home suffers when mold spores circulate through your HVAC system, spreading the problem beyond just the bathroom.
Young children, elderly family members, and anyone with compromised immune systems face higher risks from mold exposure.
Beyond mold, persistent moisture creates other concerning conditions. Damp areas attract pests including carpenter ants, termites, and other wood destroying insects that thrive in wet environments. These pests accelerate structural damage while creating additional contamination problems.
Increased humidity in the bathroom affects the entire space, causing condensation on mirrors, windows, and fixtures even when the shower hasn’t been used recently. This elevated humidity makes the bathroom feel damp and uncomfortable, and it accelerates deterioration of other bathroom materials like wood cabinets, door frames, and trim work.
Cost Factors for Shower Pan Leak Repairs

Repair costs for shower pan leaks vary dramatically based on what’s actually wrong and how far the damage has spread. There’s no single price that applies to all situations.
The national average range for fixing water damage from untreated shower leaks falls between $2,500 and $8,000. That’s not just the shower pan repair itself. That figure includes secondary damage like subfloor replacement, joist repairs, mold remediation, drywall replacement, and repainting. A straightforward drain replacement might only cost a few hundred dollars, while a complete shower pan replacement with structural repairs can reach the upper end of that range or beyond.
Several factors determine where your repair falls on the cost spectrum:
Extent of water damage and secondary repairs needed. Fixing just the leak is one thing. Replacing rotted floor joists, damaged subflooring, mold contaminated drywall, and compromised framing is where costs multiply.
Shower pan repair versus complete replacement. Minor sealing work or isolated grout repairs cost far less than demolishing and rebuilding your entire shower with proper multi layer waterproofing.
Accessibility and structural access requirements. If the contractor needs to remove drywall, cut into ceilings, or access crawl spaces to reach pipes and pans, labor hours increase significantly.
Materials quality and waterproofing system type. Modern waterproofing membranes like Schluter KERDI or RedGard liquid systems cost more than basic mortar and paint approaches, but they prevent future failures. Quality tile, proper substrate materials, and durable fixtures all affect total project cost.
Labor rates and contractor expertise level. Specialized shower installation experience costs more per hour than general handyman rates, but experienced contractors do the work right the first time. Cheap labor on waterproofing work usually means future leaks and wasted money.
Timeline considerations. Emergency response to active flooding or urgent structural concerns costs more than scheduled repair work. If you can address the problem before it becomes an emergency, you’ll pay less.
Talk to your homeowner’s insurance about coverage before you start repairs. Many policies cover sudden water damage but exclude damage from long term maintenance neglect. Document everything with photos and detailed notes about when you first noticed symptoms and what you’ve observed.
Some insurance adjusters will cover leak repairs and water damage if you can show the problem developed despite reasonable home maintenance. Early detection helps your insurance case. If you ignored obvious symptoms for months or years, insurers often deny claims based on lack of maintenance.
Getting professional assessment and repair estimates quickly strengthens your position. The key message here is that early detection minimizes costs dramatically. A small leak caught early might cost $500 to repair. That same leak left unchecked for six months can require $5,000 in structural remediation plus shower replacement.
Preventing Future Shower Pan Leak Problems
The best leak is the one that never happens. Proper installation and consistent maintenance prevent most shower pan failures.
Quality starts with how the shower is built. Modern showers need multi layered waterproofing, not just tile and grout over a mortar bed. That means starting with a proper pre slope underneath the pan liner so water naturally flows toward the drain even if it gets past the tile.
The primary waterproofing membrane comes next, either a sheet membrane like Schluter KERDI or a liquid applied system like Hydroban or RedGard. These membranes create a continuous water barrier with no gaps. All corners and seams must be sealed according to manufacturer specifications, using the right tapes, primers, and installation methods.
Secondary water barriers like cement board provide backup protection and structural support for tile. High quality grout, properly sealed after installation, completes the system.
Vulnerable zones get extra attention during installation. Shower curbs are transition points where water concentrates and multiple surfaces meet. Built in niches create inside corners that must be waterproofed perfectly. Wall floor junctions are high stress areas requiring careful membrane folding and sealing.
Choosing qualified contractors with proven shower installation experience matters. Check that they carry proper licensing and insurance. Ask about their waterproofing systems and whether they follow manufacturer installation protocols. Look at their portfolio and talk to references about how their showers have held up over time.
Once your shower is properly built, ongoing maintenance keeps it functioning correctly. Set up a regular caulk inspection routine, checking the seals around your shower door, threshold, fixtures, and where the tile meets the tub or pan. Caulk doesn’t last forever. Most silicone caulk needs replacement every few years as it shrinks, cracks, or separates from surfaces. Re-caulk before gaps develop.
Monitor grout condition during your regular bathroom cleaning. Hairline cracks in grout should be addressed quickly before they widen and allow water penetration. Check drainage performance each week. If water puddles in corners or drains slowly, something is wrong. Clear any debris from the drain, and if slow drainage continues, have it checked professionally.
Consider annual professional inspections, especially if your shower is more than ten years old. A professional can spot early warning signs you might miss, catching small problems before they become leak situations.
Environmental controls reduce stress on your shower’s waterproofing system. Run your bathroom exhaust fan during every shower and for at least 20 minutes afterward. Proper ventilation removes humidity that would otherwise condense on surfaces and contribute to moisture problems.
If you don’t have an exhaust fan, install one. Humidity control in your bathroom protects all surfaces, not just the shower. Keep bathroom doors or windows open after showering to encourage air circulation. Let the shower dry completely between uses rather than keeping it constantly damp.
Wipe down walls after showering if you have time. This simple step removes standing water before it can find any weakness in grout or caulking. These small habits extend the life of your waterproofing materials significantly.
Early intervention is your best prevention strategy. Address minor issues immediately before they escalate. Cracked caulking around the shower door might seem cosmetic, but it’s a pathway for water to escape onto your bathroom floor and eventually under your flooring.
Loose tiles indicate the adhesive underneath has failed, often because of moisture. That single loose tile can let water reach the substrate and spread to adjacent tiles. Drainage issues like slow drains or standing water mean something is preventing proper flow.
Ignoring these small problems because they don’t seem urgent is how shower pan failures start. A $20 tube of caulk and 15 minutes of effort today prevents a $3,000 repair next year.
Final Words
Catching the signs of shower pan leak early makes all the difference between a straightforward fix and a major renovation.
Water stains, soft floors, and musty smells are your home telling you something’s wrong. The longer moisture stays hidden behind tiles and under your shower, the more damage it causes, from rotted joists to widespread mold.
Most of these leaks start small. A simple flood test or visual check can confirm what you’re dealing with. If you spot multiple warning signs or the problem keeps coming back, it’s time to call someone who can find the real source and fix it right.
Your home’s worth protecting. So is your peace of mind.
FAQ
How do I know if my shower pan is leaking?
You can tell if your shower pan is leaking by looking for water stains on the ceiling below the bathroom, soft or warped spots on the bathroom floor near the shower, persistent musty smells, or loose tiles that sound hollow when tapped.
What is the life expectancy of a shower pan?
The life expectancy of a shower pan typically ranges from 15 to 30 years depending on installation quality, materials used, and maintenance practices, though poorly installed pans can fail much sooner while properly maintained systems may last longer.
How to tell if your shower is leaking from the bottom?
Your shower is leaking from the bottom if you notice ceiling stains directly below the bathroom, soft flooring around the shower base, damp baseboards adjacent to the shower, or moisture appearing after showering rather than during it.
How much does it cost to repair a leaking shower pan?
Repairing a leaking shower pan costs between $2,500 and $8,000 on average when factoring in water damage repairs, though simple fixes like drain replacement cost less while complete pan replacement with structural repairs reaches the higher end.
Can I perform a shower pan leak test myself?
You can perform a basic shower pan leak test yourself by sealing the drain with duct tape, filling the pan with 1 to 2 inches of water, waiting 15 minutes, and checking the ceiling below for new moisture or stains.
What causes shower pan leaks?
Shower pan leaks are caused by improper installation with incorrect slope or sealing, failed waterproofing membranes from aging or damage, cracked pan liners, deteriorating grout allowing water penetration, and structural settling that compromises pan integrity.
Should I repair or replace a leaking shower pan?
You should repair a leaking shower pan when damage is recent and localized with mostly intact waterproofing, but replacement is necessary when multiple leaks show systemic failure, the subfloor is damaged, or widespread mold and rot exist.
What health risks come from shower pan leaks?
Shower pan leaks create health risks by enabling mold and mildew growth behind walls, which can trigger allergic reactions, worsen respiratory issues, create persistent musty odors, and compromise indoor air quality throughout the bathroom.
How can I prevent shower pan leaks?
You can prevent shower pan leaks by ensuring proper installation with multi-layer waterproofing systems, maintaining regular caulk inspection and resealing schedules, using exhaust fans to control humidity, and addressing minor issues like cracked grout immediately.
How do I know if it’s a shower pan leak or grout problem?
A shower pan leak differs from a grout problem because pan leaks cause ceiling stains and widespread subfloor moisture after any shower use, while grout failures create isolated wet areas corresponding to specific cracked grout lines.