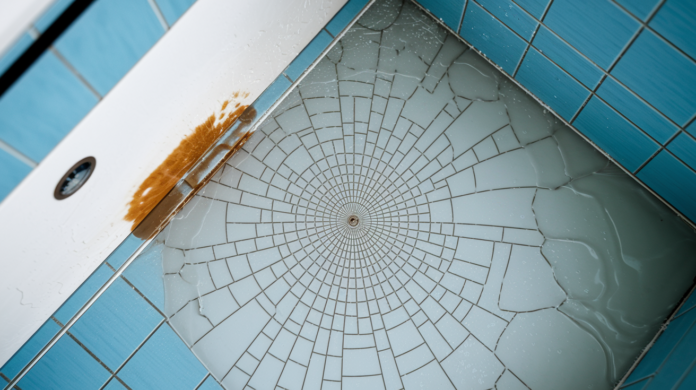

You’ve seen water stains on your ceiling below the bathroom, but the shower itself looks fine. That disconnect confuses a lot of homeowners, and by the time the damage becomes obvious, the leak has been quietly spreading for months. A shower drain pan leak doesn’t announce itself with a dramatic flood. It starts small, sending water into your subfloor, joists, and walls every single time someone showers, creating hidden rot and mold that costs far more to fix than the original leak ever would have.
Identifying a Leaking Shower Pan: Symptoms and Urgency

A leaking shower pan means water’s escaping from the waterproof barrier under your shower floor, getting into places it shouldn’t be. This isn’t about a little moisture. It’s active water moving through your home, creating damage that spreads quietly until you’re facing something way bigger. Catching it early is the difference between a fixable problem and one that involves flooring, framing, and specialists you didn’t budget for.
Watch for these specific symptoms:
- Pan movement or shifting when you step on it. A properly installed pan shouldn’t budge at all. It’s secured with concrete, sealant, and bolts.
- Deflection or up and down bounce. This often signals subfloor water damage underneath and needs immediate attention for safety.
- Visible cracks in the pan surface. In plastic pans, any crack means complete failure. In porcelain or ceramic, cracks indicate serious trouble (not to be confused with grout cracks).
- Water stains on the bathroom floor around the base of the shower, especially discoloration or dark spots.
- Ceiling stains in the room below the bathroom, appearing as yellowed or brown patches.
- Musty odor that lingers even after cleaning, signaling hidden moisture and possible mold.
- Loose tiles that move when pressed, particularly near the drain or along the perimeter.
- Peeling paint or wallpaper on walls adjacent to the shower.
- Discoloration on baseboards near the shower area.
- Standing water that appears in unexpected places, like under the bathroom vanity or in a downstairs closet.
If you notice cracks or splintering, stop using the shower immediately. Every shower you take sends more water into places where it’s attacking wood, drywall, and structural supports. What starts as a small leak becomes subfloor rot, compromised joists, mold colonies behind walls, and repair bills that multiply fast. The stain on the ceiling below isn’t just unsightly. It’s evidence that water has been traveling through your home’s structure, and the visible damage is typically just the beginning. Address these symptoms now, while you’re looking at a repair instead of a renovation.
Common Causes Behind Shower Pan Leaks
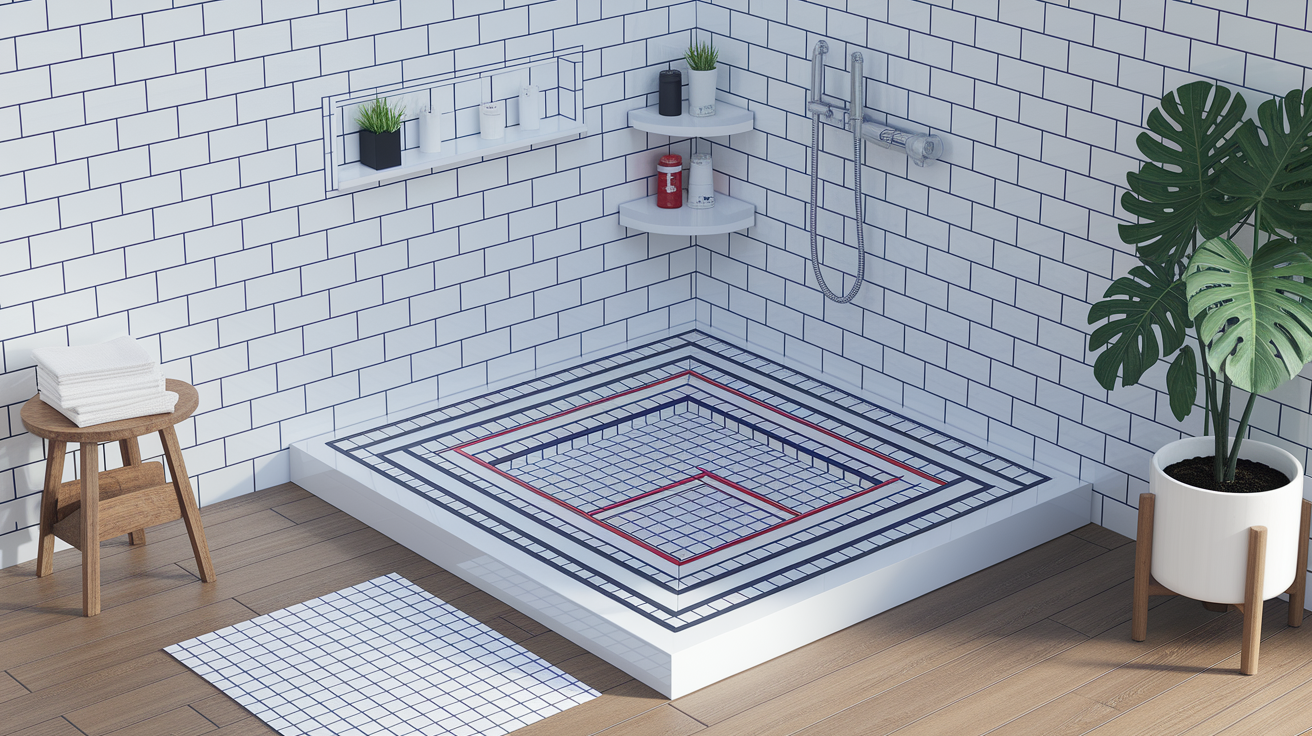
Shower pans don’t usually fail overnight. Most leaks develop from a combination of installation issues, material breakdown, or structural changes that compromise the waterproof barrier over time.
Here are the most common reasons pans start leaking:
- Improper installation with incorrect pre-slope or membrane placement. If the initial pitch wasn’t set right or the waterproof membrane wasn’t positioned correctly, water pools instead of draining.
- Age related deterioration of materials. Shower pans last 10 to 45 years depending on material, but everything breaks down eventually as plastics become brittle, membranes lose flexibility, and sealants dry out.
- Cracked or damaged pan surfaces. Impacts from dropped objects, flexing from inadequate support, or manufacturing defects create pathways for water to escape.
- Failed drain assembly connections with worn gaskets. The connection between pan and drain is a prime leak spot when rubber gaskets compress, crack, or shift out of position.
- Deteriorated grout and caulking in tile installations. Tile pans depend on grout and caulk to seal gaps, and both materials degrade faster in constant wet conditions.
- Settling foundation causing structural shifts. Homes settle over time, and even minor movement can crack rigid pans or separate sealed joints.
- Manufacturing defects. Occasionally pans leave the factory with thin spots, incomplete curing, or material inconsistencies that fail prematurely.
The material your shower pan is made from significantly affects which failure modes you’re most likely to encounter. Plastic and fiberglass pans crack from flexing, ceramic and porcelain pans develop grout issues, and membrane based tile installations fail at seams or corners. Understanding your specific pan type helps predict where problems start and what kind of repair makes sense. We cover the distinct vulnerabilities of each material type in Section 14 “Understanding Shower Pan Types and Vulnerabilities,” including realistic lifespan expectations and the most common leak locations for porcelain, ceramic, fiberglass, and plastic installations.
How to Test and Detect Shower Pan Leaks
Before you start tearing things apart or calling in help, you need to know for certain where water is escaping and how bad the situation is. Accurate diagnosis prevents wasted effort fixing the wrong thing.
Visual Inspection Method
Start with what you can see without tools. Look for cracks running across the shower floor, especially near the drain or in corners where stress concentrates. Check for discoloration. Water damaged areas often appear darker or have a yellowish tint. Press gently on the floor surface in different spots, feeling for soft areas or unusual give that indicates deterioration underneath. Step onto various sections of the pan and notice any movement, flexing, or deflection. A properly installed pan feels solid and doesn’t shift. Inspect the walls immediately adjacent to the shower for water stains, bubbling paint, or wallpaper that’s lifting. If you have access to the room below your bathroom, examine the ceiling directly under the shower for staining, sagging, or visible moisture.
Flood Test Procedure
The standing water test confirms whether your pan is actually leaking and gives you a baseline for how significant the problem is.
- Gather what you need. A large towel or rag to seal the drain, a bucket for measuring water, a marker or piece of tape, and access to the area below the shower if possible.
- Seal the drain completely. Stuff the towel firmly into the drain opening to create a watertight plug, making sure water can’t escape even under pressure.
- Pour 2 inches of measured water into the pan. Fill slowly and evenly across the floor surface, measuring depth at the drain area where it pools deepest.
- Mark the water level clearly. Use tape on the shower wall or a marker on the fiberglass to show exactly where the water line sits.
- Wait 8 hours without using the shower or disturbing the water. This gives time for even slow leaks to show measurable water loss.
- Check for water level drop or visible leaks below. If the water level dropped noticeably, your pan is leaking. Simultaneously check the ceiling below and around the bathroom perimeter for new moisture.
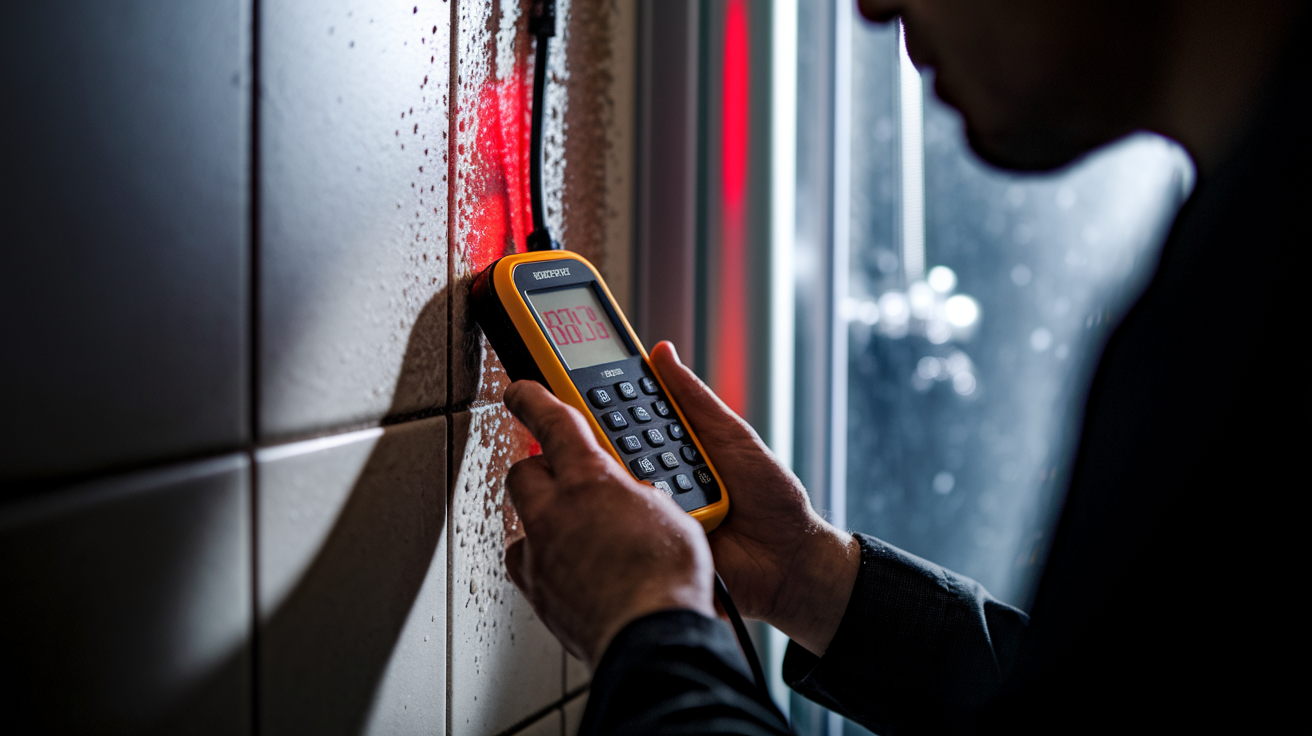
Professionals sometimes use moisture meters to detect hidden dampness inside walls or under flooring without creating holes. These devices measure moisture content in wood and drywall, identifying problem areas that aren’t visible yet. Infrared cameras reveal temperature differences caused by water infiltration, showing the path water travels through your walls and floors. These advanced methods become necessary when you know there’s a leak but the standing water test doesn’t show obvious pan failure. That usually means water is escaping at the drain connection, through gaps in the wall, or from plumbing inside the walls rather than through the pan itself. Consider bringing in professional leak detection when symptoms persist but basic testing doesn’t pinpoint the source.
Tools and Materials for Shower Pan Leak Repair
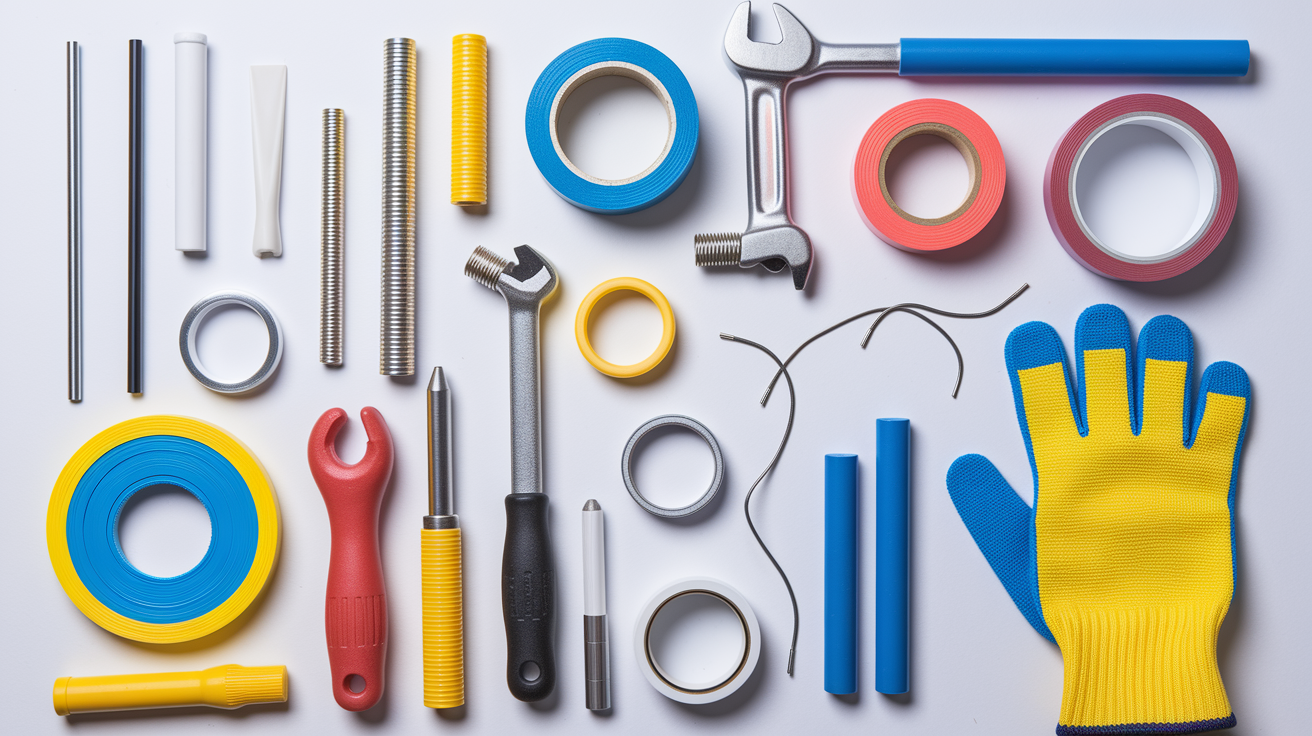
Having everything ready before you start prevents those frustrating mid-project trips to the hardware store when you’re already committed to the repair and the shower is torn apart.
| Tool/Material | Purpose | When Needed |
|---|---|---|
| Strap wrench | Gripping drain connections without damaging chrome finish | Drain assembly work, shower arm removal |
| Teflon tape | Sealing threaded pipe connections | Drain reassembly, shower arm installation |
| Plumber’s putty | Creating waterproof seals around drain flanges | Drain gasket replacement, fixture sealing |
| Silicone sealant (wet area rated) | Sealing joints, seams, and small cracks | Caulk replacement, temporary crack sealing, grout edges |
| Replacement gaskets | Restoring drain assembly waterproof seal | Drain connection leaks, worn rubber components |
| Thinset mortar | Setting tiles and building mortar beds | Tile pan repairs, professional replacements |
| Moisture barrier materials | Waterproofing substrate before tile work | Tile pan installation, membrane repairs |
| Flashlight and small mirror | Inspecting hard to see areas under pan, behind walls | All inspection and repair work |
| Bucket and rags | Catching water, cleaning surfaces, protecting drain | All repair scenarios |
| Safety equipment | Protecting eyes, hands, and respiratory system | Demolition, chemical application, mold presence |
Quality matters more than price for anything that touches water regularly. That bargain silicone caulk breaks down in months under shower conditions, while marine grade or kitchen and bath formulations last years. Replacement gaskets should be exact matches for your drain assembly or better. Generic rubber washers might fit, but they compress differently and fail faster than manufacturer specified parts. Materials designed specifically for wet areas include mold inhibitors, maintain flexibility through temperature changes, and handle constant water exposure without degrading. Cutting corners on materials usually means doing the job twice.
Temporary Fixes for Shower Pan Leaks
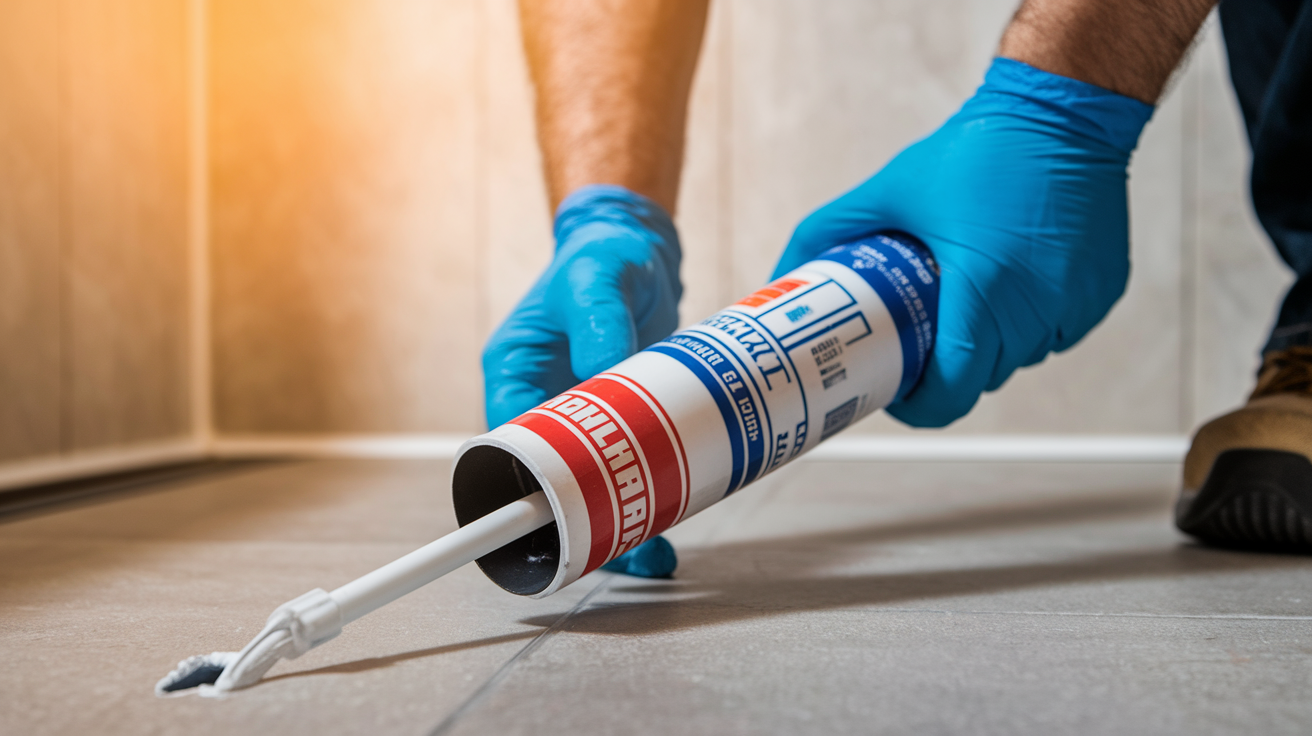
Temporary fixes buy you time to arrange proper repairs, gather funds, or wait for a contractor’s schedule to open up. They’re not solutions, but they can prevent damage from getting worse while you plan the real fix.
Here’s what actually works for short term leak control:
- Apply waterproof silicone caulk to visible cracks and seams. Clean and dry the area thoroughly first, then run a generous bead of caulk into the crack, smoothing it firmly into the gap to maximize contact.
- Regrout damaged areas with a thick application. Remove loose or crumbling grout, clean the joints, then pack new grout in deeply, slightly overfilling to ensure complete coverage.
- Use epoxy or masonry sealer on small holes and deteriorated spots. These products create a hard waterproof layer over damage, though they won’t hold if the underlying structure keeps flexing or moving.
- Install a temporary pan liner over the existing surface. Heavy duty vinyl liners ($50 to $100) lay over your damaged pan and seal at the drain, redirecting water properly for a few months while you plan replacement.
- Seal around the drain flange with plumber’s putty. If the connection between drain and pan is weeping water, adding putty can slow the leak temporarily.
For waterproofing products, application techniques, and sealing best practices that extend the life of your repairs, Section 11 “Preventing Future Shower Pan Leaks” covers proper materials selection and maintenance schedules that work.
These patches typically last weeks to a few months depending on shower usage and the severity of the underlying damage. Caulk and epoxy hold better on stable surfaces but crack again on pans that flex or move. Grout patches work only if the substrate underneath isn’t compromised. Liners work longer but can shift or develop their own holes. Think of temporary fixes as damage control, not repairs.
If you see cracks widening, pieces splintering off, or the pan shifting more each time you step in the shower, stop using it completely. Every shower sends more water into your subfloor, walls, and framing. Water damage accelerates once materials are saturated, and the difference between stopping now versus waiting another week can mean the difference between replacing a pan versus replacing floor joists. At that point, using another bathroom or hitting the gym for showers preserves your home better than hoping a patch holds.
Step by Step DIY Shower Pan Repair Guide
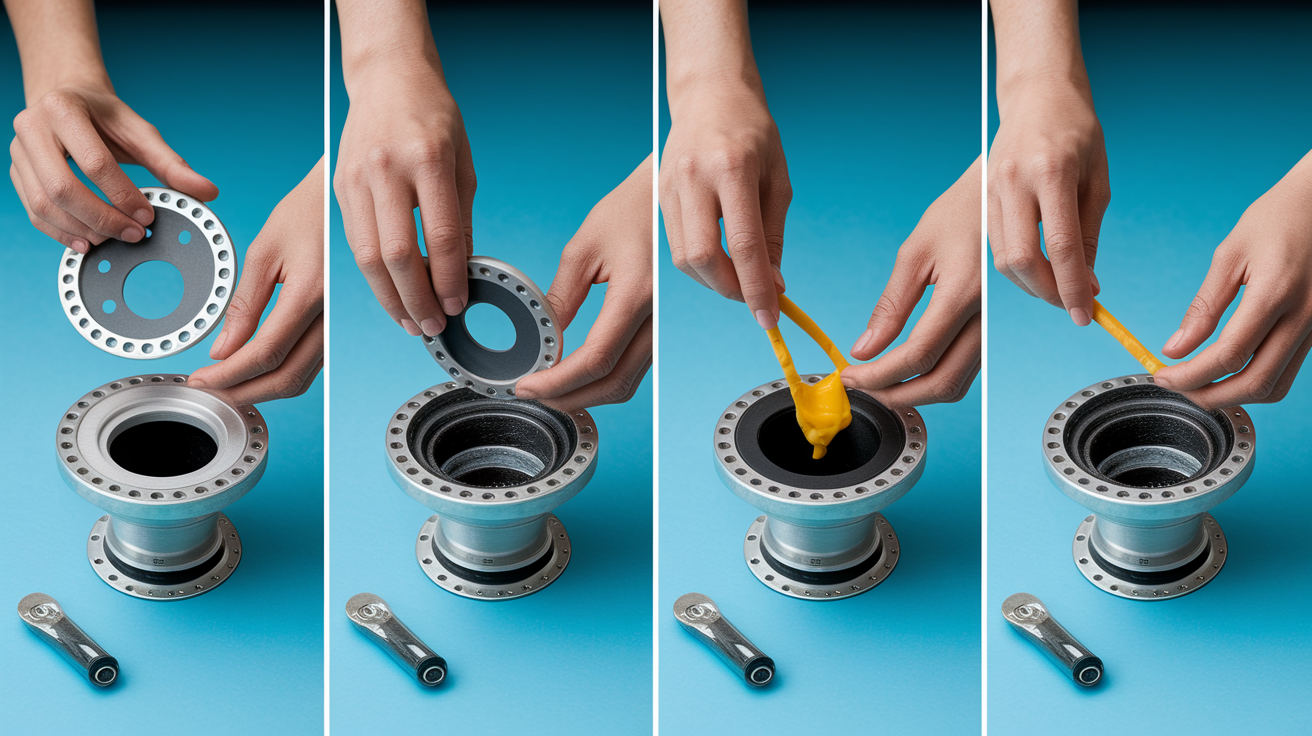
Some shower pan repairs make sense for homeowners to tackle, while others risk making expensive problems worse. Drain gasket replacement, minor crack sealing, and grout repair fall into the manageable category for someone comfortable with basic tools and following instructions carefully. Full pan replacement, membrane work, and anything involving structural damage should go to professionals who do this regularly and know how to waterproof it correctly. Section 10 “DIY Repair vs Hiring a Professional Plumber” helps you figure out which category your situation falls into based on damage extent, your skill level, and what’s actually at risk if it goes wrong.
Replacing Drain Gaskets and Seals
The connection where your drain meets the shower pan is a common leak spot, and replacing the gasket is one of the more straightforward fixes that actually solves the problem permanently when done right.
- Cover the drain with a rag to prevent dropped screws from disappearing down the pipe, because finding a tiny screw in your plumbing system isn’t happening.
- Access the drain assembly from below if your setup allows it. Some drains are accessible from a basement or crawl space beneath. If not, you’ll work from above.
- Remove the drain cover and clean the area thoroughly. Unscrew or pry up the visible drain cover, then scrape away old putty, hair, soap scum, and mineral deposits until you see clean surfaces.
- Inspect the gasket for wear, cracking, compression, or hardening. The rubber seal should be pliable and intact. If it’s flattened, cracked, or stiff, it needs replacement.
- Apply plumber’s putty to the new gasket by rolling it into a rope and pressing it around the gasket’s contact surfaces for extra waterproofing.
- Reinstall drain components in reverse order, tightening connections firmly but not overtightening, which can crack the pan or compress the new gasket too much.
- Test for leaks using the flood test method. Fill the pan with 2 inches of water and wait several hours to confirm the new seal holds.
Sealing Minor Cracks in Fiberglass Pans
Small cracks in fiberglass or acrylic pans can be sealed if they’re caught before the surrounding material has flexed enough to cause structural damage underneath.
- Clean and dry the damaged area thoroughly. Use rubbing alcohol or acetone to remove soap residue, body oils, and any moisture, then let it dry completely for at least an hour.
- Sand lightly around the crack with fine grit sandpaper. Just enough to roughen the surface for better adhesion, creating a slightly larger repair area than the visible crack.
- Apply fiberglass repair epoxy according to the manufacturer’s instructions. Most products involve mixing two components, then spreading the mixture over and into the crack, slightly overfilling for strength.
- Allow proper curing time of 24 to 48 hours minimum. Resist the urge to use the shower sooner. Incomplete curing means the repair fails and you’re back where you started.
- Perform a flood test after curing to confirm the repair sealed the leak completely before assuming the problem is solved.
Safety matters more than speed here. Work in a ventilated area when using epoxy or solvents. Wear gloves to protect your skin from chemicals that can cause irritation or allergic reactions. Safety glasses prevent splashes from reaching your eyes during mixing and application. If you’re working in a small bathroom without windows, set up a fan pointed outward to move fumes out.
Follow the product instructions exactly. Mixing ratios, application thickness, temperature requirements, and curing times aren’t suggestions. They’re the conditions that make the chemical reaction work correctly. Guessing or improvising usually means the repair fails within weeks. Be realistic about limitations. If the crack keeps widening, if the pan feels weak around the damaged area, or if this is your second attempt at sealing the same spot, the problem is bigger than a surface repair can fix. At that point, continuing to patch it delays the inevitable replacement while water keeps damaging everything below.
Professional Shower Pan Replacement Process
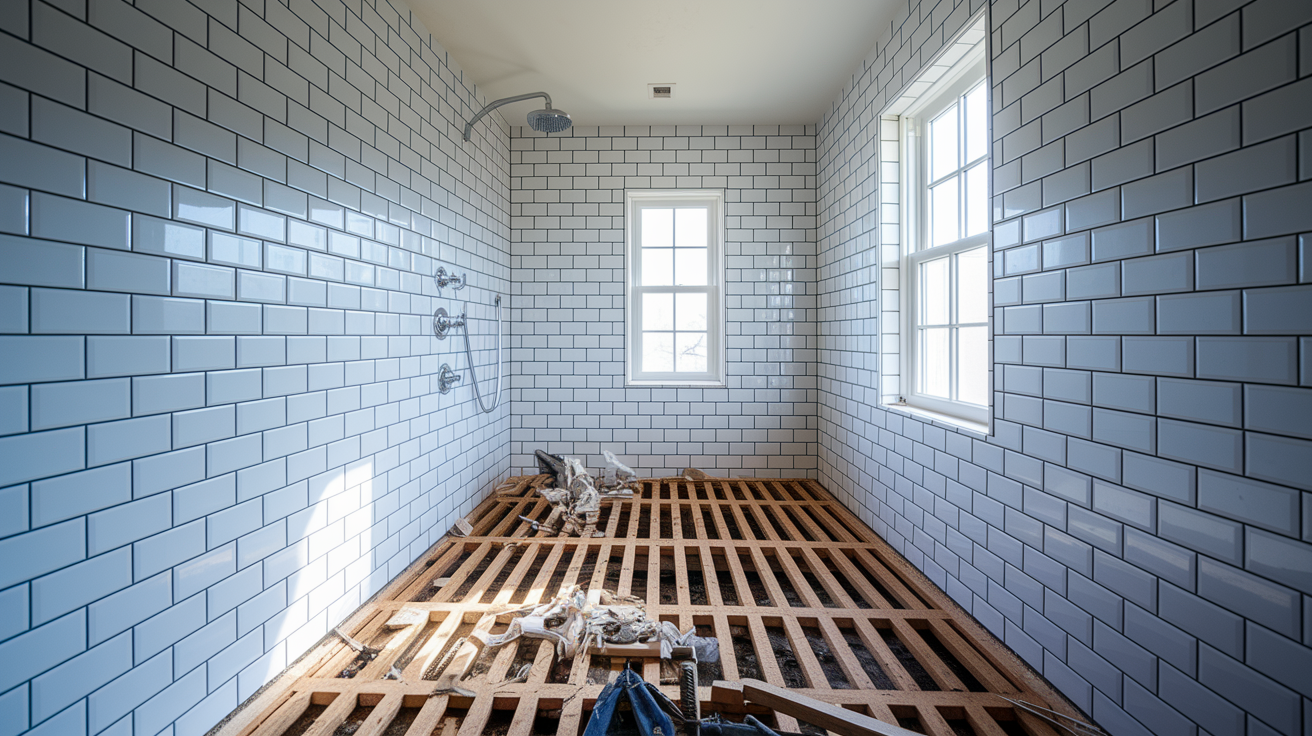
A full shower pan replacement sounds more disruptive than it often needs to be. Professionals can frequently replace a failed pan without tearing out your entire shower enclosure, which keeps costs and timeline more reasonable than homeowners typically fear.
Here’s what actually happens during a professional replacement:
- Initial inspection and damage assessment. The contractor examines the pan, tests for leaks, checks the subfloor and framing for water damage, and determines whether surrounding materials can be preserved.
- Removal of the existing pan and damaged materials. This involves carefully demolishing the old pan, removing any compromised backer board or waterproofing, and exposing the subfloor for inspection.
- Inspection and repair of subfloor and framing. Water damage often extends into floor joists, plywood subflooring, or wall framing. These structural elements get repaired or replaced before a new pan goes in.
- Installation of pre-slope layer. For tile pans, a mortar bed with the correct slope toward the drain goes down first to ensure water movement.
- Placement of waterproof membrane liner. This flexible barrier laps up the walls and seals at corners, creating the actual waterproof protection beneath the visible surface.
- Installation of mortar bed with proper slope. For tile pans, another mortar layer goes over the membrane, establishing the final pitch and providing a solid base for tile.
- Setting the new pan or completing tile installation. Prefabricated acrylic or fiberglass pans get set and secured. Tile pans receive their tile, grout, and final sealing.
- Final drain assembly connection with testing. The drain gets properly connected to the new pan, sealed with appropriate gaskets and putty, then tested with standing water to verify no leaks.
Replacing a prefabricated acrylic pan involves fewer steps and variables than a custom tile installation. The pan arrives as one piece, sized to fit standard shower dimensions. Professionals remove the old unit, address any subfloor damage, install the new pan, connect the drain, seal the edges, and test it. The work typically takes 2 to 3 days including cleanup.
Custom tile pan replacement requires significantly more expertise and time. Contractors must create proper pre-slope with mortar, install the waterproof membrane without gaps or wrinkles at corners, build the final mortar bed with correct pitch, and set tile while maintaining waterproofing integrity. Each layer needs to cure before the next can be installed, and getting the slope right takes experience. There’s no fixing it after the fact. This is why tile installations are more expensive and why improper work leads to repeat leak problems that require tearing everything out again. Material choices matter for long term success, and Section 14 “Understanding Shower Pan Types and Vulnerabilities” breaks down the specific durability characteristics, maintenance requirements, and typical lifespan for acrylic, tile, fiberglass, and other pan materials.
Most professional replacements take 2 to 5 days from start to finish. Simple acrylic pan swaps land on the shorter end. Tile installations, especially if they involve water damage repair, push toward the longer timeline. Factor in curing time for mortar and grout, and plan to use another bathroom during the process. Rushing any stage usually means problems later, so contractors who promise unrealistic speeds probably cut corners on preparation or waterproofing.
Shower Pan Leak Repair and Replacement Costs

What you’ll pay to fix a leaking shower pan varies considerably based on how far the damage extends, what materials you choose, and whether you’re patching a small problem or replacing everything.
| Repair Type | Cost Range | Timeline | Best For |
|---|---|---|---|
| Minor crack sealing | $30-$150 | 1-2 hours | Small surface damage in fiberglass or acrylic pans with no structural issues |
| Grout repair and resealing | $100-$500 | 2-4 hours | Tile pan maintenance when grout has deteriorated but membrane and substrate remain intact |
| Drain assembly replacement | $150-$400 | 2-3 hours | Gasket failures and loose connections when the pan itself is sound |
| Fiberglass/acrylic pan replacement | $530-$1,800 | 2-3 days | Prefab units in standard sizes with minimal water damage |
| Custom tile pan replacement | $1,500-$4,600 | 3-5 days | Permanent solution with design flexibility, required when tile pan has failed |
| Water damage remediation | Variable, often $500-$3,000+ | 1-5 days | Addressing structural damage to subfloor, joists, drywall, or framing before pan work |
| Temporary pan liner installation | $50-$100 | 1-2 hours | Short term protection while planning permanent repair |
Several factors push costs higher or lower within these ranges. Shower size matters. A standard 32×32 inch unit costs less to replace than a 48×60 inch custom installation simply because there’s less material and labor involved. Accessibility affects pricing too. If your shower sits on a concrete slab with no access from below, drain work becomes more complicated and expensive than a shower over a basement where plumbers can reach connections easily. Extent of subfloor damage is often the wild card. A pan that’s been leaking for years might require new floor joists, plywood replacement, and mold remediation that doubles the total project cost. Regional labor rates vary significantly. The same tile pan replacement might cost $1,800 in a rural area and $4,000 in a major metro market.
Material selection creates another cost variable. Basic fiberglass pans start around $100, while custom tile work with premium materials pushes costs substantially higher. The difference isn’t just appearance. Different materials have different vulnerabilities, maintenance requirements, and expected lifespans that affect long term value. Section 14 “Understanding Shower Pan Types and Vulnerabilities” covers these material specific considerations, including realistic lifespan expectations for porcelain, ceramic, fiberglass, and plastic options that help you understand whether paying more upfront makes sense for your situation.
Get at least three quotes from licensed contractors before committing to any major work. Make sure each estimate breaks down what’s included: old pan removal, subfloor inspection and repair, new materials, labor, disposal fees, and warranty terms. An estimate that’s significantly lower than others might be skipping crucial waterproofing steps or planning to use substandard materials. The cheapest option rarely stays cheapest when you factor in how long the repair actually lasts.
Water Damage and Mold Risks from Leaking Shower Pans
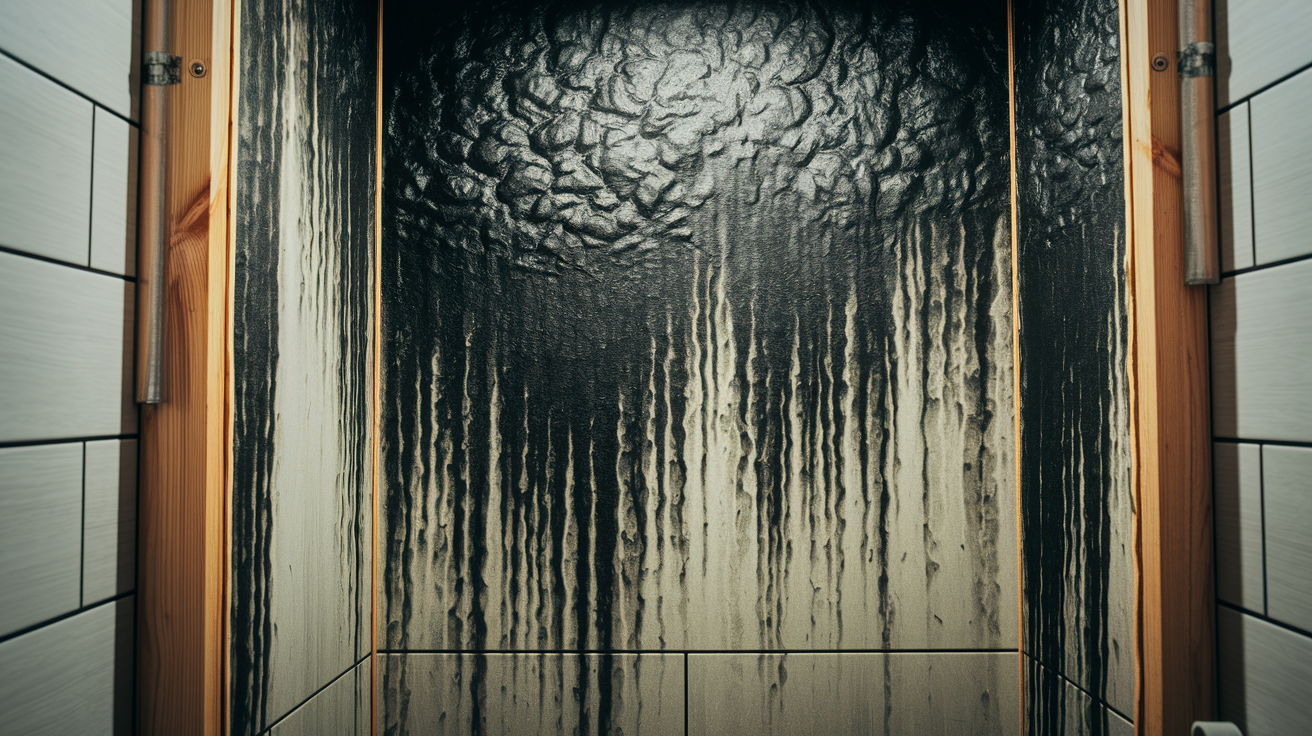
Water escaping your shower pan doesn’t just sit there. It soaks into subflooring, seeps along floor joists, wicks up wall studs, and saturates insulation. Drywall acts like a sponge. Wood swells and softens. Within 24 to 48 hours of getting wet, mold spores that are always present in household air find the perfect conditions to colonize and multiply. The moisture you can’t see is attacking your home’s structure continuously.
Specific damage happens in predictable ways:
- Subfloor deterioration and sagging. Plywood subflooring swells when saturated, loses structural integrity, and eventually sags or collapses under weight.
- Floor joist weakening and rot. Wooden framing members soften as water breaks down the wood fibers, and dry rot fungus accelerates the destruction.
- Mold and mildew growth behind walls. Colonies establish in damp drywall and insulation, spreading far beyond the visible leak source.
- Ceiling damage in rooms below. Water travels through floor assemblies to create stains, peeling paint, and eventually sagging or collapsed ceiling sections.
- Insulation saturation reducing effectiveness. Wet insulation loses R-value, won’t dry out properly, and becomes a mold growth medium.
- Increased pest attraction to moisture. Termites, carpenter ants, and other wood destroying insects target damp wood as easy feeding.
- Compromised structural integrity affecting home safety. Weakened framing can’t support loads properly, creating actual safety hazards if floor joists fail.
Mold growing behind your walls isn’t just an aesthetic problem. Airborne mold spores trigger respiratory issues, aggravate asthma, cause allergic reactions, and create persistent health problems for sensitive individuals. People with existing respiratory conditions, compromised immune systems, or mold allergies experience more severe symptoms. Even healthy household members often develop irritation, coughing, or sinus issues when mold colonies become established. You might not see the growth, but you’re breathing the spores it releases.
Fixing water damage almost always costs more than addressing the leak that caused it. A $500 drain gasket replacement becomes a $3,000 project when you add subfloor replacement and mold remediation because the leak went unaddressed for months. Structural repairs require specialists beyond plumbers. Carpenters repair or replace damaged joists and subflooring. Drywall contractors replace water damaged walls and ceilings. Mold remediation specialists handle contaminated materials using containment and safety procedures. Each additional trade adds cost and extends your timeline. Stop the leak early, and you avoid most of this cascade.
DIY Repair vs Hiring a Professional Plumber
Some shower pan repairs are reasonable DIY projects for homeowners who follow instructions carefully and work methodically. Others turn into expensive disasters when approached without proper training, tools, and experience.
| Scenario | DIY Appropriate | Hire Professional |
|---|---|---|
| Minor caulk and grout repairs | Yes, if you’re comfortable removing old material and applying new sealant properly | If grout deterioration is extensive or you’re seeing continued leaks after repair |
| Drain gasket replacement | Yes, if you have access to the drain from below and basic plumbing tools | If drain assembly is corroded, damaged, or you’re uncomfortable working with plumbing connections |
| Small crack sealing in fiberglass pan | Yes, for surface cracks with no surrounding flex or structural damage | If cracks keep reappearing, if pan feels weak, or if you’re on your second repair attempt |
| Membrane liner installation | No, requires proper technique at corners, correct lapping, and professional grade materials | Always hire professional for waterproofing membrane work |
| Extensive water damage | No, structural repair requires carpentry experience and code knowledge | Always hire professional when subfloor, joists, or framing show damage |
| Complete pan replacement | Maybe for acrylic pans if you have strong DIY skills and understand waterproofing; no for tile pans | Hire professional for tile pan installation, and consider professional for acrylic to ensure warranty validity |
Improper DIY installation creates problems that cost more to fix than hiring professionals initially. Incorrectly installed waterproof membranes leak immediately or fail within months. Mortar beds without proper slope create standing water that accelerates deterioration. Overtightened drain connections crack pans. Undertightened connections leak. Missing or incorrect gaskets let water through. Skipped preparation steps mean patches don’t adhere. Many shower pan products and prefabricated units come with warranties that specifically require professional installation. DIY work voids these warranties, meaning if something fails, you’re covering the full replacement cost yourself. Building codes exist for good reason, and shower waterproofing has specific requirements in most jurisdictions. Work that doesn’t meet code creates liability issues and problems when you eventually sell your home.
When you’re interviewing contractors, ask these specific questions to separate qualified professionals from those you should avoid:
- Are you licensed, bonded, and insured for plumbing work in this area? Verify this independently through your local licensing board.
- How many years of specific shower repair and replacement experience do you have? General plumbing experience doesn’t equal shower pan expertise.
- Do you offer free estimates with written detailed breakdowns? Verbal estimates and vague pricing usually mean surprise charges later.
- What’s your typical timeline for this type of project? Unrealistically fast promises suggest corner cutting.
- What warranty do you provide on your work and on materials? Quality contractors stand behind their installations.
- Can you provide references from recent similar projects? Talking to past customers reveals how contractors handle problems and whether work actually holds up.
Contact at least three local plumbers to get comparable quotes and assess their approach to your specific situation. Some will recommend repair while others push replacement. Understanding why helps you make an informed choice. The contractor who takes time to explain options, shows you what’s damaged, and discusses tradeoffs is usually more trustworthy than the one who immediately pushes the most expensive solution or dismisses your questions.
Preventing Future Shower Pan Leaks
Regular maintenance catches small issues before they become leak sources and extends your shower pan’s lifespan significantly. Different materials require different attention, and Section 14 breaks down specific lifespan expectations and vulnerabilities for acrylic, tile, fiberglass, and other pan types so you know what to watch for in your particular installation.
Here’s what actually prevents leaks when done consistently:
- Inspect caulking and grout every 3 to 6 months for gaps, cracks, or separation. Look closely at corners, seams, and anywhere different materials meet. Catching deterioration early means a tube of caulk fixes it instead of requiring pan replacement.
- Reseal grout lines annually with quality sealer designed for wet areas. Grout is porous and absorbs water unless sealed. Annual resealing maintains the waterproof barrier.
- Replace deteriorated caulk immediately with high quality silicone caulk. Don’t wait until you see water damage. If caulk is pulling away, cracking, or turning dark from mildew, it’s failing.
- Seal all horizontal surfaces like soap dishes and shelves with silicone caulk. These areas collect standing water and need extra protection.
- Keep drain clear of hair and debris weekly. Clogs create standing water that tests your waterproofing and accelerates seal deterioration.
- Check for tile movement or loose areas quarterly. Press on tiles around the perimeter and near the drain. Any movement means water is getting behind them and damaging the substrate.
- Inspect visible plumbing connections for corrosion, mineral buildup, or moisture. Early detection of connection issues prevents major leaks.
- Ensure proper ventilation during and after showers. Run the bathroom fan or open a window to reduce moisture levels that promote mold and accelerate material breakdown.
- Avoid harsh chemical cleaners that degrade sealants. Bleach and acidic cleaners attack caulk, grout, and some pan materials. Use pH neutral cleaners designed for showers.
- Replace worn gaskets and seals immediately with high quality components. Don’t install cheap replacement parts. Quality gaskets last years while budget options fail in months.
- Address any pan movement immediately. Even slight flexing means the installation is compromised and will fail soon if not corrected.
- Perform annual flood tests to verify waterproof integrity. The standing water test from Section 3 confirms your pan is still holding up before leaks cause damage.
Proper initial installation following building codes creates the foundation that makes all this maintenance actually work long term. Codes specify waterproofing requirements, minimum slope toward the drain, proper membrane lapping at walls, and correct drain assembly installation for good reason. These aren’t bureaucratic hurdles. They’re the proven methods that prevent the leak problems we’re talking about here. Quality waterproofing materials matter as much as technique. A properly installed cheap membrane fails faster than a correctly installed premium product. The membrane creates your actual waterproof protection. Everything else is cosmetic or structural, but that membrane is what keeps water where it belongs. Correct slope toward the drain ensures water doesn’t pool anywhere on your shower floor. Even small flat spots where water sits accelerate sealant breakdown and create conditions for mold growth. The slope should be consistent across the entire pan, typically a quarter inch drop per foot of distance from the walls toward the drain.
Insurance Claims and Home Warranty Coverage
Understanding what your insurance actually covers before you need to file a claim prevents confusion and disappointment when you’re dealing with water damage. Most policies make a clear distinction between sudden unexpected water events and gradual deterioration from deferred maintenance
Final Words
A shower drain pan leak won’t fix itself, and waiting just lets water work deeper into your home.
If you’ve spotted warning signs like ceiling stains, loose tiles, or that musty smell that won’t go away, you’re already ahead of the problem. Testing the pan, understanding your repair options, and acting quickly will protect your bathroom from serious water damage and mold growth.
Some fixes are manageable on your own. Others need a pro to get it right the first time.
Either way, you now know what you’re dealing with and what comes next. That’s half the battle.
FAQ
What should you do if a shower pan is leaking?
If a shower pan is leaking, stop using the shower immediately to prevent further water damage. Perform a visual inspection for cracks, stains, or soft spots, then do a flood test by sealing the drain and adding 2 inches of water for 8 hours. If the water level drops or you see leaks below, either attempt temporary fixes like applying silicone caulk to visible cracks or call a licensed plumber for proper repair. Document any damage with photos and check your homeowners insurance policy for coverage.
What is the life expectancy of a shower pan?
The life expectancy of a shower pan ranges from 10 to 45 years depending on the material type. Fiberglass pans typically last 15 to 20 years, acrylic pans last 20 to 30 years, and porcelain or ceramic tile pans can last 30 to 45 years with proper maintenance. Regular maintenance like resealing grout annually, keeping the drain clear, and replacing worn gaskets can extend your shower pan’s lifespan regardless of material.
Does insurance cover a leaking shower pan?
Insurance coverage for a leaking shower pan depends on whether the damage was sudden and accidental or resulted from gradual deterioration. Standard homeowners insurance typically covers sudden water damage caused by a failed shower pan but not the pan replacement itself if it failed due to age or lack of maintenance. Most home warranties exclude water damage but may cover some plumbing repairs. Review your specific policy and contact your insurance agent before starting repairs.
What is the best sealant for a shower pan drain?
The best sealant for a shower pan drain is high-quality silicone caulk designed specifically for wet areas, combined with plumber’s putty for the drain assembly connections. Use 100% silicone caulk rated for bathrooms and waterproof applications around the drain flange and seams. For drain gaskets and connections, apply plumber’s putty to create watertight seals between components. Replace worn gaskets and O-rings with high-quality rubber or neoprene components designed for shower drains to ensure long-lasting durability.
How can you tell if your shower pan is leaking?
You can tell if your shower pan is leaking by watching for water stains on the ceiling below the bathroom, musty odors in or around the shower area, loose or buckling tiles, soft spots in the bathroom floor, or visible cracks in the pan surface. Other signs include unusual movement or deflection when stepping in the shower, mold growth around the shower base, and standing water that doesn’t drain properly. If you notice any of these symptoms, perform a flood test immediately.
Can you repair a cracked shower pan without replacing it?
You can repair minor cracks in fiberglass or acrylic shower pans using fiberglass repair epoxy as a temporary fix, but cracks in plastic or porcelain pans indicate complete failure requiring full replacement. Clean and sand the cracked area, apply the repair epoxy according to manufacturer instructions, allow 24 to 48 hours of curing time, then perform a flood test. These repairs typically last only weeks to months and are not permanent solutions for significant damage.
How much does it cost to fix a leaking shower pan?
Fixing a leaking shower pan costs between $30 and $500 for minor repairs like sealing cracks and regrouting, while full shower pan replacement costs between $530 and $4,600 depending on material type and damage extent. Drain assembly replacement runs $150 to $400, fiberglass or acrylic pan replacement costs $530 to $1,800, and custom tile pan replacement ranges from $1,500 to $4,600. Additional costs may apply for water damage remediation affecting subfloors or structural framing.
Should you hire a professional or DIY a shower pan repair?
You should hire a professional for shower pan repairs involving membrane liner installation, extensive water damage, structural subflooring issues, or complete tile pan replacement due to the complexity of waterproofing systems. DIY repairs are appropriate for minor tasks like replacing drain gaskets, sealing small cracks in fiberglass pans, and regrouting damaged areas. Improper installation can lead to costly water damage, mold growth, and voided warranties, so assess your skill level honestly before deciding.
How do you perform a flood test on a shower pan?
You perform a flood test on a shower pan by sealing the drain completely, pouring 2 inches of measured water into the pan, marking the water level with tape or marker, then waiting 8 hours without using the shower. After 8 hours, check if the water level dropped or if any leaks appeared on the ceiling below or around the shower base. If the water level remains unchanged and no leaks appear, the pan is holding water properly.
What causes shower pans to fail and leak?
Shower pans fail and leak due to improper installation with incorrect pre-slope or membrane placement, age-related deterioration of materials, cracked or damaged pan surfaces, failed drain assembly connections with worn gaskets, and deteriorated grout and caulking in tile installations. Other causes include settling foundations causing structural shifts, manufacturing defects, and lack of regular maintenance allowing small problems to worsen over time. Material type significantly affects vulnerability to specific failure modes.