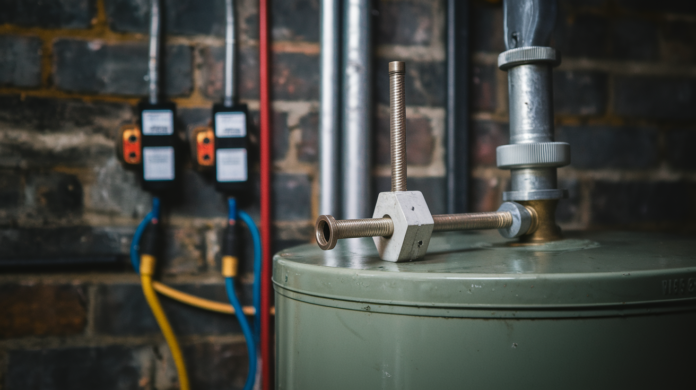

You’ve probably already tried yanking on that anode rod with everything you’ve got, and it didn’t budge. That hex head is locked in there like it was welded shut. The problem isn’t your strength. It’s that years of mineral buildup, rust, and heat have turned those threads into one solid mass of corrosion. A stuck anode rod needs the right approach, not just more muscle. The tools and techniques that actually work break the corrosion seal instead of fighting it head-on, using leverage, chemistry, and patience to separate metal that’s been fused together for years.
Advanced Solutions for Seized Anode Rods
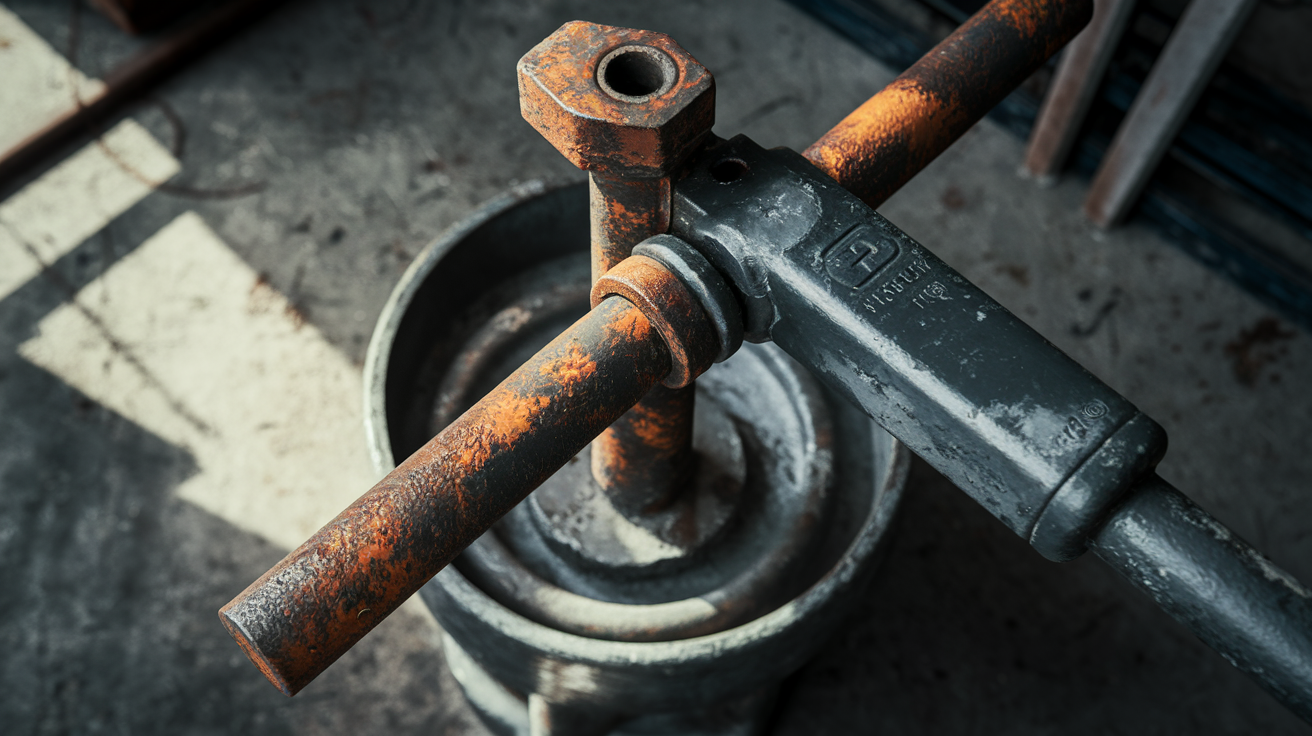
If you’re reading this, a standard socket wrench probably already failed. Maybe you’ve put your weight into it, heard some creaking, felt the tank shift, but that rod stayed put. That’s where you need the next level of approach.
Here are the six techniques that work when basic tools don’t:
- Food grade penetrating oil overnight soak before removal attempts
- Reverse threading technique (clockwise tightening then counterclockwise removal)
- Cheater pipe extension on breaker bar for additional leverage
- Car jack horizontal pressure against wall stud for slow, steady force
- Electric impact wrench with 300+ ft lbs torque rating
- Heat application with propane torch on hex head only
These methods work because they attack the problem from different angles. Penetrating oil seeps into microscopic gaps and breaks down the rust bonds holding everything together. Reverse threading creates tiny movements that crack the corrosion seal instead of fighting against it. Mechanical leverage overcomes the friction resistance that straight muscle power can’t budge. Heat causes the metal to expand just enough to separate threads that have fused together over years of exposure to minerals and moisture.
Start with the penetrating oil soak combined with reverse threading. If that shows some movement but not enough, move to extended leverage tools, like a breaker bar with a cheater pipe. When that reaches its limit, bring in the impact wrench. For the most stubborn cases where everything else has failed, the car jack method applies slow, steady, unstoppable pressure that can break loose what rapid force cannot.
Essential Tools and Equipment for Stuck Anode Rod Removal
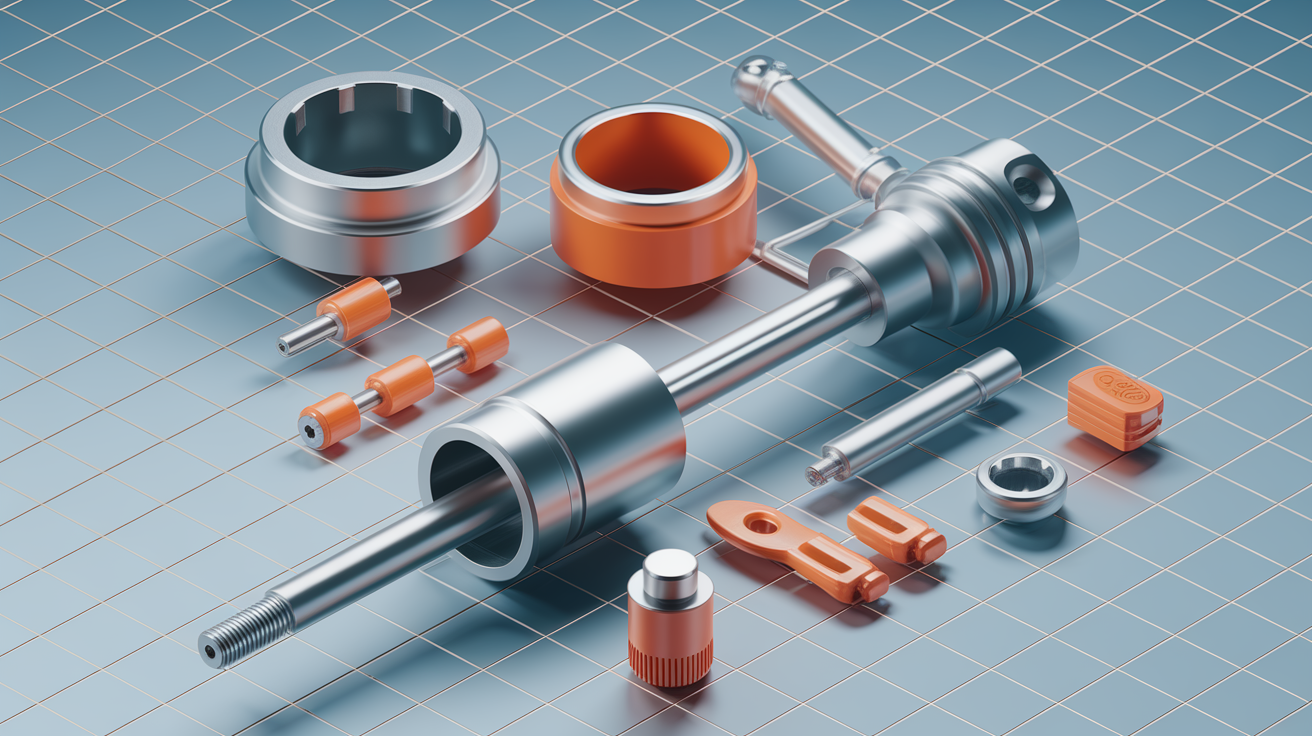
Getting the right tools together before you start saves you from stopping mid job when things get difficult. And with a stuck anode rod, they will get difficult.
Here’s what you need:
- 6 point deep socket (1 1/16″ or specific to your anode rod hex head)
- Socket wrench or ratchet with extension
- Breaker bar (18 to 24 inches recommended)
- Impact wrench (electric or pneumatic for severe cases)
- Garden hose for draining
- Utility bucket
- Adjustable wrench or pipe wrench (backup)
- Safety gloves and eye protection
- Flashlight for inspection
Socket selection matters more than you’d think. Use a 6 point socket instead of a 12 point. The 6 point grabs all six sides of the hex head evenly, while a 12 point only contacts the corners and can round them off when you apply serious force. Get a deep socket so it reaches down over the threads. Most standard anode rods use a 1 1/16″ hex head, but measure yours before you buy. A stripped hex head turns a hard job into an almost impossible one.
When a standard socket wrench won’t break the rod loose, escalate to a breaker bar. The extra length gives you mechanical advantage. If the breaker bar still isn’t enough, you’ll know it’s time for the impact wrench. Don’t skip straight to the impact wrench just because it’s faster. Try the manual methods first. They give you better control and less risk of damaging the tank threads if something goes wrong.
Penetrating Oil Application and Heat Methods for Corrosion

Use food grade penetrating liquid only. Not WD 40. Not PB Blaster. Not any automotive penetrating oil. Those products will contaminate your water supply and create problems that last long after the anode rod is replaced. Food grade penetrating oils are designed for equipment that handles consumables and won’t poison your drinking water.
Apply the penetrating oil generously around the hex head where the threads meet the tank. Let it sit overnight. The longer it sits, the deeper it penetrates into the corroded threads. Reapply before you attempt removal. Some people apply it, wait 12 hours, apply again, then start working. That extra application can make the difference.
Heat application with a propane torch works on the hex head only. Never heat the tank itself. Focus the flame on the metal of the anode rod hex for 30 to 60 seconds. The thermal expansion can break the corrosion bond. Make sure you’re in a well ventilated area. Clear any flammable materials away from the work area. Have the tank protected from direct flame contact. Some people soak a towel and drape it over the tank surface around the anode rod to protect the surrounding area.
Set your expectations correctly. Severely corroded rods sometimes won’t respond to penetrating oil or heat alone. An anode rod that’s been in place for 20 years with hard water exposure might have rust that goes deeper than any liquid can reach. Heat might char the old thread sealant but not create enough expansion to break the bond. These methods work best as preparation before you apply mechanical force, not as standalone solutions.
Advanced Leverage Techniques with Tank Stabilization

The cheater pipe method extends your breaker bar handle using a length of PVC or metal pipe. Get a pipe about 3 to 4 feet long that fits snugly over your breaker bar handle. Slide it on, position yourself for leverage, and apply steady force. This gives you serious mechanical advantage, but use controlled pressure. If you crank too hard without stabilizing the tank, you can spin the entire water heater, damage the water connections, or stress the gas line. Go slow. Feel for movement. Stop if the tank starts rotating instead of the anode rod.
The car jack leverage technique is an alternative that applies slow, steady pressure instead of your body weight. Position a car jack horizontally between the breaker bar and a wall stud. Use a 2×4 as an intermediary between the jack and the breaker bar to distribute force evenly. Start with the 2×4 farther from the breaker bar, then progressively move the jack closer as you wedge wood pieces into place. Finally, position the jack directly on the breaker bar while braced against the wall stud. Crank the jack slowly. This method applies unstoppable force over time. Expect about 15 minutes of steady pressure before a severely seized rod finally breaks loose.
Tank stabilization is critical during high leverage attempts. Use ratchet straps to secure the tank to wall studs or floor anchors. Wedge a 2×4 between the tank and the wall to prevent rotation. Have someone apply counter pressure on the opposite side if possible. The goal is to keep all that force you’re applying focused on the anode rod threads, not on shifting the entire tank.
The water weight method helps stabilize during removal. Leave the water in the tank. The extra weight makes the tank less likely to shift when you’re torquing on the anode rod. Some guides tell you to drain the tank to relieve pressure, and you should drain a few gallons, but leaving most of the water in place keeps the tank grounded. Verify the tank remains level and properly supported on its stand throughout all high force removal attempts. A shifted tank can crack water lines or gas connections.
Impact Wrench Strategy for Extremely Stuck Rods
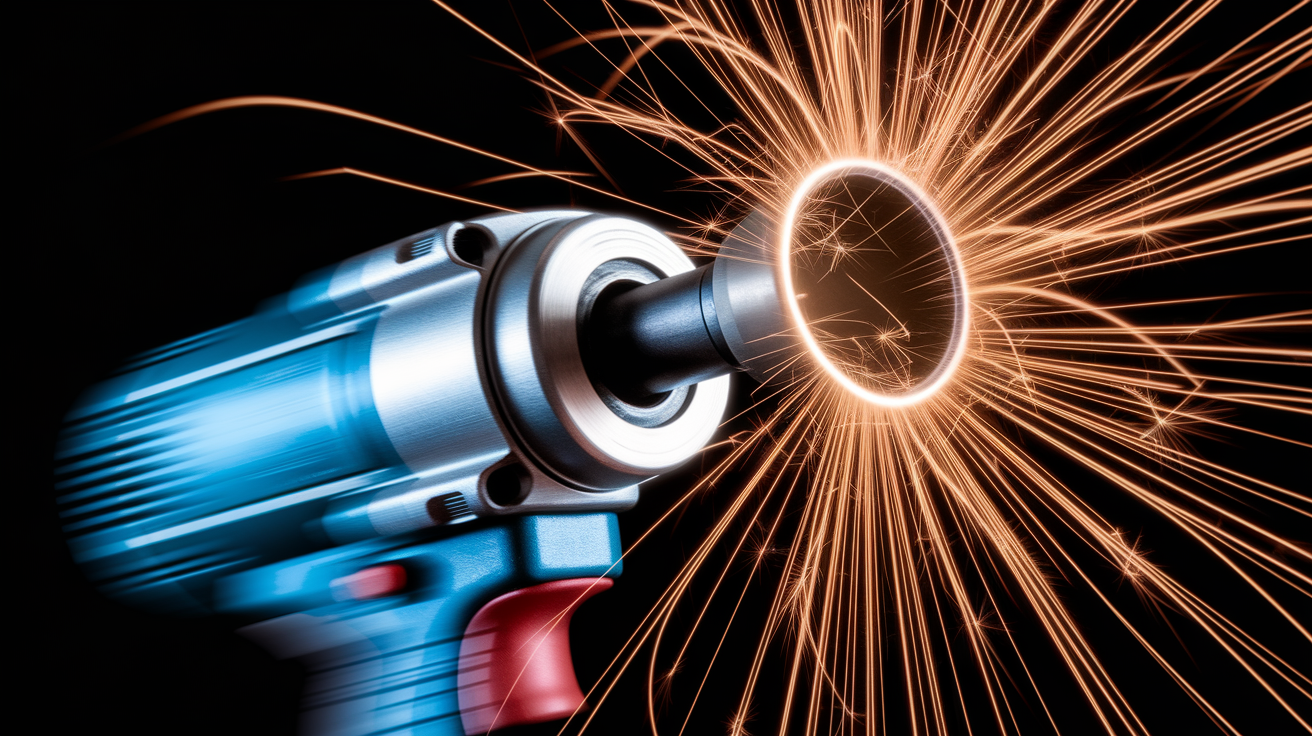
Deploy an impact wrench after manual methods show serious resistance. The rapid hammering action of an impact wrench breaks corrosion bonds differently than steady pressure. Each impact creates a tiny shock that fractures rust without giving it time to resist. It’s like the difference between pulling a nail straight out versus wiggling it loose.
Electric impact wrenches work for most homeowners. Pneumatic options require an air compressor but deliver more power. Look for a minimum torque rating of 300 ft lbs. Use impact rated sockets only. Regular sockets can shatter under the hammering force. Make sure the socket is fully seated on the hex head before you pull the trigger. A partially engaged socket will round off the corners faster than you can react.
Use short bursts instead of continuous application. A two second burst, then stop and check progress. Another burst, another check. This prevents the socket from heating up and gives you a chance to feel whether anything is moving. Combine the impact wrench with penetrating oil for best results. Apply the oil, let it sit, then hit it with the impact wrench. If you get even a slight movement, apply more oil and let it work into the newly opened gap.
Even impact wrenches have limits. A 24 inch breaker bar, penetrating oil overnight, heat application, and then an impact wrench still failed on one severely corroded rod from a mid 1990s water heater. When the rod has been in place for over 20 years, the corrosion can go so deep that no tool will break it loose without risking tank damage. At that point, you’re looking at alternative approaches or calling a professional to assess whether the tank is worth saving.
Reverse Threading Technique to Break Corrosion Seal
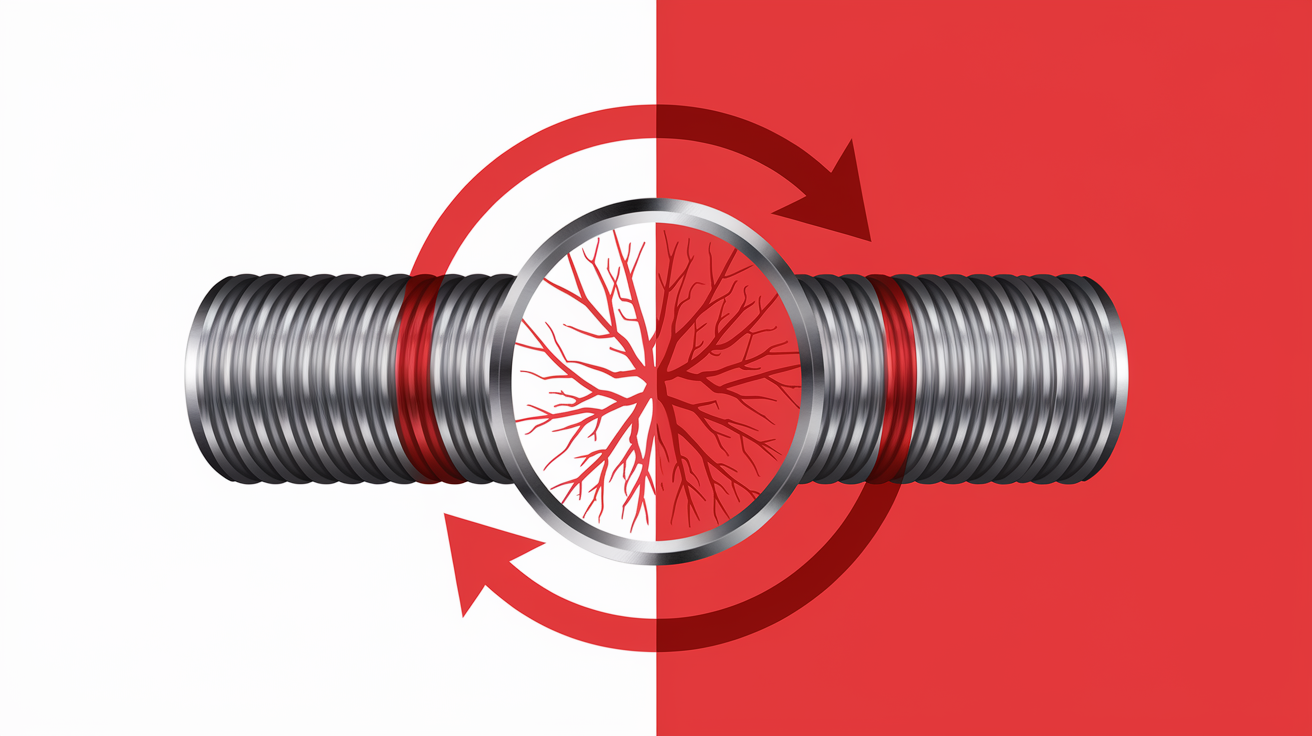
The reverse threading technique works because it attacks the corrosion from the direction it’s weakest. When an anode rod was originally installed, it was tightened clockwise. That tightening compressed the threads in one direction and left microscopic stress patterns in the metal. Corrosion filled those gaps over time and hardened into the same pattern. When you try to remove it counterclockwise, you’re fighting against that entire structure.
Apply moderate clockwise torque first, like you’re trying to tighten it. Turn it about 1/8 to 1/4 turn in the tightening direction. Then immediately reverse and apply counterclockwise force. Repeat this cycle 3 to 5 times, increasing the force slightly each time. Each cycle creates tiny movements that fracture the rust buildup instead of trying to overcome it all at once. You’re wiggling it loose.
Use this technique early in the removal process, before you move to maximum force methods. It works particularly well on moderate corrosion cases where the rod has been in place for 5 to 10 years but hasn’t completely fused to the tank. You can combine reverse threading with penetrating oil application between cycles. Apply oil, do a reverse threading cycle, let the oil seep into the new micro gaps you just created, then repeat. This layered approach breaks through corrosion that straight force would just fight against.
Safe Removal Process with Critical Precautions
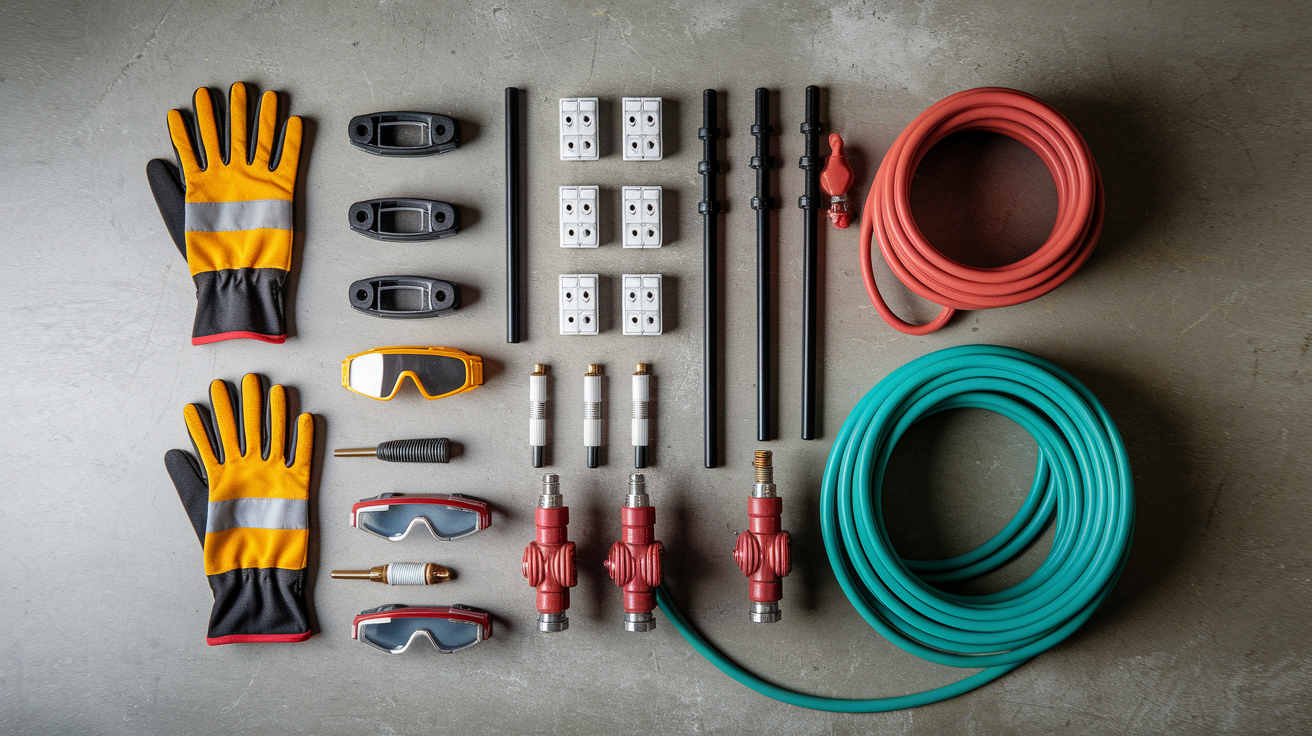
Water heater work puts you around electrical hazards, scalding water, and possible gas leaks if you’re working on a gas unit. You need to respect that.
Anode rods stick because corrosion welds them to the tank threads over time. Mineral deposits, rust buildup, and old thread sealant combine into a bond that gets harder the longer the rod sits. By the time you notice the water heater acting up, that rod has probably been corroding in place for years.
- Turn off power at circuit breaker (electric) or gas supply and pilot (gas units)
- Shut off cold water supply valve to tank
- Open hot water faucet elsewhere to relieve system pressure
- Test pressure relief valve operation
- Attach hose to drain valve and drain 2 to 3 gallons to relieve pressure
- Wear safety gloves and eye protection during all work
- Locate anode rod (under plastic cap on top or in hot water outlet port)
- Select proper 6 point socket size (typically 1 1/16″ for hex head anode rods)
- Apply initial turning force with socket wrench counterclockwise
- Lift rod straight up carefully to avoid rattling or banging against tank
Protect the tank during extraction. The inside of a water heater has a glass lining that protects the steel from corrosion. If your socket gouges the tank surface or you bang the anode rod against the sides while pulling it out, you can chip that lining. Once the glass lining is damaged, the exposed steel will corrode and eventually leak. If you’re cutting the rod for removal, keep metal shavings from falling into the tank. Cover the opening with a rag while you work. Verify that no water lines or gas connections are stressed during stabilization. A shifted connection can develop a slow leak you won’t notice until water damage appears.
After you successfully extract the rod, inspect it to see how bad the corrosion is. Check the tank threads for damage. If the threads are stripped or cross threaded, you’ll need to address that before installing a new rod. Make sure the threads are clean and free of old sealant before you install the replacement.
Alternative Installation When Anode Rod Cannot Be Removed
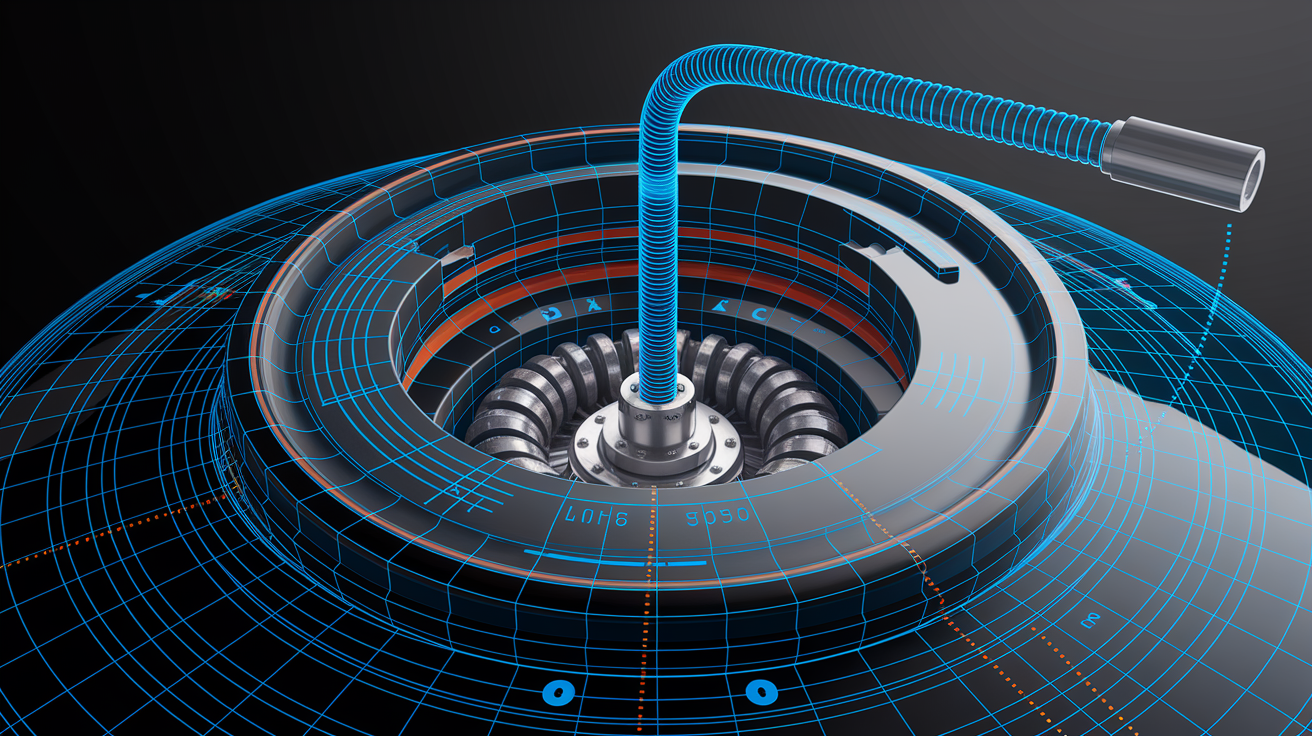
Sometimes a stuck rod doesn’t need to come out. If the dedicated anode port won’t release, you can install an alternative anode rod in the hot water outlet port instead.
The hot water outlet port is where the hot water line connects to the top of your heater. You can disconnect that line, install a special dielectric nipple with an anode rod built in, then reconnect the hot water line. The anode still protects the tank. It’s just protecting from a different location.
| Anode Type | Height Required | Lifespan | Installation Location Options |
|---|---|---|---|
| Traditional Magnesium Rod | 44 to 48 inches | 2 to 4 years | Dedicated anode port only |
| Flexible/Segmented Rod | 12 to 24 inches | 2 to 4 years | Dedicated anode port or hot water outlet |
| Powered Anode Rod | 12 inches | 20+ years | Dedicated anode port or hot water outlet |
Powered anode rods are particularly useful for stuck rod situations. They’re only 12 inches tall, so they need about one foot of vertical clearance instead of the 4 feet a traditional rod requires. Installation takes approximately 15 minutes with the right tools. The powered anode lasts over 20 years, which means you’ll never face another stuck rod removal on this tank. If your water heater has two anode ports and one rod is completely stuck, replace the accessible one with a powered anode and leave the stuck magnesium rod in place. One functioning anode is enough to protect the tank, and the powered version will outlast the water heater itself.
Cutting and Extraction Methods for Impossible Removals
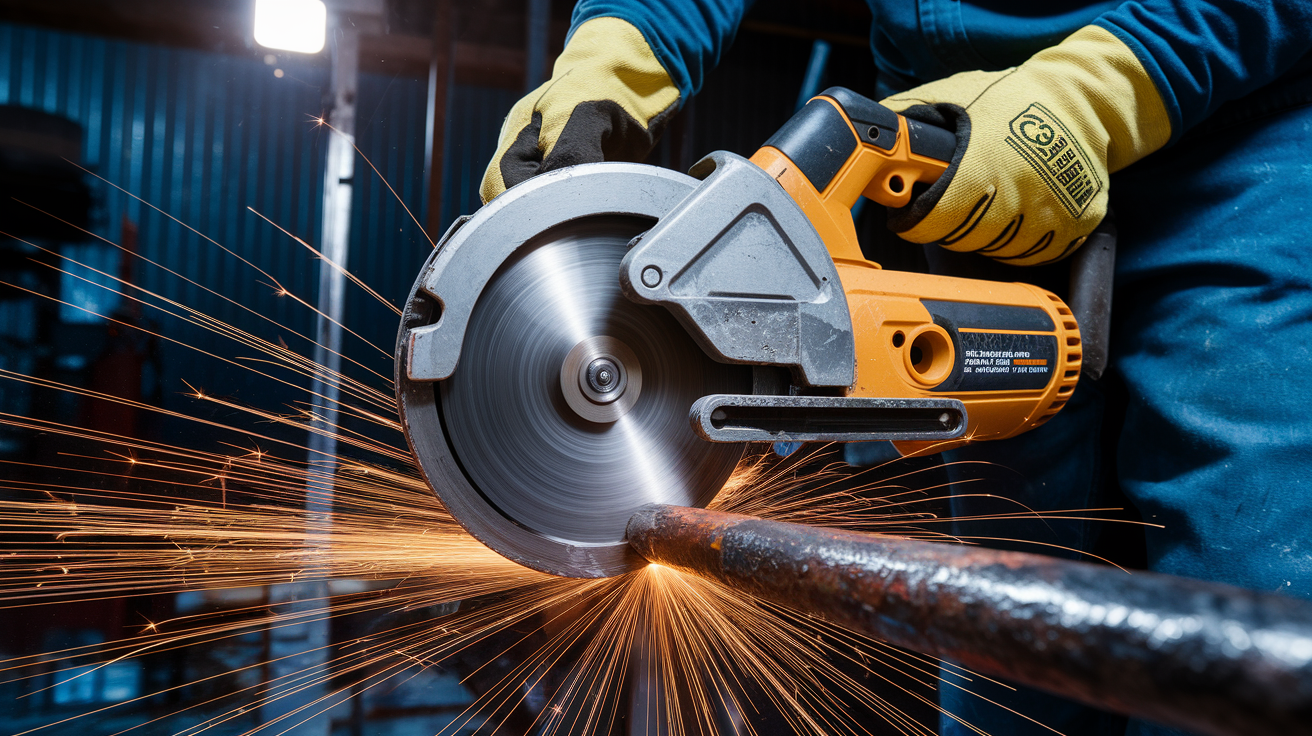
When the hex head strips, the rod shaft breaks, or the threads are impossibly seized, cutting and extraction become the only options left.
Cutting Method for Low Clearance Situations
Use a hacksaw or reciprocating saw to cut the rod into sections. Make your first cut just above the tank surface. This lets you remove the upper section without fighting the full length of the rod. Wear heavy gloves and eye protection. Metal filings will spray when you cut. Hold the rod steady with one hand while cutting with the other. Don’t let cut pieces fall into the tank. If a section drops in, you’ll need to fish it out or drain the tank completely. Once the upper section is free, you can work on extracting the threaded stub that remains in the tank.
Stripped Hex Head Extraction
A bolt extractor socket grips a rounded off hex head with reverse threads. Select an extractor socket slightly smaller than the stripped hex. Tap it onto the damaged head with a hammer until it’s firmly seated. The reverse threads engage when you turn it counterclockwise. The harder you turn, the tighter it grips. Some extractors will bite in enough to remove a rod that a regular socket had no chance with. If the head is completely destroyed, another approach is to weld a new hex nut onto the stripped surface. The fresh weld gives you a new grip point. This requires welding equipment and skill, so it’s often a professional solution.
Drilling Out Seized Stub
When the anode rod breaks off at the tank surface and you’re left with a threaded stub, center punch the middle of the stub to create a starting point for the drill. Start with a small drill bit and work up in size. Use reverse drill bits if you have them. Sometimes the reverse rotation catches and extracts the stub while you’re drilling. Work slowly. If you drill off center or too aggressively, you can damage the tank threads. After extracting the stub, inspect the threads. They may need to be retapped to clean them up for the new anode rod. If the drilling damaged the threads beyond repair, the tank may need professional thread restoration or replacement.
Determining Anode Rod Condition and Replacement Timing
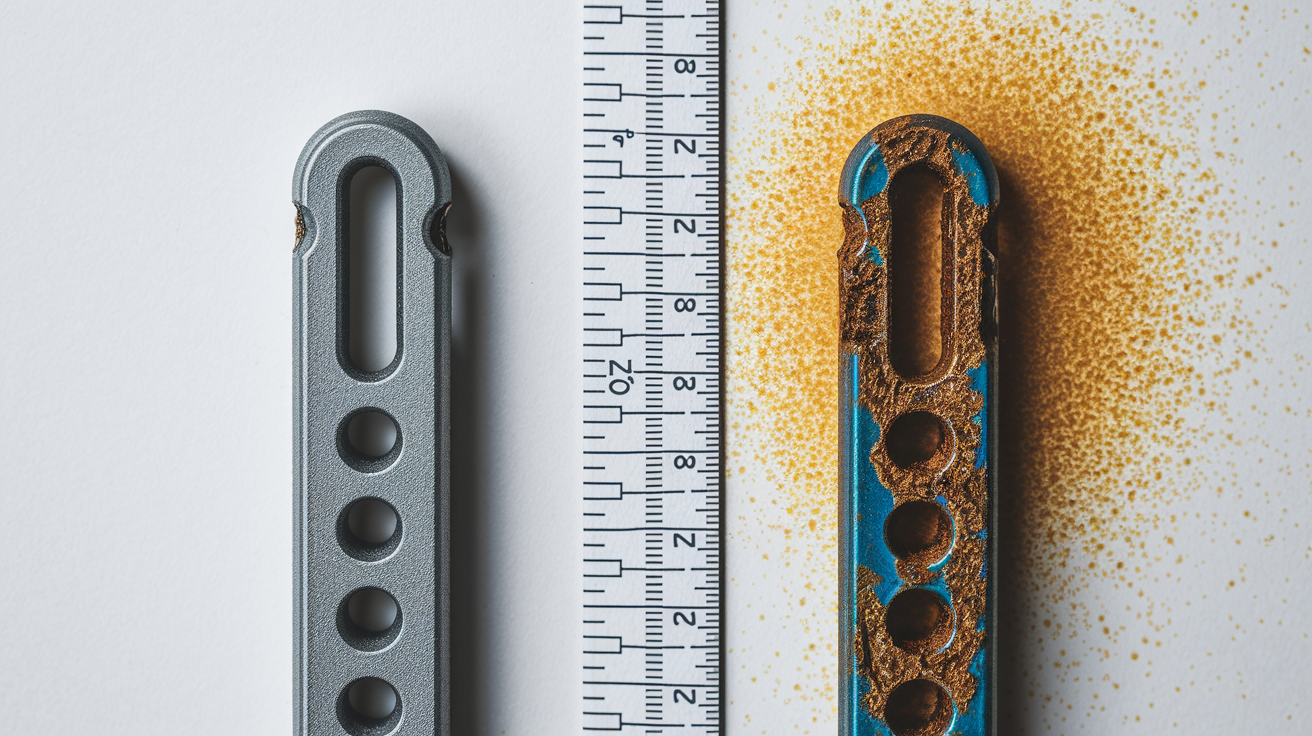
The anode rod works by sacrificing itself. It’s a steel core coated with magnesium, aluminum, or zinc. Corrosive compounds in the water attack the coating instead of attacking the tank walls. Over time, the coating corrodes away and exposes the steel core. Once that happens, the protection stops.
Look for these deterioration indicators:
- Less than 1/2 inch of magnesium/aluminum coating remaining on steel core
- Exposed steel core visible along rod length
- Rod diameter reduced by 50% or more from corrosion
- Calcium carbonate buildup coating the rod
- Rod shows cracking, flaking, or complete core exposure
- No visible central core (complete corrosion)
Replace anode rods every 2 to 4 years as a general guideline. Water composition changes that timeline. Water softeners speed up deterioration because they remove the minerals that would otherwise coat the rod in a protective layer. Hard water also speeds things up. Some installations in extreme water conditions need replacement every 6 months. Others last 6 years. Inspect the rod yearly or every other year by carefully removing it to check its condition. That lets you gauge replacement timing for your specific water.
If your stuck rod shows complete deterioration and the water heater is 15 years or older, consider whether replacement makes more sense than aggressive removal. A completely corroded anode rod means the water inside has been attacking unprotected metal for a while. The tank might have interior pitting or other hidden corrosion that will cause leaks soon even if you successfully replace the anode. Spending hours on a difficult extraction might buy you one more year from a tank that’s already failing.
Professional Assessment: When to Call a Plumber
Call a professional when you’ve stripped the tank threads trying to remove the rod, cracked the tank surface from excessive force, can’t stabilize the tank safely, or lack the tools and physical capability for high force methods.
Water heaters over 15 years old with severely stuck anode rods often have problems beyond the rod. The same corrosive water that destroyed the anode has been working on the heating elements, the dip tube, and the tank lining. Tank pitting creates weak spots that will eventually leak. Sediment buildup at the bottom reduces efficiency and creates hot spots that crack the glass lining. At some point, you’re maintaining a unit that’s approaching the end of its useful life anyway.
Professional anode rod removal typically costs $150 to $300. A new water heater installation runs $800 to $1,500. Modern efficient models save energy compared to 15 year old units. New water heaters come with warranties, usually 6 to 12 years. Continued maintenance on old equipment means you’re paying for repairs with no guarantee against other failures. If you’re already experiencing sulfur smell, bacteria growth, inconsistent temperature, or sediment discharge along with the stuck anode rod, those are signs the tank has multiple problems.
If the tank needs to be moved or drained for stuck rod removal anyway, this is the ideal time to replace rather than reinstall an aging unit. Moving a water heater is the hardest part of replacement. If it’s already out of position for anode rod access, you’ve done half the replacement work. This is especially true if the heater is in a crawlspace, closet, or other difficult access area. Get a new unit in place while everything is already disconnected instead of putting the old one back and facing the same access challenges in another year or two when something else fails.
Proper Installation of New Anode Rod After Removal
Proper installation of the new rod prevents it from becoming the next stuck rod you’ll fight with in five years.
- Clean tank threads thoroughly removing old thread sealant and corrosion
- Inspect threads for damage or stripping requiring repair
- Apply 3 to 4 wraps of teflon tape or pipe thread sealant to rod threads
- Hand thread new anode rod clockwise until finger tight
- Tighten with socket wrench to manufacturer torque specification (typically 30 to 35 ft lbs)
- Avoid overtightening which can damage tank threads or crack glass lining
Use teflon tape or pipe dope that’s rated for potable water. Wrap the tape clockwise around the threads so it tightens as you install the rod instead of bunching up. Apply it smoothly without gaps. If you’re using pipe dope, apply a thin, even coat. The sealant prevents both leaks and future corrosion welding. A properly sealed anode rod can be removed in the future because the sealant creates a barrier between the rod threads and the tank threads.
Use a torque wrench if you have one. The typical specification is 30 to 35 ft lbs. That’s snug but not cranked down with full force. Overtightening can strip the tank threads or crack the glass lining inside. The tank threads are softer than the anode rod threads, so excessive force damages the tank, not the rod. Proper torque creates a seal that prevents leaks while keeping the installation removable for future maintenance.
Final Words
A stuck anode rod doesn’t mean you’re out of options.
Start with penetrating oil and reverse-threading. Move to leverage tools like breaker bars or an impact wrench if needed. Use tank stabilization to protect your water heater while applying force.
If removing stuck anode rod becomes impossible, consider alternative installations like powered anode rods in the hot water outlet port.
But if your water heater is over 15 years old and the rod won’t budge, replacement might make more sense than a repair battle.
You’ve got this. Take it one step at a time.
FAQ
How to remove a stubborn anode rod?
To remove a stubborn anode rod, apply food-grade penetrating oil overnight, then use the reverse-threading technique (tighten slightly clockwise first, then turn counterclockwise). If that fails, extend your breaker bar with a cheater pipe for extra leverage, or use an electric impact wrench rated for 300+ ft-lbs torque.
What is the best tool to remove anode rods?
The best tool to remove anode rods is a breaker bar (18-24 inches) paired with a 6-point deep socket in the correct size (typically 1-1/16 inch). A 6-point socket grips better than a 12-point version and reduces the risk of stripping the hex head during high-force removal attempts.
Can I use an impact driver to remove an anode rod?
You can use an impact wrench to remove an anode rod, and it often works well on tightly-sealed rods when manual methods fail. Use an electric or pneumatic impact wrench rated for at least 300 ft-lbs of torque, apply it in short bursts, and always use impact-rated sockets to prevent tool damage.
What size socket to remove an anode rod?
The socket size to remove an anode rod is typically 1-1/16 inch for standard hex head anode rods, though some models require different sizes. Always use a 6-point deep socket rather than a 12-point version for better grip and to avoid rounding off the hex head during removal.
When should I call a plumber for a stuck anode rod?
You should call a plumber for a stuck anode rod when you’ve stripped the hex head, lack the proper high-torque tools, or own a water heater over 15 years old. Professional removal typically costs $150-300, but on aging units, replacement may make more financial sense than continued repairs.
Can I install an anode rod in a different location if the original is stuck?
You can install an anode rod in the hot water outlet port if the original dedicated anode port has a rod that won’t budge. Powered anode rods work especially well for this alternative installation since they’re only 12 inches tall, last over 20 years, and install in about 15 minutes.
How do I know if my anode rod needs replacement?
Your anode rod needs replacement when less than 1/2 inch of coating remains on the steel core, the core is visibly exposed along the rod’s length, or calcium buildup has severely coated the surface. Check your rod every one to two years, and plan to replace it every 2-4 years depending on your water conditions.
What is the reverse-threading technique for stuck anode rods?
The reverse-threading technique for stuck anode rods involves tightening the rod slightly clockwise first (about 1/8 to 1/4 turn), then immediately reversing to turn counterclockwise for removal. This back-and-forth motion creates micro-movements that fracture the corrosion seal more effectively than direct counterclockwise force alone.
Should I use WD-40 on a stuck anode rod?
You should never use WD-40 on a stuck anode rod because it can contaminate your water supply and cause long-term tank problems. Always use food-grade penetrating liquid specifically designed for potable water applications when treating corroded threads on water heater components.
How much torque is needed to install a new anode rod?
The torque needed to install a new anode rod is typically 30-35 ft-lbs according to manufacturer specifications, applied with a torque wrench for accuracy. Proper torque prevents leaks without overtightening, which can damage tank threads, crack the glass lining, or make future removal extremely difficult.