
You probably think a shower pan leak means you’ll see water pooling on the floor or dripping through right away. Actually, most shower pan leaks hide for months, quietly soaking into subfloors and wall framing while you smell something musty but can’t pinpoint where it’s coming from. By the time you notice a ceiling stain or spongy spot under your feet, the damage is already spreading. The good news is you can test for a leak yourself in about eight hours, and depending on what’s failing, some problems have simple short term fixes while you plan the real repair.
How to Identify and Confirm a Shower Pan Leak

Most homeowners discover shower pan problems the same way. They notice something’s off, but they’re not quite sure what. Maybe there’s a damp smell that won’t go away, or a ceiling stain that appeared below the bathroom. Sometimes it’s a spongy feeling underfoot when stepping into the shower. These signs mean water is going somewhere it shouldn’t, and the earlier you catch it, the less damage you’ll deal with later.
A leaking shower pan doesn’t always announce itself with a dramatic flood. More often, it’s a slow, steady problem that quietly damages subfloors, ceiling joists, and wall framing while you’re not looking. The difference between catching a leak early and dealing with it months later can be thousands of dollars in structural repairs. That’s why learning to spot the warning signs matters.
Common signs your shower pan is leaking:
Water dripping through ceiling below shower. If you have a basement or first floor room under your bathroom and you see water stains, active dripping, or wet spots on the ceiling after someone showers, your pan is definitely leaking.
Moisture in baseboards near shower curb. Check the baseboards that run along the outside of your shower. If they feel damp, show dark staining, or the paint is bubbling, water is wicking out from under the shower pan.
Musty, moldy smell in adjacent rooms or closets. That sour, wet towel smell in the closet that shares a wall with your shower isn’t normal. It means moisture is traveling through walls or floors.
Pan movement or shifting when stepped on. A properly installed shower pan should never move. If you feel any give, bounce, or shifting when you step in, the pan has separated from its support structure.
Deflection causing unusual sloping or instability. If the shower floor feels uneven, tilts in ways it didn’t before, or you notice new soft spots, the subfloor underneath has likely been damaged by water.
Visible cracks in the pan material. Cracks in fiberglass, acrylic, or composite pans mean the waterproof barrier is completely compromised. Even hairline cracks leak.
Loose tiles around shower floor. Tiles that rock when you step on them or sound hollow when tapped have likely separated from the mortar bed below, often due to water infiltration.
Discoloration or staining on bathroom floor outside shower. Dark spots, water rings, or discolored grout on the bathroom floor just outside the shower threshold indicate water is escaping under the shower pan.
Before you call anyone or start tearing things apart, you need to confirm whether the pan itself is actually leaking or if water is coming from somewhere else. Like a loose shower head connection or failed caulk bead. The flood test is the industry standard way to check. It’s simple, doesn’t require special tools, and gives you a definitive answer.
Step by step flood test procedure:
-
Seal the drain completely with a test plug or tightly packed rag. You need a watertight seal at the drain. Push a rag deep into the drain opening or use a rubber test plug from a hardware store. Make sure no water can escape.
-
Pour exactly 2 inches of standing water into the shower pan. Use a measuring cup or bucket to fill the pan with about 2 inches of water. You’re not flooding it, just enough to cover the floor surface and test the waterproof barrier.
-
Mark the water level on the shower wall with painter’s tape and permanent marker. Place a piece of tape on the wall right at the water line and draw a line on the tape with a marker. This lets you see if the level drops.
-
Wait 8 hours without using the shower or disturbing the water. Let it sit overnight or while you’re at work. Don’t let kids or pets near it, and don’t use any other fixtures in that bathroom if they share plumbing.
-
Check for water level drops and inspect ceiling/floors below for new moisture or stains. After 8 hours, check the water line against your mark. Also go check the room below for any new dampness, stains, or active dripping.
A small amount of evaporation is normal. Maybe 1/8 inch over 8 hours depending on ventilation and humidity. But if the water level dropped a half inch or more, or if you see new moisture damage in the ceiling below, your shower pan is leaking. Some water might also show up as new dampness in the bathroom floor just outside the shower, or fresh moisture along baseboards.
While the test is running, check adjacent rooms and the space below. Look for new ceiling stains, water spots on walls, dampness in closets that share a wall with the shower, or wet insulation if you can access the space from below. Sometimes water travels along joists or through wall cavities before it becomes visible, so check a few feet away from the shower footprint as well.
Root Causes of Shower Pan Failures

Here’s the thing most homeowners don’t realize: tile and grout are not waterproof. They’re water resistant at best. When you step into a tiled shower, you’re standing on a decorative surface layer. The actual waterproofing, the part that’s supposed to keep water from reaching your subfloor, is a separate layer underneath that tile. That layer is the shower pan, and if it was never installed, installed incorrectly, or has failed, water goes straight through to the structure below.
The shower pan is the waterproof standing surface with a built in slope that directs water toward the drain. It’s either a pre formed unit (acrylic, fiberglass, composite) or a custom built assembly (waterproof membrane under a tile floor). The shower base, by contrast, is the support structure underneath. The mortar bed, plywood subfloor, and floor joists. The pan keeps water out. The base holds everything up.
For tile showers, the waterproof membrane does all the real work. It’s typically a sheet material like PVC liner, CPE membrane, or newer fabric systems like Kerdi that get sealed at every seam and penetration. That membrane creates a continuous water barrier from the floor up the walls at least 6 inches. If that layer fails, or was never there in the first place, the rest of the shower structure will eventually fail with it.
Common causes of shower pan failure:
Complete absence of waterproofing layer during original installation. This is more common than you’d think. Some installations skip the membrane entirely, relying only on thinset mortar and grout to keep water out, which doesn’t work.
Grout deterioration allowing water penetration through tile (tile showers). Grout is porous and breaks down over time, especially in wet environments. As it cracks and erodes, water flows through to whatever is underneath.
Cracks in pan material from age or structural movement (acrylic/fiberglass). Pre formed pans can crack from impacts, flexing under weight, or settlement of the house over time. Even small cracks leak constantly.
Improperly sealed seams in liner installation (all membrane systems). Waterproof membranes overlap at corners and seams. If those connections aren’t sealed correctly with manufacturer approved methods, water finds the gaps.
Punctures or nail penetrations through waterproof membrane. Nails or screws driven through walls during construction, or tools dropped during installation, can puncture the membrane without anyone noticing.
Caulking breakdown at fixture connections and penetration points. The flexible caulk seal around drains, curbs, and wall corners deteriorates over time, creating paths for water to bypass the pan.
Natural material degradation after 10 to 45 year lifespan. All materials break down eventually. Plastic becomes brittle, membranes lose flexibility, and composite materials delaminate as they age.
Seam failures in plastic/composite pans. Pre formed pans made from multiple pieces can separate at seams as adhesives fail or material shrinks and expands with temperature changes.
Improper slope or drainage design causing water pooling. If the pan wasn’t sloped correctly toward the drain (minimum 1/4 inch per foot), water sits on the surface longer, increasing pressure on seals and accelerating deterioration.
| Pan Type | Lifespan | Primary Leak Vulnerabilities |
|---|---|---|
| Acrylic/Fiberglass | 10 to 15 years | Cracks from flexing, impact damage, seam failures |
| Porcelain/Ceramic prefab | 20 to 30 years | Caulk failures at seams, rare material cracks |
| Custom tile over mortar bed | 30 to 45 years | Grout failure, membrane punctures, improper installation |
| Plastic/composite | 10 to 20 years | Seam separation, material degradation, UV damage |
Understanding what type of pan you have and what specifically failed tells you whether a temporary patch might buy you time or if you need to plan for replacement immediately. An acrylic pan with a single crack might be patchable for a while. A tile shower with no waterproofing underneath needs professional reconstruction. There’s no shortcut that actually fixes that problem.
Temporary DIY Fixes for Shower Pan Leaks
Let’s be clear from the start: these are stopgap measures to slow down the damage while you arrange for permanent repair. They’re not real fixes. If your shower pan is leaking because the waterproof layer failed or was never there, surface treatments won’t solve the underlying problem. But they can reduce active leaking for a few months while you save money, get quotes, and schedule the work.
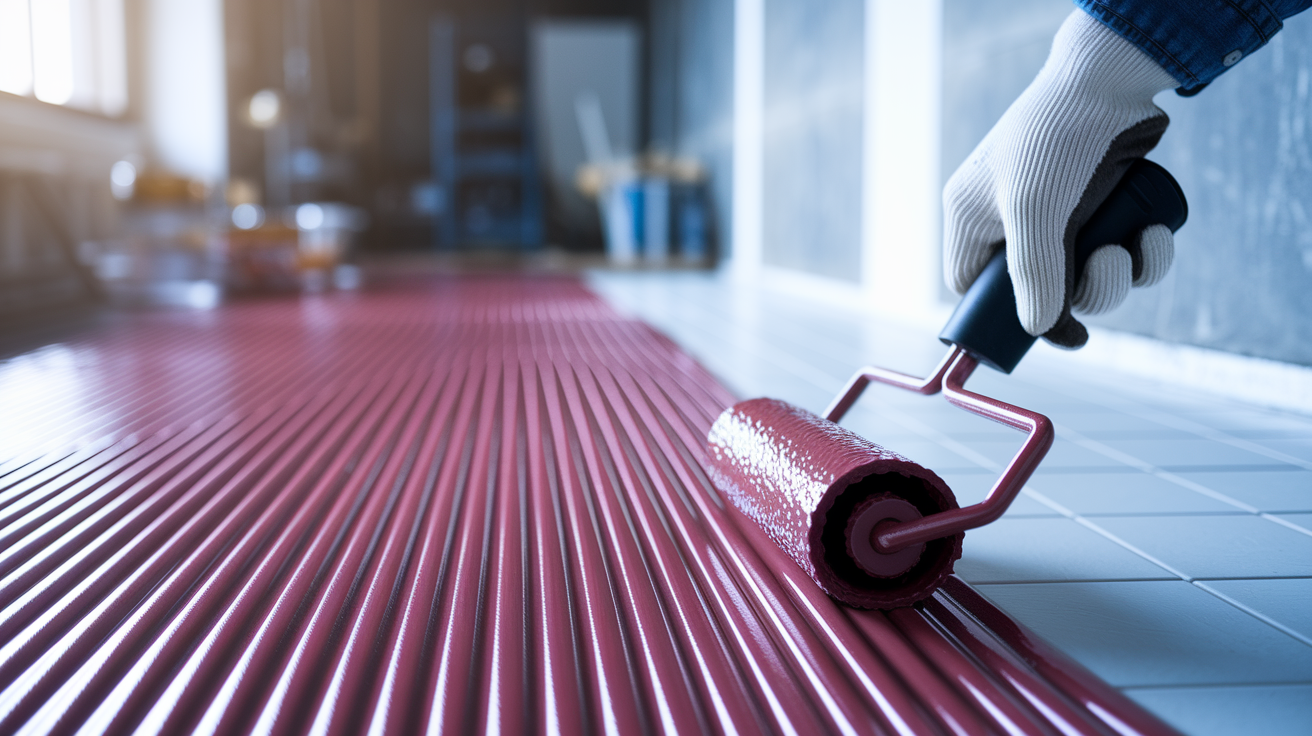
Surface Applied Waterproofing Membrane
The fastest way to stop a leaking tile shower floor temporarily is to paint on a waterproof membrane directly over the existing tile and grout. Products like RedGard or HydroBan are designed for this. They’re thick, rubberized coatings that seal the surface and create a temporary water barrier.
Start by cleaning the shower floor thoroughly with a degreaser and let it dry completely. Remove any loose grout or caulk and make sure the surface is solid. Then use a paint roller or brush to apply the membrane product according to the manufacturer’s instructions, usually two coats with drying time between. Make sure you cover the entire floor, run the coating up the walls about 6 inches, and seal around the drain.
These products typically need 24 to 48 hours of cure time before the shower can be used again. It’s not a perfect solution. Water can still get in at the edges or through any spots you missed. But it dramatically reduces the amount of leaking for several months.
Grout and Caulk Replacement
If your leak is primarily caused by failed grout or deteriorated caulk, replacing those materials can buy you significant time. Use a grout saw or rotary tool to remove all the old grout from the shower floor joints. Clean out the joints completely and let them dry. Then reapply fresh grout, making sure to pack it fully into the joints.
At the same time, remove all the old caulk from the corners, the joint where the floor meets the walls, and around the drain. Use 100% silicone caulk rated for wet environments and apply clean, continuous beads at every seam and penetration point.
This approach works best when the underlying waterproof membrane is still intact but water has been getting through compromised grout lines. After applying new grout, let it cure for at least 48 hours before using the shower, and avoid heavy water exposure for a full week if possible.
Epoxy Crack Repair
If you have visible cracks in an acrylic, fiberglass, or composite shower pan, marine grade epoxy or specialized masonry crack sealers can temporarily seal small damage. This only works for minor surface cracks. If the pan is flexing, severely cracked, or has large separated areas, epoxy won’t hold.
Clean and dry the crack area completely. Roughen the surface slightly with sandpaper to help adhesion. Mix and apply the epoxy according to product directions, working it into the crack and slightly onto the surrounding surface. Some products require reinforcement fabric for larger cracks.
This method stops water from leaking through that specific crack, but it doesn’t address why the pan cracked in the first place. If there’s subfloor damage or structural movement causing the pan to flex, the repair will eventually fail.
Keep an eye on whatever temporary fix you use. Check weekly for new moisture, continued ceiling stains, or musty smells that indicate the leak is still active. Plan on replacing the shower pan properly within 3 to 6 months to prevent serious structural damage. Document how much water you’re using and whether leak symptoms are getting better, staying the same, or getting worse during this temporary fix period. That information helps the contractor understand what they’re dealing with when you’re ready for permanent repair.
Complete Shower Pan Replacement Process
Temporary fixes eventually fail because they don’t address the root problem. A compromised waterproof barrier that’s letting water into your home’s structure. When that happens, or when you’re ready to fix it right from the start, complete shower pan replacement is the only permanent solution. The good news is that in many cases, you don’t have to demolish the entire bathroom down to the studs. A partial replacement approach removes just what’s necessary to install new waterproofing while reusing tile, fixtures, and glass where possible.
The standard professional replacement process follows these steps:
-
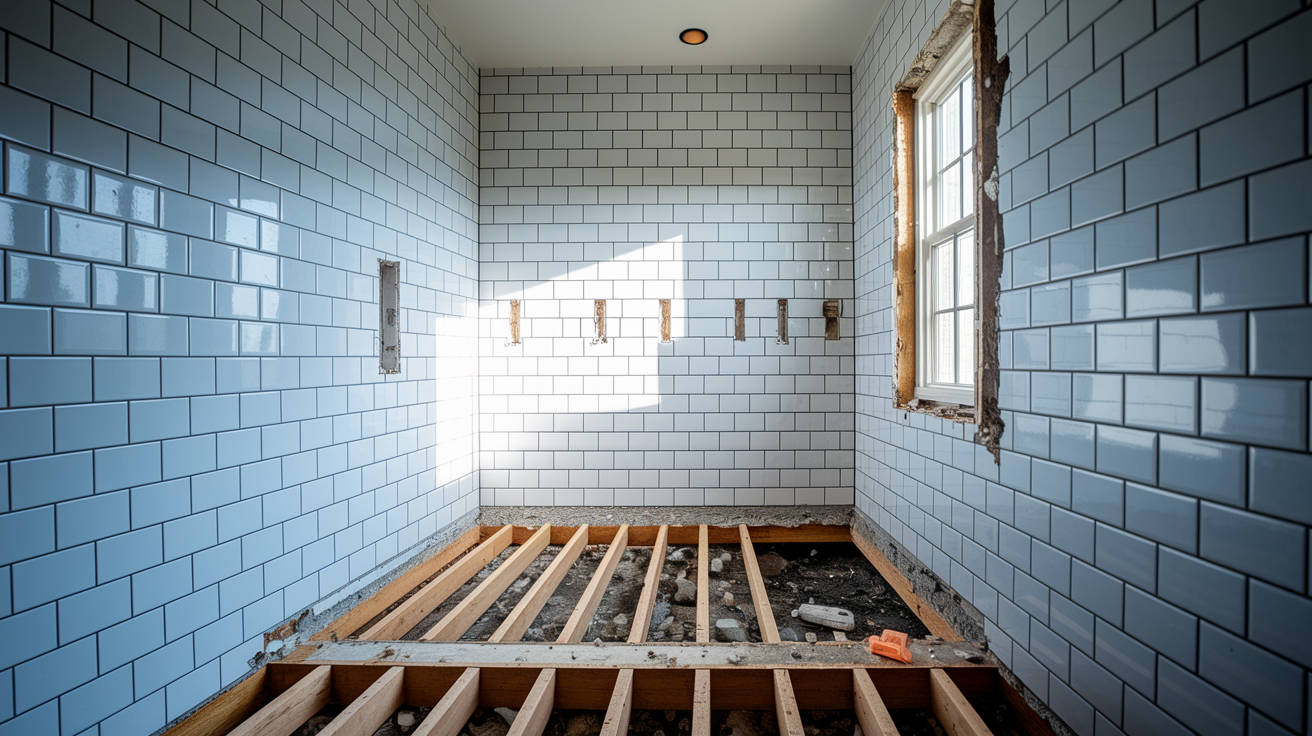
Remove shower floor tile, curb, and lower wall tile rows. The contractor starts by carefully removing the floor tile and the shower curb. They’ll also take out the first two rows of wall tile to access where the floor waterproofing needs to connect to the walls.
-
Extract old mortar bed and deteriorated waterproof membrane. Below the tile is the mortar bed (the concrete layer that creates the slope) and the waterproof membrane. All of this material gets removed to expose the subfloor underneath.
-
Inspect subfloor and floor joists thoroughly for water damage indicators. Once the shower pan structure is gone, the contractor examines the plywood subfloor and the floor joists below for water damage, rot, sagging, or soft spots.
-
Replace water damaged plywood or OSB subflooring sections as needed. Any compromised subflooring gets cut out and replaced with new material, properly secured to the joists.
-
Install pre slope mortar layer creating proper drainage angle toward drain. Before waterproofing goes in, a thin mortar layer is installed to create the initial slope toward the drain (typically 1/4 inch drop per foot of distance).
-
Position and secure waterproof liner or membrane with sealed seams. This is the critical step. The waterproof membrane gets installed over the pre slope, run up the walls, and sealed at every seam, corner, and penetration point. Modern installations often use multiple waterproofing layers for redundancy. Kerdi fabric on the floor and corners, sealed with KerdiFix sealant, plus a paint on layer like RedGard for triple protection.
-
Build new mortar bed over waterproof layer. Another mortar layer goes on top of the membrane, creating the final sloped shower floor surface that the tile will be installed on.
-
Reconstruct shower curb to exact original specifications. If you’re reusing frameless glass doors, the curb has to be rebuilt to within 1/16 inch of the original height. Any more or less and the glass won’t fit.
-
Install new tile, grout, and seal all penetrations. New floor tile gets installed, grouted, and sealed. Every penetration (drain, fixtures, corners) gets sealed with appropriate materials.
-
Test completed installation with flood test before final use. Before calling the job done, the contractor runs the same flood test you did earlier. 2 inches of standing water for 8 hours, to verify the new pan doesn’t leak.
Addressing Structural Damage During Replacement
Water that leaks through a failed shower pan doesn’t just disappear. It soaks into the plywood subfloor, travels along the floor joists, and saturates the framing lumber. Over time, this causes wood to soften, rot, and lose its structural strength. You can see this as deflection (the floor moves or bounces when you step on it), sagging sections, or visibly dark and soft wood.
Structural repairs that commonly happen during shower pan replacement include:
Replacing water damaged subflooring sections with new plywood or OSB
Sistering new joists alongside compromised floor joists to restore strength
Adding cross bracing or blocking between joists to prevent future movement and improve stability
Treating or completely replacing mold contaminated framing lumber that can’t be salvaged
Installing a moisture barrier below the new shower pan assembly to protect the subfloor from future exposure
Building codes require proper support under shower pans. Joists need to be spaced correctly (typically 16 inches on center), and the subfloor has to be solid without deflection. If water has weakened the structure, those repairs aren’t optional. They’re required to bring the bathroom back to code and ensure the new shower pan has a stable, long lasting foundation. Deflection isn’t just a symptom of water damage. It’s also a safety concern. Weakened floor joists can eventually fail under the weight of a full shower pan, a person, and water, creating a collapse risk.
| Phase | Typical Duration |
|---|---|
| Demolition and inspection | 1 day |
| Subfloor and structural repair | 1 to 3 days |
| Waterproofing installation | 1 to 2 days |
| Mortar and tile work | 2 to 3 days |
| Curing and finishing | 2 to 3 days |
Precision matters throughout this process, but especially when rebuilding the shower curb and connecting the drain assembly. If you’re reusing existing frameless glass doors, the curb height has to match the original within 1/16 inch or the glass won’t seal properly against it. The drain connection also has to meet code. You can’t connect a 2 inch shower drain to a 1.5 inch waste pipe, for example, even though they’re close in size. Professional installation prevents repeat failures by getting these critical details right the first time.
Shower Pan Leak Repair Costs and Time Estimates
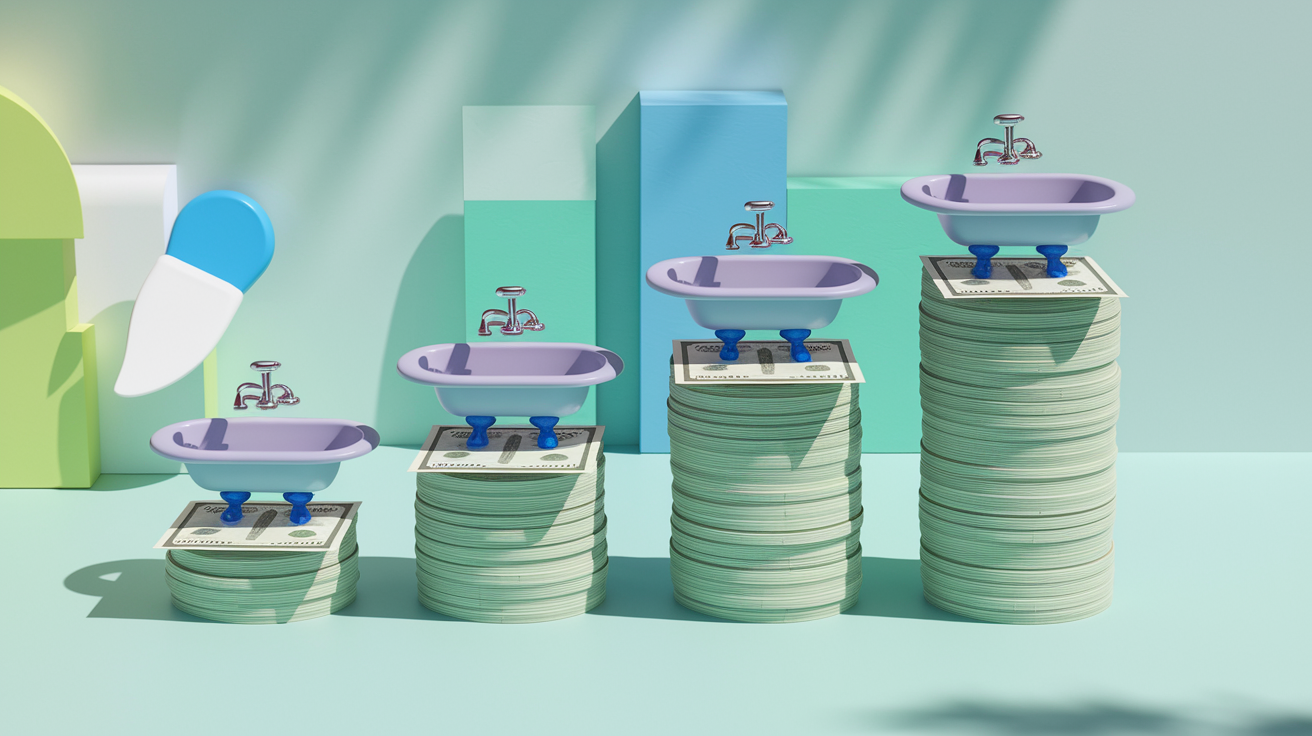
The cost to fix a leaking shower pan ranges from $30 for a tube of caulk all the way up to $4,600 for a complete replacement with extensive structural repairs. That’s a wide spread, and where your project falls depends mostly on three things: what type of shower pan you have, how much water damage has already happened, and whether you’re doing a quick patch or a permanent fix.
The size of your shower matters. A standard 36×36 inch shower pan costs less to replace than a custom 48×60 inch tile shower. Material choice affects price too. A basic acrylic pre formed pan runs cheaper than a custom tile installation with premium porcelain. Labor makes up roughly half to two thirds of the total cost, and that climbs when the contractor has to repair subflooring, replace joists, or correct plumbing code violations discovered during demolition.
| Repair Type | Cost Range |
|---|---|
| Temporary surface fixes | $30 to $500 |
| Grout/caulk replacement | $200 to $600 |
| Acrylic pan replacement | $900 to $1,800 |
| Tile pan replacement | $1,500 to $3,500 |
| Full replacement with subfloor repair | $2,500 to $4,600 |
You can reduce costs significantly by reusing existing fixtures and materials wherever possible. If your frameless glass shower enclosure is still in good shape, keeping it saves $1,500 to $2,000 in materials and installation compared to buying new glass. Same goes for wall tile in good condition. If only the floor tile and waterproofing need replacement, a partial tearout costs roughly half what you’d pay for a full bathroom remodel.
Choosing partial replacement over complete demolition makes financial sense when the walls, plumbing, and fixtures are still functional. The long term value of quality waterproofing materials and professional installation also matters. Spending an extra $500 on a multi layer waterproof membrane system now prevents having to do this repair again in five years. The same logic applies to structural repairs. If water damaged joists get ignored to save a few hundred dollars during the pan replacement, you’ll be dealing with a sagging floor and more expensive repairs down the line. Proper repair done right protects your investment and prevents future water damage that could cost thousands in structural work, mold remediation, and ceiling repairs in rooms below the bathroom.
When to Call a Professional Plumber vs. DIY Repair

Some shower pan repairs make sense for confident DIYers. Others require professional knowledge, specialized materials, and experience you can’t get from a weekend project. The key is knowing which category your situation falls into before you start tearing things apart.
If you have a simple acrylic or fiberglass pre formed shower pan in good condition and you just need to replace it with an identical unit, that’s potentially DIY territory. You’re basically unbolting the old pan, cleaning up the drain connection, setting the new pan in place, reconnecting the drain, and sealing the edges. As long as you have clear access, the subfloor is solid, and you’re comfortable with basic plumbing connections, it’s doable.
Tile shower pan replacement is a different story. Installing the waterproof membrane correctly requires understanding how different systems work, where seams need to overlap, how to reinforce corners, and how to integrate the floor membrane with wall waterproofing. The mortar bed has to be mixed to the right consistency, sloped precisely toward the drain, and allowed to cure properly before tile goes on. Get any of this wrong and you’re building a leak back into the system. Improper installation leads to mold growing in wall cavities, subfloor rot, and expensive water damage repairs that cost more than hiring a pro in the first place.
When professional help is required:
Tile shower pan with custom mortar bed and membrane installation
Evidence of subfloor or joist damage requiring structural carpentry
Drain assembly modifications or plumbing code compliance issues
Multi layer waterproofing systems with corner reinforcement
Precise curb reconstruction to accommodate existing frameless glass
Any project where improper installation risks significant water damage
When you’re ready to hire a contractor, vet them carefully. Check that they’re licensed, bonded, and insured in your state. Ask for references from recent shower pan replacement jobs and follow up with those homeowners. Get at least three quotes so you can compare not just pricing but also the scope of work each contractor includes. A good contractor will inspect your shower, explain what they find, and give you options. Repair versus replacement, material choices, and realistic timelines.
Professional work typically includes warranties covering both materials and workmanship for one to five years depending on the contractor and the products used. That warranty matters because it protects you if something fails shortly after installation. DIY work comes with no such protection. If you miss a critical waterproofing step and the shower leaks six months later, you’re paying to fix it all over again. For projects like pipe repair and replacement where water damage can spread beyond just the shower pan, having professional diagnostics from the start helps you understand the full scope of what needs fixing.
Preventing Future Shower Pan Leaks
Regular maintenance is the most cost effective way to avoid shower pan failures and the expensive repairs that come with them. Small preventive tasks done consistently can extend your shower pan’s lifespan from 10 to 45 years depending on material quality and installation. The goal is to catch small problems while they’re still small, before water damages your subfloor, ceiling joists, or wall framing.
Routine maintenance doesn’t require special skills. Most tasks take 15 minutes or less and use basic materials you probably already have. The key is staying consistent and addressing issues as soon as you notice them rather than waiting until they become emergencies.
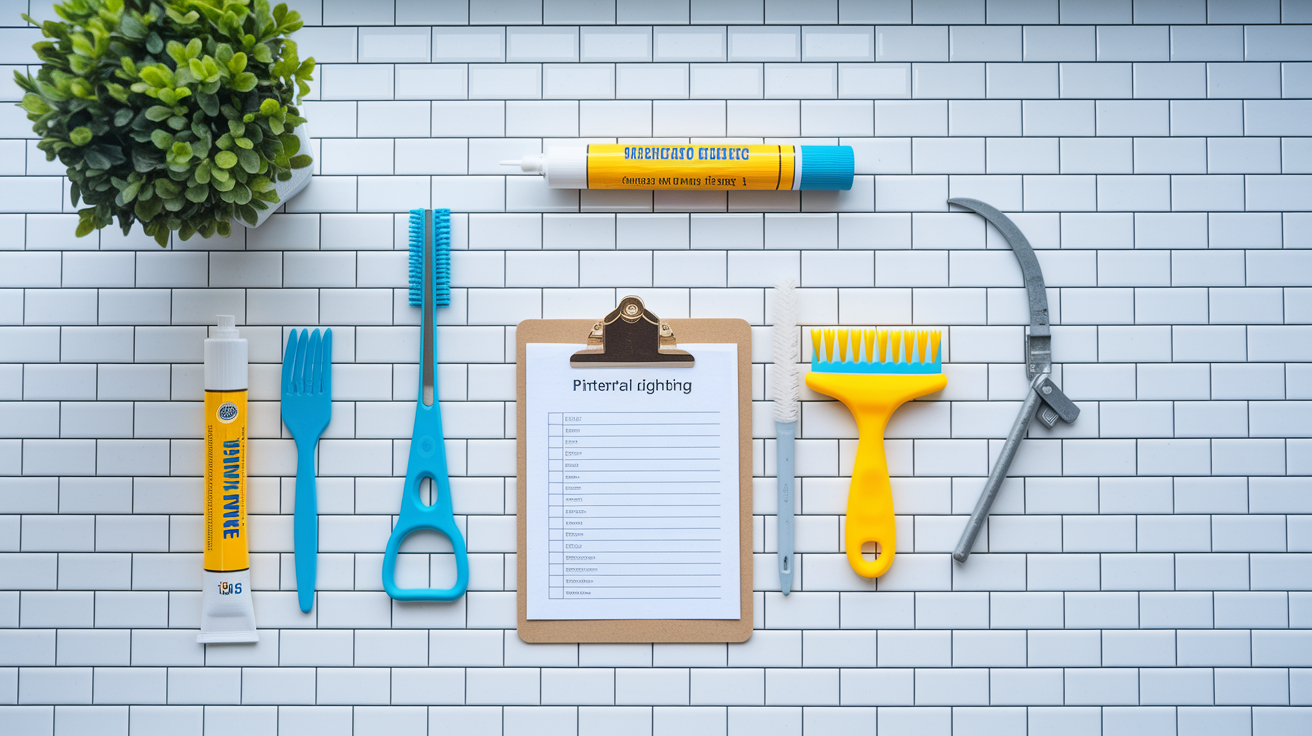
Preventive maintenance tasks:
Inspect and replace caulk at all seams and penetrations every 1 to 2 years. Check the caulk joints where the shower pan meets the walls, around the drain, and at all fixture connections. If it’s cracked, discolored, or pulling away from the surface, remove it and apply fresh 100% silicone caulk. Reference the grout and caulk replacement method in the temporary fixes section for detailed technique.
Check grout condition and reseal annually. Look for cracked, missing, or deteriorating grout in the shower floor joints. Scrape out and replace any compromised sections before water can penetrate through to the waterproof membrane below. See the temporary fixes section for complete grout repair instructions.
Clean weep holes quarterly to ensure proper drainage. Shower drains often have small weep holes around the drain assembly that allow water trapped between the tile and membrane to escape. Clear these out every three months using a small brush or compressed air.
Test drain flow rate and check for slow drainage monthly. After each shower, watch how quickly water drains. Slowing drainage indicates a partial clog or developing problem that needs attention before water starts backing up.
Look for standing water after shower use indicating slope problems. Water should flow toward the drain, not pool in corners or low spots. Persistent puddles mean the pan wasn’t sloped correctly or has settled over time.
Examine tile for cracks or loose sections every 6 months. Tap shower floor tiles with the handle of a screwdriver. Solid tiles sound firm. Loose or separated tiles sound hollow. Address loose tiles immediately before water gets underneath.
Ventilate bathroom properly to reduce moisture and humidity. Run the exhaust fan during showers and for 20 minutes after. Excess moisture accelerates grout deterioration and increases the chance of mold growth.
Perform annual flood test to verify waterproof integrity. Once a year, run the same 2 inch standing water test for 8 hours that you’d use to detect a leak. If you catch a small problem early through testing, you can fix it before significant damage occurs.
Weep holes are small but critical. When they get clogged with soap scum, hair, or mineral deposits, water that’s supposed to drain out gets trapped between the tile and the membrane. That trapped water creates constant pressure on seals and grout, accelerating deterioration. Cleaning weep holes takes two minutes and prevents problems that could cost thousands to fix.
Professional annual inspections add another layer of protection. A plumber or shower specialist can spot early warning signs you might miss. Slight pan deflection, developing cracks, seal deterioration, or drainage problems, and address them before they turn into leaks. Many preventative home maintenance plans include shower inspections along with other plumbing checkups that catch problems throughout your water system while they’re still manageable.
Insurance Coverage and Documentation for Shower Pan Leaks

Understanding what your insurance covers before you have a leak saves confusion and frustration when you’re dealing with water damage. Most homeowners insurance policies make a clear distinction between sudden, accidental water damage and gradual deterioration. That distinction determines whether you file a claim, pay out of pocket, or some combination of both.
Sudden water damage, like a pipe burst, a toilet overflow, or a washing machine hose failure, is typically covered under standard homeowners insurance. The policy pays for repairs to damaged ceilings, walls, floors, and belongings. Gradual deterioration, on the other hand, usually isn’t covered. That includes a shower pan that slowly leaked over months or years because the grout failed or the waterproof membrane aged out. Insurance companies consider that a maintenance issue, not an insured event.
Where it gets less clear cut is when a slowly deteriorating shower pan causes sudden water damage. Your insurance might not pay to replace the shower pan itself, but they may cover the damaged ceiling below, the ruined carpet in the room underneath, or mold remediation in the wall cavity. Each policy handles this differently, so the best approach is to report the leak to your insurance company as soon as you discover it, explain what you’ve found, and let them determine coverage.
Documentation steps for insurance claims:
Photograph all visible leak damage including ceiling stains and floor moisture. Take clear photos of every area showing damage. Include wide shots showing the full extent and close ups of specific problem areas like ceiling stains, bubbling paint, or warped flooring.
Document the discovery date and initial leak symptoms. Write down when you first noticed something wrong, what you observed, and what steps you took immediately after discovering the problem. This timeline matters for insurance claims.
Keep records of emergency temporary repairs and costs. Save receipts for materials used in temporary fixes like epoxy, caulk, or surface sealers. Document labor costs if you hired someone for emergency mitigation.
Obtain professional inspection report detailing cause and extent of damage. Have a licensed plumber or contractor inspect the shower and provide a written report explaining what failed, why it failed, and what damage resulted. This report supports your claim.
Save all receipts for repair work, materials, and professional services. Keep every invoice, receipt, and payment record related to the leak repair. Insurance companies need documentation to process claims.
Home warranties are separate from homeowners insurance and typically cover different things. Most home warranty plans cover plumbing system failures but specifically exclude water damage. So if your shower pan leak stems from a plumbing defect covered under your warranty, the warranty might pay for the plumber’s work but not for ceiling repairs or floor replacement caused by the leak. Read your home warranty contract carefully to understand what’s included.
Proper leak repair and thorough documentation also protect your home’s resale value. When you sell your house, you’re required to disclose known water damage and repairs. Having professional repair records, insurance claim documentation, and proof that the problem was fixed correctly reassures potential buyers. A documented, professionally repaired leak is far less concerning to buyers than a leak you patched yourself with no records and no guarantees. It shows you took the problem seriously and handled it responsibly, which maintains your home’s value and helps with disclosure compliance when it’s time to sell.
Final Words
A leak in your shower pan won’t fix itself, and waiting just gives water more time to soak into your floors and walls.
If the flood test confirms a problem, or you’re seeing stains and smells, you know what’s happening. Now it’s about stopping the damage.
Temporary fixes can buy you time, but replacement gives you a shower that works without worry. We test it, seal it right, and make sure the water goes where it should.
FAQ
What is the life expectancy of a shower pan?
The life expectancy of a shower pan ranges from 10 to 45 years depending on the material quality and installation. Acrylic and fiberglass pans typically last 10-15 years, while custom tile installations over proper waterproof membranes can last 30-45 years with regular maintenance.
How much does it cost to fix a shower pan leak?
Fixing a shower pan leak costs between $30 and $4,600 depending on the repair type. Temporary surface fixes run $30-$500, while professional pan replacement ranges from $900 to $2,300 for standard installations, with costs reaching $4,600 when extensive subfloor or structural damage repair is required.
Does insurance cover a leaking shower pan?
Insurance coverage for a leaking shower pan depends on whether the damage was sudden or gradual. Most homeowners insurance policies cover sudden water damage but exclude gradual shower pan deterioration, though the resulting water damage to surrounding areas may still be covered even when pan replacement itself is not.
How do plumbers detect hidden leaks?
Plumbers detect hidden shower pan leaks using a flood test that involves sealing the drain, filling the pan with 2 inches of water, marking the level, and checking after 8 hours for water drops or visible damage. They also inspect ceiling areas below the shower and check baseboards for moisture wicking and musty odors.
Can you replace a shower pan without removing tile?
You cannot replace a shower pan without removing tile in most cases. Professional replacement requires removing shower floor tile, the curb, and typically the first 2 rows of wall tile to access the failed waterproof membrane and mortar bed underneath, though this partial replacement method avoids complete bathroom demolition.
How long does shower pan replacement take?
Shower pan replacement takes 7 to 12 days total including demolition, structural repair, waterproofing installation, mortar work, tiling, and curing time. Simple acrylic pan swaps may complete in 3-4 days, while tile pan replacement with subfloor damage repair extends the timeline to nearly two weeks.
What causes a shower pan to crack?
A shower pan cracks due to material degradation after 10-45 years, structural movement creating stress, impact damage from dropped objects, or improper installation without adequate subfloor support. Acrylic and fiberglass pans crack from flexing, while tile systems fail when grout deteriorates or the waterproof membrane underneath gets punctured.
Should I repair or replace a leaking shower pan?
You should replace a leaking shower pan rather than repair it for permanent resolution, as temporary fixes like surface waterproofing or grout replacement only delay the problem. Replacement becomes necessary when the waterproof membrane fails, the pan material cracks, or subfloor damage indicates ongoing water penetration beneath the surface.