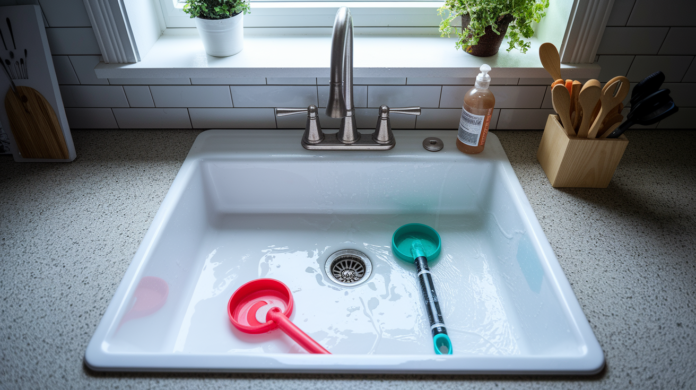

Most store bought drain cleaners promise fast results, then leave you staring at the same pool of greasy water 30 minutes later. The truth is, no single product clears every kitchen clog. Grease buildup responds to heat and caustic chemicals. Solid obstructions need mechanical removal. Choosing the wrong method wastes time and money while dishes keep piling up. This guide walks you through the methods that actually match what’s blocking your drain, so you can pick the right fix and get your sink draining again.
Quick-Start: Choose Your Clog Removal Method Based on Your Situation
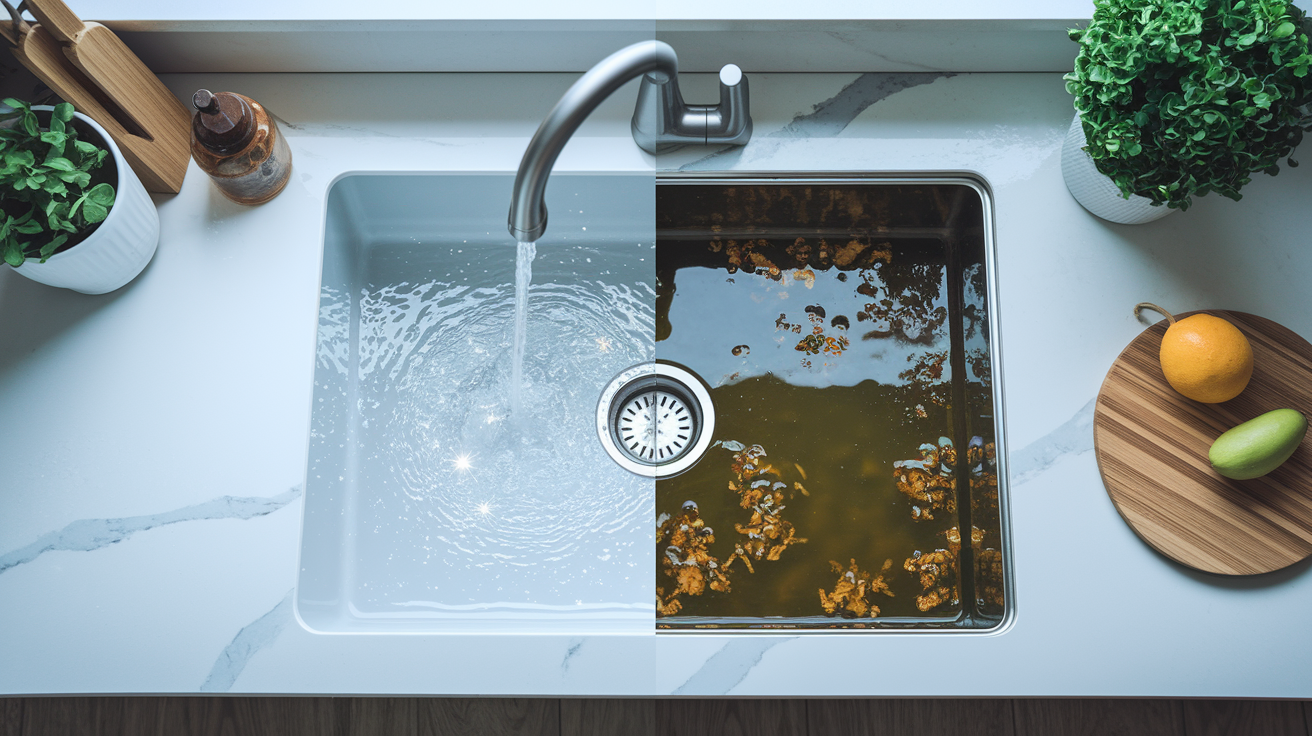
A backed up kitchen sink always feels urgent. Water pooling, dishes stacking up, that sour smell starting to creep in. Most kitchen clogs respond fast to the right method, and you can pick one that fits your situation and get moving.
| Your Situation | Recommended Method | Time to Fix | Why This Works |
|---|---|---|---|
| Minor slow drainage | Boiling water flush | 5-10 minutes | Dissolves grease and soap buildup quickly |
| Standing water with grease clog | Caustic chemical cleaner | 15-30 minutes | Breaks down grease fast with corrosive action |
| Eco-friendly preference | Baking soda + vinegar | 1 hour | Safe natural reaction loosens debris without harsh chemicals |
| Complete blockage | Drain snake | 15-30 minutes | Physically removes obstruction that chemicals can’t reach |
| Garbage disposal clog | Plunger technique | 10-15 minutes | Creates pressure to dislodge stuck debris from disposal chamber |
| Recurring or persistent clogs | Call professional | Same day | Addresses root cause beyond temporary surface fixes |
Watch how water drains to figure out what you’re dealing with. If water sits completely still, you have a solid blockage. If it drains slowly over several minutes, you’re looking at a partial clog or buildup on pipe walls. Standing water that’s greasy or has food particles floating means grease is your problem. Clear water that won’t drain points to a physical obstruction lower in the pipe.
Before you start any method, take these quick steps:
Remove visible debris from the drain opening like food scraps or gunk around the strainer. Bail out excess standing water if the sink is full so chemicals or tools can reach the clog. Identify if your garbage disposal is involved since disposal clogs require different techniques. Gather necessary tools or products before starting so you’re not searching mid process with a wet sink.
Step by Step Instructions for Using Chemical Drain Cleaners
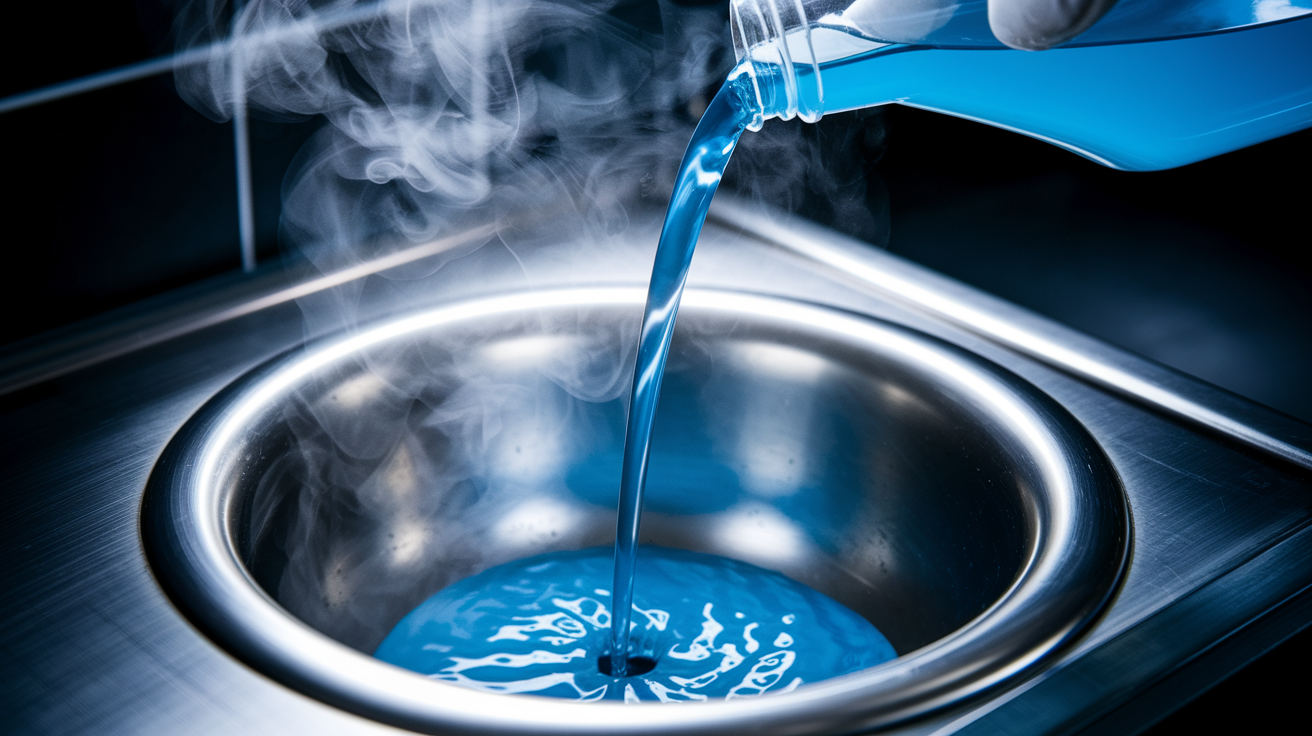
Chemical drain cleaners cut through grease clogs faster than any other method, but they only work right if you follow the process exactly. Read the entire label before you pour anything. Clear the area around your sink and open a window.
Here’s how to use chemical cleaners safely:
Bail out most of the standing water using a cup or small container, leaving just an inch or two in the sink so the cleaner can make contact with the clog. Remove the sink stopper, strainer, or any drain cover so product flows directly into the pipe. Put on protective rubber gloves before handling the bottle because these products cause skin burns on contact. Make sure you’ve got good ventilation by opening windows and turning on exhaust fans since fumes can irritate eyes and lungs. Pour the product slowly and directly into the drain opening. Avoid splashing on surrounding surfaces. Wait the specified time listed on the bottle, typically 15 to 30 minutes for minor clogs or overnight for stubborn ones that haven’t responded to shorter treatments. Flush thoroughly with hot tap water for at least 2 minutes to clear dissolved debris and product residue. Repeat the process only if the first application shows partial improvement after a full wait period.
Different products work on different timelines. Caustic cleaners containing bleach and corrosive ingredients like Drano Max Gel handle minor clogs in 15 to 30 minutes but can be left overnight when you’re dealing with persistent blockages. Oxidizing formulas like Liquid Plumr need at least 15 minutes for light clogs, but badly clogged drains require overnight treatment. Powder products like Green Gobbler work in the same 15 to 30 minute window, though tough clogs benefit from overnight contact time. If you see improvement but water still drains slowly after the first treatment and full flush, consider a second application. If there’s zero change after the recommended wait time, switch to a mechanical method instead of pouring more chemicals.
Natural DIY Solutions Using Household Items
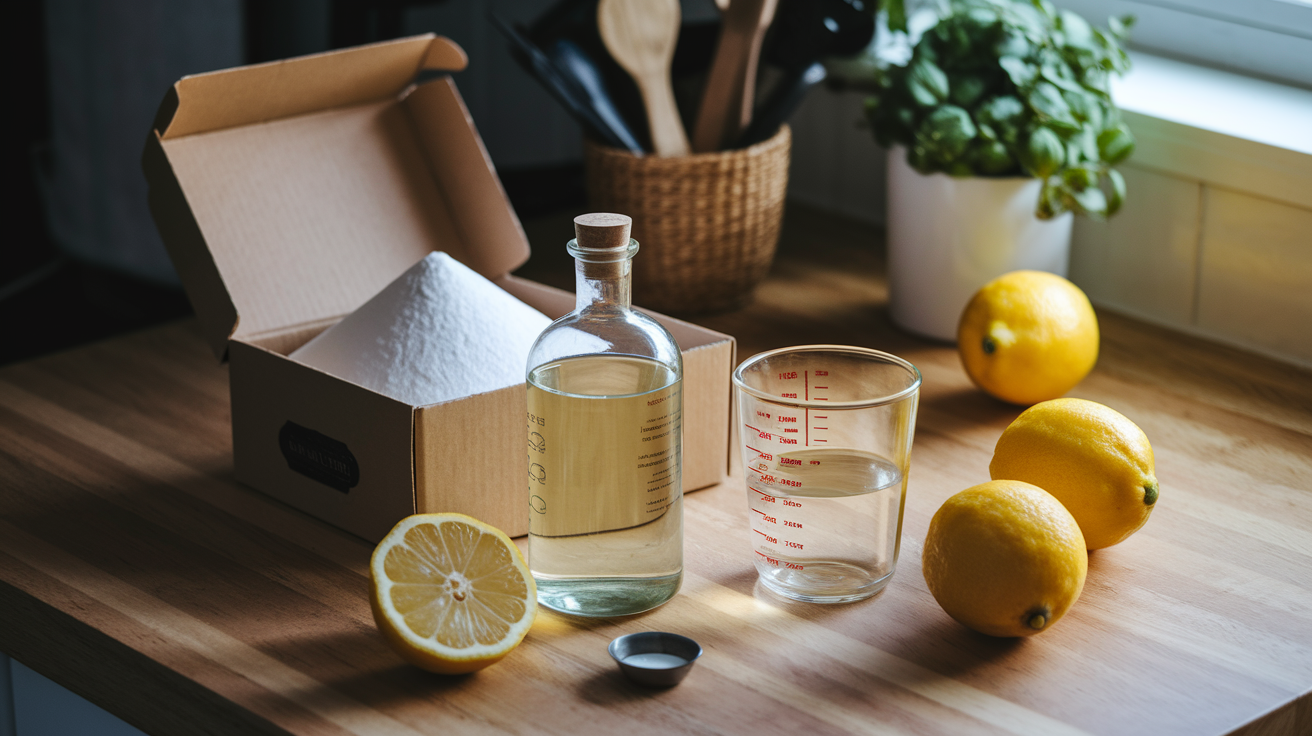
Natural methods appeal to homeowners who want to avoid harsh chemicals around food prep areas, protect older plumbing, or work with what’s already in the pantry. They cost almost nothing, they’re safe for septic systems, and they work surprisingly well on moderate grease and soap buildup.
| Method | Ingredients | Wait Time | Best For |
|---|---|---|---|
| Baking soda + vinegar | 1 cup baking soda, 1 cup vinegar | 15 minutes to 1 hour | Moderate grease, soap scum, general buildup |
| Baking soda + salt | 1 cup baking soda, 1/2 cup salt | Several hours or overnight | Stubborn grease, needs longer breakdown time |
| Salt + boiling water | 1/2 cup salt, 1 quart boiling water | Few minutes | Light grease clogs, quick maintenance |
| Boiling water only | 1-2 quarts boiling water | 5 minutes between attempts | Fresh grease before it hardens, soap scum |
The baking soda and vinegar combination creates a fizzing chemical reaction that loosens debris stuck to pipe walls. Pour about 1 cup of baking soda directly into the drain opening, then follow with 1 cup of white vinegar. You’ll hear it fizz and bubble immediately. If you have a stopper, insert it to keep the reaction contained in the pipe where it does the most good, and wait 15 minutes. For tougher clogs, skip the stopper and let it sit for a full hour. After the wait time, flush with hot tap water running at full pressure for at least 2 minutes.
The baking soda and salt method works more slowly but stays in contact longer for stubborn grease. Mix about 1 cup of baking soda with half a cup of table salt, pour it down the drain, and let it sit for several hours or overnight. The salt acts as a mild abrasive while the baking soda neutralizes odors and breaks down organic matter. Follow with a flush of hot water. The salt and boiling water shortcut uses half a cup of table salt followed by about a quart of boiling water, with just a few minutes of contact time before flushing.
One important caution: boiling water works great on metal pipes and tackles soap scum well, but it can damage PVC pipes. The heat can warp or soften plastic pipes, especially if you pour directly into a dry drain. If your plumbing is PVC, use very hot tap water instead of boiling, or stick to chemical or mechanical methods. When using boiling water, remove as much standing water as possible first so the hot water reaches the clog. Wait 5 minutes for the pipes to cool between attempts if the first pour doesn’t clear it.
Mechanical Tools and Techniques for Physical Clog Removal
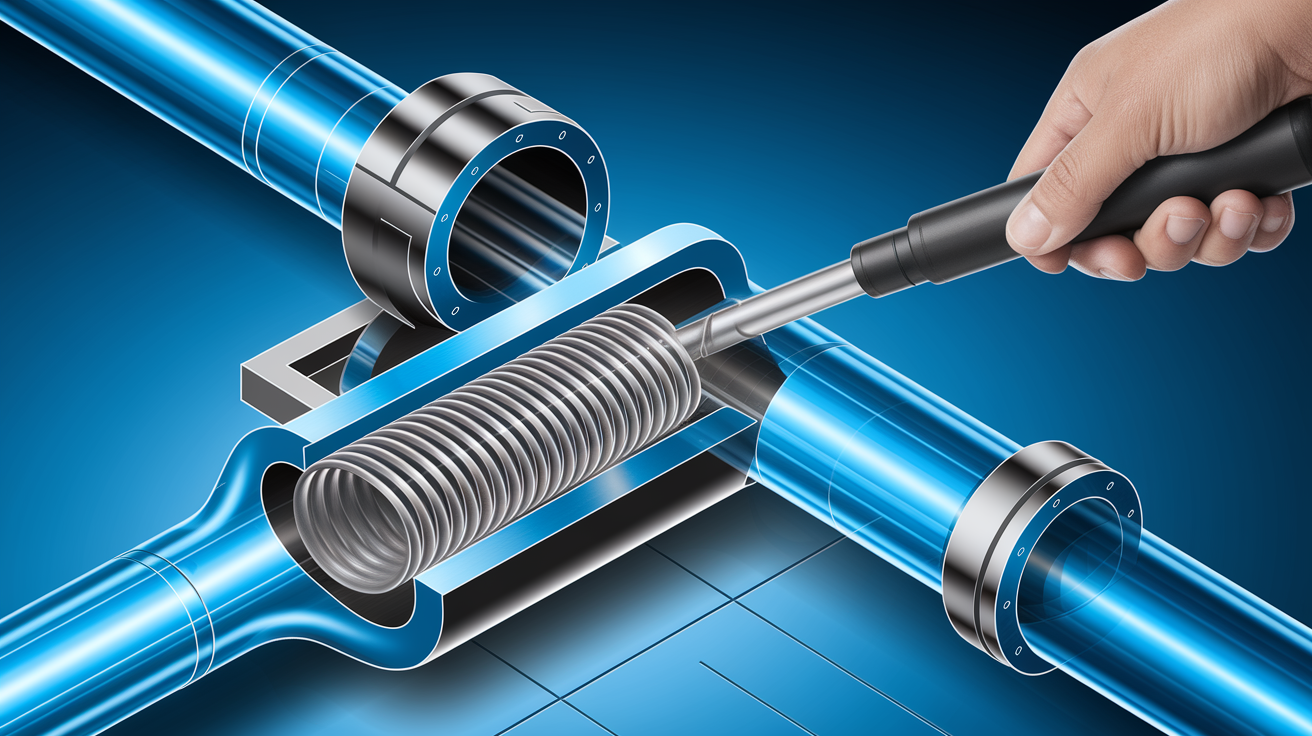
Some clogs won’t dissolve no matter what you pour down there. When you’re dealing with a solid object, compacted food debris, or a blockage that chemicals haven’t touched, mechanical tools physically remove what’s stuck.
Using a Plunger on Kitchen Sinks
Kitchen sink plungers look different from toilet plungers. They’re smaller, with a flat bottom that creates a tight seal on the flat surface around a sink drain. Fill the sink with enough water to cover the plunger’s bell completely because you need that water to create suction and pressure.
Press the plunger firmly over the drain opening to form a seal, then push down and pull up with quick, forceful strokes. Keep the seal intact. Plunge vigorously for several minutes without stopping.
If you have a double sink, you need to block the adjacent drain while you plunge. Hold a wet rag firmly over the other drain opening or use a stopper. Without blocking it, you’ll just push water back and forth between the two sinks instead of forcing pressure down toward the clog.
Drain Snake and Auger Application
A drain snake (also called a drain auger) is a flexible metal cable that reaches deep into pipes to break up clogs or pull them out. Basic models extend about 25 inches, which gets you past the P trap where most obstructions sit. The cable flexes around bends in the pipe, and barbs or a coil on the end grab onto hair, food debris, and other stuck material.
Feed the snake into the drain opening slowly, pushing gently until you feel resistance. That’s your clog. Rotate the handle to work the barbed end into the blockage, then pull back to extract what you’ve grabbed. You might need several attempts to clear everything.
Longer augers extend up to 6 feet down the drain line and some models attach to a drill for extra torque on stubborn blockages. The motorized rotation breaks up compacted material that manual turning can’t handle.
A straightened wire coat hanger works in a pinch for shallow clogs, but be careful. The exposed wire can scratch the sink finish or porcelain if you’re not gentle. Plastic zip it tools designed for hair removal work okay on food particles but they’re thin and can break if you hit a solid obstruction.
Cleaning the P Trap Manually
The P trap is the U shaped pipe section under your sink. It holds a small amount of water that blocks sewer gas from coming up through the drain, and it collects debris like a net. When nothing else works, cleaning the P trap directly usually solves the problem.
Put a bucket or large pan directly underneath the P trap to catch water and debris. The trap holds about a cup of water plus whatever’s clogging it. Unscrew the slip nuts on both ends of the U shaped section by hand or with slip joint pliers. Once loose, pull the trap down and away.
Dump the contents into the bucket. You’ll see what was blocking flow: grease buildup, food particles, sometimes small objects that fell down the drain. Clean the inside of the trap thoroughly with a brush and hot soapy water. Check the trap for cracks or corrosion while it’s off.
Reassemble by sliding the trap back into position and hand tightening the slip nuts. Tighten another quarter turn with pliers, but don’t overtighten because you’ll crack the plastic threads. Run water and check for leaks at both connections.
Comprehensive Safety Guide for Chemical Drain Cleaners and Pipe Protection
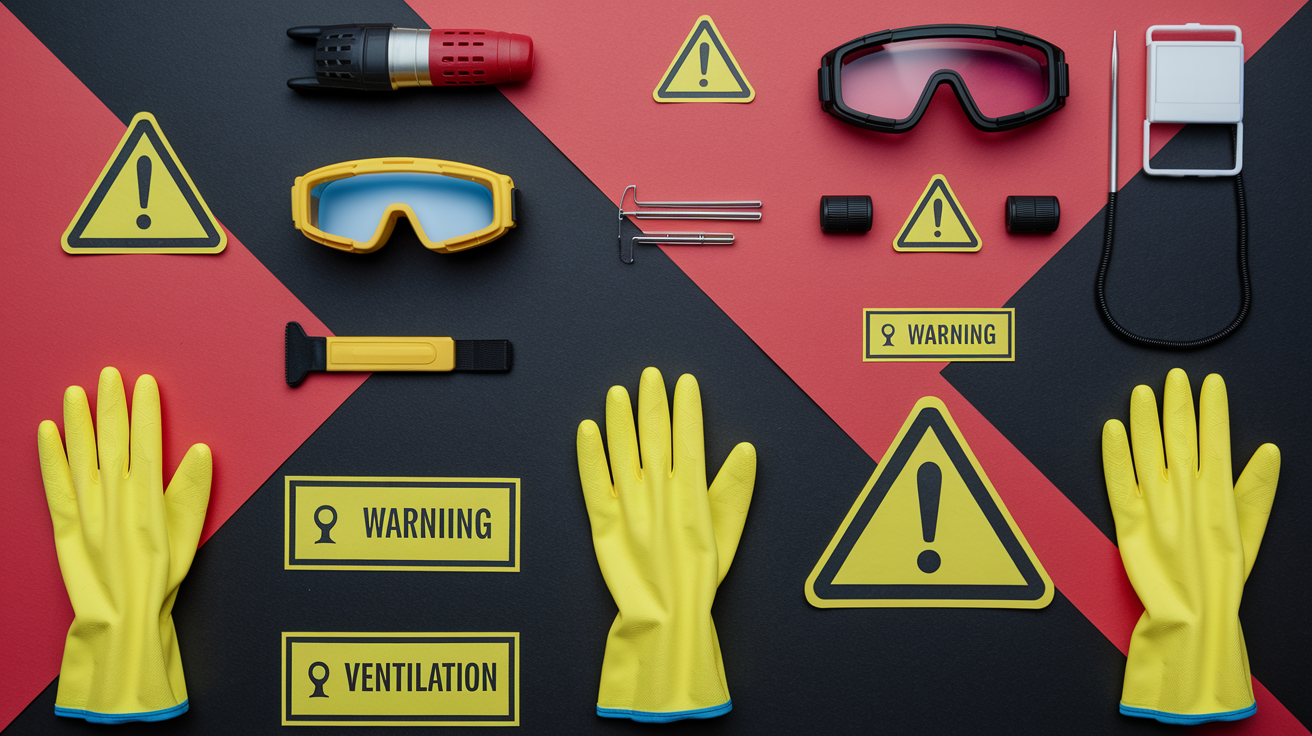
Chemical drain cleaners contain caustic or oxidizing ingredients that can burn skin, damage eyes, create toxic fumes, and harm your plumbing if used incorrectly. Understanding both personal safety and how these products affect different pipe materials prevents injuries and expensive pipe repairs.
Follow these safety rules every time you use chemical drain cleaners:
Never mix different drain cleaners or combine a drain cleaner with other household cleaning products because chemical reactions can produce toxic gas or cause explosions. Always wear protective rubber gloves that cover your hands and wrists to prevent chemical burns from splashes or spills. Make sure you’ve got adequate ventilation by opening windows and running exhaust fans because fumes irritate eyes, throat, and lungs. Avoid using chemical drain cleaners in toilets where they can splash back or overflow, causing dangerous contact with skin and surfaces. Never lean directly over the drain opening while pouring product because fumes rise immediately and can burn eyes or respiratory passages. Keep chemical cleaners away from children and pets by storing in locked cabinets and never leaving bottles unattended during use. Follow manufacturer instructions precisely regarding dosage, wait time, and flushing procedures because more product doesn’t mean better results. Verify septic system compatibility before pouring anything down the drain if your home uses a septic tank rather than municipal sewer. Check your pipe material before selecting a method because what’s safe for metal pipes can destroy plastic ones.
Mixing drain cleaners with other products or pouring a second cleaner down after the first one fails creates serious risks. When caustic and oxidizing formulas combine, they can generate chlorine gas or cause violent reactions that produce heat, toxic fumes, or even small explosions that spray chemicals out of the drain. One homeowner who poured an oxidizing cleaner on top of a caustic one that hadn’t worked ended up with burns on her arms and face from the splash when the two mixed in the pipe. If the first product fails, flush the drain thoroughly with water for at least 5 minutes before trying anything else.
| Pipe Material | Safe Chemical Use | Heat Sensitivity | Avoid | Long-Term Risks |
|---|---|---|---|---|
| PVC pipes | Can use gentle chemicals in moderation | Warps from heat above 140°F | Boiling water and caustic cleaners with high heat generation | Softening, warping, and deformation of pipe walls |
| Metal pipes (copper, galvanized steel) | Most chemicals safe when used as directed | Heat resistant | Excessive repeated use in same location | Surface corrosion leading to cracks and holes |
| Septic systems | Enzymatic and septic-safe labeled products only | N/A | Caustic and oxidizing cleaners that kill bacteria | Destruction of beneficial bacterial colonies needed for waste breakdown |
PVC pipes installed in most homes built after 1970 can handle gentle chemical cleaners, but they’re vulnerable to heat. Caustic cleaners generate significant heat when they react with grease and standing water. That heat can warp or soften PVC, causing the pipe to sag or lose its shape. Once a PVC pipe warps, it creates low spots where debris collects and new clogs form more easily. Boiling water poured directly into PVC drains can have the same effect, especially if you pour large amounts quickly.
Metal pipes like copper and galvanized steel resist heat but aren’t immune to chemical damage. Surface corrosion happens when you use chemical cleaners repeatedly in the same drain over months or years. The corrosive action slowly eats away at the pipe’s interior surface, eventually creating rough spots, thin areas, and sometimes pinholes or cracks that leak. If you’re using chemical cleaners more than once a month in the same sink, you’re increasing the risk of pipe damage.
Watch for these signs that chemical cleaners have damaged your pipes: visible corrosion or green oxidation on exposed pipes under the sink, slow leaks at joints that weren’t leaking before, recurring clogs in the same location shortly after clearing, unusual sounds like hissing or gurgling when water drains, and foul odors that weren’t present before. Catching damage early means repairs cost less. Rotating between mechanical methods, natural solutions, and occasional chemical treatments protects your pipes better than relying on chemicals every time.
Preventing Kitchen Sink Clogs: What Never to Put Down Your Drain
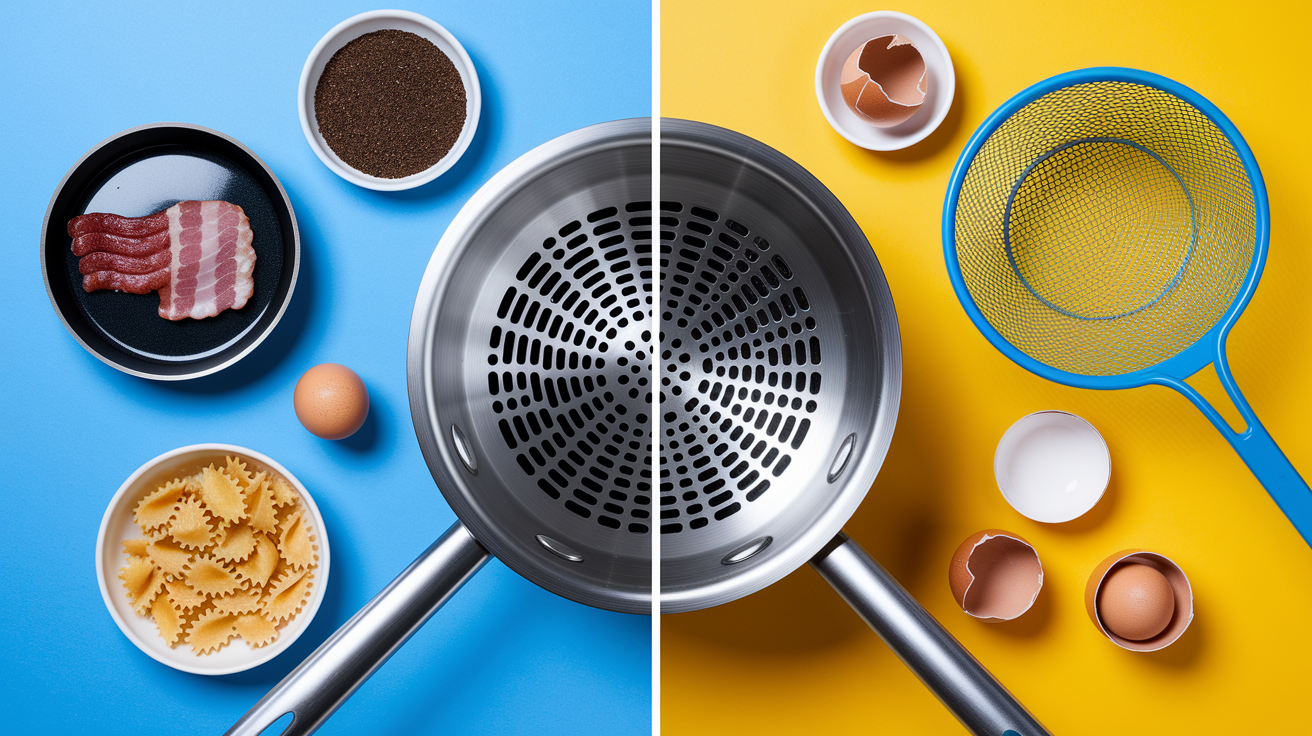
Kitchen sink clogs happen differently than bathroom clogs. Bathrooms deal with hair and soap scum, but kitchens face grease that solidifies on pipe walls and food particles that accumulate in the P trap. Understanding what causes kitchen clogs helps you avoid them.
Never Put These Down Your Kitchen Drain:
Bacon grease and cooking oils that solidify into hard white deposits as they cool in your pipes. Coffee grounds that seem small but compact into dense masses that trap other debris. Pasta and rice that continue expanding with water exposure and create sticky blockages. Fibrous vegetables like celery and asparagus that tangle around anything in the pipe and catch other debris. Eggshells that break into granular pieces that pack together and stick to grease buildup. Flour and dough that form paste like globs when mixed with water and grease. Starchy potato peels that become sticky and coat pipe walls like adhesive. Non food items like twist ties, stickers from produce, and small plastic pieces that get caught in the P trap.
Grease is the number one cause of kitchen sink clogs. When you pour hot grease or oil down the drain, it flows as a liquid. As it moves through cooler pipes, it solidifies and sticks to the pipe walls. Each time you add more grease, the layer gets thicker. Other debris starts sticking to the grease, and eventually you’ve built a solid plug that blocks water flow. The grease layer forms gradually over weeks or months, which is why kitchen clogs often seem to appear suddenly even though they’ve been building for a while.
If you use a garbage disposal, feed items gradually and wait until you hear that each batch is fully ground before adding more. Running too much food at once overwhelms the disposal and pushes large chunks into the drain where they get stuck. Always run cold water through the disposal while it’s operating because cold water keeps grease in solid form so it gets chopped up and flushed away instead of coating the pipes as liquid. Avoid overloading with too much food waste at once. Run plenty of water down the drain for at least 30 seconds after the disposal finishes grinding to flush everything completely through the pipes.
Simple maintenance routines prevent buildup before it becomes a clog. Once a week, run hot tap water at full pressure for 2 to 3 minutes to flush accumulated grease and soap residue. Install inexpensive mesh strainers in both sides of a double sink to catch food particles before they go down the drain. Empty the strainers into the trash after each meal. Once a month, use an enzymatic treatment like Bio Clean or a preventative product like CLR Clear Pipes & Drains at the recommended 2 ounces (4 tablespoons) per application. These regular treatments break down organic material gradually so it never builds up enough to cause a blockage. The monthly habit costs a few dollars and 5 minutes but gets rid of emergency clogs that cost you time, frustration, and potentially a plumber’s visit.
Garbage Disposal Clogs: Special Techniques and Care
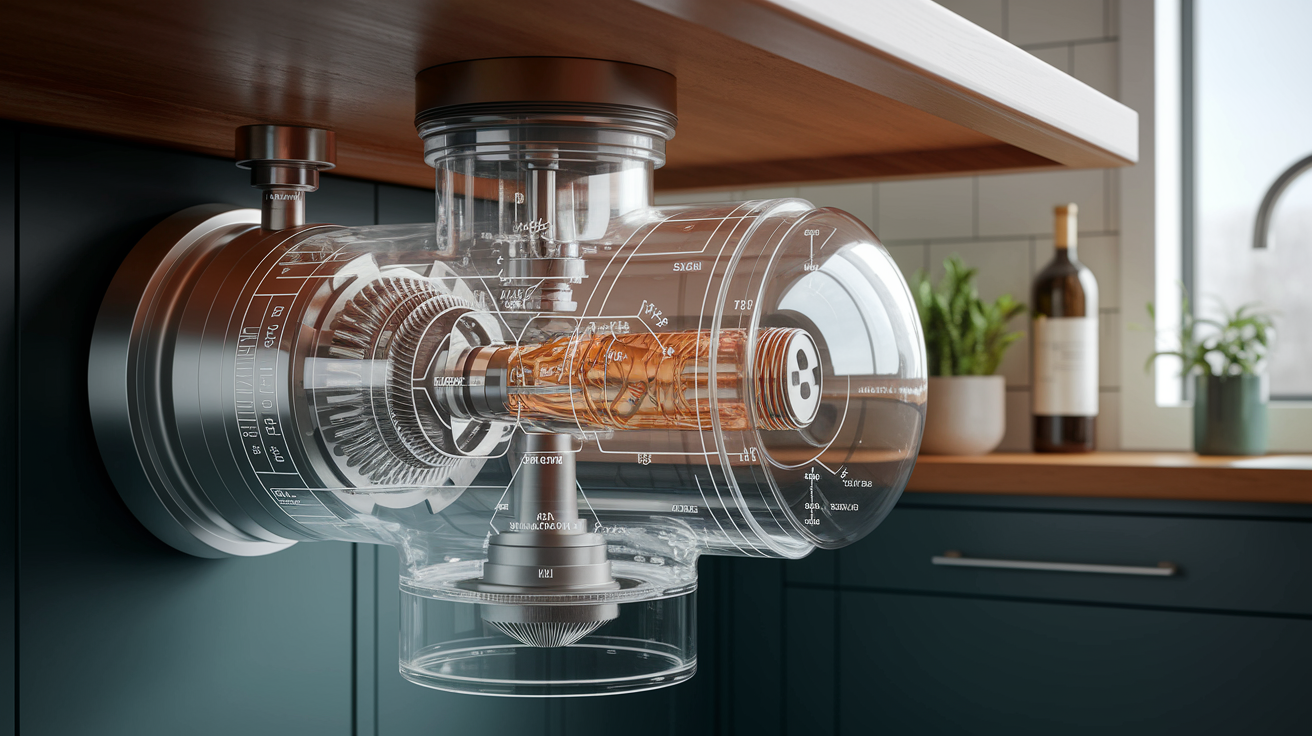
A garbage disposal adds another layer to kitchen sink drainage because clogs can happen in the disposal chamber itself, not just in the drainpipe. The disposal connection also changes how you approach clearing blockages.
When water backs up in a sink with a garbage disposal, start with this process:
Turn off the disposal at the wall switch and never turn it on while troubleshooting a clog to prevent injury or damage. Tighten the clamp over the rubber part of the dishwasher drain line if your dishwasher connects to the disposal because loosening here allows air to escape instead of building pressure where you need it. Place a kitchen plunger firmly over the drain opening, making sure you have a complete seal. Fill the sink with 3 to 4 inches of water to cover the plunger bell because you need that water to create hydraulic pressure. Plunge vigorously with quick up and down strokes for several minutes, maintaining the seal the entire time.
The plunging action creates pressure that can dislodge food debris stuck in the disposal chamber or push a blockage further down the drain where it breaks apart. If plunging doesn’t work, check the disposal chamber for obvious obstructions, but follow safety rules strictly.
Never put your hand down a garbage disposal drain to reach for clogs, even with the power off. Disposal blades are sharp and the unit could activate if someone flips the switch. Use long handled tongs to retrieve any fallen objects like utensils or bottle caps. Verify the disposal is turned off at the switch, and for extra safety, unplug it or turn off the breaker before reaching inside with tools. Look inside with a flashlight to see if there’s a visible jam before attempting any removal.
Disposal maintenance prevents most clogs. Run the disposal regularly even if you don’t have food waste because sitting still allows grease to harden in the chamber. Feed waste gradually instead of cramming handfuls down at once. Hard items like bones and fibrous materials like corn husks don’t grind well and should go in the trash. Run cold water before you turn on the disposal, keep it running while the disposal works, and let it continue for 30 seconds after you turn the disposal off to flush everything through. Clean the disposal monthly by grinding ice cubes and rock salt or citrus peels to scour the chamber walls and get rid of odors. These small habits keep the disposal and connected drain line flowing freely.
Comparing Commercial Drain Cleaners: Effectiveness, Cost, and Best Applications
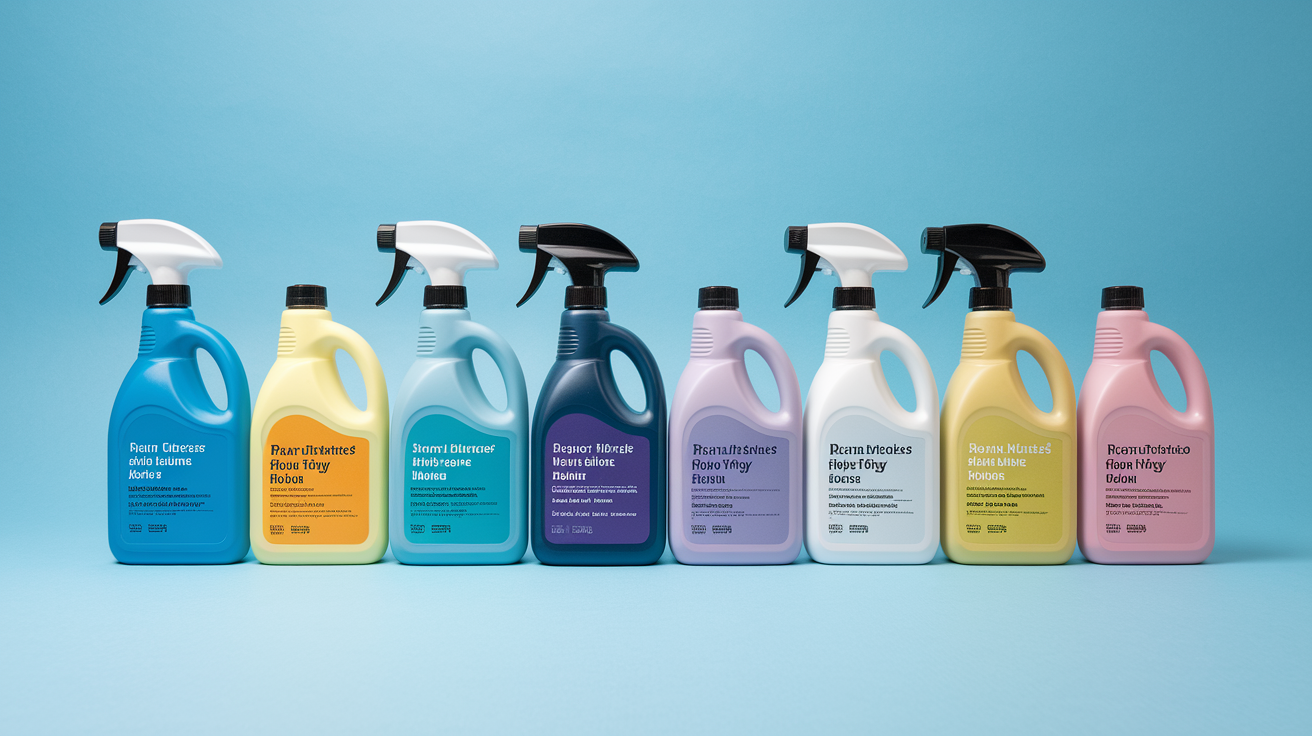
Choosing the right product depends on matching the cleaner’s chemistry to your specific clog type, considering how fast you need results, and balancing cost against effectiveness. Different formulas tackle different problems.
| Product/Type | Price Range | Time to Work | Kitchen Sink Effectiveness | Best For | Limitations | Repeat Applications |
|---|---|---|---|---|---|---|
| Caustic cleaners like Drano Max Gel | Under $10 | 15-30 min or overnight | Excellent for grease and soap scum | Standing water clogs, emergency fixes | Can damage pipes with overuse | Rarely needed |
| Oxidizing cleaners like Liquid-Plumr | $8-12 | 15 min to overnight | Moderate for kitchen use | Organic matter breakdown | Less effective on grease | May need full bottle |
| Powder cleaners like Green Gobbler | $10-15 | 15-30 min or overnight | Good for varied clogs | Versatile kitchen applications | Corrosive to porcelain if contacted | Sometimes for tough clogs |
| Enzymatic like Bio-Clean | $15-30 | Overnight to days | Good for maintenance | Monthly prevention routines | Not for emergency clogs | Often for complete blockages |
| Specialty like XionLab | $12-20 | 2 hours to overnight | Poor for kitchens | Bathroom drains only | Cannot dissolve food or paper | Frequently needed |
| Boiling water and DIY methods | $0-2 | 5-10 minutes | Good for fresh grease | Minor clogs and prevention | PVC pipe damage risk | Multiple attempts common |
| Professional service | $150-300 | Same day | Excellent for all types | Severe or recurring clogs | Expensive upfront cost | N/A |
Caustic cleaners containing bleach and corrosive ingredients work best on the grease and soap scum that cause most kitchen sink clogs. Products like Drano Max Gel use a thick formula that cuts through standing water and makes direct contact with the blockage. The corrosive action breaks down grease rapidly, clearing most minor clogs in 15 to 30 minutes. For persistent blockages that don’t respond to the first treatment, you can leave caustic cleaners in the drain overnight for extended contact time. These cleaners handle standing water situations better than other types, they’re safe for septic systems when used as directed, and they cost less than $10 per bottle.
Enzymatic options use naturally occurring bacteria and enzymes to digest organic matter including grease, soap scum, food particles, paper, and hair. Products like Bio Clean work much more slowly than chemical cleaners, typically requiring overnight contact for best results. Complete blockages may need multiple applications over several days as the bacteria colonies multiply and consume the clog gradually. These cleaners won’t save you in an emergency, but they’re gentler on plumbing than chemical options, completely safe for all pipe types including septic systems, and they work well as monthly maintenance products that prevent clogs from forming. The bacteria continue working as long as there’s organic matter to consume, so one application treats buildup throughout your drain system.
Start with the cheapest option first unless you have standing water. Boiling water or DIY baking soda and vinegar combinations cost $0 to $2 and clear minor clogs in 5 to 10 minutes. If the cheap method fails, you’ve lost 10 minutes and pocket change. Moving up to a $10 bottle of caustic cleaner makes sense at that point. What doesn’t make sense is trying multiple products in sequence. If a $10 chemical cleaner fails, switching to a $150 to $300 professional service call actually saves money compared to repeated DIY attempts that don’t solve the problem. Professionals prevent water damage from overflows, stop pipe damage from chemical overuse, and fix the root cause so you’re not dealing with the same clog again next week.
Warning Signs and When to Call a Professional Plumber

Small drainage problems turn into big expensive repairs when you ignore early warning signs. Catching issues before they get worse protects your plumbing, prevents water damage, and saves money.
Your drain is telling you something needs attention when you notice these signs:
Water draining slower than normal even though it eventually clears means a partial blockage is forming and will get worse. Standing water that won’t drain at all indicates a significant obstruction that’s completely blocking flow. Foul odors coming from the drain point to organic matter decomposing in the pipe or bacterial growth in standing water. Gurgling sounds when water drains mean air is trapped by a clog and being pushed back up through the water. Water backing up into the adjacent sink in a double sink setup shows a shared drain line blockage. Decreased water pressure throughout the sink suggests a bigger issue beyond just a simple clog. Recurring clogs in the same drain after you’ve cleared them successfully indicates incomplete removal or a deeper problem you haven’t reached. Multiple drains clogging at the same time signals a main line problem affecting your entire home’s drainage system.
Early symptoms like slow drainage deserve attention before they turn into standing water. That slow drain is a partial blockage that’s catching more debris every time you use the sink. Left alone, it becomes a complete clog within days or weeks. Foul odors mean organic matter is sitting in your pipes instead of flowing through, and that material is breaking down and breeding bacteria. Gurgling sounds aren’t just annoying. They indicate trapped air pockets that create pressure imbalances in your drainage system.
Call a Professional Immediately If:
Persistent clogs remain after multiple DIY attempts using different methods (chemicals, snaking, plunging) without improvement. Clogs return within days of clearing, indicating you’re treating symptoms but not fixing the root cause. Clogs are accompanied by sewage smell or dark water backing up, which signals main line issues or sewer problems. Water backs up in multiple fixtures when you use one drain, meaning blockages in shared lines deeper than DIY tools reach. Visible water damage appears around pipes or under the sink, pointing to leaks that need immediate attention to prevent structural damage. Clogs are located deep in the drain pipe beyond P trap access where household tools can’t reach.
Professionals use specialized equipment that goes far beyond what homeowners typically own. Hydro jetting uses high pressure water streams up to 4,000 PSI to blast through grease buildup, break up solid clogs, and scour pipe walls clean. Motorized augers extend 50 feet or more into drain lines and access the main sewer line to clear blockages in places you can’t reach with a 25 inch hand snake. Video camera inspection involves inserting a waterproof camera through your cleanout to see exactly where the blockage sits, what’s causing it, and whether your pipes show damage, corrosion, or root intrusion. Professionals have specialized tools for accessing stub pipes behind walls without damaging your cabinets or drywall. When DIY methods fail repeatedly, professional tools and know how solve problems permanently instead of temporarily.
Final Words
A good kitchen sink drain clog remover starts with matching the right method to your specific situation. Boiling water and baking soda work great for minor grease buildup. Caustic cleaners tackle stubborn standing water clogs fast. Mechanical tools like snakes get to physical blockages that chemicals can’t touch.
Prevention matters just as much as the fix. Keep grease, coffee grounds, and food scraps out of your drain. Run plenty of water after each use. Consider a monthly enzymatic treatment to stop clogs before they start.
If you’ve tried multiple methods and the clog keeps coming back, that’s your sign to call a pro. We’ll find the root cause and get it fixed right.
FAQ
What is the best thing to unclog a kitchen sink?
The best thing to unclog a kitchen sink depends on the type of blockage you’re dealing with. For grease clogs, caustic chemical cleaners like Drano Max Gel work fastest (15 to 30 minutes). For complete blockages, a drain snake physically removes the obstruction in about the same time. If you prefer natural methods, boiling water dissolves minor grease buildup in 5 to 10 minutes.
What do plumbers recommend instead of Drano?
Plumbers recommend enzymatic cleaners like Bio-Clean instead of Drano for regular maintenance because they use naturally-occurring bacteria to digest grease, hair, and food particles without damaging pipes. For active clogs, professionals typically use a drain snake or auger to physically remove blockages, which addresses the root cause without relying on harsh chemicals that can corrode pipes over time.
Do baking soda and vinegar really unclog drains?
Baking soda and vinegar really unclog drains, but they work best on minor to moderate blockages rather than severe clogs. Pour 1 cup of baking soda followed by 1 cup of vinegar, let it sit for about an hour, then flush with hot water. The chemical reaction creates pressure that can dislodge soap scum and light grease buildup, though it won’t clear complete blockages like a snake would.
What do plumbers recommend to unclog drains?
Plumbers recommend starting with a plunger for minor clogs, then moving to a drain snake or auger for stubborn blockages before using any chemicals. These mechanical methods physically remove the obstruction without pipe damage risk. For prevention, professionals suggest monthly enzymatic treatments and never pouring grease down drains. Chemical cleaners should be a last resort, not the first choice.
How long should you leave drain cleaner in a clogged sink?
You should leave drain cleaner in a clogged sink for 15 to 30 minutes for minor clogs, following the manufacturer’s specific instructions. Persistent or tough clogs may require overnight treatment with the product sitting in the drain. After the wait time, flush thoroughly with hot water. If the clog remains after one application, try a different method rather than immediately adding more chemicals.
Can boiling water damage kitchen sink pipes?
Boiling water can damage kitchen sink pipes if you have PVC plumbing, as temperatures above 140°F can warp or soften the plastic material. Metal pipes handle boiling water without issue. If you’re unsure what type of pipes you have, use hot tap water instead of boiling, or let boiling water cool for 5 minutes before pouring. This method works great for dissolving grease and soap scum in metal drain lines.
What causes kitchen sinks to clog more than other drains?
Kitchen sinks clog more than other drains because of grease and food particles that get washed down during cooking and dishwashing. Bacon grease, cooking oils, and fats solidify as they cool inside pipes, creating sticky buildup on drain walls that traps food debris. Coffee grounds, pasta, rice, and starchy foods add to the problem by expanding or forming dense masses that compact over time.
Is it safe to use chemical drain cleaners with a garbage disposal?
It is safe to use chemical drain cleaners with a garbage disposal if the product is specifically labeled as disposal-safe, like Drano Max Gel. Never run the disposal while chemicals are in the drain, and always flush thoroughly with cold water after the treatment time. Turn off the disposal and tighten the dishwasher drain line clamp before applying the cleaner to prevent backflow into the dishwasher.
How do you know if a clog is too deep for DIY methods?
You know a clog is too deep for DIY methods when it doesn’t respond to multiple attempts with different approaches, like plunging, snaking, and appropriate cleaners. Other signs include water backing up in multiple drains, clogs returning within days of clearing, or gurgling sounds throughout the house. Clogs located beyond the P-trap or in the main drain line typically require professional equipment to reach and remove.
What’s the difference between a drain snake and a plumber’s auger?
The difference between a drain snake and a plumber’s auger is mainly reach and power. Standard drain snakes extend about 25 inches and work well for clogs in the P-trap area with barbed ends that grab debris. Plumber’s augers can rotate cables 6 feet or more down the drain line, attach to drills for stubborn blockages, and reach deeper obstructions that snakes can’t access.