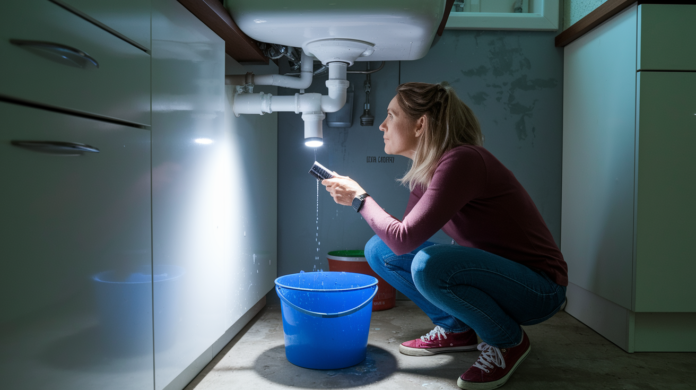

You just cleared your P-trap, put everything back together, turned on the faucet, and the water’s still pooling in your sink like nothing changed. That’s the moment most homeowners realize the clog isn’t where they thought it was. When debris settles past the P-trap in the horizontal pipe heading toward your main drain, you’re dealing with a blockage you can’t see from under the sink. This guide walks you through confirming where the clog actually sits, how to snake past the P-trap safely, and what causes these downstream blockages so you can fix it right and keep it from happening again.
Confirming Your Clog Is Beyond the P-Trap
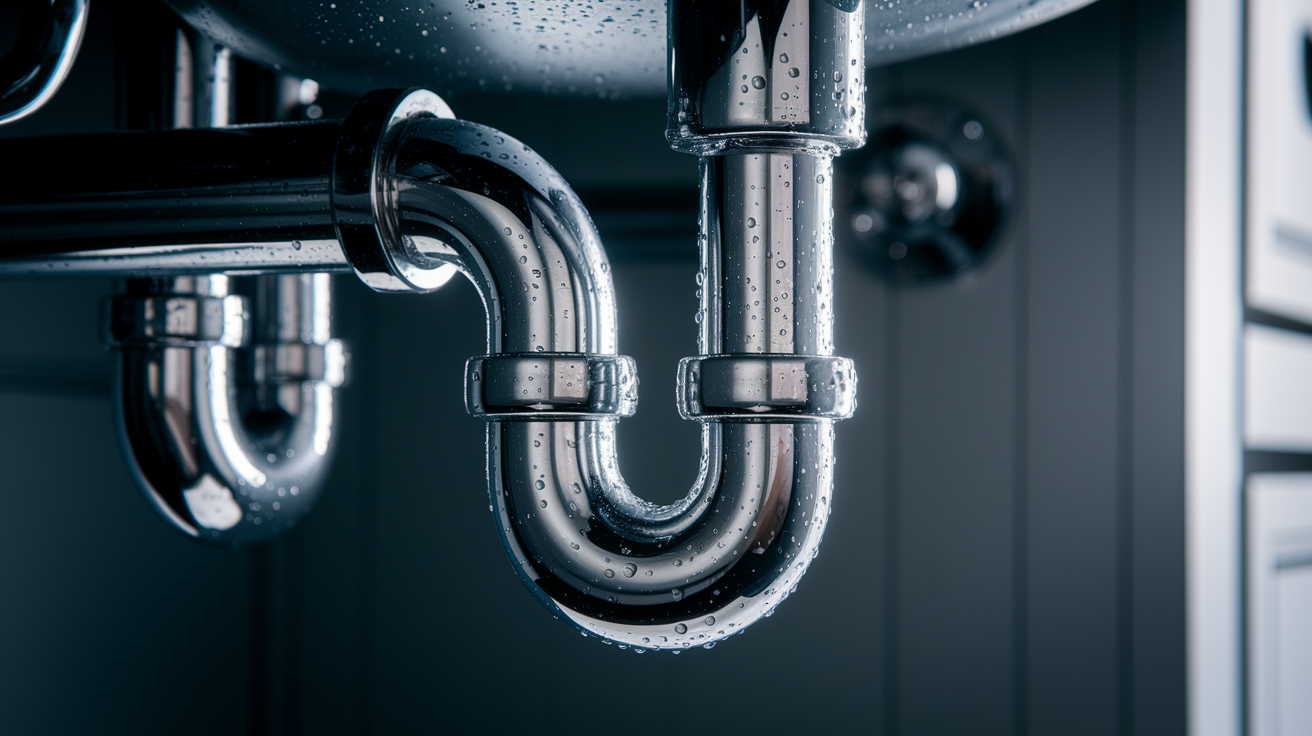
The P-trap sits right under your sink in the cabinet. That U-shaped pipe you see when you open the doors and look up. It holds a bit of water that stops sewer gases from floating into your kitchen. Most clogs happen there in that curve because debris settles naturally in the bend. But when you’ve cleared the P-trap and water still drains slow or not at all, you’re dealing with a blockage farther down. Confirming where it is before you start saves you from taking apart the wrong pipe or repeating steps that won’t help.
A P-trap clog acts different than a blockage in the horizontal pipe past it. When the P-trap’s clogged, you get slow drainage just at that sink, and clearing the trap fixes it right away. But when the blockage sits in the trap arm (the horizontal part leading from the P-trap toward the wall) or in the branch line feeding into the main drain, you’ll notice patterns involving other fixtures or ongoing slow drainage even after the trap’s spotless. These diagnostic steps use water flow and how your drain system behaves to pinpoint exactly where the problem is.
Diagnostic Checklist:
-
Standing water stays in the sink even after you’ve pulled out and cleaned the P-trap completely. Nothing caught in the trap, but water still won’t drain.
-
Multiple fixtures affected at once. When you run the kitchen sink, water backs up into the bathroom sink, shower drain, or you hear gurgling from the toilet.
-
Gurgling sounds from the drain or other fixtures in the house, which means air’s getting pushed around by a blockage farther down in the horizontal pipe past the trap.
-
Water backing up into other sinks or the bathtub when you run the kitchen faucet or drain a full basin.
-
Slow drainage continues after P-trap clearing. If it takes five minutes or longer for a sink full of water to drain and you’ve confirmed the P-trap’s clear, the blockage is downstream.
-
Sewage smell or persistent foul odor even after cleaning the P-trap, pointing to a deeper drainage system issue beyond the trap where debris sits and decomposes.
-
Recurring clogs within days of clearing the P-trap. You clean it, everything drains fine for a day or two, then the same slow drainage comes back.
Simple Diagnostic Tests:
Run the P-trap inspection test first. Take out the P-trap completely, clean it, make sure it’s empty and clear. Reconnect it, then run water at full flow for 30 seconds. If the sink still drains slow or standing water sits there, you’ve confirmed the blockage is downstream in the trap arm or branch line.
Try the multiple fixture test next. Fill your kitchen sink with a few inches of water, pull the plug and let it drain while you watch your bathroom sink, shower drain, or listen near your toilet. If you see water rising in those other drains or hear gurgling, the clog’s sitting in the shared main drain line, not in your individual kitchen line.
The drainage speed test is straightforward. After confirming your P-trap’s clear, time how long it takes for standing water to drain. If it’s taking more than two or three minutes for a half-full sink to empty, you’re dealing with a significant blockage past the trap. Normal drainage should empty a sink in under a minute.
Check if it’s a single drain problem or a multiple drain problem. Run your garbage disposal, then your dishwasher, then just the faucet. If only the sink drains slow but the disposal and dishwasher drain normally, the blockage might be isolated to the trap arm. If everything drains slow, you’re looking at a branch line blockage affecting multiple connection points. These test results tell you whether snaking from the sink will reach the clog or whether you’ll need to access a clean out point farther down.
Step-by-Step: Using a Plumber’s Snake Beyond the P-Trap
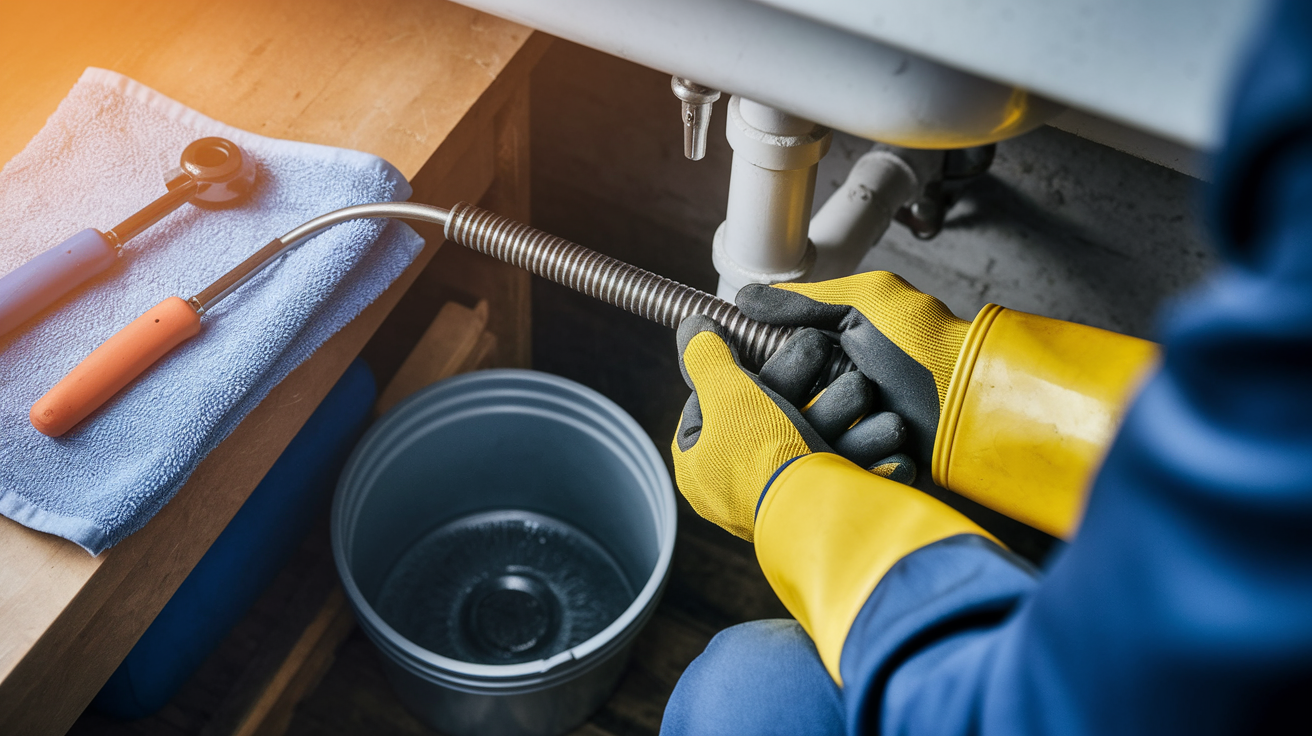
A plumber’s snake is the most effective DIY tool for reaching blockages past the P-trap in the trap arm or the horizontal pipe leading to the main drain line. You’ll remove the P-trap so you can feed the cable directly into the stub pipe, the section running into your wall or floor. This works for most clogs within 10 to 25 feet of your sink, covering the trap arm and the branch line before it connects to the vertical stack.
Required Tools and Safety Equipment:
- Plumber’s snake or drain auger (25 to 50 foot cable snake recommended)
- Bucket or large pan for catching water
- Adjustable wrench or channel-lock pliers
- Rubber gloves
- Safety glasses or protective eyewear
- Flashlight or work light
- Old towels or rags
- Pipe wrench (if removing clean out plug)
- Wet/dry vacuum (optional but helpful for standing water)
- Thread tape for reassembly
Steps:
-
Put on rubber gloves and safety glasses before you start. Standing water in the drain can have bacteria, and debris can splash when you’re loosening connections.
-
Clear everything from under the sink cabinet and set up your flashlight or work light so you can see.
-
Place the bucket directly under the P-trap to catch water and whatever’s been sitting in the pipes.
-
Find the slip nuts connecting the P-trap to the tailpiece (the pipe coming down from the sink) and the trap arm (the horizontal pipe). Use your adjustable wrench to loosen them by turning counterclockwise.
-
Remove the P-trap completely and dump what’s inside into the bucket. Check it carefully to confirm the clog isn’t sitting right there. If it is, you can skip the snaking and just reassemble.
-
Look for the stub pipe or trap arm. That’s the horizontal pipe extending into the wall or down through the floor. This is your access point for reaching the blockage.
-
Insert the cable snake into the stub pipe opening slowly, feeding the cable while you keep steady pressure moving forward.
-
Keep feeding cable until you feel resistance. Depending on where the blockage sits in your pipe setup, you might need to push 10, 15, or even 25 feet of cable before you hit it.
-
When you feel resistance, start rotating the snake handle clockwise while you apply gentle forward pressure. The goal is to either break up the clog or hook it with the cable head so you can pull it back. Don’t force it. Excessive pressure can scratch or damage the inside of your plumbing pipes.
-
Pull the cable back slowly while you keep rotating it. You should feel debris coming back with the cable. If you still feel resistance when you push the snake back in, repeat the process until the cable moves freely through the pipe.
-
Once the clog breaks up or pulls free, run water through the open pipe to verify drainage flows freely. You should see steady flow with no standing water backing up.
-
Reassemble the P-trap by reconnecting it to the tailpiece and trap arm. Tighten the slip nuts hand-tight first, then give them a quarter turn with the wrench. Make sure everything lines up properly so you don’t create new leaks.
Make sure you’ve got good ventilation while you’re working, especially if you’re dealing with water that’s been sitting in the pipes for a while. Lay towels down under the work area to protect the cabinet floor from spills. After you’ve reassembled everything, run hot water for several minutes to flush out any remaining debris and confirm your drainage system’s flowing the way it should. If the snake hits something solid that won’t break up after 15 to 20 minutes of effort, the blockage might be too severe for DIY clearing, or you might need access through a clean out farther down the line.
Common Causes of Downstream Drain Line Blockages
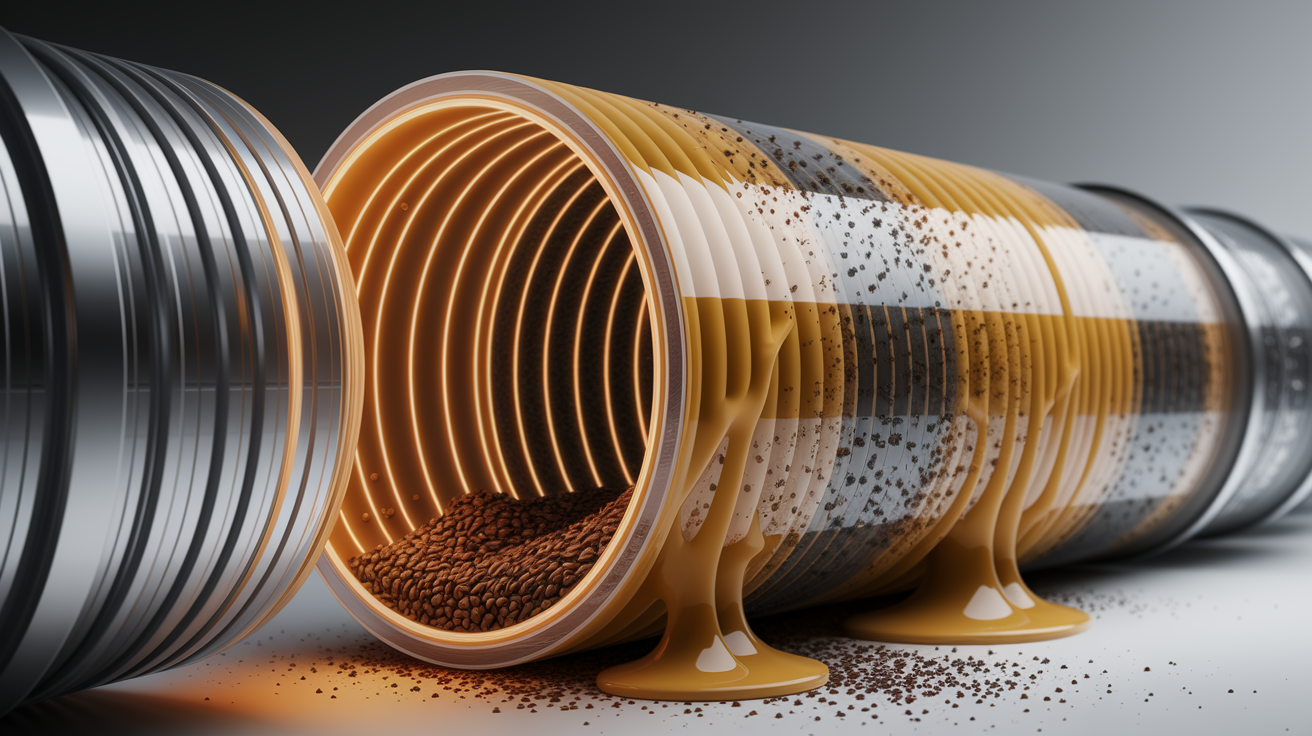
Debris that makes it past the P-trap doesn’t just disappear. It travels through the horizontal pipe and trap arm toward the main drain line, and it tends to settle wherever the pipe angles, changes diameter, or connects to a vertical section. These spots create natural catch points where material builds up gradually over weeks or months until drainage slows down or stops completely.
Grease buildup is the main problem in most downstream blockages. When you pour bacon grease, cooking oil, or any kind of fat down the drain, it’s liquid and hot. It flows right through the P-trap without catching. But as it moves into the cooler horizontal pipe sections, it starts to solidify and coat the inside walls. Each time you add more grease, the coating gets thicker, and it starts catching food particles, soap residue, and other debris. Over time, sometimes over years, that layer narrows the pipe opening. Grease blockages typically form 3 to 10 feet past the P-trap, right where the trap arm connects to the branch line or where the pipe takes a turn. These clogs feel soft or spongy when you hit them with a snake, and they’re stubborn because the grease has bonded to the pipe walls.
Food debris and foreign objects that survive the garbage disposal and slip through the P-trap create a different kind of problem. Coffee grounds are a major offender. They don’t break down, they clump together, and they stick to grease. Rice and pasta expand when they sit in water, turning into a sticky mass that catches more debris as water flows past. Occasionally you’ll find non-food items that got washed into the drain by accident. Small pieces of sponge, twist ties, bits of plastic wrap. These materials don’t dissolve or break apart, so they sit in the horizontal pipe and create a dam that catches everything flowing behind them. Food chunks remain the biggest cause of clogged drains, especially in homes where the garbage disposal gets overloaded or where plates aren’t scraped into the trash before rinsing.
Soap scum, mineral deposits, and scale formation show up more often in older homes with cast iron pipes or galvanized steel. Soap combines with minerals in hard water to create a chalky buildup that clings to pipe walls, and calcium or lime scale forms layers over time that reduce the pipe’s diameter. PVC piping doesn’t develop these issues as readily, but even plastic pipes can accumulate enough debris over the years to create a blockage if grease and food particles are introduced regularly.
Accessing and Using Clean Out Points for Stubborn Clogs
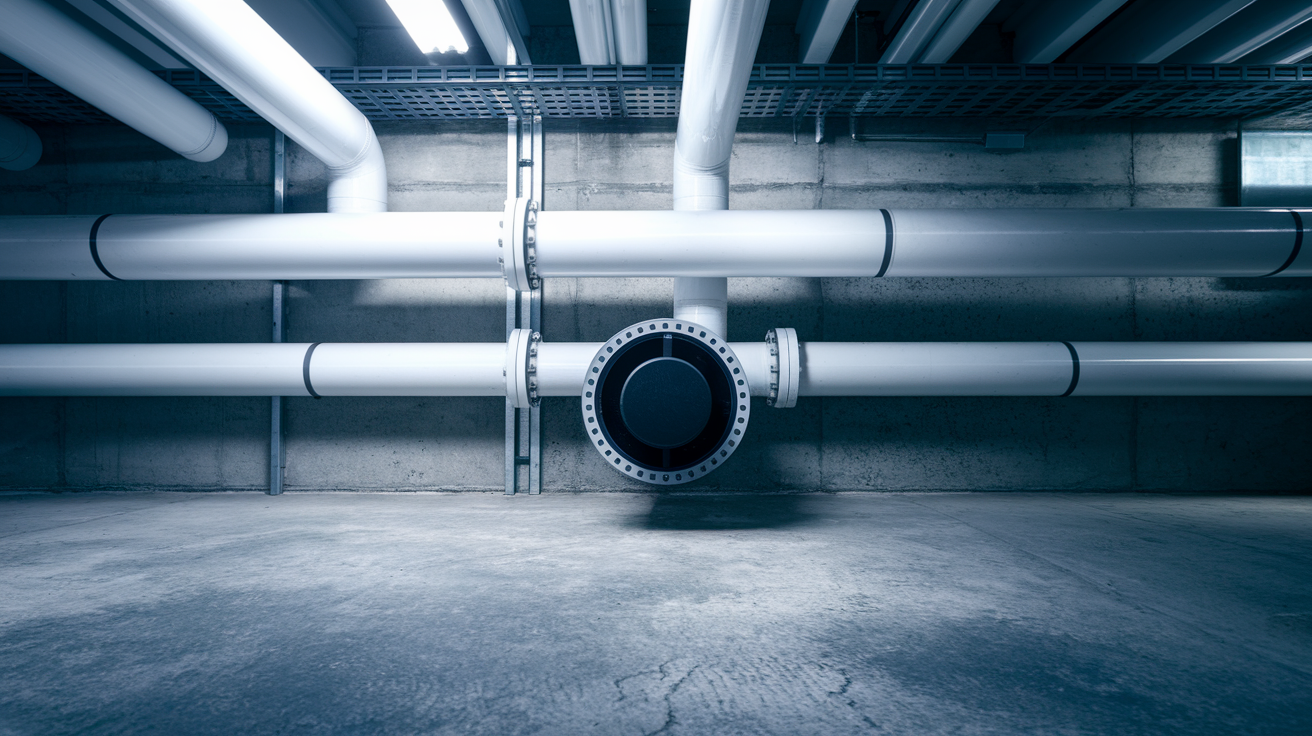
Clean outs are capped access points installed in your drain assembly that let you reach the horizontal pipes and branch lines directly without taking apart your entire plumbing system. Think of them as service doors built into the pipes specifically for clearing blockages. You’ll typically find them in a few common spots. Sometimes there’s one under the sink cabinet on the trap arm itself, other times you’ll see them in the basement on the main drain line, in a crawl space, or outside on an exterior wall where the kitchen drain exits the house. Your home’s plumbing layout determines where the clean outs sit, but they’re always positioned to give you the most useful access to sections that are prone to clogging.
How to identify and locate clean outs:
-
Look for round or rectangular caps with a square fitting on top or raised edges you can grip with a wrench. They’re usually white or black plastic on newer systems, brass or steel on older ones.
-
Check under the sink first, on the horizontal pipe past where the P-trap connects.
-
In the basement or crawl space, follow the kitchen drain line and look for capped fittings on horizontal runs or where the pipe changes direction.
-
Outside the house, check near the foundation where the kitchen plumbing exits. There may be a clean out before the line connects to the main sewer.
-
When you remove a clean out plug, expect water to come out first if there’s a blockage downstream, followed by debris and possibly a sewage smell if the clog’s been sitting for a while.
Removing a clean out plug requires some preparation. Place your bucket directly underneath the clean out before you start loosening it. There’s usually standing water backed up behind the cap, and it’ll come out fast once you break the seal. Use a pipe wrench to turn the plug counterclockwise. It might be tight, especially if it hasn’t been opened in years. Once the plug’s out, let the water drain completely into your bucket before you do anything else. This is your access point for snaking, and you’ll get a much better angle from here than you would from the sink drain. The pipe runs in a specific direction from the clean out, usually toward the main drain line, so you’ll insert your snake in that direction to reach the blockage.
Snaking from a clean out follows the same basic technique as snaking from the sink. Feed the cable into the opening in the direction of the clog, which is usually downstream toward the main line. Push until you feel resistance, then rotate clockwise and pull back. The advantage here is that you’re often closer to the blockage, and you’re working with a straight shot instead of navigating around the P-trap. Once you’ve cleared the clog, run water from the sink and watch the flow at the clean out to confirm everything’s draining properly. Replace the plug when you’re done, and use thread tape or plumber’s putty on the threads to ensure it seals correctly and doesn’t leak.
Alternative Methods: Chemical Cleaners and Hydro Jetting for Downstream Clogs
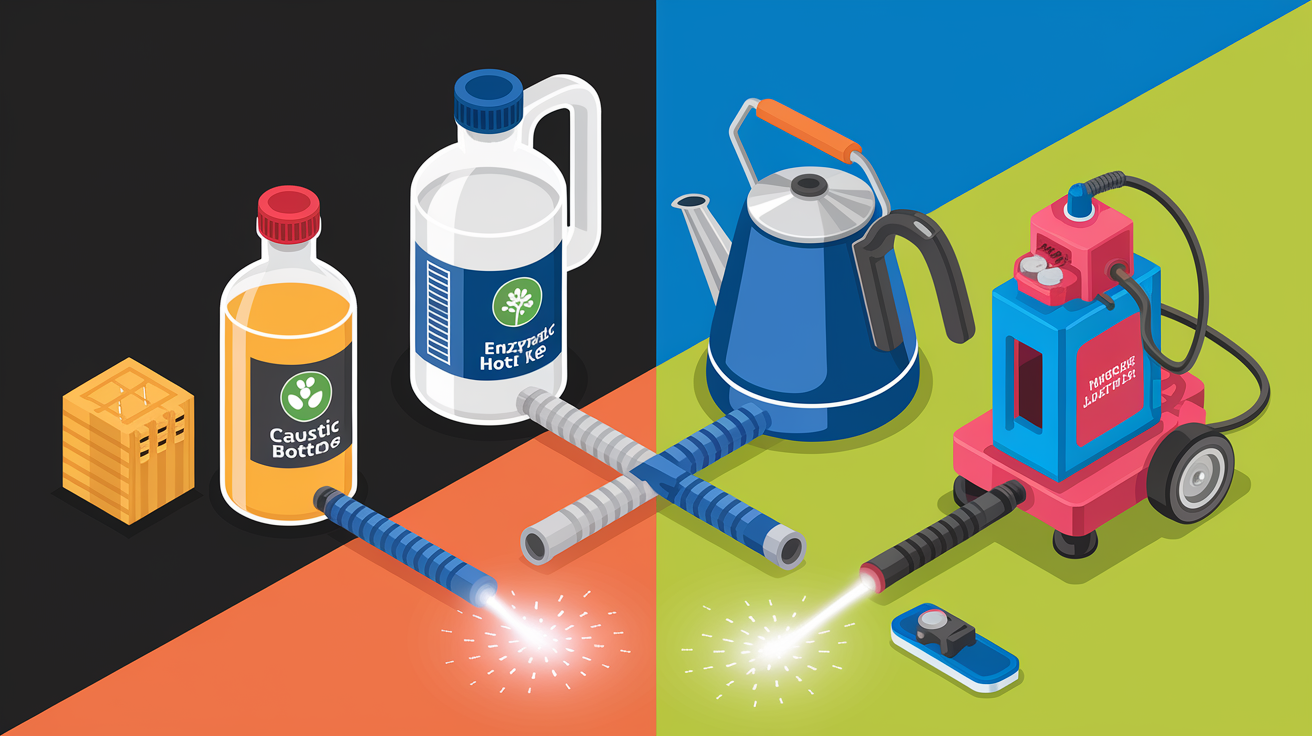
Chemical and high-pressure methods come into play when mechanical clearing hasn’t worked or when the clog’s in a spot you can’t reach with a standard snake. But here’s the reality. Effectiveness drops significantly with distance from the drain opening. A clog sitting 15 feet down the line in the horizontal pipe is much harder to treat with chemicals than one sitting in the P-trap, because the solution has to travel farther and often gets diluted by standing water before it reaches the blockage.
| Method | Best For | Limitations | Safety Concerns |
|---|---|---|---|
| Chemical drain cleaners (caustic solutions) | Grease buildup and soap scum within 5 to 10 feet of drain opening | Rarely clears complete blockages in horizontal pipe; effectiveness decreases with distance; may take multiple applications | Requires gloves and eye protection; fumes require ventilation; can damage older pipes through corrosion; hazardous if mixed with other cleaners |
| Enzymatic cleaners | Preventive maintenance; light organic buildup; regular use before clogs form | Very slow-acting (8 to 24 hours); ineffective on solid debris or foreign objects; doesn’t break up established clogs | Generally safe; minimal fumes; safe for all pipe types including PVC piping |
| Hot water flushing | Grease deposits that haven’t fully hardened; maintenance after mechanical clearing | Not effective alone on established clogs; can damage plastic pipes if boiling; only reaches first few feet of drainage system | Avoid boiling water on PVC piping; risk of scalding during pour |
| Hydro jetting (professional) | Severe grease buildup, scale formation, mineral deposits coating main drain line walls | Requires professional equipment; expensive; may damage very old or corroded pipes; needs clean out access | Professionals handle safety; high pressure water (3000 to 4000 PSI) is dangerous if misused |
Chemical drain cleaners can soften grease buildup to some degree, but they rarely clear a complete blockage in the horizontal pipe beyond the trap. The caustic solution needs direct contact with the clog to work, and when there’s standing water in the pipe, it dilutes the chemicals before they reach the problem. You also need to follow extensive safety precautions. Protective gear and proper ventilation are non-negotiable because the fumes are harsh and the liquid can cause burns. There’s also a real risk of damaging older plumbing pipes through pipe corrosion, especially if you use these cleaners repeatedly. If you mix different types of cleaners or use them after trying another product, you can create dangerous chemical reactions.
Hydro jetting is a professional-grade option that uses high pressure water (usually 3000 to 4000 PSI) to scour the inside walls of your pipes and blast away grease buildup, scale formation, and mineral deposits. It’s extremely effective for clearing main drain line blockages and for situations where mechanical snaking only pokes a hole through the clog instead of removing it completely. This method requires a professional plumber with specialized equipment. It’s not something you can rent and DIY safely. It costs more than snaking, but it provides a thorough cleaning of the drainage system that can solve recurring problems. It’s especially useful in older homes where years of buildup have narrowed the pipes, or in commercial kitchens where grease accumulation happens faster.
Camera Inspection for Hard-to-Locate Clogs

Drain camera inspection uses small waterproof video cameras mounted on flexible cables to give you a visual look at what’s happening inside your pipes without tearing anything apart or digging up your yard. The camera navigates through your pipe setup just like a snake would, sending back live video so you can see exactly where the blockage sits, how big it is, and what it’s made of. This becomes necessary when you’ve tried clearing methods that should have worked but the problem persists, or when the symptoms don’t match what you’d expect from a simple clog.
Camera inspection reveals information that changes how you approach the problem. It shows the exact blockage location measured in feet from the access point, so you know whether the clog’s at 12 feet, 20 feet, or 50 feet down the line. You can see whether you’re dealing with grease buildup coating the pipe walls, a solid mass of food debris, a foreign object lodged in the pipe, or something structural like pipe corrosion, cracks, or collapsed sections. The camera also picks up scale formation, tree root intrusion growing through joints, and sections where the pipe has separated or shifted. This information tells you whether snaking will solve it, whether you need hydro jetting, or whether the pipe itself needs repair or replacement.
Request a camera inspection when you’ve made multiple DIY clearing attempts and the clog keeps coming back within days or weeks. It’s also the right call when backup issues affect multiple fixtures and you can’t figure out where the shared blockage is. If you’re facing an expensive solution like hydro jetting or pipe replacement, the camera inspection pays for itself by confirming that’s actually what you need. Many professional plumber services include video scope inspection as part of their diagnostic call, and most will save the footage so you can review it and understand exactly what the drainage system problem is. You’ll see what the plumber sees, which makes it easier to make decisions about repairs and understand why one approach works better than another.
Preventing Future Clogs Past Your Kitchen Sink P-Trap
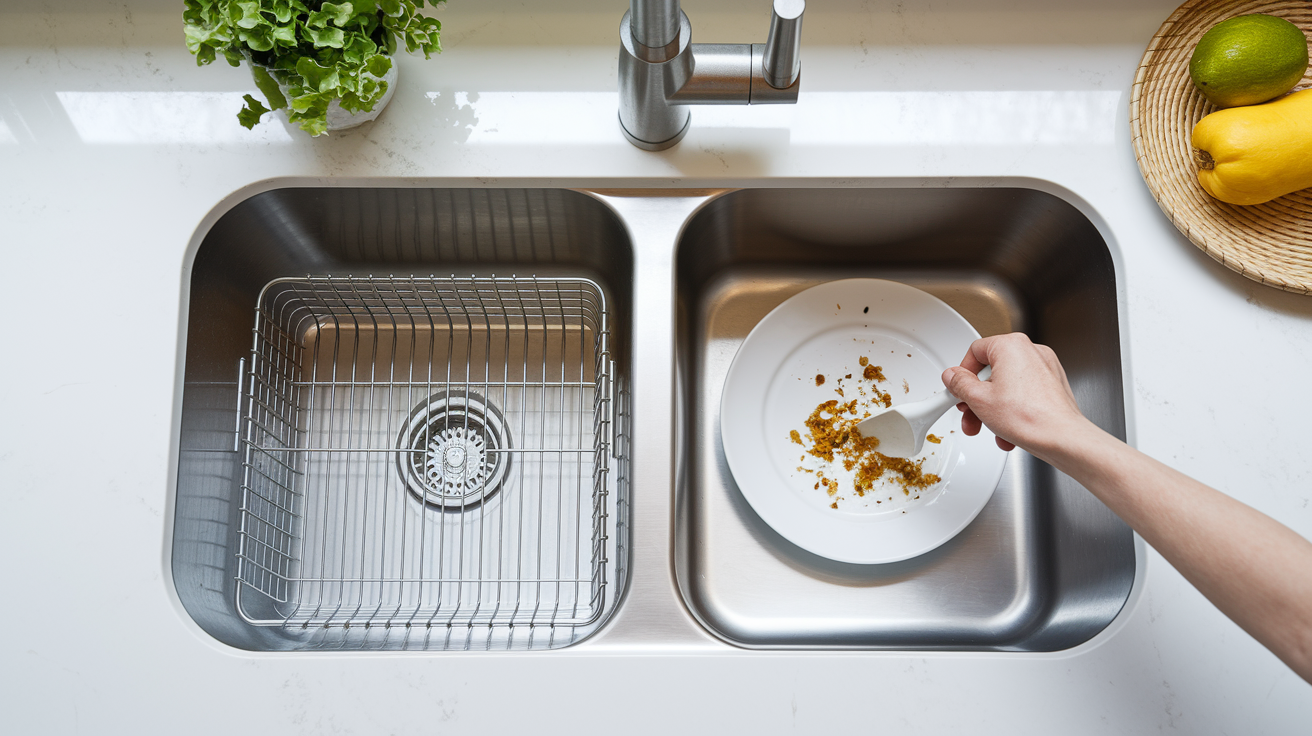
Preventing clogs past the P-trap requires different habits than preventing P-trap clogs. The P-trap catches debris because of its U-shape. Stuff settles in the curve. But downstream blockages form gradually from accumulated material that flows through the trap and settles in the horizontal pipe sections where flow slows down. Grease buildup and food debris that make it past the trap don’t cause immediate problems. They coat the walls, stick to rough spots, and catch other debris over weeks and months until the pipe narrows enough to affect drainage.
Prevention practices that stop downstream clogs before they form:
-
Never pour cooking oils, bacon grease, or any kind of fat down the drain. Let it cool and solidify, then scrape it into a sealed container and throw it in the trash.
-
Scrape plates thoroughly into the trash before rinsing anything in the sink. Don’t rely on the garbage disposal to handle food scraps.
-
Use a sink strainer basket to catch food particles before they enter the drain. Even small bits add up over time.
-
Run cold water when you use the garbage disposal because cold temperature solidifies grease temporarily, which helps the disposal grind it more completely.
-
Keep the water running for 30 seconds after the garbage disposal stops to flush debris completely through the trap arm and into the branch line.
-
Feed your garbage disposal gradually. Don’t overload it with a pile of scraps all at once because incomplete grinding creates larger particles that can settle downstream.
-
Avoid putting coffee grounds, rice, pasta, eggshells, and fibrous vegetables like celery through the disposal. These materials either don’t break down or they expand and stick together.
-
Perform a monthly maintenance flush by running hot water through the drain for two to three minutes, followed by cold water to clear any minor buildup before it hardens.
-
Use an enzymatic cleaner once a month as preventive maintenance to break down organic material and grease accumulation in the horizontal pipes.
-
Install a quality strainer basket with appropriately sized holes that catch debris while still allowing normal water flow. Look for one with holes smaller than the drain opening itself.
Your garbage disposal has a significant impact on downstream clogs. When used properly, it helps by grinding food waste into small enough particles that they flow through the system without settling. But improper use accelerates clog formation fast. Grinding hard materials like bones or fruit pits, fibrous vegetables that don’t break down cleanly, or non-food items creates debris that travels past the P-trap and sits in the trap arm. Loading too much at once means some material gets only partially ground, and those larger pieces settle in the horizontal pipe and catch everything flowing behind them.
Preventive maintenance through proper disposal habits is considerably easier and less expensive than clearing recurring clogs from the main drain line. A few seconds spent scraping a plate into the trash prevents hours of snaking and potential repair expenses down the road. Monthly attention to what goes down your drain prevents the gradual narrowing of plumbing pipes from grease coating and debris accumulation that eventually creates a blockage serious enough to need professional clearing.
When to Stop DIY Attempts and Call a Professional Plumber

DIY clearing methods work for many clogs located past the P-trap, but certain situations require professional plumber expertise, specialized equipment, or knowledge of the drainage system that goes beyond what most homeowners can handle safely. Recognizing when you’ve reached the limit of what you can do yourself saves you from causing additional damage, wasting time on methods that won’t work, or dealing with a problem that’s actually more serious than a simple blockage.
Situations that require professional intervention:
-
You’ve snaked the drain multiple times and the blockage clears temporarily, but slow drainage comes back within a few days. This pattern means there’s a larger problem downstream or a partial blockage you’re not fully clearing.
-
Water backs up into multiple fixtures like the bathroom sink, shower, or toilet when you run the kitchen sink, which confirms the blockage is in the main drain line serving several drains, not just your individual kitchen line.
-
You smell sewage or notice a persistent foul odor even after clearing attempts, which suggests either a venting issue in your plumbing system or a deeper blockage where waste is sitting and decomposing.
-
Standing water appears in your basement floor drain or outside clean out when you run the kitchen sink, indicating the main line is backing up instead of flowing to the sewer.
-
You hear gurgling sounds from toilets or bathtubs when the kitchen sink drains, which means air is trapped in the drainage system beyond the point where your DIY clearing can reach.
-
You can’t locate clean out access points, or the ones you find are rusted shut, buried, or in locations you can’t safely access without proper tools or knowledge of your pipe setup.
-
The snake hits a solid obstruction that won’t break up, move, or hook after 15 to 20 minutes of rotating and pulling. This could be a foreign object, severe scale formation, or a structural problem in the pipe.
-
You discover visible pipe corrosion, active leaks, or damage when you remove the P-trap, which means the clog is just one problem among several that need professional assessment.
-
You suspect tree roots intrusion based on outdoor drain behavior, slow drainage across multiple fixtures, or the location of large trees near your sewer line.
-
Your building has older plumbing with cast iron pipes or galvanized steel that may have deteriorated, corroded, or developed scale formation that requires specialized handling.
Professional plumber services provide solutions that go beyond basic snaking. They bring camera inspection equipment to locate the exact blockage and identify what’s causing it. They use hydro jetting for thorough cleaning when mechanical snaking only creates a temporary hole through a grease blockage. They have access to main drain line entry points and clean outs you might not know exist. They can diagnose problems with venting, improper pipe slope, or damaged connections that cause recurring clogs no matter how many times you clear the immediate blockage. And they can repair underlying issues like pipe corrosion, separated joints, or tree root intrusion that DIY methods can’t address.
Basic professional drain clearing typically costs $150 to $400 depending on how difficult the access is and how severe the blockage has become. Camera inspection adds another $100 to $300 to the service call, and hydro jetting ranges from $350 to $600 depending on the length of pipe that needs cleaning. Emergency service outside normal business hours costs more, sometimes double the standard rate. But consider what you’re getting. Proper diagnosis of what’s actually wrong, the right equipment to fix it correctly, and the expertise to spot warning signs of bigger problems before they cause water damage or sewage backups. That often justifies the expense, especially when repeated DIY attempts haven’t solved the problem or when the symptoms point to something more complex than a simple food debris clog.
Final Words
A kitchen sink clog past p-trap doesn’t have to mean an expensive service call.
With the right diagnostic tests, you can confirm the blockage location and tackle it with a drain auger from either the stub pipe or a clean out access point.
Prevention makes the biggest difference long-term. Skip pouring grease down the drain, scrape plates before rinsing, and run plenty of water after every disposal use.
But if you’ve snaked twice, the clog keeps coming back, or water’s backing up into other fixtures, that’s your signal to call a pro. Sometimes the fastest fix is knowing when to stop.
FAQ
How do you unclog a kitchen sink beyond the P-trap?
To unclog a kitchen sink beyond the P-trap, remove the P-trap to access the stub pipe or trap arm, then insert a plumber’s snake into the horizontal pipe until you feel resistance, rotate the cable to break up the blockage, and pull debris back out.
How does water get past the P-trap?
Water gets past the P-trap by flowing through the U-bend and continuing into the trap arm and horizontal pipe that connects to the main drain line, carrying small debris, grease, and food particles that can accumulate downstream.
Can Drano damage a P-trap?
Drano can damage a P-trap, especially if it’s made of older metal or thin-walled PVC, because the caustic chemicals generate heat during the reaction and can corrode pipe walls, weaken connections, or cause leaks at slip nuts.
Can you snake past a P-trap?
You can snake past a P-trap by removing the P-trap completely to access the stub pipe or trap arm, allowing the snake cable to reach blockages in the horizontal pipe and branch line beyond the trap itself.
What are signs a clog is beyond the P-trap?
Signs a clog is beyond the P-trap include slow drainage after cleaning the trap, water backing up into other fixtures, gurgling sounds from drains, and recurring blockages within days of clearing the P-trap.
When should you call a plumber for a sink clog?
You should call a plumber for a sink clog when water backs up into multiple fixtures, snaking attempts fail repeatedly, sewage smells persist, or you encounter solid resistance that won’t break up after 15-20 minutes.
What causes blockages past the P-trap?
Blockages past the P-trap are caused primarily by grease buildup that solidifies in horizontal pipes, food debris like coffee grounds and rice, soap scum accumulation, and mineral deposits in older plumbing systems.
Can you use chemical drain cleaner for clogs past the P-trap?
Chemical drain cleaners have limited effectiveness for clogs past the P-trap because the solution must travel through the trap and reach the blockage in horizontal pipes, where distance and dilution reduce cleaning power.
Where are clean out access points located?
Clean out access points are typically located under the sink cabinet, in basement pipes along the drain line, in crawl spaces, or on exterior walls where branch lines connect to the main drain.
How does grease cause downstream clogs?
Grease causes downstream clogs by flowing as liquid when hot, then solidifying as it cools in horizontal pipes, coating pipe walls and catching food debris that builds up gradually into complete blockages.
What prevents future clogs past the P-trap?
Preventing future clogs past the P-trap requires never pouring cooking oils down the drain, scraping plates into trash, using sink strainers, running water 30 seconds after garbage disposal use, and monthly hot water flushes.
How far can a plumber’s snake reach?
A plumber’s snake can typically reach 25-50 feet from the access point, which covers most blockages in the trap arm, horizontal pipe, and branch line before the main drain connection.