
You plunged the sink, cleaned the P-trap, and the water still won’t drain. That’s frustrating, and it usually means one thing: the clog is deeper in the pipe where you can’t see it. A blockage beyond the trap sits in the branch line or further down the main drain, hidden behind walls or under floors. The good news is you can usually clear it yourself with the right approach. Here’s how to reach that clog, break it up or pull it out, and get your sink draining fast again.
Removing and Inspecting Your P-Trap First
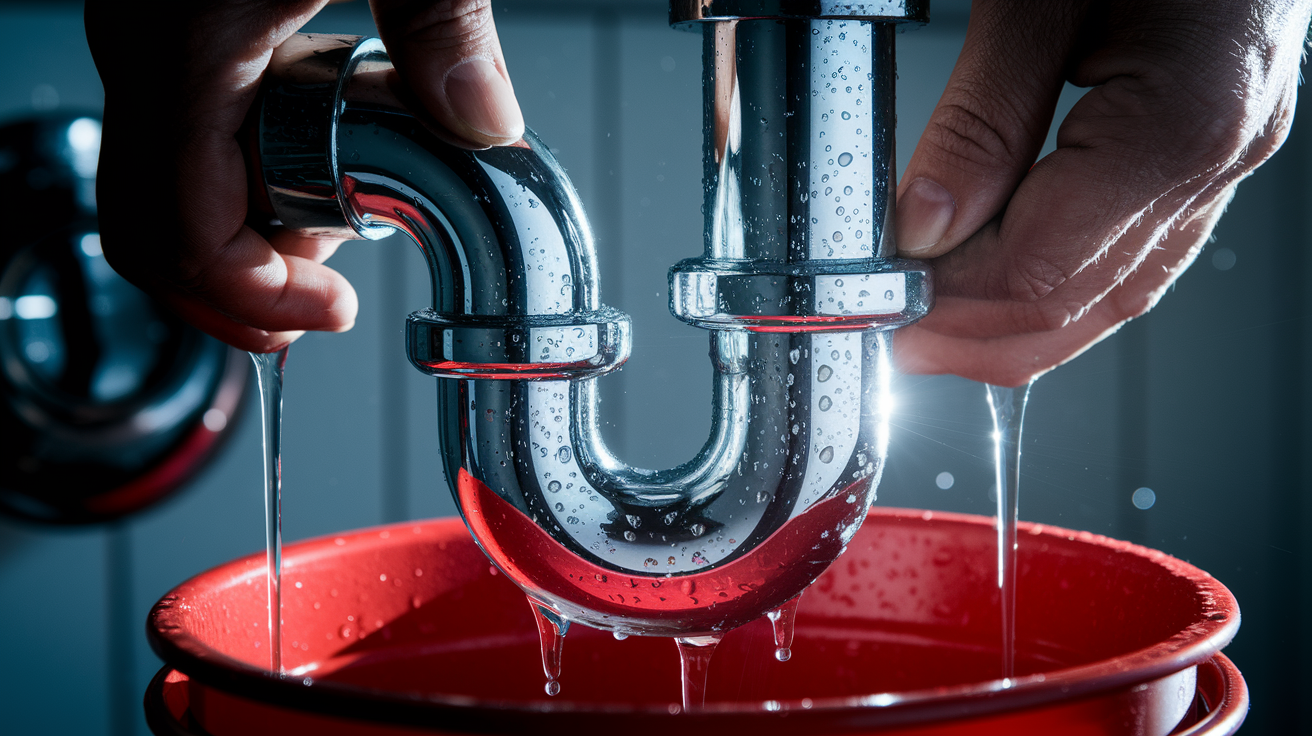
Don’t skip this step. A lot of homeowners assume the clog must be deeper in the system when the real problem is still sitting right in the P-trap. You might think you’ve already checked it, but unless you’ve physically removed it and looked inside, you can’t be sure. Most blockages happen here, not further down.
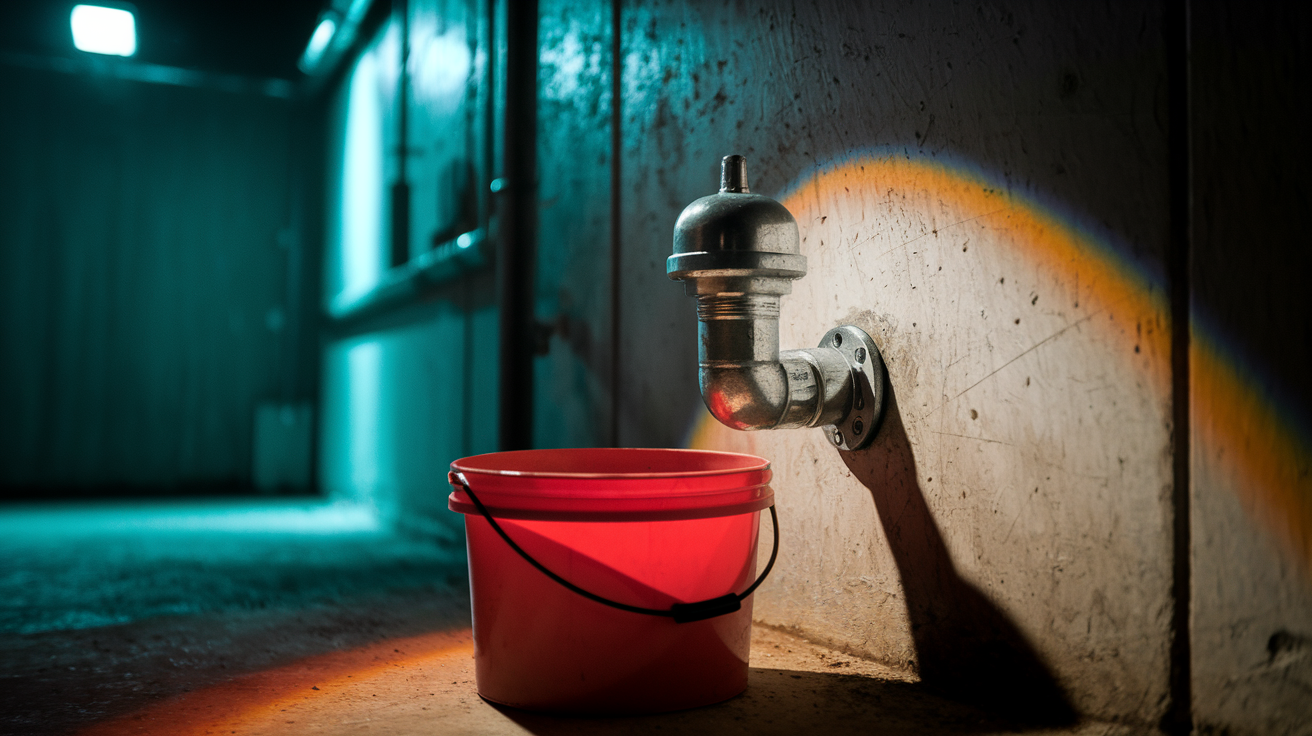
Start by placing a bucket directly under the P-trap to catch standing water. Unscrew the slip nuts on both ends of the curved pipe. Many are hand tight, but you might need slip joint pliers if they’re stuck. Lower the trap carefully. There’s usually more water trapped inside than you’d expect, and it can spill fast if you’re not ready.
Once the trap is off, inspect what you find inside:
- Solidified grease deposits that cooled and hardened into a waxy mass
- Food debris accumulation from bits that slipped past your strainer
- Soap scum buildup combined with oils from dish detergent
- Hair or foreign objects like bottle caps or twist ties
Run water through the trap piece itself over the bucket or sink. If water flows freely through it, the trap wasn’t your problem. If you see slow drainage or catch more debris, that was likely your main issue.
Reassemble the trap, hand tighten the slip nuts, then run water and watch how it drains. If the water flows fast and clean, you’re done. If it still backs up or drains slowly, the blockage is beyond the trap.
That’s when you move to the next steps. But confirming the trap is clear first saves you time and effort on methods that won’t help if the trap itself is still blocked.
Diagnosing a Kitchen Sink Blockage Beyond the P-Trap
When a clog sits beyond the P-trap, it’s somewhere in the drainage system you can’t see. Usually in the branch line that runs horizontally from your sink, the vertical drain pipe inside the wall, or even further down in the main drain line. These clogs form in pipes that are hidden behind walls, under floors, or running underground. That’s what makes them harder to reach and more frustrating to clear.
This matters because the usual quick fixes won’t work. You can’t just pull the trap off and scoop out the clog. The blockage is deeper in the system, which means you need longer tools, better access points, or a different approach entirely.
Here are the signs that confirm your clog is beyond the trap:
- Water backs up even after you’ve removed and cleaned the P-trap completely
- Multiple fixtures drain slowly at the same time. Your sink and maybe the dishwasher or another nearby drain
- Gurgling sounds come from other drains when you run water in the kitchen sink
- The water level in the sink drops very slowly or doesn’t drop at all, even after plunging
- The P-trap is visibly clear but the blockage symptoms continue
- Slow drainage keeps happening across more than one sink in your home
Proper diagnosis before you start any repair keeps you from wasting time on methods that won’t reach the problem. Understanding the anatomy of your drainage system helps too.
After water leaves your P-trap, it flows into a vertical pipe that drops down inside your wall or cabinet. That pipe connects to a horizontal drain line, which usually runs under your floor or inside the wall toward the main drain stack. The blockage could be in any of those sections. It might be just a few feet past the trap, or it could be ten feet away where your kitchen line joins the main drainage system. Knowing this helps you pick the right clearing method and figure out where to focus your effort.
Common Causes and Warning Signs of Deep Drain Blockages
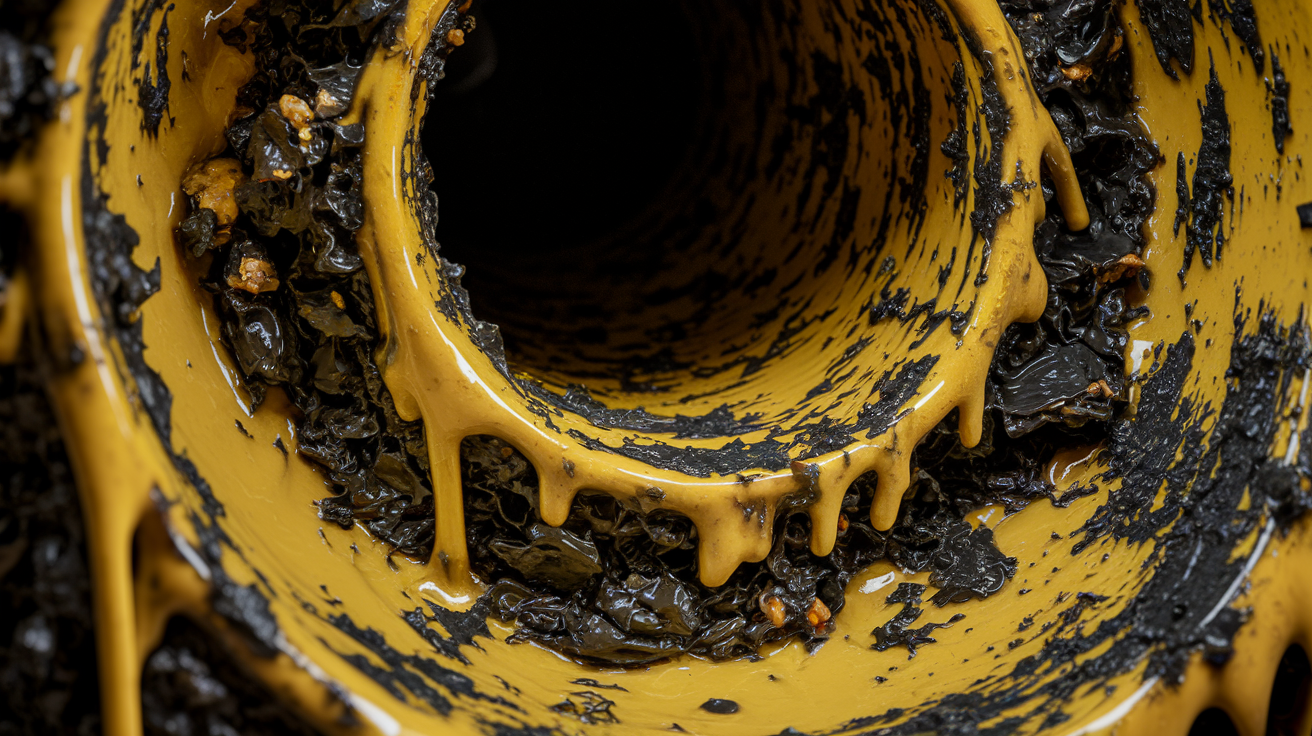
Grease is the number one culprit in kitchen lines. It flows down your drain as a liquid when it’s hot, slides right past the P-trap, then cools as it moves through the horizontal pipe. Once it cools, it solidifies on the pipe walls. Layer after layer builds up over weeks and months, narrowing the pipe opening until water can barely squeeze through. That’s when you notice the slow drainage.
Food debris that escapes your garbage disposal or slips through your sink strainer flows down with the grease. It gets caught in those greasy deposits and adds to the mass. Coffee grounds, rice, pasta, and small vegetable scraps combine with soap residue to form a thick, sticky blockage in the branch line. It’s not one big object. It’s an accumulation that grows gradually.
Mineral deposits from hard water create another problem, especially in older homes. Calcium and lime gradually coat the inside of pipes, roughening the surface and narrowing the diameter. This happens more in galvanized steel and cast iron pipes. The rough interior catches passing debris more easily, turning a minor slowdown into a complete blockage. Pipe corrosion makes this worse. Rust and scale flake off the pipe walls, creating rough edges and catchment points that trap everything flowing past.
Tree root intrusion is a serious issue if your kitchen drain connects to an underground main line that runs through your yard. Roots seek out moisture and find microscopic cracks or loose joints in sewer pipes. Once they get in, they expand and grow, creating a net that catches toilet paper, grease, and debris. The roots themselves don’t usually cause the blockage. They create the framework that traps everything else.
Watch for these warning signs that point to something more serious than a simple clog. Recurring clogs in the same spot despite proper clearing and maintenance mean there’s an underlying pipe problem. Visible water stains on walls or ceilings near drain pipes indicate leaks or chronic backup issues. Persistent sewage or sulfur odors even after you’ve cleared the drain suggest sewer gas is escaping through damaged pipes or failed seals. Soft spots in flooring near plumbing areas mean water has been leaking and damaging the subfloor. Mold or mildew growth around the sink base or on adjacent walls indicates ongoing moisture problems from slow leaks or recurring backups.
Ignoring these warning signs creates bigger problems fast. Water damage spreads through drywall, insulation, and framing lumber. Mold becomes a health hazard and requires professional remediation. A pipe rupture causes flooding that damages floors, cabinets, and everything stored nearby, turning a $300 repair into a $3,000 emergency. The longer you wait, the more extensive and expensive the damage becomes.
Manual Snaking Methods for Clogs Beyond the Trap

Manual snaking is the most effective DIY method for reaching clogs beyond the trap. A handheld drain snake (sometimes called a drum auger) typically extends 15 to 25 feet, which handles most residential branch line clogs. Longer auger tools reach 25 to 50 feet and work for clogs deeper in the main drain line or closer to the sewer connection. The difference matters. If your blockage is more than 20 feet from the sink, a standard handheld snake won’t reach it.
Step by Step Snaking Procedure
With the P-trap removed, you have direct access to the drain pipe opening. Insert the cable end into the opening and start feeding it in slowly. Rotate the handle clockwise as you push. This helps the cable navigate bends and work its way through the pipe. Keep feeding until you feel resistance. That resistance might be the clog, or it might just be a bend in the pipe. Push gently and keep rotating. If the cable stops completely and won’t advance, you’ve found the blockage.
Push forward and rotate to either break through the clog or hook onto it so you can pull it back. You’ll feel the difference. Breaking through feels like the cable suddenly moves forward again, hooking onto debris feels like you’ve snagged something. Once you’ve worked the clog, slowly retract the cable while continuing to rotate. Debris often comes out on the end of the cable. Have a bucket ready and pull the cable out carefully so you don’t spread the mess.
Flush with hot water to test the drain. Run water for at least a minute and watch how it flows. If it drains fast and clean, you’re done. If it still drains slowly, repeat the process. Sometimes a clog breaks into pieces and you need to clear each section separately.
| Tool Type | Reach Distance | Best For | Approximate Cost |
|---|---|---|---|
| Hand Crank Snake | 15 to 25 feet | Branch line clogs near sink | $15 to $50 |
| Drill Powered Auger | 25 to 50 feet | Deeper main line blockages | $60 to $150 |
| Closet Auger | 3 to 6 feet | Toilet specific clogs only | $20 to $40 |
| Flat Tape Snake | 25 to 50 feet | Tight bends and long runs | $30 to $80 |
Take the extracted debris outside or dispose of it in a trash bag, not back down the drain. Check your cable for damage or bends before storing it. If the drain flows freely and stays clear after multiple test runs, the snaking worked. If the problem comes back within a few days, there’s likely a deeper issue that needs professional attention.
Advanced DIY Clearing Techniques for Stubborn Clogs
These methods work best after you’ve already tried snaking, or when you’re dealing with a partial clog that needs extra treatment to fully clear. They’re not replacements for mechanical clearing. They’re support methods that help finish what snaking started.
Wet Dry Vacuum Extraction
A wet dry vacuum can pull clogs toward the access point if the blockage is soft and close enough to reach with suction. Remove the P-trap so you have direct access to the drain pipe opening. Create a tight seal over the opening using the vacuum hose or a rubber adapter. Set the vacuum to liquid mode and turn it on. The suction pulls water and debris back toward you rather than trying to push them through. This works best for grease clogs, food debris, and other organic material that’s soft enough to move under suction pressure. It won’t help with hard obstructions like mineral buildup or foreign objects wedged in the pipe.
Enzymatic and Chemical Treatments
Enzyme based drain cleaners digest organic material slowly over six to eight hours. They’re safer for pipes than chemical drain openers because they don’t generate heat or use caustic ingredients. Pour the recommended amount into the drain, let it sit overnight, then flush with hot water in the morning. These work well for grease and food residue but won’t clear a complete blockage on their own.
Chemical drain openers use caustic ingredients to dissolve clogs through heat and chemical reactions. Use them cautiously. They can damage older pipes, especially if you use too much or leave them sitting too long. Follow the manufacturer’s directions exactly. Never mix chemical products, never use them after trying a different cleaner, and never use them if you’ve already tried a natural method like baking soda and vinegar. The reaction between products can be dangerous.
The baking soda and vinegar method is worth trying for mild clogs or regular maintenance. Pour one cup of baking soda down the drain, follow with one cup of vinegar, and let the mixture fizz for 15 minutes. The fizzing action helps loosen light debris. Flush with hot water after the waiting period. This method won’t clear serious blockages, but it helps maintain clean pipes between deeper cleanings. Hot water flushing works as a follow up to mechanical clearing. Boil a large pot of water and pour it slowly down the drain in stages. The heat softens remaining grease deposits that the snake broke loose but didn’t fully remove. You can repeat this several times. It’s more effective when you combine it with snaking or enzymatic treatment.
Accessing Cleanout Openings in Your Drainage System
Cleanouts are capped access points built into your drainage system specifically for clearing blockages. They let you reach clogs without removing fixtures or cutting into pipes. Finding and using a cleanout gives you a better angle to clear deep blockages and saves you from working in the tight space under your sink.
Common cleanout locations include:
- Under the kitchen sink cabinet on the wall where the drain pipe enters
- Basement or crawl space on the main drain stack
- Exterior foundation wall near the kitchen location
- Floor drains in utility areas
- Main sewer line cleanout near the property line, often in the yard
Place a bucket or several towels directly underneath before you open a cleanout. When you remove the cap, standing water and built up pressure can release suddenly. Use an adjustable wrench on the square cap nut and turn it counterclockwise slowly. Let any pressure equalize and water drain into your bucket before you fully remove the cap. Some cleanouts haven’t been opened in years and the threads might be corroded or stuck. Apply penetrating oil and let it sit for 10 minutes if the cap won’t budge.
Once the cleanout is open, you have a straight shot into the drain line. Insert your drain snake through the cleanout opening and feed it in the direction of the suspected clog. This bypasses all the traps and fixture drains between the sink and the blockage location. The angle is better too. You’re usually working horizontally or at a slight downward angle instead of trying to navigate around tight bends under the sink. Cleanout access reaches deeper into main lines and reduces the risk of damaging visible plumbing or scratching fixture finishes with your tools.
Professional Solutions: Hydro Jetting and Camera Inspection
Professional equipment becomes necessary when you’ve tried snaking and the blockage either won’t clear or keeps coming back. It’s also the right call when you need to know exactly what’s causing the problem before you spend money on a repair that might not work.
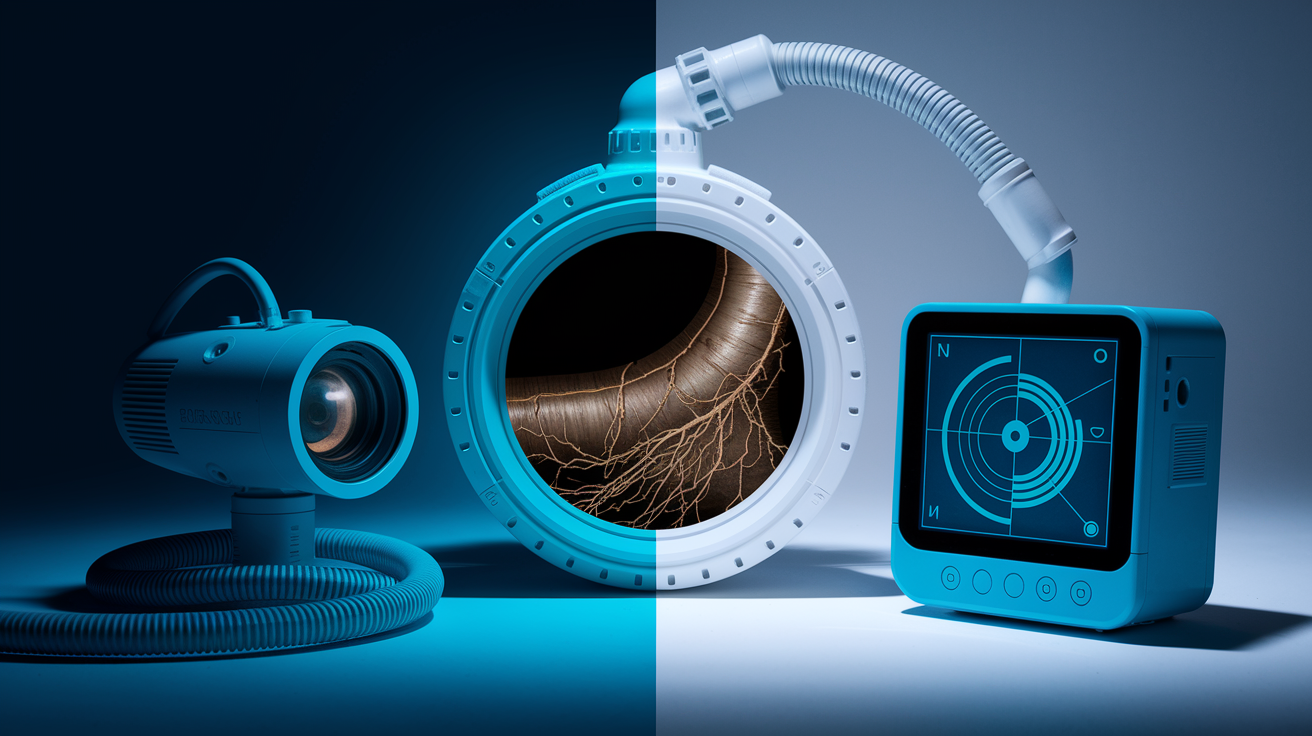
Video Camera Inspection Technology
Plumbers insert a waterproof camera on a flexible cable into your drain pipes to see what’s actually happening inside. The camera sends a live video feed to a monitor so the plumber can identify the exact location and type of blockage. You’re not guessing anymore. You can see whether it’s grease, roots, a collapsed pipe, or something else entirely. The camera also shows the condition of your pipes: corrosion, cracks, root intrusion points, and sections that might fail soon.
Camera inspection creates a record of what’s wrong and where it is, which helps determine whether you need clearing, repair, or replacement. If tree roots have invaded the pipe, you’ll see exactly where they entered. If a section of pipe has collapsed or separated at a joint, the camera shows it clearly. This documentation is also useful for insurance claims or warranty coverage if the damage qualifies. Typical inspection costs range from $200 to $400 depending on the length of pipe inspected and your location.
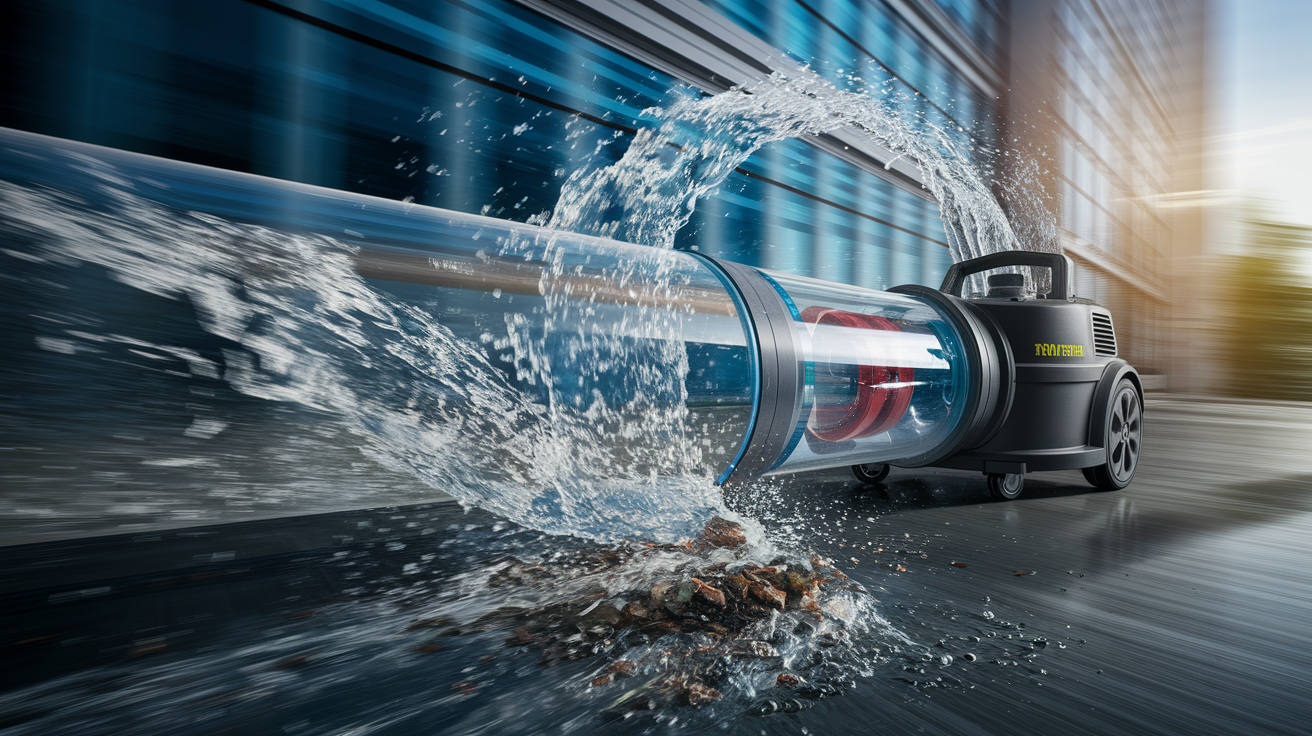
Hydro Jetting for Complete Blockage Removal
Hydro jetting uses high pressure water streams at 3,000 to 4,000 PSI to scour the inside of your pipes completely clean. A specialized nozzle on the end of a high pressure hose sprays water in multiple directions, blasting away grease buildup, mineral scale, soap scum, and even tree roots. The force of the water removes everything clinging to the pipe walls, not just the immediate blockage. It’s like power washing the interior of your drainage system.
Hydro jetting is more thorough than mechanical snaking because it cleans the entire pipe diameter, not just punches a hole through the clog. Snaking can leave residue on the pipe walls that builds up again quickly. Jetting leaves the pipes as clean as they were when new. It requires professional equipment and expertise though. Using that much water pressure incorrectly can damage pipes, especially older or already compromised sections. Typical costs run $350 to $600 depending on the severity of the blockage and how much pipe length needs treatment.
| Method | Effectiveness | Typical Cost | Best Used For |
|---|---|---|---|
| Mechanical Snaking | Clears immediate blockage | $150 to $300 | Standard clogs in accessible lines |
| Camera Inspection | Diagnostic only | $200 to $400 | Identifying location and cause |
| Hydro Jetting | Complete pipe cleaning | $350 to $600 | Stubborn buildup and root intrusion |
Understanding Repair Costs and Time Estimates
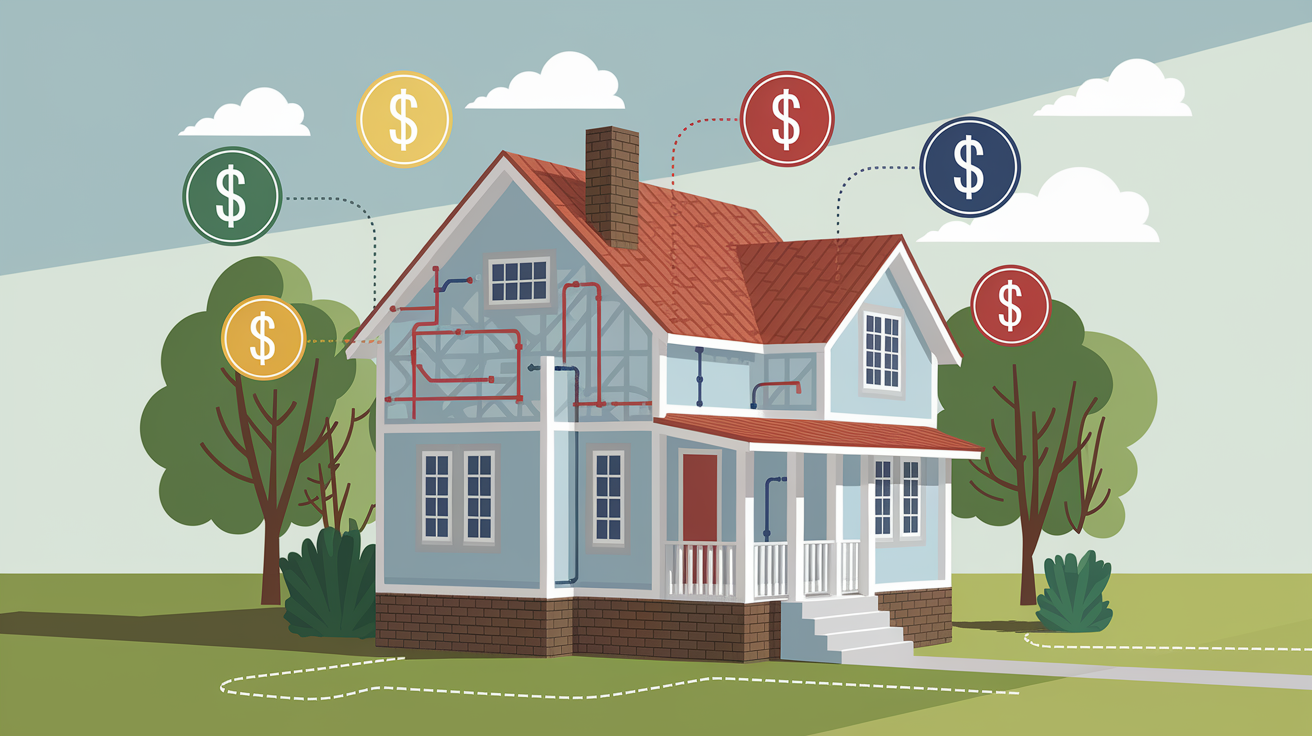
Cost and time depend on what you’re dealing with. Simple clogs that respond to basic clearing methods are quick and inexpensive. Complex issues that involve pipe replacement, main line excavation, or wall access require significant time and money. Knowing the range helps you plan and decide when to handle it yourself versus when to call for help.
For DIY attempts, you’re looking at minimal cost if you already have basic tools. A drain snake costs $15 to $50 depending on length and quality. Enzymatic cleaners run $10 to $20 per bottle. Chemical drain openers are $8 to $15. If you need a wet dry vacuum and don’t already own one, expect to spend $60 to $150. Time investment for DIY work is typically one to three hours including setup, multiple clearing attempts, cleanup, and testing.
| Service Type | Typical Cost Range | Time Required | Includes |
|---|---|---|---|
| Professional Diagnosis/Service Call | $150 to $300 | 1 to 2 hours | Assessment and basic clearing attempt |
| Mechanical Snaking | $150 to $300 | 1 to 2 hours | Cable clearing and testing |
| Camera Inspection | $200 to $400 | 1 to 1.5 hours | Video documentation and diagnosis |
| Hydro Jetting | $350 to $600 | 2 to 3 hours | High pressure cleaning and flushing |
| Pipe Section Replacement | $500 to $1,500 | 3 to 6 hours | Cutting out damaged section, installing new pipe |
| Main Line Excavation/Repair | $2,000 to $6,000 | 1 to 3 days | Digging, pipe replacement, backfill, restoration |
Insurance and warranty coverage varies significantly. Homeowners insurance might cover sudden pipe failures like a burst line or collapse, but it typically excludes gradual clogs caused by lack of maintenance. Home warranties vary. Some include drain lines and stoppages, others specifically exclude them. Read your policy carefully and keep documentation of regular maintenance. If you can show you’ve maintained your plumbing properly, claims are more likely to be approved. Emergency service calls come with premium charges, usually an additional $100 to $200 for after hours, weekend, or holiday response. If you can wait until regular business hours, you’ll save that upcharge.
When to Call a Professional Plumber

DIY methods work well for accessible single fixture clogs that respond to basic clearing techniques. But certain situations need professional expertise, specialized equipment, or repairs that meet local plumbing codes. Knowing when to stop trying and make the call prevents damage, saves time, and often costs less in the long run than repeated failed attempts.
Here are the situations that require professional help:
- Recurring clogs in the same location after you’ve cleared it multiple times
- Water backing up into other sinks, tubs, or toilets when you run your kitchen sink
- Foul sewage odor that persists after all your clearing efforts
- Multiple fixtures affected simultaneously. Kitchen sink, bathroom sink, and shower all draining slowly at once
- Standing water that won’t drain even after thorough snaking
- Suspected pipe damage, corrosion, or collapse based on visible rust, water stains, or soft spots
- Main sewer line involvement indicated by backups in multiple locations or sewage in floor drains
- Need for camera inspection to diagnose a hidden issue you can’t locate or identify
When you call a professional, expect a diagnostic assessment first. The plumber will explain what they find, what caused it, and what options you have for repair. You’ll get cost estimates for each option before any work starts. Professional work typically includes a warranty on the repair, usually 30 to 90 days for clearing services, longer for pipe replacement. The repairs will meet local plumbing codes, which matters for home sales, insurance claims, and permit inspections. Service call costs range from $150 to $300 for the initial diagnosis, with additional costs for clearing or repairs based on what’s needed and how complex the access is.
Emergency situations need immediate professional response instead of continued DIY attempts. If you have sewage backing up into your home, complete drainage failure across all fixtures, or visible water damage spreading from a plumbing leak, stop what you’re doing and call for emergency service. Trying to fix these situations yourself often makes the damage worse and puts you at risk from contaminated water or structural failure.
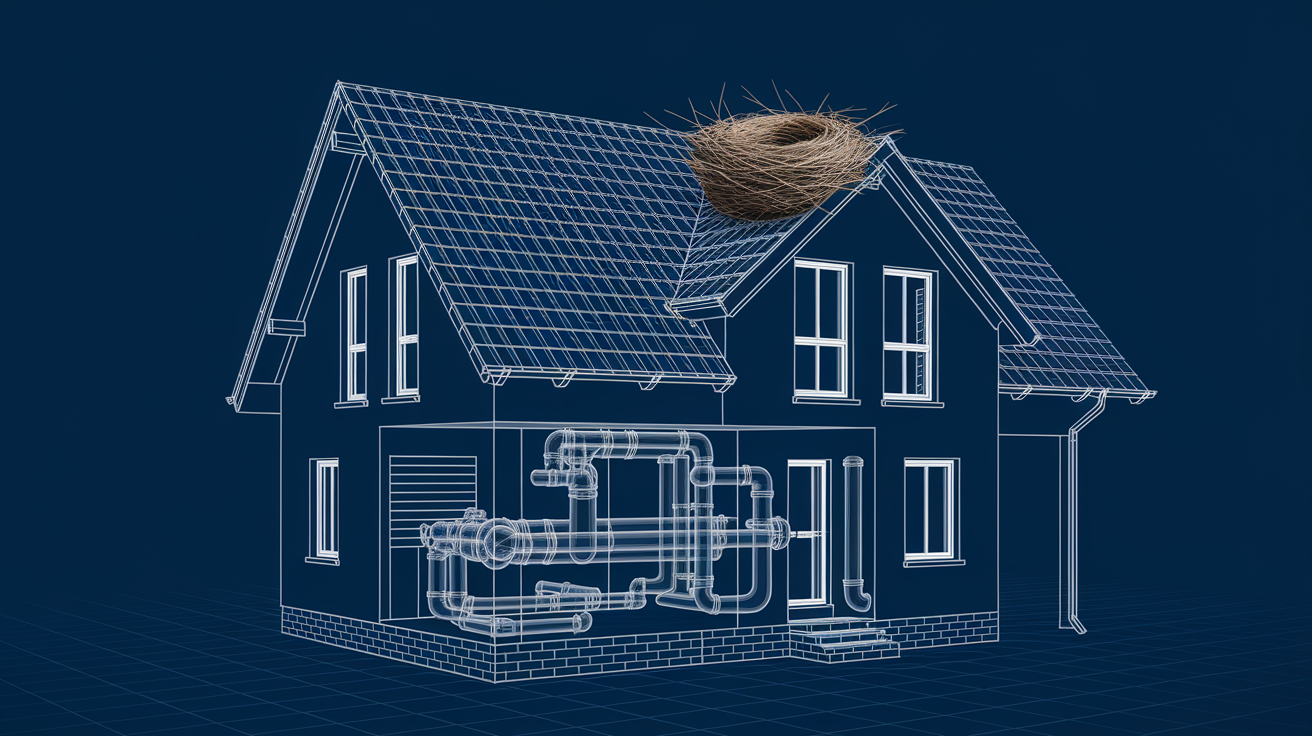
Recognizing Venting and Sewer Line Problems
Sometimes the issue isn’t a clog at all. It’s a problem with your plumbing vents or main sewer line. The symptoms look similar to a deep drain blockage, but the cause and solution are completely different. Knowing how to recognize these problems keeps you from spending time and money on clearing attempts that won’t help.
Plumbing vents are pipes that run from your drainage system up through your roof. They let air into the system so water can flow smoothly without creating a vacuum. When vents get blocked by leaves, bird nests, or ice in winter, air can’t enter the system properly. Water tries to drain but has to pull air from somewhere, which creates the gurgling and slow drainage you notice at your fixtures.
Vent blockage symptoms look like this: slow drainage happening across multiple fixtures, gurgling sounds when you run water or flush toilets, bubbling in one drain when you use another fixture somewhere else in the house, and sewage odors inside even though your drains are clear. These symptoms point to air circulation problems rather than physical blockages in the drain pipes themselves.
Main sewer line clogs are different from branch line clogs in important ways. A sewer line clog affects all the plumbing fixtures in your home, not just one or two. Waste backs up into the lowest drains first, usually basement floor drains or first floor fixtures. You might see sewage in the floor drain or bathtub when you run the kitchen sink. Everything flows downhill, so when the main line is blocked, waste has nowhere to go except back up through the lowest available opening.
Common sewer line problems include tree root intrusion at underground pipe joints where sections connect, collapsed or bellied pipes caused by ground settling or soil erosion underneath, and grease accumulation in the main line from years of buildup flowing down from all your drains. Cast iron and clay sewer pipes are especially prone to root intrusion and collapse as they age.
These issues require professional diagnosis and repair. Attempting DIY fixes on venting or sewer line problems can make the damage worse, cause dangerous sewage backups into your home, or violate local plumbing codes that require licensed contractors for certain types of work. If the symptoms suggest venting or sewer line involvement, skip the DIY methods and call a plumber with the equipment to diagnose and repair these systems properly.
Preventing Future Clogs Beyond the P-Trap
Prevention is easier and cheaper than repeatedly clearing deep clogs. Proper habits protect your entire plumbing system, not just the trap. You’re keeping grease and debris from ever making it far enough into your pipes to cause problems in the first place.
The kitchen sink receives more grease, food debris, and heavy use than any other drain in your home. That makes prevention practices especially important here. Small changes in how you use your sink have a big impact over time.
Follow these prevention practices:
- Never pour grease, oil, or fat down the drain. Collect it in a container and throw it in the trash once it cools
- Scrape plates thoroughly into the trash before rinsing them in the sink
- Use a sink strainer to catch food particles before they enter the drain
- Run hot water for 30 seconds after each use to help move debris through
- Flush with boiling water weekly to prevent grease accumulation deeper in the pipes
- Use enzymatic drain cleaner monthly as maintenance to digest organic buildup
- Keep coffee grounds, eggshells, and starchy foods like rice and pasta out of the disposal
- Run cold water during garbage disposal use. It solidifies grease so the blades can chop it into small pieces that flow through easier
- Schedule annual professional drain inspection if your home is more than 20 years old or has cast iron or galvanized pipes
The cumulative effect of these habits compounds over months and years. Each small action reduces the amount of grease and debris entering your drainage system. Over time, that dramatically lowers your clog frequency and extends the life of your pipes. You’re not just avoiding one clog. You’re protecting the whole system.
Prevention connects to long term cost savings in ways that aren’t always obvious. Fewer emergency repairs mean you’re not paying premium service call rates. Extended plumbing system lifespan delays expensive pipe replacement projects. Avoiding water damage from backups protects your floors, cabinets, and walls. And proper maintenance protects your home value. Inspection reports that show well maintained plumbing make your home more attractive to buyers and help it appraise higher.
Final Words
A kitchen sink clog beyond trap requires methodical diagnosis and the right clearing approach. Start by confirming your P-trap is truly clear, then work through manual snaking, cleanout access, or professional methods based on what you find.
Most deep clogs respond to patient, step-by-step clearing. But recurring issues, multiple affected drains, or signs of pipe damage mean it’s time to call in a pro.
Prevention makes the biggest difference long-term. Simple habits around grease disposal and regular flushing keep your drain lines clear and your repairs to a minimum.
FAQ
How do you unclog a kitchen sink beyond the P-trap?
To unclog a kitchen sink beyond the P-trap, remove the P-trap first, then insert a drain snake into the exposed drain pipe opening and feed it slowly while rotating clockwise until you meet resistance, then push through or hook the blockage before retracting.
How do you unclog a deep kitchen sink clog?
A deep kitchen sink clog requires using a drain snake or auger tool that reaches 15 to 50 feet into the drain pipe, accessing the blockage through the P-trap opening or cleanout point, rotating the cable to break through solidified grease or debris buildup.
How do you get a drain snake past the P-trap?
To get a drain snake past the P-trap, remove the P-trap entirely by unscrewing the slip nuts, then insert the snake directly into the exposed drain pipe in the wall or floor, allowing the cable to reach deeper into the branch line without obstruction.
What if a drain is not clogged but still draining slowly?
A drain that’s not clogged but drains slowly often indicates partial blockage deeper in the line, venting problems preventing air circulation, or mineral deposits and grease buildup gradually narrowing the pipe’s interior diameter over time.
When should you remove the P-trap before snaking?
You should remove the P-trap before snaking when you’ve confirmed it’s clear of debris but drainage problems persist, allowing direct access to the drain pipe and enabling the snake to reach deeper blockages in the branch or main drain lines.
What are signs a clog is beyond the P-trap?
Signs a clog is beyond the P-trap include water backing up even after cleaning the trap, multiple fixtures draining slowly simultaneously, gurgling sounds from other drains, and persistent blockage symptoms despite a visibly clear P-trap.
What causes deep drain blockages in kitchen sinks?
Deep drain blockages in kitchen sinks are typically caused by solidified grease that flows past the trap and cools further down the pipe, combining with food debris, soap residue, and mineral deposits to form solid masses in horizontal drain lines.
Can you use a wet-dry vacuum to clear drain clogs?
A wet-dry vacuum can help clear drain clogs by creating a seal over the drain opening with the P-trap removed, setting the vacuum to liquid mode, and using suction to pull soft blockages like grease toward the access point.
Where are cleanout openings typically located?
Cleanout openings are typically located under the kitchen sink cabinet where the drain enters the wall, in basements or crawl spaces on the main drain stack, on exterior foundation walls, or near floor drains in utility areas.
What is hydro jetting for drain cleaning?
Hydro jetting for drain cleaning uses high-pressure water streams at 3,000 to 4,000 PSI to scour pipe interiors completely clean, removing grease buildup, mineral scale, and tree roots that resist standard mechanical snaking methods.
How much does professional drain snaking cost?
Professional drain snaking typically costs $150 to $300 for the service call and basic diagnosis, with mechanical snaking adding $100 to $250 depending on clog severity, access difficulty, and whether multiple attempts are needed.
When should you call a plumber for a clogged drain?
You should call a plumber for a clogged drain when experiencing recurring clogs after multiple clearing attempts, water backing up into other fixtures, foul sewage odors persisting, or multiple drains affected simultaneously throughout the home.
What do gurgling sounds from drains indicate?
Gurgling sounds from drains indicate air circulation problems in the plumbing system, typically caused by blocked venting, partial main line clogs, or vacuum formation preventing smooth water flow through the drainage pipes.
How do you prevent grease clogs in drain pipes?
You prevent grease clogs in drain pipes by never pouring grease, oil, or fat down the drain, collecting it in containers for trash disposal, flushing with hot water after each use, and using enzymatic cleaners monthly for maintenance.
What’s the difference between branch line and sewer line clogs?
Branch line clogs affect individual fixtures or small fixture groups within your home, while sewer line clogs affect all plumbing fixtures simultaneously, causing waste to back up into the lowest drains like basement floor drains first.