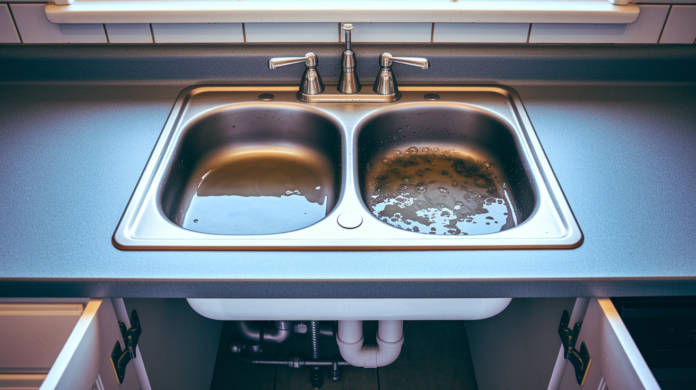

Your kitchen sink’s draining slowly, but when you shine a light down there, you see nothing blocking it. What gives? The real problem’s hiding deeper in your plumbing where you can’t spot it from above. It might be grease coating your pipes like hardened wax, a vent issue messing with air pressure, or buildup in that curved P-trap under the sink. The good news is most of these hidden causes have clear fixes once you know what you’re dealing with. We’ll walk you through what’s actually happening and how to get your sink draining right again.
Common Causes Behind Kitchen Sink Backup Without Visible Clogs
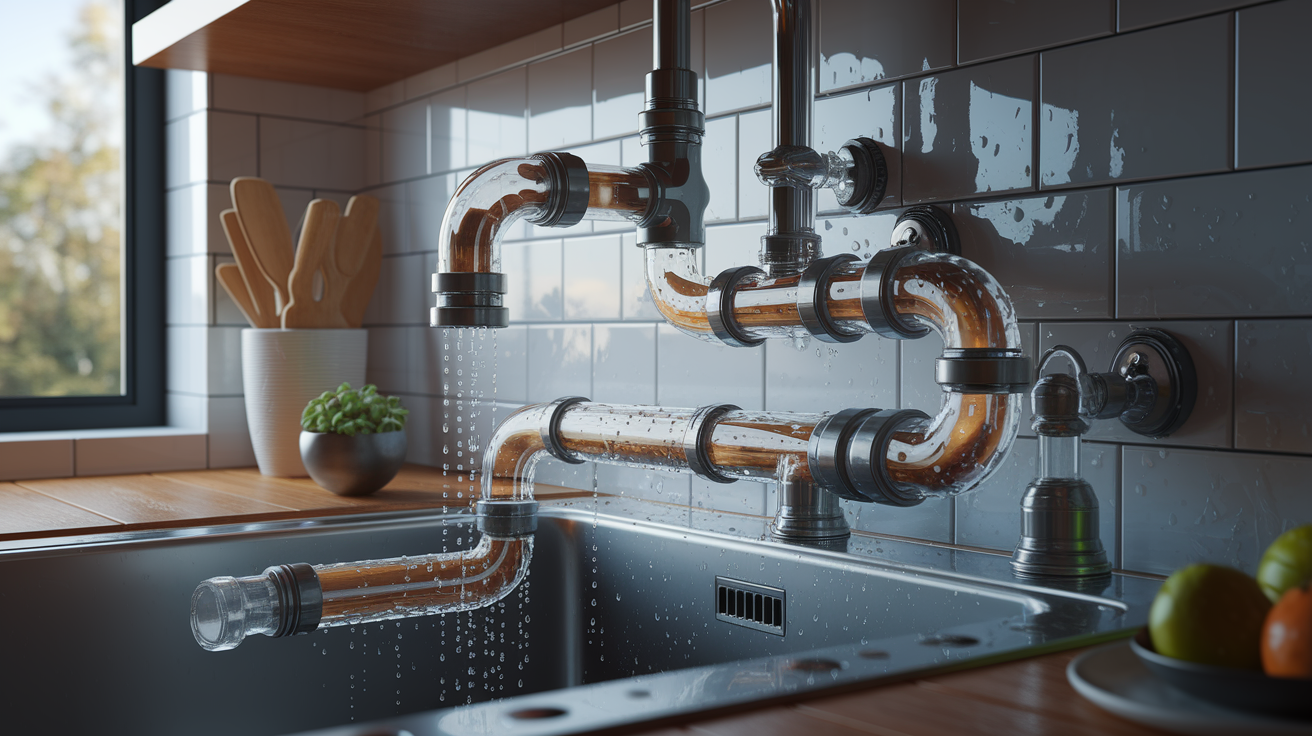
When your kitchen sink backs up but the drain opening looks completely clear, the problem’s sitting deeper in your plumbing system where you can’t see it. The obstruction exists inside the P-trap, along the waste arm, in a shared drain line, or even in the main sewer line serving your entire home. These hidden issues affect drainage just as much as visible clogs, but they’re harder to diagnose from the surface.
Common causes of backup without visible clogs include:
Vent pipe blockages that disrupt air pressure regulation in your drainage system, creating vacuum conditions that prevent water from flowing properly.
P-trap obstructions beyond visual range where grease, soap scum, and food particles coat the curved pipe section and gradually restrict water flow.
Main sewer line partial blockages that affect multiple fixtures throughout your home but show symptoms first in the kitchen sink due to its frequent use.
Garbage disposal malfunction where jammed impellers or clogged discharge lines prevent proper drainage even when the disposal appears to run normally.
Grease and soap buildup coating interior pipe walls over months or years, narrowing the effective pipe diameter without forming a complete blockage you can see or reach.
Immediate Troubleshooting Steps for Kitchen Sink Backup
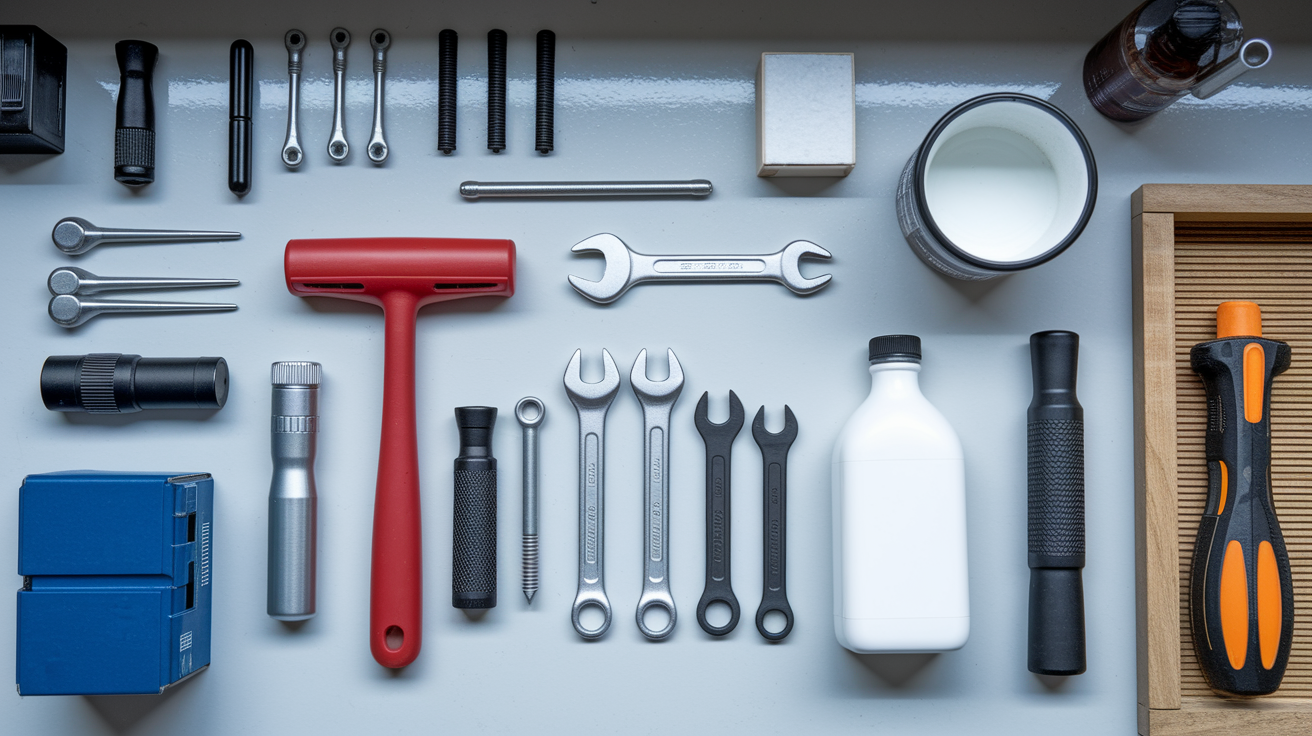
Working through troubleshooting steps in order helps you identify the problem systematically and often resolves the issue without calling a plumber. Start with the simplest solutions first and move toward more involved methods only after ruling out basic causes.
-
Check and test garbage disposal. Turn off power at the breaker before inspecting anything. Look down into the disposal with a flashlight for visible objects like silverware, bottle caps, or food buildup. Press the red reset button on the bottom of the unit. If the disposal hums but won’t turn, insert a hex wrench into the hole at the bottom center and manually rotate the flywheel back and forth to clear jams.
-
Hot water flush method. Run very hot tap water for two to three minutes straight while observing how it drains. This works well for light grease buildup. Never pour boiling water into sinks with PVC pipes under them since temperatures above 175 degrees can soften or damage the plastic, causing leaks at connections.
-
Proper plunger technique. Create a tight seal with the plunger cup completely covering the drain opening. If you’ve got a double sink, plug the second drain with a wet rag. Cover the overflow opening if your sink has one. Use vigorous up and down motion for 15 to 20 seconds, then quickly pull the plunger away to break the seal and observe if water drains.
-
Baking soda and vinegar treatment. Pour half a cup of baking soda directly into the drain opening. Follow with one cup of white vinegar. You’ll hear fizzing as the chemical reaction works. Cover the drain with a stopper or wet rag. Wait 15 to 20 minutes, then flush with hot tap water for 30 seconds.
-
Inspect visible drain components. Remove the sink stopper by twisting or pulling up depending on your type. Check the strainer basket for accumulated debris. Look down into the tailpiece with a flashlight for obvious buildup you can reach with a small brush or bent wire.
-
Observe air pressure symptoms. Listen for gurgling sounds coming from other drains when the kitchen sink drains. Check if toilet water level drops when you run the sink. Notice any sewer gas odors coming from drains throughout your home. These symptoms point to vent problems rather than physical blockages.
Recognizing the Warning Signs of Hidden Sink Drainage Problems
Recognizing early warning signs helps you address issues before they cause serious plumbing system damage or water damage to your cabinets and floors. Early intervention prevents small problems from becoming expensive repairs that might require pipe replacement or mold remediation.
These symptoms differ from typical surface clogs where water stops draining immediately and completely. Hidden drainage problems develop gradually and show patterns that reveal where the actual obstruction exists in your plumbing system.
Watch for these specific warning signs:
-
Slow draining water that gradually worsens. Drainage takes several minutes rather than seconds, and the problem develops over days or weeks rather than happening suddenly, indicating buildup accumulation rather than a single obstruction.
-
Gurgling sounds when water drains. Air bubbles rising through standing water create these sounds when air pressure regulation fails, typically pointing to vent pipe problems affecting your entire drainage system.
-
Standing water that takes five minutes or longer to drain completely. The drain never fully blocks, but water sits in the basin much longer than normal, suggesting partial restrictions deep in the pipe rather than complete blockages.
-
Backup in other fixtures when kitchen sink drains. Water appears in the bathtub drain or toilet bubbles when you drain the sink, revealing shared line problems where multiple fixtures connect to a common drain pipe.
-
Unpleasant sewer odors coming from drain. Smells that persist even after running water indicate vent problems that prevent proper sewer gas ventilation or dried P-trap issues affecting the water seal designed to block odors.
Understanding P-Trap Function and Common Blockage Issues
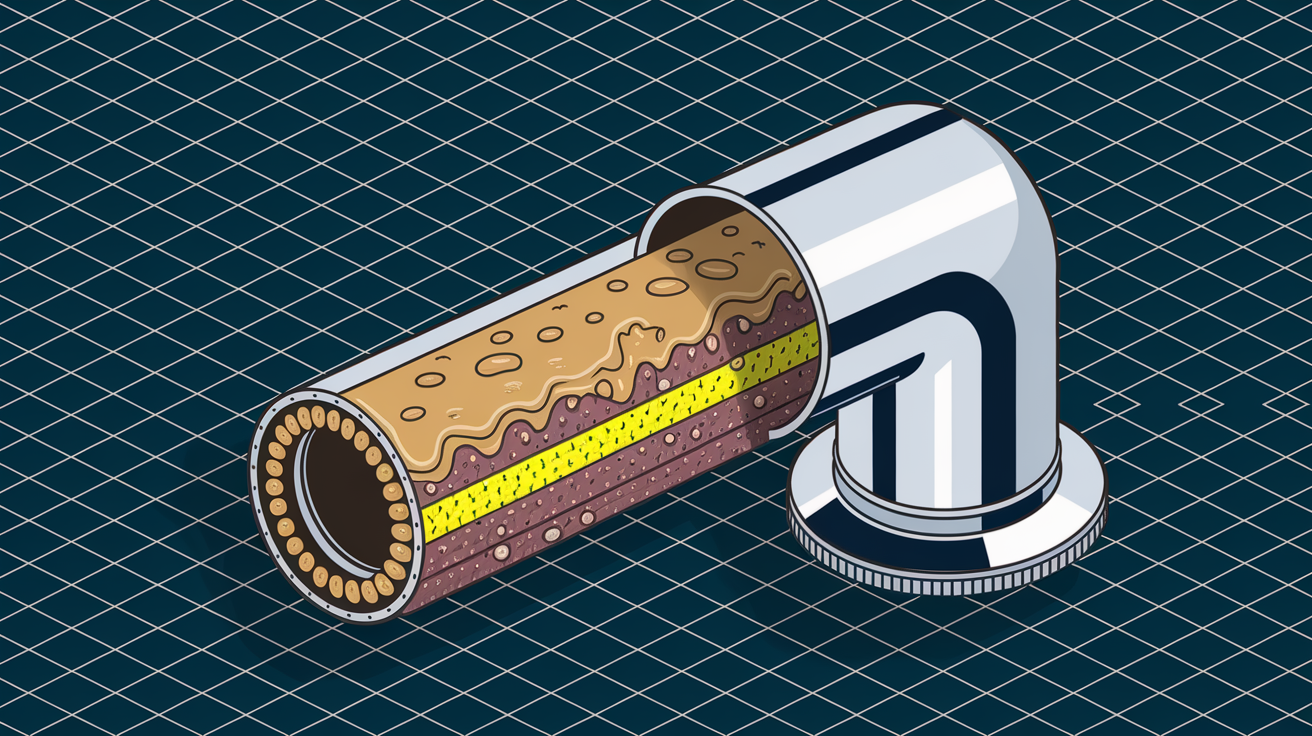
The P-trap is the U-shaped pipe section located directly under your sink that you can usually see when you open the cabinet doors. This curved section holds standing water at all times, creating a seal that prevents sewer gases from entering your home through the drain opening. Every sink in your home has a P-trap built into its drainage system.
Debris accumulates in the P-trap curve beyond where you can see or reach with basic tools from the drain opening above. Grease enters the trap as liquid mixed with hot water, then cools and solidifies on the interior pipe walls, creating a sticky surface. Food particles, soap scum, coffee grounds, and mineral deposits from hard water adhere to this grease layer. Over months, these materials build up in layers, gradually narrowing the pipe opening without creating a complete blockage you’d associate with a typical clog.
Installation problems create drainage issues even when the P-trap itself contains no debris. Improper pitch where the horizontal sections don’t slope correctly prevents water from flowing toward the main drain line. Incorrect slope issues cause water to pool in low spots where it sits and allows particles to settle. Wrong pipe diameter creates flow restrictions when someone replaces a section with pipe that’s smaller than the original. Trap arm length violations occur when the horizontal pipe between the trap and the wall fitting exceeds plumbing code limits, typically 30 to 60 inches depending on pipe diameter, preventing proper drainage through excessive horizontal distance.
Remove and clean the P-trap when you experience persistent backup after trying simpler methods, when you see visible debris in the curve through the cabinet, or when foul odors persist despite hot water flushing. Gather your tools first: a bucket, adjustable wrench or channel locks, small bottle brush or flexible pipe brush, rubber gloves, and old towels. Turn off the water supply valves under the sink as a precaution. Place the bucket directly under the P-trap to catch water that’ll spill out. Loosen the slip nuts on both ends of the P-trap by turning counterclockwise, using hand pressure first before applying wrench force. Carefully remove the curved section, keeping it upright initially so remaining water dumps into your bucket. Inspect the interior with a flashlight, checking for grease buildup coating the walls, solid debris trapped in the curve, and accumulated sludge at the bottom. Clean all components thoroughly with your small brush and hot soapy water. Check the rubber or plastic washers at each connection point for cracks, wear, or lost shape that would cause leaks. Reassemble by hand tightening the slip nuts snugly but not with full wrench force, since overtightening cracks plastic fittings. Run water and check under the sink for leaks at both connections.
How Plumbing Vents Affect Drainage and Common Vent Problems

Plumbing vents regulate air pressure in your drainage system by allowing air to enter the pipes as water flows downward. Without this air inlet, water draining through pipes creates a vacuum behind it, similar to covering the top of a straw with your finger. This vacuum formation slows or completely stops drainage. Every drain in your home connects to the vent system through pipes that eventually lead to vent stacks on your roof, ensuring proper air flow accompanies water flow.
Common causes of vent blockages include bird nest construction in the vent opening, especially during spring nesting season when birds seek protected spaces. Debris accumulation from nearby trees deposits leaves, twigs, and seed pods into open vent pipes. Leaves and roof materials wash into vents during heavy storms when water flows across the roof surface. Frozen vent pipes in winter climates create ice blockages that completely stop air flow when moisture in the vent stack freezes solid. Seasonal issues coincide with fall leaf accumulation and spring nesting activity, making these periods especially prone to vent problems.
Specific symptoms indicating vent problems include gurgling sounds from multiple drains throughout your home, not just the kitchen sink, as air struggles to enter the system. Slow drainage across several fixtures rather than just one location suggests system-wide air pressure disruption rather than individual clogs. Sewer gas odors in your home indicate compromised vent function where gases can’t properly exhaust through the roof opening. Bubbling water when you flush toilets or drain other fixtures shows air pressure disruption where air displaced by draining water seeks alternative paths through other drains.
Locate your vent stack on the roof by looking for pipes protruding through the roof surface, typically 1.5 to 4 inches in diameter. Check safely what you can from ground level using binoculars to inspect for visible debris or damaged vent caps. If you’ve got attic access, look for the vent pipe rising through the attic space and inspect the visible sections for damage or disconnection. Remove obvious debris from the vent opening if you have safe roof access with proper ladder placement and fall protection. Check for ice blockage in winter by noting if drainage problems appeared suddenly during freezing weather. Ensure the vent cap is intact and properly secured, since damaged caps allow more debris entry and animal access.
Professional vent testing methods include smoke testing where non-toxic theatrical smoke pumps into the drain system through a cleanout or drain opening. Technicians observe where smoke escapes, revealing vent leaks, blockage locations, and connection problems throughout the vent system. Camera inspection down the vent stack uses specialized equipment to lower a camera from the roof vent, examining the interior for blockages, damage, and connection issues at branch points. Professional clearing becomes necessary for safety reasons when roof access is dangerous, when blockages sit deep in the vent system beyond homeowner reach, or when complex vent system design includes multiple branches serving different plumbing fixture groups.
Main Sewer Line Problems That Affect Your Kitchen Sink
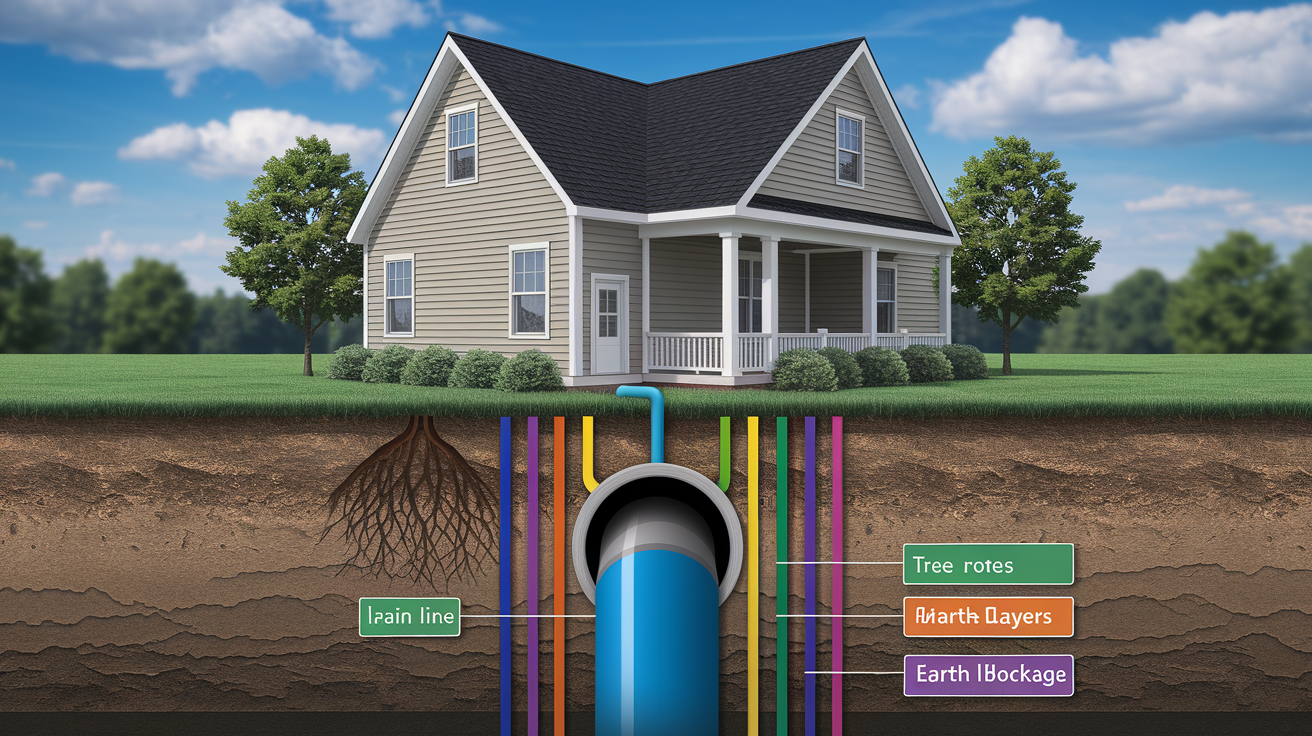
Your kitchen sink connects to a larger drainage system where all household drains eventually merge into the main sewer line that carries waste to the municipal sewer system or your septic tank. Problems downstream in this shared line affect all upstream fixtures, with your kitchen sink often showing symptoms first due to its frequent use and lower drainage volume compared to toilets. The kitchen sink drain typically enters the main line at a point where backup pressure from downstream blockages forces water to take the path of least resistance.
When the main line becomes partially blocked, water can still flow through the restricted opening under normal conditions. But when multiple fixtures drain simultaneously or high volume drainage occurs, the restriction causes backup into the fixture offering the least resistance, which is often your kitchen sink. A toilet flush sends 1.6 to 3.5 gallons through the system at once. A washing machine releases 15 to 30 gallons per cycle. These volumes exceed what a partially blocked main line can handle, creating temporary pressure that forces water backward through your kitchen drain.
Signs indicating main line problems rather than fixture specific issues include:
Toilet water rises when sink drains, showing that water backing up through the system can’t exit through the normal path and seeks alternative routes through interconnected pipes.
Bathtub backs up during dishwasher cycle, revealing that high volume drainage from one appliance affects fixtures throughout the home due to shared line restriction.
Multiple drains gurgle simultaneously, demonstrating system-wide air pressure problems rather than isolated fixture issues.
Sewage odor from floor drains in basement, suggesting main line issues affecting the lowest point in your drainage system where sewer gases escape.
Water backing into basement fixtures, which sit at the lowest points and experience backup first when main line problems prevent proper drainage.
Consistent slow drainage across all fixtures, indicating restriction in the common pipe serving your entire home rather than problems in individual branch lines.
Causes of main line issues include root intrusion from trees seeking water where tiny roots enter through pipe joints and grow into thick masses that trap debris and restrict flow. Bellied pipe or sagging drain sections collect debris and prevent proper drainage when ground settlement creates low spots in horizontal pipe runs. Municipal line issues affect multiple homes in your neighborhood when the problem exists in the shared sewer main rather than your private lateral. Septic backup or drain field problems in homes with septic systems prevent drainage when the tank fills beyond capacity or the drain field saturates. Pipe corrosion in old plumbing creates rough interior surfaces where rust, mineral deposits, and deterioration provide texture for debris attachment and buildup accumulation.
Garbage Disposal Issues That Cause Kitchen Sink Backup
Your garbage disposal connects to the drain system as an inline component between your sink basin and the P-trap. Disposal malfunctions prevent proper sink drainage even when the disposal appears to be working, including jammed impellers that spin but don’t grind properly, creating restrictions in the disposal chamber. Disposal drain connection issues occur where the discharge pipe attaches, allowing food and debris to accumulate at the junction point and gradually block drainage.
The relationship between your dishwasher connection and disposal creates additional backup pathways since most dishwasher drains connect to an inlet on the side of the disposal unit. This shared connection means blockages at the disposal affect both appliances, and dishwasher drainage problems can manifest as kitchen sink backup. When the disposal fills with debris or the discharge line blocks, dishwasher water has nowhere to go except back up through the sink drain.
| Disposal Problem | Cause | Quick Check |
|---|---|---|
| Unit won’t turn on or jammed blades | Foreign object or food buildup preventing rotation | Check reset button on bottom of unit, manually rotate flywheel with hex wrench from underneath |
| Unit runs but doesn’t drain | Clog in disposal drain line or discharge pipe | Inspect discharge pipe and P-trap connection for visible blockages or buildup |
| Disposal drains into dishwasher | Clog at connection point or missing knockout plug in new disposal | Verify dishwasher connection is clear, ensure knockout plug was removed during installation |
| Humming sound without grinding | Jammed impeller from hard object like bone or fruit pit | Turn off power at breaker, manually rotate flywheel to clear jam, remove visible objects |
Using a Drain Snake for Deeper Kitchen Sink Blockages
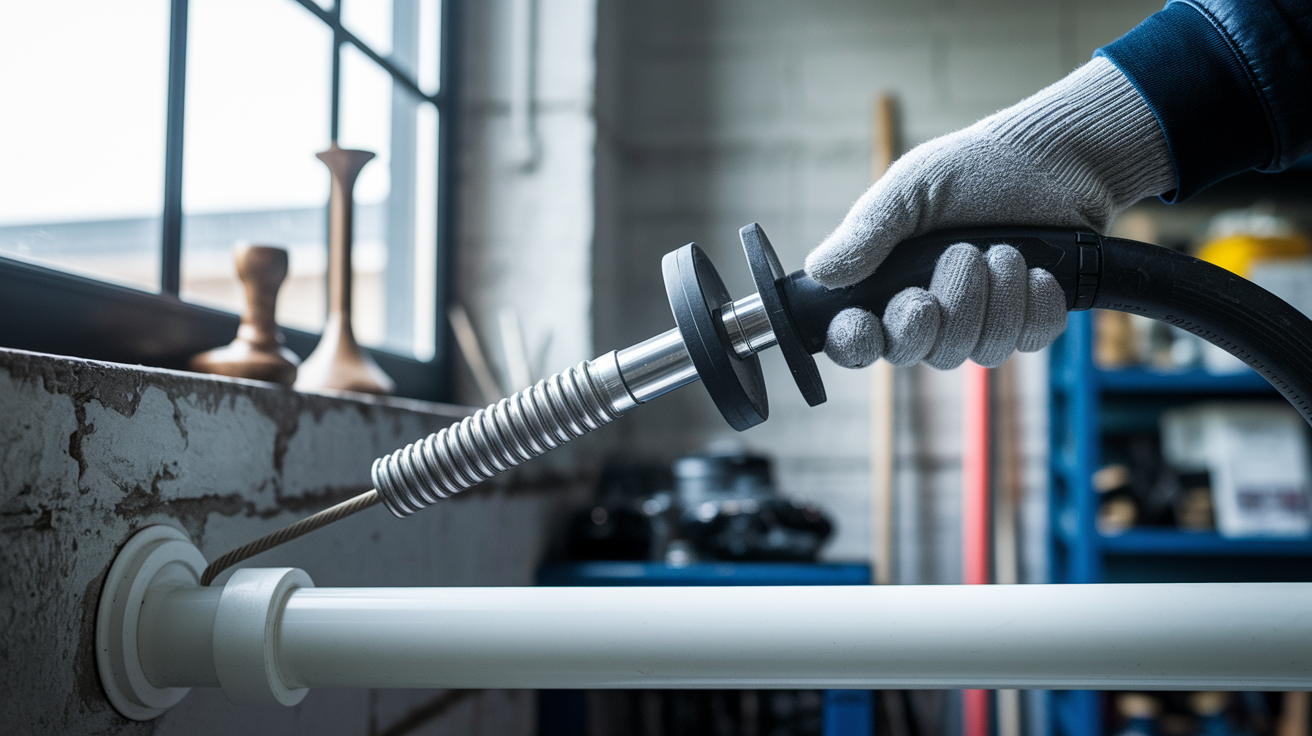
A drain snake becomes the appropriate tool when backup persists after cleaning the P-trap, when you suspect blockage in the horizontal drain or waste arm beyond the trap, and after simpler methods including plunging and natural drain treatments have failed to improve drainage. The snake reaches sections of pipe that other tools can’t access without disassembly, particularly the horizontal runs between your sink and the wall connection where grease and debris accumulate on the lower pipe walls.
Follow these steps for proper snaking technique:
-
Insert snake into drain opening or cleanout access point. Remove the P-trap for better access to the horizontal drain sections if possible. Feed the cable end into the pipe opening, guiding it gently to avoid scratching fixture surfaces.
-
Feed cable slowly while turning handle clockwise. Maintain steady rotation as you push the cable forward. The turning motion helps the cable navigate bends and prevents it from kinking inside the pipe. Push in six inch increments rather than shoving long sections at once.
-
Recognize resistance indicating blockage contact versus normal pipe bends. Solid blockages create firm resistance that doesn’t give when you continue turning. Pipe bends create resistance that releases as the cable curves through the turn. Learn the difference through feel and patience.
-
Work snake back and forth with rotating motion. When you contact the blockage, don’t just push harder. Rotate while moving the cable forward and backward several inches to break up the obstruction or hook debris. Maintain steady clockwise rotation to avoid loosening the cable from the handle.
-
Slowly retract while continuing to rotate. Pull the cable back gradually while still turning clockwise. This motion brings dislodged material back with the snake rather than pushing it deeper into the system. Clean debris from the cable as it emerges.
If snaking doesn’t improve drainage after multiple attempts from different access points, or if you encounter solid resistance that can’t be cleared with reasonable force, this indicates problems requiring professional inspection. Camera inspection equipment identifies whether you’re encountering pipe damage, severe buildup that mechanical methods can’t address, collapsed pipe sections, or main line issues beyond your home’s plumbing system. Continuing to force the snake risks pipe damage or cable breakage.
Grease Buildup and Soap Residue Effects on Drainage

Grease enters your drains as liquid when mixed with hot water during dishwashing, but it cools and solidifies on pipe walls as temperature drops through the pipe system. This creates layers that gradually narrow the pipe diameter over months or years. A typical kitchen drain pipe measures 1.5 inches in interior diameter, but grease buildup can reduce this to less than one inch without forming a complete blockage you could plunge or snake. The accumulation happens so gradually that you don’t notice drainage slowing until the restriction becomes severe enough to cause backup during normal use.
Soap residue and hard water minerals create chemical interactions that form chalky deposits resembling limestone buildup. When soap mixes with calcium and magnesium in hard water, they bond into solid compounds called soap scum that adhere to pipe walls. These deposits provide rough surface texture that accelerates additional debris attachment beyond what grease alone would create. The combination of slippery grease and abrasive mineral deposits creates ideal conditions for food particles, coffee grounds, and other debris to stick and accumulate.
The progression of buildup typically follows this pattern:
Week 1 through 4: Initial thin grease layer coats pipe interior creating slightly sticky surface that you wouldn’t notice in drainage performance.
Month 2 through 3: Soap scum and minerals adhere to grease creating thicker deposits and reducing pipe diameter by 10 to 15%, causing barely perceptible drainage slowdown.
Month 4 through 6: Food particles and debris stick to rough buildup surface forming layers and slowing drainage noticeably, especially during high volume use.
Month 7 through 12: Continued accumulation reduces effective pipe diameter by 30 to 40%, causing slow drainage and gurgling as air struggles to pass through restricted opening.
After 12 months: Heavy buildup constricts flow significantly, causing frequent backup without complete blockage, making simple plunging ineffective.
Natural and chemical free maintenance methods prevent this accumulation without the risks of chemical drain cleaners that cause pipe damage through corrosive action and create environmental harm when flushed into water systems. Chemical drain cleaners generate heat that can soften PVC pipes and corrode metal pipes at connection points, potentially causing leaks that require expensive repairs.
Implement these maintenance practices on a regular schedule. Hot water flush after each use means running very hot tap water for 20 to 30 seconds after washing dishes or using the sink. This keeps grease in liquid form longer so it travels farther through the system rather than solidifying immediately. Monthly baking soda vinegar treatment uses half a cup of baking soda followed by one cup of vinegar, allowing the mixture to fizz for 15 to 20 minutes before flushing with hot water. The fizzing action helps break down organic buildup without harsh chemicals. Enzyme cleaner application monthly works biologically to break down organic matter including grease, food particles, and soap residue without producing the heat or corrosive action of chemical cleaners. Use cleaners and detergents with fewer chemicals and fragrances to prevent accelerated buildup, since many additives in conventional products contribute to pipe residue that accumulates faster than simple soap would create.
Double Kitchen Sink Backup Patterns and What They Reveal
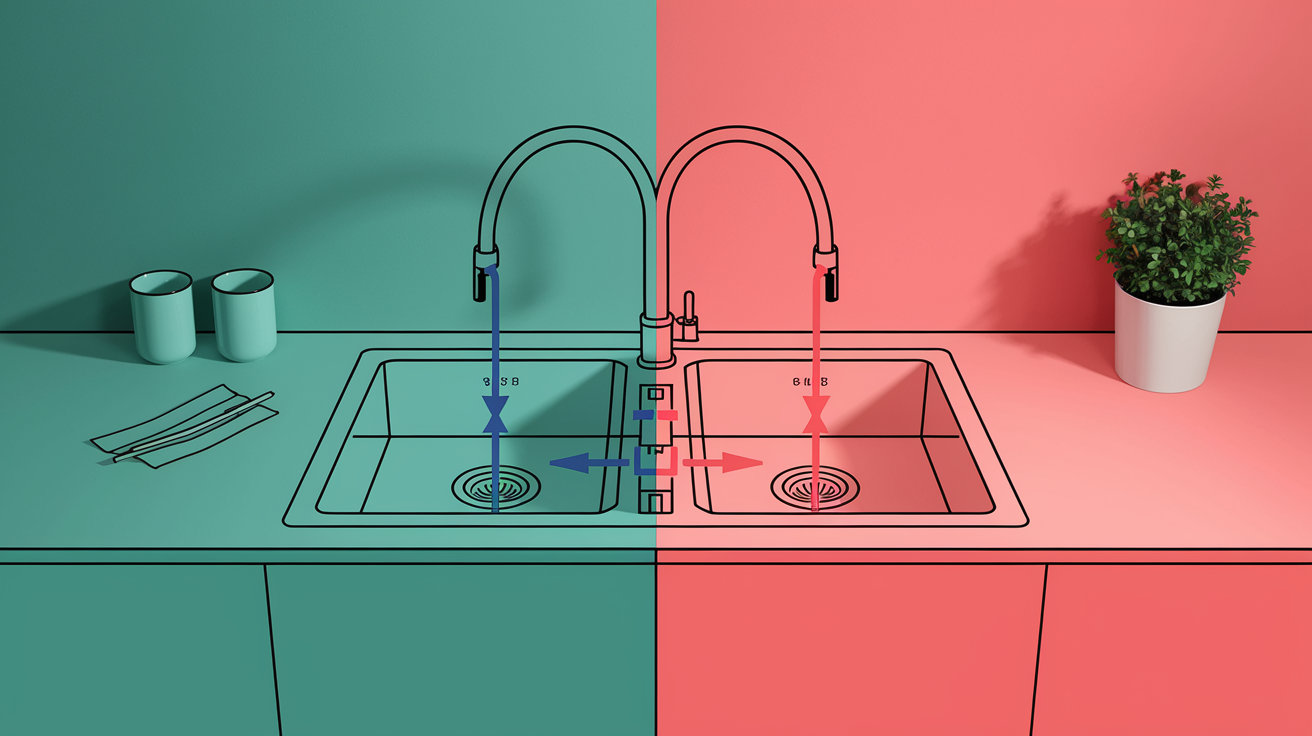
Double sinks share drain components where both basins connect to a common tailpiece or waste arm below the point where the individual drains meet. The configuration varies, but typically one basin connects directly to the garbage disposal or a tailpiece, then the second basin connects to this same drain line through a connecting pipe. Understanding this shared system helps you interpret backup patterns that reveal where the obstruction exists in the drain assembly.
| Backup Pattern | Likely Cause | Location of Problem |
|---|---|---|
| Both sides back up simultaneously | Shared drain line or P-trap obstruction | Below the point where both basins connect, typically in P-trap or waste arm |
| One side backs into the other when draining | Partial blockage in connecting pipe between basins | At basin junction point where connecting pipe meets main drain |
| Disposal side backs up only | Disposal malfunction or disposal drain connection blocked | Inside disposal unit or immediate downstream connection to drain line |
| Non-disposal side backs up only | Blockage in that basin’s tailpiece or connecting pipe | Between basin drain and shared junction point, before joining main drain |
Troubleshooting double sinks requires specific considerations to prevent problems and isolate the issue location. Clamp the dishwasher drain hose when plunging to prevent dirty water from flowing back into the appliance through the shared connection. Use a spring clamp or C-clamp on the flexible dishwasher drain line before creating plunging pressure. Check connection points between basins for debris accumulation where the connecting pipe joins, since food particles and grease collect at these junctions. Test each basin separately by plugging one drain completely and running water only in the other, helping you determine if both drains are affected equally or if the problem localizes to one side. This isolation technique reveals whether you need to focus on shared components or individual basin connections.
Professional Diagnostic Tools for Hidden Kitchen Sink Drainage Issues
Professional diagnostic tools become necessary after multiple failed DIY attempts where you’ve tried plunging, snaking, natural drain treatments, and P-trap cleaning without improvement. When symptoms indicate complex problems like vent issues affecting multiple fixtures or main line problems showing signs throughout your home, professional equipment identifies issues that remain invisible to homeowners. These technologies provide definitive answers about problem location, severity, and appropriate repair approaches rather than guessing and trying repeated solutions.
Video Camera Inspection
Drain cameras work by inserting a fiber optic camera on a flexible cable through your drain system, transmitting real time video to a monitor so the technician can observe interior pipe conditions. The camera travels through the entire accessible drain system from your sink through the main line to identify problems at any point along the path.
Video inspection reveals pipe condition assessment including corrosion levels, mineral deposit thickness, and grease buildup extent. Exact blockage location and type shows whether you’re dealing with grease accumulation, foreign object obstruction, or collapsed pipe sections. Root intrusion detection identifies tree roots that have penetrated pipe joints and grown into the line. Pipe damage or corrosion appears as cracks, holes, or deteriorated sections that might leak or collapse. Collapsed or bellied sections show where ground settlement created low spots that trap debris and prevent drainage.
The typical inspection process starts from an access point either through your drain opening, a cleanout plug in the system, or from the main line access. The technician advances the camera slowly while recording the video, marking distance measurements so they know exactly where problems exist relative to your home’s foundation and property lines. This precision helps them plan repairs and gives you documentation of issues for insurance purposes or property records.
Hydro Jetting for Stubborn Buildup
Hydro jetting technology uses high pressure water streams up to 4000 PSI to scour pipe interiors clean, removing years of accumulated grease, mineral deposits, and soap residue that snaking can’t address. The specialized nozzle sprays water in multiple directions simultaneously, scouring pipe walls 360 degrees as it travels through the system.
This method works for heavy grease buildup that has hardened into thick coatings and mineral deposits that have calcified onto pipe walls. Traditional snaking pokes holes through blockages but leaves most buildup attached to pipe walls where it quickly narrows the opening again. Hydro jetting removes buildup down to the original pipe interior, restoring full diameter and smooth surfaces that resist future accumulation.
Professional application is essential since improper pressure or technique damages pipes. Trained technicians select appropriate pressure levels based on pipe material, age, and condition. They avoid hydro jetting in damaged pipes where high pressure could cause complete failure. When performed correctly on appropriate pipe materials including cast iron, steel, and PVC in good condition, hydro jetting clears pipes without damage and provides longer lasting results than other cleaning methods.
Smoke and Pressure Testing for Vent Issues
Smoke testing identifies vent leaks and blockages by pumping non-toxic theatrical smoke into your drain system through a cleanout or drain opening after sealing other access points. Technicians observe where smoke escapes, revealing vent blockages where smoke can’t exit through the proper roof opening, connection problems where smoke leaks at joints, and damaged vent pipes where smoke escapes through cracks or holes.
Pressure testing verifies proper system function after repairs by measuring air pressure maintenance in a sealed system. Technicians seal all drain openings and vent terminations, then pressurize the system with air while monitoring pressure gauges. Pressure drop indicates leaks in the system that could allow sewer gases to escape into wall cavities or living spaces. This test confirms that vent repairs successfully restored system integrity and that all connections seal properly.
Calculating the Cost of Kitchen Sink Backup Repairs
Several factors influence repair costs and understanding them helps you make informed decisions about professional service. Time of service makes significant difference, with emergency calls during nights, weekends, or holidays costing 50% to 100% more than scheduled appointments during regular business hours. Complexity of diagnosis and repair affects pricing when problems require extensive troubleshooting or specialized equipment. Access difficulty to pipes and drain lines increases costs when plumbers work in cramped spaces, crawlspaces, or locations requiring drywall removal. Geographic location creates price variations with urban areas and high cost of living regions charging more than rural areas. Parts requirements for replacement components add to labor costs, especially for garbage disposals, specialized fittings, or main line section replacement.
| Repair Type | Typical Cost Range | Time Required |
|---|---|---|
| Basic drain cleaning | $100-$250 | 1-2 hours |
| P-trap cleaning or replacement | $150-$300 | 1-2 hours |
| Garbage disposal repair | $100-$200 | 1 hour |
| Vent clearing | $200-$500 | 2-3 hours |
| Camera inspection | $200-$400 | 1-2 hours |
| Hydro jetting | $350-$600 | 2-4 hours |
The cost benefit of professional service versus repeated DIY attempts becomes clear when you calculate time wasted on unsuccessful attempts, money spent on multiple products and tools, and potential for worsening problems through improper methods. Prevention costs stay minimal compared to emergency repair costs that often include water damage remediation after leaks or backups cause cabinet damage, flooring damage, or mold growth requiring professional remediation. Long term value of proper diagnosis prevents recurring issues that waste money on temporary fixes and identifies potential failures before they cause major damage like main line collapse or sewer backup into your home. Professional service provides warranties on work performed, giving you recourse if problems return shortly after repairs.
Preventing Future Kitchen Sink Backup Without Clogs
Prevention proves more effective and less costly than repeated repairs, especially for issues that don’t involve visible clogs where problems develop gradually over months. Prevention addresses root causes before they create drainage restrictions that require professional intervention. The gradual nature of buildup makes prevention the most practical long term solution since consistent maintenance habits stop accumulation before it narrows your pipes.
Implement these prevention practices consistently:
Proper grease disposal methods mean letting cooking grease cool in the pan, then scraping it into a container for trash disposal rather than pouring any amount down the drain, even with hot water running.
Using strainer basket consistently catches food particles before they enter your drain system where they stick to grease and create layers of debris that restrict flow.
Hot water flush for 20 to 30 seconds after each use washes residue through your system while grease remains liquid, preventing the immediate solidification that occurs when grease sits in cooling pipes.
Monthly natural drain treatment with baking soda and vinegar prevents buildup accumulation through gentle chemical action that breaks down organic matter before it forms thick deposits.
Garbage disposal best practices include running cold water during use and for 15 seconds after grinding stops, keeping grease solidified so it gets chopped into small pieces rather than coating the disposal and drain as liquid.
Avoiding problematic food items like coffee grounds that clump together, pasta and rice that expand and become sticky, eggshells that form sharp pieces that trap other debris, and fibrous vegetables like celery that wrap around disposal blades.
Wiping cookware before washing removes excess grease and oil with paper towels or cloths, preventing these fats from entering your drain system where they solidify and create sticky pipe coatings.
Water softener or filter installation for hard water areas reduces mineral deposit formation that combines with soap to create abrasive buildup that narrows pipes and traps debris.
Create a realistic maintenance schedule that includes daily habits you’ll actually follow. Hot water flush after each use takes seconds and prevents immediate problems. Strainer cleaning removes accumulated particles before they decompose and create odors. Weekly tasks include garbage disposal deep clean by grinding ice cubes with citrus peels to scour the chamber and eliminate odors, and visual inspection of visible drain components to catch problems early. Monthly maintenance involves baking soda vinegar treatment that takes 20 minutes total, checking under the sink for moisture or leaks at connection points, and inspecting P-trap connections for tightness and wear signs. This schedule prevents the gradual buildup that causes backup without visible clogs while taking minimal time each week.
When to Call a Professional for Kitchen Sink Drainage Issues
Knowing when to call a professional prevents property damage that occurs when small problems become major failures, saves money in the long run by addressing root causes rather than symptoms, and avoids the frustration of repeated failed DIY attempts that waste your time and potentially worsen the underlying issue. Professional intervention becomes necessary when problems exceed what homeowner tools and methods can diagnose or repair safely.
Call a professional plumber when you encounter these scenarios:
-
Repeated backup after multiple DIY attempts using plunger, hot water flush, baking soda vinegar treatment, P-trap cleaning, and drain snake without any improvement in drainage, indicating problems deeper in your system.
-
Multiple fixtures affected simultaneously where your kitchen sink, bathroom sinks, tubs, or toilets all drain slowly or back up together, revealing main line issues beyond individual fixture problems.
-
Sewage odors that persist despite thorough P-trap cleaning and extended water flushing, suggesting vent system problems or main line issues that allow sewer gases to escape into your home.
-
Visible water damage developing under your sink, in surrounding cabinets, or on floors where moisture indicates leaks at connections or pipe damage that’ll worsen without proper repair.
-
Complete drainage stoppage where no water drains at all even with vigorous plunging, indicating complete blockage that requires professional equipment to clear without damaging pipes.
-
Suspected main sewer line issues based on system-wide symptoms including multiple fixture problems, sewage backup through floor drains, or consistent drainage issues throughout your home.
-
Lack of safe access to key plumbing components like roof vents requiring ladder work you’re not comfortable with, main line cleanout in difficult locations, or pipes in crawlspaces with restricted access.
Select a qualified plumber through careful research that protects you from poor workmanship and ensures proper repairs. Verify licenses through your state or local licensing board website where you can confirm current status and check for disciplinary actions. Confirm insurance for both liability coverage that protects your property if damage occurs during work and workers compensation that protects you if a technician is injured on your property. Check experience with specific issues like vent problems, main line work, or hydro jetting rather than assuming all plumbers handle all situations equally well. Review checking on multiple platforms including Google, Yelp, and Better Business Bureau provides balanced perspective beyond single source ratings. Get detailed written estimates before work begins that specify exact services, materials, labor hours, and guaranteed completion timeframe. Ask about warranty on work performed including typical coverage of 30 to 90 days on labor and manufacturer warranty on parts, ensuring you have recourse if problems return shortly after repairs.
Final Words
A kitchen sink backing up but no clog means the problem lives deeper in your plumbing system than you can see from the drain opening.
It could be a vent issue messing with air pressure. A P-trap full of grease just out of reach. Or a main line restriction affecting multiple fixtures.
Start with the simple checks. Hot water flush, baking soda and vinegar, inspect the disposal. If those don’t fix it, move to the P-trap or try a snake.
When backup keeps happening or you’re seeing system-wide symptoms, that’s when you call a pro. Camera inspection finds what you can’t see, and hydro jetting clears what snaking won’t touch.
Prevention beats repair every time. Use a strainer, flush with hot water after each use, and skip pouring grease down the drain. Small habits keep the system flowing and save you a lot of hassle down the road.
FAQ
Why is my sink drain backing up but not clogged?
Your sink drain is backing up but not clogged because the obstruction exists deeper in the plumbing system beyond what you can see at the drain opening. Common causes include vent pipe blockages preventing proper air pressure, grease buildup coating pipe walls, P-trap obstructions beyond visual range, or partial main sewer line blockages affecting drainage.
How to fix a kitchen sink that is backing up?
To fix a kitchen sink that is backing up, start by checking the garbage disposal for jams, then try a hot water flush for 2-3 minutes. Use proper plunger technique covering overflow holes, apply baking soda and vinegar treatment, inspect visible drain components, and observe for air pressure symptoms like gurgling in other drains.
Why won’t my kitchen sink drain but not clogged?
Your kitchen sink won’t drain but isn’t clogged because the problem likely involves plumbing vent blockages creating vacuum conditions, grease and soap residue narrowing the pipe diameter gradually, or partial main sewer line restrictions. These issues develop slowly over time and affect drainage without forming a complete blockage you can reach.
How do I know if my drain is air locked?
You know your drain is air locked if you hear gurgling sounds from multiple drains when water flows, notice slow drainage across several fixtures simultaneously, smell sewer gas odors in your home, or see bubbling water when other fixtures drain. These symptoms indicate vent pipe problems preventing proper air pressure regulation in your plumbing system.
What causes a kitchen sink to back up gradually over time?
A kitchen sink backs up gradually over time because cooking fats, food particles, soap film, and debris stick to pipe walls in layers. This accumulation slowly narrows the pipe diameter rather than creating a sudden complete blockage, which explains why drainage worsens progressively and traditional plunging doesn’t resolve the issue.
Can a garbage disposal cause sink backup without being completely clogged?
A garbage disposal can cause sink backup without being completely clogged when its impeller jams but the unit still runs, when the discharge pipe develops restrictions, or when the dishwasher connection point has debris buildup. The disposal may appear to function normally while still preventing proper drainage through the shared drain line.
How does hard water contribute to kitchen sink drainage problems?
Hard water contributes to kitchen sink drainage problems by depositing minerals inside pipes that create rough surfaces for grease and debris to stick to. When soap mixes with hard water minerals, it forms chalky buildup resembling limestone that narrows the pipe diameter and accelerates the accumulation of additional debris over time.
What’s the difference between a clog and a drainage restriction?
The difference between a clog and a drainage restriction is that a clog is a complete or near-complete blockage causing immediate standing water, while a restriction involves gradual buildup coating pipe walls that slows drainage progressively. Restrictions often involve grease, soap scum, and mineral deposits that plunging cannot remove.
When should I remove and clean my P-trap?
You should remove and clean your P-trap when you experience persistent backup after trying simpler methods, notice visible debris in the curved section, smell foul odors coming from the drain, or see water draining very slowly despite no visible blockage at the drain opening.
How can I tell if my main sewer line is causing kitchen sink backup?
You can tell your main sewer line is causing kitchen sink backup if toilet water rises when the sink drains, multiple fixtures gurgle simultaneously, the bathtub backs up during dishwasher cycles, or you notice sewage odors from basement floor drains. These symptoms indicate a shared line restriction affecting the entire drainage system.
What foods should never go down a kitchen sink drain?
Foods that should never go down a kitchen sink drain include grease and oil that solidify in pipes, coffee grounds that clump together, pasta and rice that expand and become sticky, eggshells that form sharp pieces, and fibrous vegetables like banana peels that accumulate over time and resist breakdown.
Is it safe to use chemical drain cleaners for sink backup?
It is not safe to use chemical drain cleaners for sink backup because they can damage pipes through chemical corrosion, harm the environment when they enter the water system, and create dangerous fumes. Safer alternatives include mechanical tools like plungers and snakes, hot water flushes, and natural cleaners like baking soda and vinegar.
How often should I perform preventive maintenance on my kitchen sink drain?
You should perform preventive maintenance on your kitchen sink drain daily by running hot water for 20-30 seconds after each use, weekly by deep cleaning the garbage disposal with ice and citrus, and monthly by applying baking soda and vinegar treatment to prevent buildup accumulation before it causes drainage problems.
What does gurgling in other drains mean when my kitchen sink drains?
Gurgling in other drains when your kitchen sink drains means your plumbing vent system has a blockage preventing proper air pressure regulation. This creates vacuum conditions where air gets pulled through other drain traps, causing the gurgling sound and indicating that the problem extends beyond just your kitchen sink drain.
Can I snake my kitchen sink drain myself?
You can snake your kitchen sink drain yourself when the backup persists after cleaning the P-trap and simpler methods have failed. Feed the cable slowly while turning clockwise, work it back and forth when you feel resistance, and retract slowly while continuing to rotate to pull out dislodged material from the horizontal drain sections.
How do I know if my plumbing vent is blocked?
You know your plumbing vent is blocked if you hear gurgling sounds from multiple drains throughout your home, notice slow drainage across several fixtures, smell sewer gas odors inside, or see bubbling water when other fixtures drain. These symptoms indicate air pressure disruption caused by vent obstruction preventing proper drainage.
What’s the cost difference between DIY and professional drain repair?
The cost difference between DIY and professional drain repair is that DIY methods using basic tools and natural cleaners cost under $50, while professional services range from $100-$250 for basic drain cleaning to $350-$600 for hydro jetting. However, professional service provides proper diagnosis and prevents recurring issues that waste time and money.
Why does my double sink back up into the other side?
Your double sink backs up into the other side because both basins share a common drain line, and a partial blockage exists in the connecting pipe or at the junction point. When one side drains, the restricted flow path causes water to rise into the other basin rather than flowing smoothly through the shared drainage system.
What does a camera inspection reveal that I can’t see?
A camera inspection reveals the exact location and type of blockage, pipe condition including corrosion or damage, root intrusion points, collapsed or bellied pipe sections, and years of accumulated buildup coating the interior. This technology identifies problems invisible from the drain opening that explain persistent drainage issues after DIY attempts.
How long does grease buildup take to cause drainage problems?
Grease buildup takes 4-12 months to cause noticeable drainage problems as it accumulates in layers on pipe walls. Initial thin coating develops in weeks, soap scum and minerals adhere over months reducing pipe diameter by 10-15%, and continued accumulation eventually constricts flow by 30-40% causing frequent backup without complete blockage.