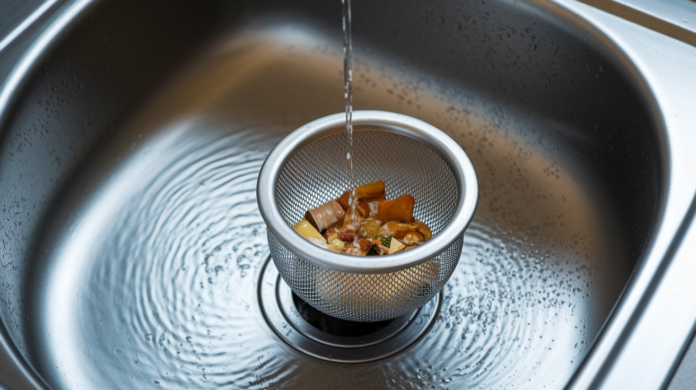

Most people wait until their kitchen sink is completely backed up before they think about prevention. By then, you’re dealing with standing water, emergency calls, and repair bills that could’ve been avoided. The truth is, nearly every kitchen sink clog starts weeks earlier with small habits you might not even notice. Grease gets poured down the drain while it’s still liquid. Food scraps slip past without a strainer. Rice and pasta bits wash off plates. These tiny decisions add up fast, coating your pipes and trapping debris until water stops flowing. The good news? A few simple daily habits can keep your drains clear for years and save you from expensive fixes.
Core Prevention Strategies for Kitchen Sink Drains
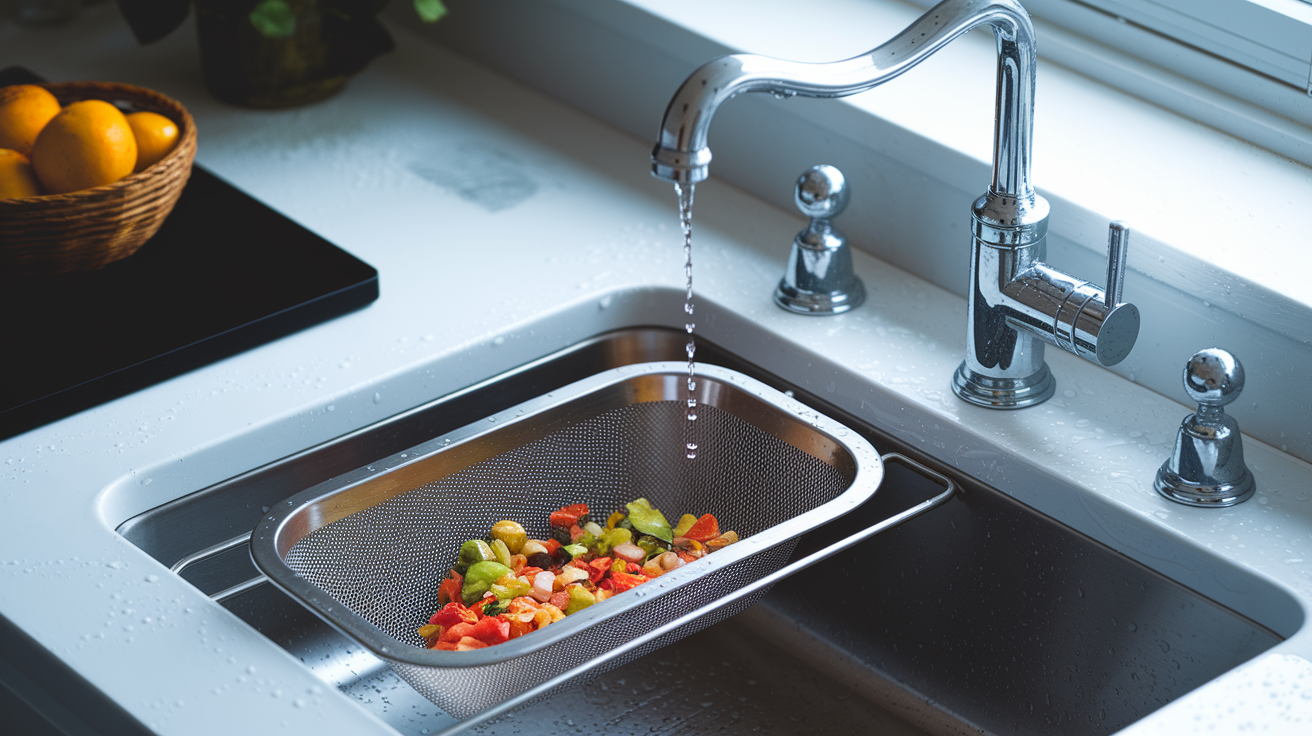
Kitchen sink clogs don’t happen overnight. They’re the result of small decisions repeated day after day. Most clogs are completely preventable when you build the right habits into your routine.
Effective prevention isn’t about one magic fix. It’s about combining four categories of protection that work together to keep your drains flowing freely.
12 Essential Prevention Actions:
- Physical Barriers – Install a drain strainer or catcher at the mouth of your drain to catch food particles before they enter pipes
- Physical Barriers – Empty your strainer daily, even if it doesn’t look full
- Food Handling – Scrape all plates into the trash before washing, not into the sink
- Food Handling – Clean dishes within 24 hours to prevent food from hardening into sticky drain hazards
- Food Handling – Wipe cookware with paper towels before washing to remove visible grease and food residue
- Grease Management – Collect cooking grease in a designated container for trash disposal
- Grease Management – Never pour any oils or fats down your drain, regardless of temperature
- Grease Management – Wipe greasy pans and cookware with absorbent paper towels before exposing them to water
- Disposal Usage – Always run cold water while operating your garbage disposal
- Disposal Usage – Feed food waste in small amounts gradually, never all at once
- Disposal Usage – Continue running water for a full minute after grinding stops to flush particles through
- Disposal Usage – Run your disposal regularly with dish soap to prevent rust and buildup
When you follow these practices together, you create comprehensive protection for your entire plumbing network. This approach saves hundreds of dollars in emergency repair calls and extends the life of your drains by years. Prevention takes seconds. Emergency repairs take hours and cost way more.
Why Grease and Cooking Oil Are the Primary Clog Culprits
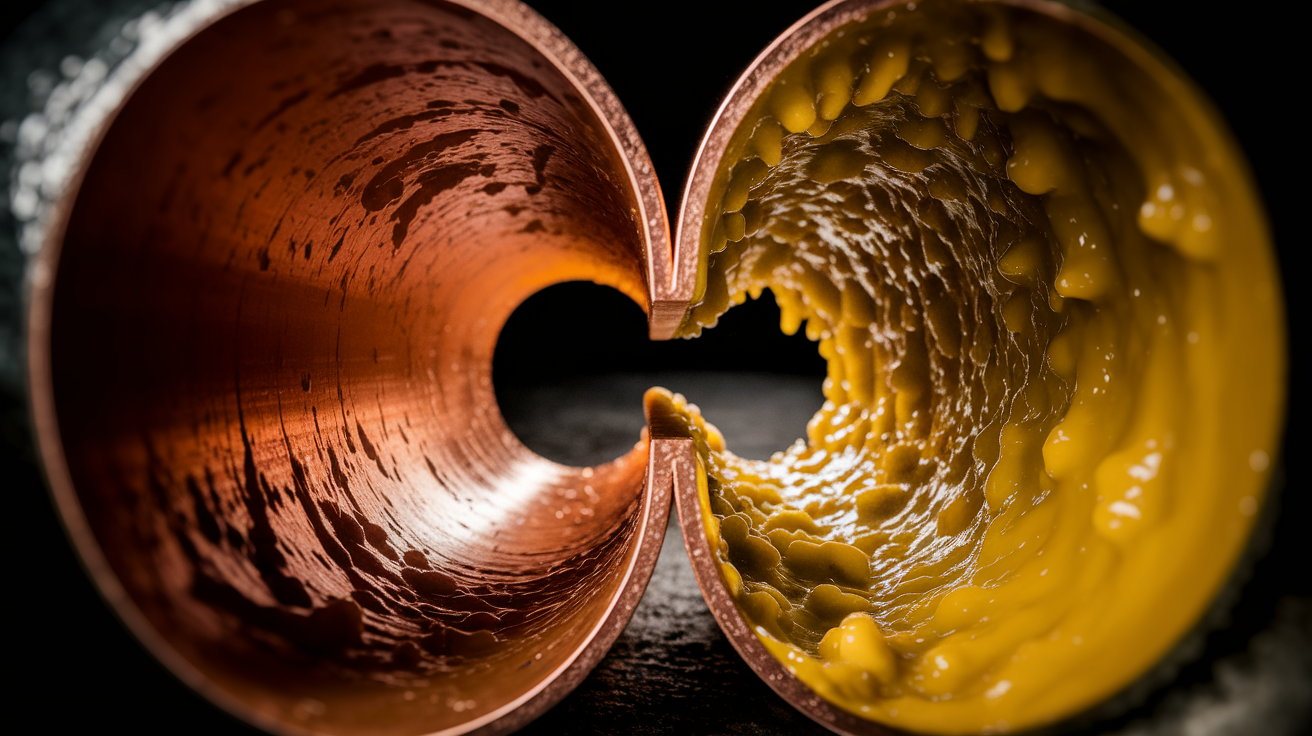
Grease and cooking oil are liquid when they’re hot, but that changes fast once they enter your pipes. Within minutes of cooling, these fats solidify and coat the inside of your drain pipes with a sticky film. That coating doesn’t just sit there. It acts like flypaper, catching bits of food, soap residue, and other debris that would normally wash through. Over time, this compound buildup narrows your pipes until water can barely pass.
Running hot water while pouring grease down the drain doesn’t solve this problem. It makes it worse. The hot water just pushes the liquefied grease further into your plumbing system, where it cools and solidifies in places you can’t reach. Once grease travels deep into your pipes or reaches your septic system, it can cause sewer overflows and damage that affects your entire home’s plumbing.
If you have a garbage disposal, the cold water method changes everything. Running cold water while grinding food waste solidifies any grease or fat immediately, allowing the disposal blades to chop it into tiny particles before it reaches the trap. Start the cold water before you turn on the disposal, keep it running during grinding, and continue for at least a minute after you turn the disposal off.
For proper grease disposal, let cooking oil and fat cool completely, then pour it into an old jar or container and throw it in the trash. If you cook with a lot of oil, keep a designated grease collection container near your stove. Fat separator tools work well for draining liquids from cooking pans while keeping grease contained. For pans with just a light coating, wipe them thoroughly with absorbent paper towels before washing. These simple steps keep grease out of your pipes entirely.
Installing Physical Barriers: Strainers and Drain Covers
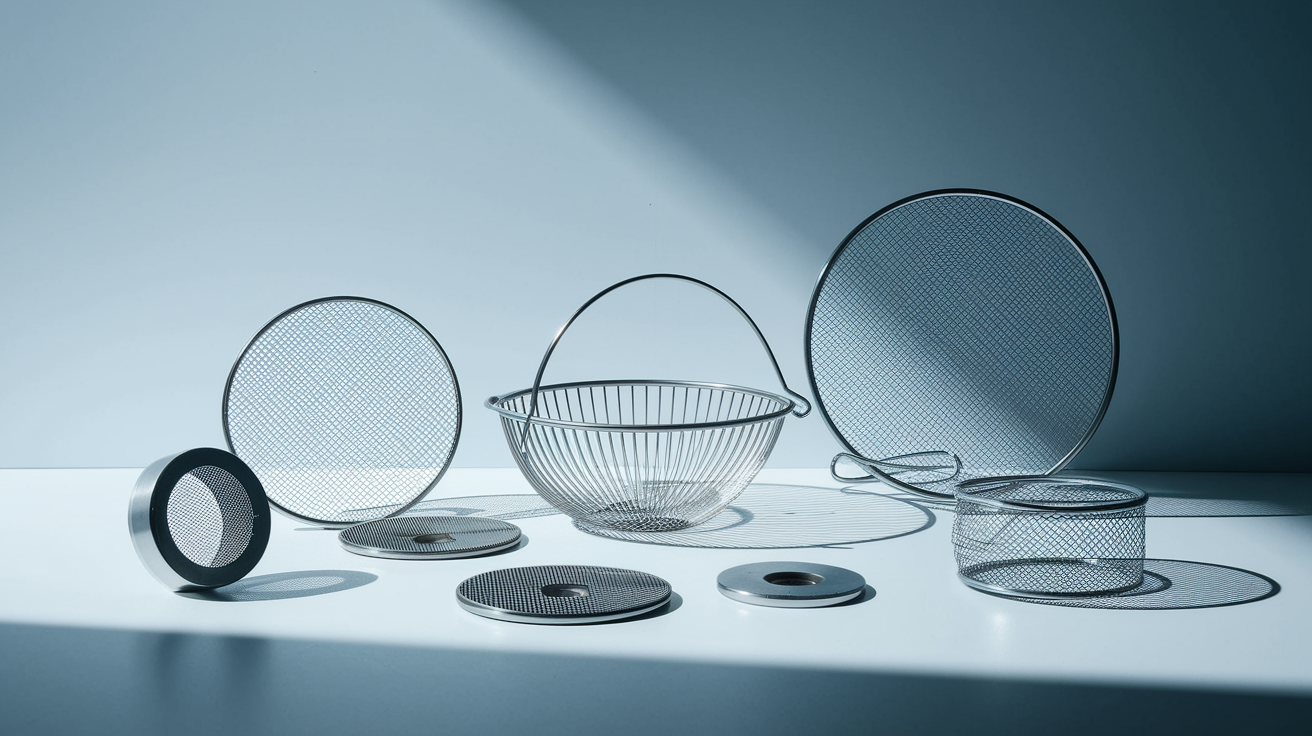
Physical barriers are your first line of defense. They catch food particles at the drain opening, before those particles can enter your pipes and start building up into clogs.
Several types of barriers work for kitchen sinks. Mesh screens sit flat over the drain opening and catch almost everything except liquids. Basket strainers fit inside the drain and lift out for easy emptying. Disposal splash guards serve double duty, preventing splashing while catching items that shouldn’t enter the disposal.
What to Look for When Choosing a Strainer:
- Hole size – Small enough to catch food particles but large enough to let water drain quickly without pooling
- Material durability – Stainless steel lasts longer than plastic and resists warping from hot water
- Ease of cleaning – Smooth surfaces without crevices where food can hide and decompose
- Proper fit – Matches your drain opening diameter so water doesn’t flow around the edges
- Disposal compatibility – If you have a garbage disposal, choose a splash guard style rather than a flat screen
- Dishwasher-safe – Saves time on weekly deep cleaning
Most strainers require zero installation skills. You just set them in place at the mouth of your drain. No plumber needed, no special tools required. Empty your strainer at least once daily, or more often if you’re doing heavy cooking. Once a week, remove it completely and scrub it with dish soap to prevent buildup and odors. Replace strainers when the mesh develops tears or the metal shows signs of rust.
Foods and Materials That Should Never Enter Your Kitchen Sink
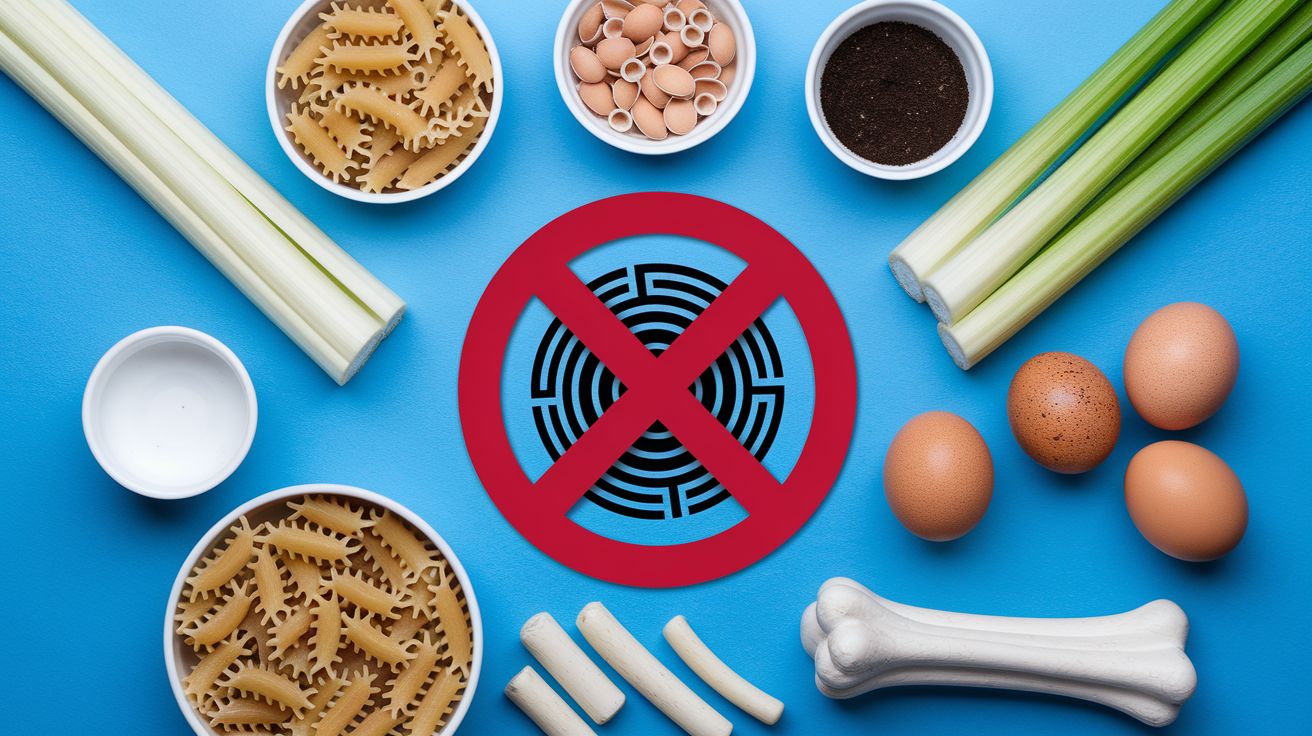
Even if you have a garbage disposal, you need to be selective about what goes down your kitchen drain. Certain foods cause problems no matter how powerful your disposal system is.
| Item/Food Type | Why It Causes Problems | Proper Disposal Method |
|---|---|---|
| Fibrous vegetables (celery stalks, corn husks, onion skins, artichokes) | Fibers wrap around disposal blades and tangle, jamming the motor and creating nets that trap other debris | Cut into small pieces and throw in trash or add to compost bin |
| Expandable foods (pasta, rice, oatmeal) | Continue absorbing water and expanding inside pipes, creating swollen masses that block water flow | Scrape completely into trash before rinsing plates |
| Coffee grounds | Don’t break down, instead accumulating into dense sediment that settles in pipes and traps | Add to compost or dispose in trash |
| Eggshells | Inner membrane creates sticky coating and shell fragments clump together rather than washing through | Throw in trash or crush for compost |
| Flour and starchy foods | Form paste when mixed with water, coating pipes and catching other particles | Wipe from bowls and utensils into trash before washing |
| Hard items (fruit pits, popcorn kernels, bones) | Too hard for disposal blades to grind, damage disposal motor, and block drain openings | Always dispose in trash |
| Grease, oils, and fats | Solidify when cool, coat pipe walls, and trap all other debris creating compound blockages | Cool and pour into container for trash disposal, never down drain |
| Non-food items (glass, plastic, metal, paper, bottle caps) | Damage disposal blades, create immediate blockages, and can break apart into pieces that lodge in pipes | Keep away from sink area and dispose in appropriate recycling or trash |
Proper Garbage Disposal Operation Techniques

How you operate your garbage disposal matters as much as what you put in it. Proper technique prevents clogs and extends the life of your disposal system by years.
Feed food waste in small amounts, one handful at a time. Never pack the disposal full and then turn it on. Large volumes overwhelm the grinding mechanism and push unground particles into your pipes before the blades can process them. Cut bigger items like melon rinds or thick vegetable scraps into smaller pieces before feeding them in. Keep cold water running at full pressure throughout the entire grinding process.
After the grinding noise stops and all visible food is gone, keep your disposal running with cold water flowing for a full minute. This flushing period pushes ground particles completely through your plumbing system instead of letting them settle in the trap. Add a small squirt of dish soap during this flush. The soap helps break up any grease residue and prevents rust and corrosion from building up inside the disposal housing.
Monthly maintenance keeps your disposal sharp and fresh. Drop a handful of ice cubes into the disposal and run it to sharpen the blades naturally. The ice also dislodges particles stuck to the grinding chamber walls. If your disposal develops odors, grind citrus peels briefly for freshening, but remove any large pieces afterward since citrus oils can be sticky. Even when you’re not actively using your disposal for food waste, run it at least once a week with cold water and soap. Disposals that sit idle develop mechanical issues and rust faster than units that operate regularly.
Enzymatic and Natural Drain Treatment Solutions

Natural cleaning solutions provide effective clog prevention without the pipe damage that harsh chemical cleaners cause. Chemical drain cleaners containing bleach or lye corrode disposal blades, eat away at pipe seals, and can damage older plumbing systems.
Enzymatic and bacterial treatments offer a safer alternative. Products like Bio-Clean contain naturally occurring enzymes and bacteria that break down food particles, grease, and organic matter stuck to the edges of your drain pipes. These treatments work slowly but effectively, digesting buildup without creating heat or corrosive reactions that damage your plumbing.
Five Natural Treatment Options:
- Enzymatic/bacterial treatments (Bio-Clean and similar products) – Apply directly to drains, enzymes digest organic matter safely, work continuously for hours after application
- Borax – Acts as a natural sanitizer that eliminates odor causing mold and mildew, safe for disposal systems and pipes
- Baking soda and vinegar – Pour half cup baking soda followed by half cup vinegar, let foam for 15 minutes, flush with hot water, monthly treatment prevents buildup
- Salt and baking soda scrub – Mix equal parts, pour into drain, let sit overnight, flush with hot water in morning, abrasive action scrubs pipe walls
- Boiling water flush – Weekly treatment helps dissolve grease buildup before it hardens, use carefully with older pipes that may be weakened
Apply these treatments as prevention, not emergency fixes. Use enzymatic products monthly even when drains are flowing perfectly. The bacteria continue working between applications, keeping pipes clean before clogs form. Natural methods work best when used consistently over time. If you’re already dealing with standing water or a complete blockage, these gentle treatments won’t clear the clog fast enough.
Building an Effective Maintenance Schedule
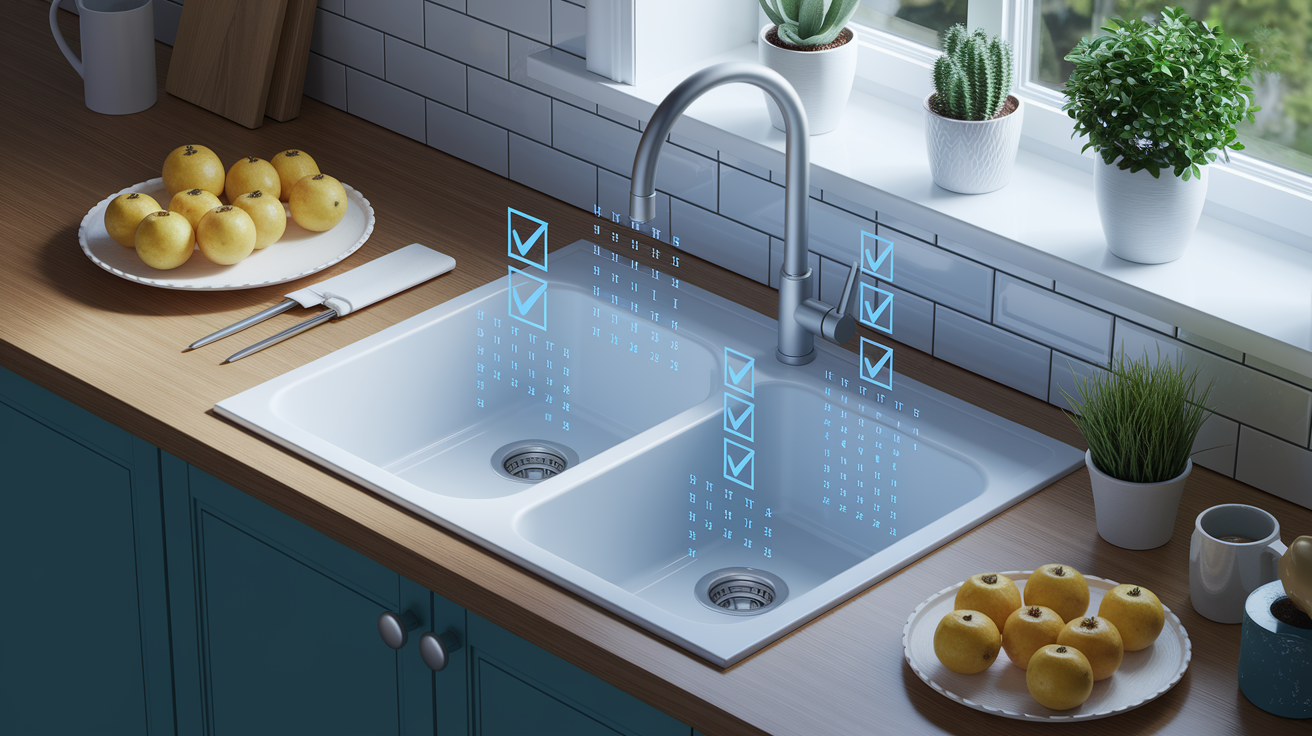
Organizing prevention tasks by frequency makes them easier to remember and prevents emergency clogs better than waiting until you notice problems. A time based schedule turns prevention into automatic habits.
| Frequency | Maintenance Task | Time Required |
|---|---|---|
| Daily | Empty strainer, scrape plates before washing, wipe grease from cookware, run disposal with cold water and flush for 1 minute after use | 2-3 minutes total |
| Weekly | Deep clean strainer with dish soap, run hot water flush for 5 minutes, run disposal with ice cubes for blade maintenance | 10 minutes |
| Monthly | Apply enzymatic treatment to drains, baking soda and vinegar treatment, check strainer for damage and replace if needed | 15 minutes |
| Quarterly | Inspect disposal splash guard and drain components, check for slow drainage or unusual sounds, tighten disposal mounting if needed | 20 minutes |
| Annual | Professional assessment if experiencing recurring drainage issues or persistent odors that home treatments don’t resolve | 1 hour (service call) |
Recognizing Early Warning Signs of Kitchen Sink Clogs

Drains rarely clog suddenly without giving you advance warning. Learning to recognize early signs lets you take action before a minor slowdown becomes a complete blockage.
Small changes in drainage behavior tell you a clog is forming. The key is noticing these changes as soon as they start, not after they become obvious problems.
Five Warning Signs to Watch For:
- Slow drainage – Water takes longer than usual to disappear from your sink basin, indicating an obstruction is forming somewhere in your pipes and narrowing the available flow path
- Gurgling or bubbling sounds – Odd noises coming from the drain mean water is moving around trapped air pockets and debris, a clear sign that something is blocking normal water flow
- Persistent bad odors – Smells that don’t go away after running water or using your disposal indicate stuck food that’s decomposing and feeding bacteria growth in your pipes
- Standing water in sink – Even a small amount of water that pools in your basin after draining signals a partial blockage that will only get worse
- Multiple drains backing up – If your kitchen sink and another drain both slow down at the same time, you’re dealing with a blockage in your main line that needs immediate attention
Safe DIY Intervention for Minor Drainage Issues
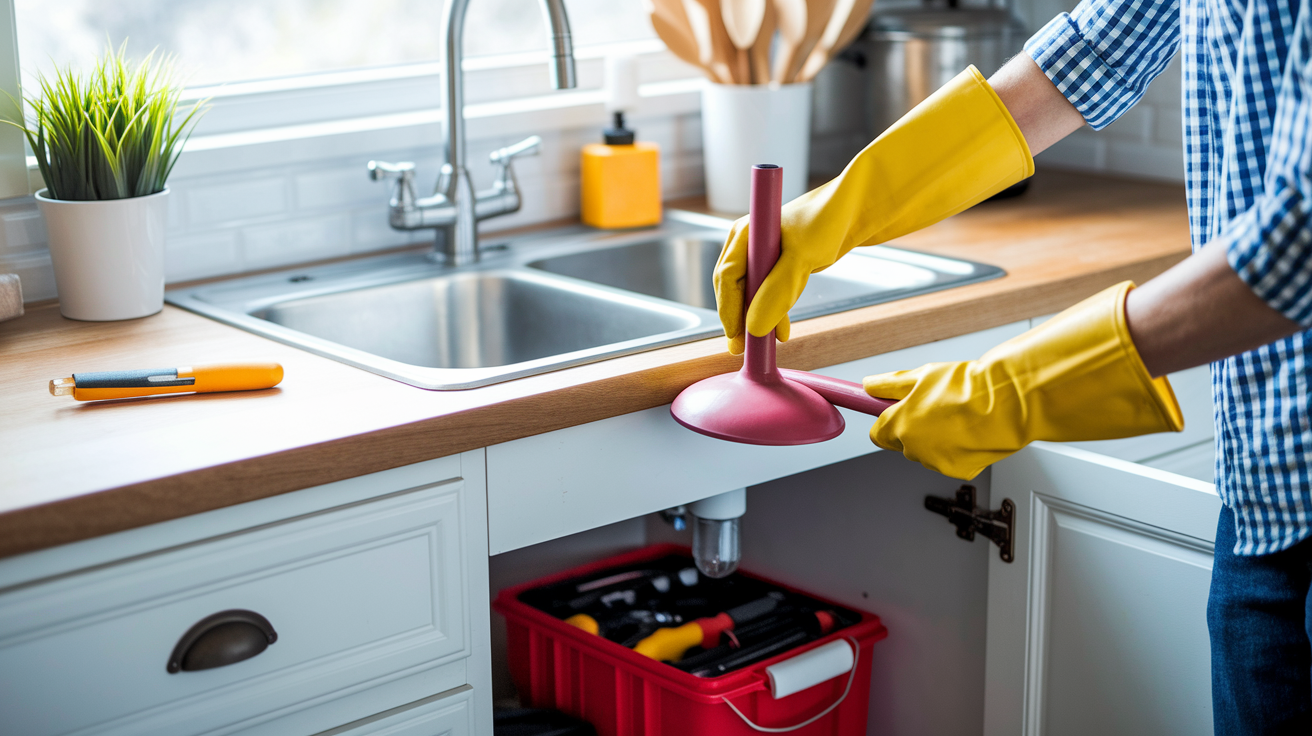
Minor slow drainage that catches your attention early is often fixable with safe DIY methods. Serious clogs with standing water that won’t drain at all, or issues that affect multiple fixtures, need professional help immediately.
Four Safe DIY Methods (In Order of Intensity):
- Hot water flush – Run very hot tap water at full pressure for 5 minutes to dissolve grease buildup and push loose debris through pipes
- Plunger technique – Fill sink with 2 to 3 inches of water, place plunger directly over drain opening, push down and pull up vigorously 10 to 15 times to create suction that dislodges clogs
- Manual p-trap cleaning – Place bucket under sink, unscrew p-trap (curved pipe section under sink), remove trapped debris and buildup, clean trap thoroughly, reassemble
- Stop and call professional – If these methods don’t restore normal drainage within 30 minutes of trying, or if water backs up into sink while working, professional help is needed
These methods work for early stage clogs caused by gradual buildup. They’re not powerful enough for serious blockages or problems deep in your plumbing system. If you try these approaches and still have slow drainage after an hour of work, it’s time to call for help. Persistent drainage issues that DIY methods don’t resolve often indicate problems with your main line, vent stack, or deeper plumbing components that require professional diagnosis. For ongoing drainage concerns or issues that keep coming back, professional leak detection and repair services can identify hidden problems before they cause bigger damage. Professional help costs more upfront, but prevents the much higher expense of emergency repairs or water damage from backed up sinks.
Teaching Household Members Kitchen Sink Clog Prevention

Prevention only works when everyone in your household follows the same practices. One person’s habit of pouring grease down the drain or overloading the disposal can undo everyone else’s careful prevention efforts and create clogs that affect the whole family.
Start by making prevention visible and easy to follow. Keep a designated grease collection container right next to your stove so it’s more convenient to pour oil into the container than down the sink. Put a small trash bowl on your counter during meal prep for food scraps. Keep the strainer in place at all times and empty it into the trash after each meal rather than letting food pile up. Post simple reminder signs if needed, especially in households with teenagers or guests who use the kitchen frequently. Kids can learn age appropriate responsibilities like scraping their plates, never putting pasta down the drain, and reporting slow drainage immediately when they notice it.
Create household rules everyone understands and can follow without thinking. Scrape before washing, always. The strainer stays in place, no exceptions. Grease never goes in the sink, period. Run the disposal correctly every single time. Report problems right away instead of ignoring them. When these practices become automatic for everyone, your drains stay clear and you avoid emergency situations that disrupt the whole household. Set up a compost bin for appropriate food waste if multiple people struggle to remember what shouldn’t enter the drain.
Cost and Time Investment: Prevention vs. Emergency Repairs
Prevention habits require almost no time and cost practically nothing. Emergency plumbing repairs consume hours of your day and hundreds of dollars. The math isn’t even close.
Daily prevention habits take about three minutes total. Scraping plates, emptying the strainer, and running your disposal properly become second nature after the first week. Monthly treatments cost a few dollars for natural products and require fifteen minutes of your time. Compare that to the disruption and expense when a clog happens. Emergency service calls often cost several hundred dollars, and that’s just for a straightforward kitchen drain clog. If the blockage affects your main line or causes water damage, costs jump into thousands. Professional services provide comprehensive care for severe plumbing issues, but early prevention means you rarely need those services. For information about protecting your home from water damage caused by plumbing issues, see water damage prevention and repair.
| Scenario | Time Investment | Typical Cost Range |
|---|---|---|
| Daily prevention habits (scraping, strainer emptying, proper disposal use) | 3 minutes per day | $0 (part of normal kitchen routine) |
| Monthly maintenance (natural treatments, deep cleaning, inspection) | 15 to 20 minutes per month | $5 to $15 for supplies |
| Minor clog DIY fix (plunger, p-trap cleaning) | 30 to 60 minutes | $0 to $30 for basic tools if needed |
| Professional emergency service for kitchen drain clog | 2 to 4 hours including wait time for plumber arrival | $200 to $500 depending on severity and time of call |
Final Words
Learning how to prevent kitchen sink clogs comes down to daily habits that protect your drains before problems start.
Physical barriers catch food. Proper grease disposal keeps pipes clear. Cold water during disposal use solidifies fats before they reach your trap.
The few minutes you spend scraping plates, emptying strainers, and following the right disposal techniques save hours of dealing with standing water and emergency calls.
Your kitchen sink works hard. These simple prevention strategies keep it draining smoothly for years, protecting your plumbing system and your budget at the same time.
FAQ
How can you keep your kitchen sink from clogging?
You can keep your kitchen sink from clogging by using a drain strainer to catch food particles, scraping plates into the trash before washing dishes, never pouring grease or cooking oil down the drain, and running cold water while operating your garbage disposal. These four practices work together to protect your entire plumbing system from blockages.
Why does a kitchen sink keep clogging every few months?
A kitchen sink keeps clogging every few months because grease and cooking oils are coating the inside of your pipes. Even if you pour grease down with hot water, it solidifies as it cools further into your plumbing system, creating a sticky surface that traps food particles and builds up over time until water can’t flow properly.
Why should you never use baking soda and vinegar to unclog a drain?
You should never use baking soda and vinegar to unclog a drain because while the fizzing reaction looks impressive, it doesn’t have enough power to break apart grease or dislodge stuck food particles causing the clog. This method only works as a light preventive treatment for drains that are already flowing normally, not for clearing existing blockages.
Can Dawn dish soap unclog drains?
Dawn dish soap can help with very minor grease buildup when combined with hot water, but it cannot unclog a drain that’s already blocked. The soap works best as a preventive measure by breaking down light grease films during your normal dish washing routine, not as a solution for standing water or slow drainage caused by established clogs.
What foods should never go down a kitchen sink with a garbage disposal?
Foods that should never go down a kitchen sink with a garbage disposal include fibrous vegetables like celery and corn husks because they tangle around the blades, expandable foods like pasta and rice that swell in pipes, coffee grounds that accumulate and harden, and any grease or cooking oils that solidify and coat pipes as they cool.
How often should you clean your kitchen sink drain strainer?
You should clean your kitchen sink drain strainer daily by emptying trapped food particles into the trash and giving it a quick rinse. Once a week, remove the strainer completely and scrub it with dish soap to remove any grease film or stuck-on debris that regular rinsing doesn’t clear.
What is the proper way to use a garbage disposal to prevent clogs?
The proper way to use a garbage disposal to prevent clogs is to run cold water before turning it on, feed small amounts of food gradually instead of large quantities at once, and continue running cold water for a full minute after grinding stops. Cold water solidifies any grease so the blades can chop it into tiny particles before it reaches your pipes.
How do you know when a slow drain needs professional help?
You know a slow drain needs professional help when hot water flushes and plunging don’t improve drainage within 24 hours, when multiple drains in your home are backing up at the same time, or when you notice water pooling around the base of your sink. These signs indicate a blockage deeper in your plumbing system that DIY methods can’t reach.
What natural products safely prevent kitchen sink clogs?
Natural products that safely prevent kitchen sink clogs include enzymatic cleaners like Bio-Clean that use bacteria to break down food residue, Borax for sanitizing and eliminating odors, and monthly treatments of baking soda followed by vinegar and hot water. These options clean without damaging your pipes or garbage disposal components like harsh chemical cleaners do.
How much does kitchen sink clog prevention cost compared to emergency repairs?
Kitchen sink clog prevention costs less than $50 per year for strainers, natural cleaning products, and maintenance supplies, while professional emergency drain clearing typically runs $150 to $400 per visit. Daily prevention habits take just two minutes but can save you from water damage repairs that easily exceed $1,000 if a backed-up sink overflows.