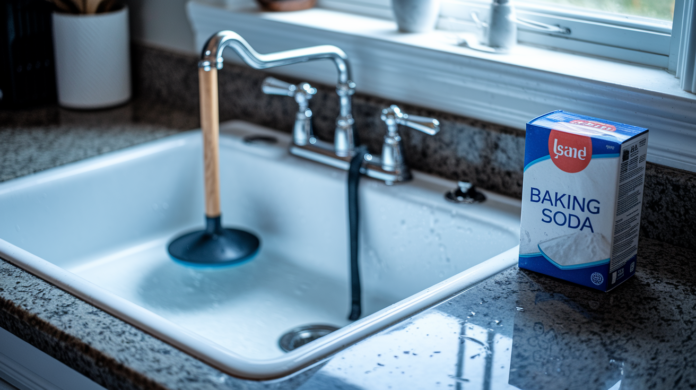

Ever noticed how a tiny drain clog can shut down your entire kitchen routine? Dishes stack up, water pools in the sink, and suddenly you’re dealing with a smell that won’t quit. The good news is most kitchen sink clogs clear without calling anyone. You need the right method and maybe a couple of tools you already own. This guide walks you through five proven approaches that work on grease buildup, food debris, and those stubborn blockages that won’t budge with hot water alone.
Step-by-Step Methods to Clear Your Kitchen Sink Drain
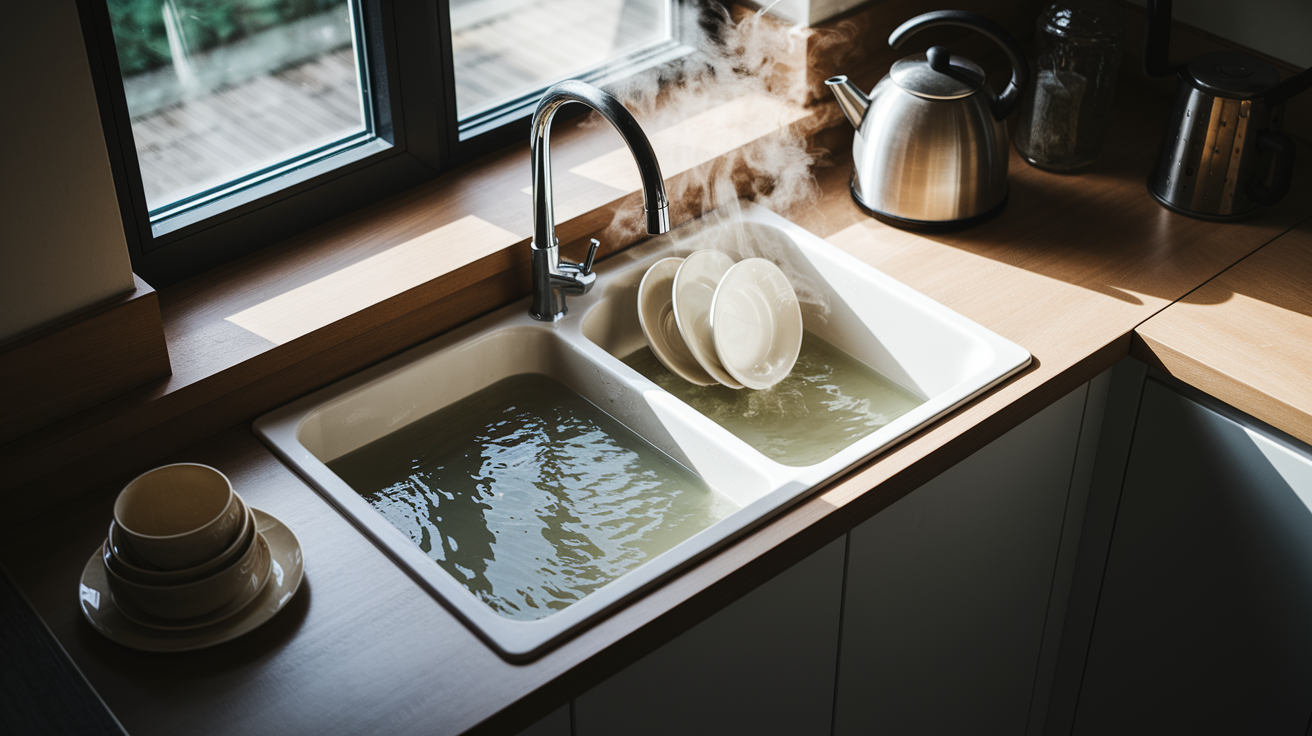
A clogged kitchen sink stops everything. Dishes pile up, water won’t drain, and pretty soon you’ve got a smell problem too. Most kitchen sink clogs clear without calling anyone, though. You just need the right approach and maybe a few tools you probably already have.
Here are five methods that actually work:
1. Hot Water Flush Method
Start here if the clog seems fresh. Heat about half a gallon of water until it’s hot but not boiling. Pour it down slowly in two or three stages, waiting a few seconds between each pour. The heat breaks down grease and soap buildup holding everything together. If the sink starts draining, you’re good. Keep flushing with hot tap water for another minute to push everything through. Works best on partial clogs from grease or soap. Takes about 5 minutes.
2. Plunger Technique
Fill your sink with enough water to cover the drain opening by about two inches. Got a double sink? Plug the other drain with a wet cloth or stopper so pressure doesn’t escape where you don’t need it. Place your kitchen plunger flat over the drain to get a tight seal. The upward pull matters more than the downward push. Most people miss that part. Pump hard for 15 seconds, focusing on that lifting motion. The suction breaks up the clog and pulls debris loose. Remove the plunger and see if water drains. Repeat three or four times if you need to.
3. Baking Soda and Vinegar Natural Solution
Remove standing water first. Pour half a cup to one cup of baking soda directly into the drain. Follow right away with one cup of white vinegar. You’ll hear fizzing. That’s the chemical reaction breaking down organic material. Cover the drain with a wet cloth or stopper to keep the reaction where it counts. Wait 10 to 15 minutes. Then flush with steady hot tap water for at least a minute. This works great on food particles and light grease clogs. For tougher situations, repeat or move to the next method.
4. Drain Snake or Auger
When the clog sits deeper than surface methods can reach, you need a drain snake. Feed the cable into the drain slowly, turning the handle clockwise as you push. You’ll feel resistance when you hit the clog. Keep turning and pushing to break through or hook onto the blockage. Pull the cable back out carefully. You might bring debris with it. Run hot water to flush out what you’ve loosened. Snakes reach clogs several feet down your drain line, especially grease stuck beyond the P-trap.
5. Wet/Dry Vacuum Method
Set your shop vacuum to liquids mode and cover the vent to boost suction. Create the tightest seal you can between the vacuum hose and drain opening. You might need to hold a wet towel around the connection. Turn the vacuum to its highest setting and let it run for about a minute. The powerful suction can pull stubborn clogs straight out. This works when other approaches fail and it’s especially useful if you’ve dropped something valuable down there that you need back.
If your plunger isn’t working, check your seal. Any air escaping means you’re losing pressure. Press down firmly and make sure you’re pulling up hard on each stroke. For double sinks, that second drain must be completely blocked.
When baking soda and vinegar don’t clear the clog, the blockage is probably too far down or it’s not the right type of material. Mechanical clogs from solid objects won’t respond to chemical reactions. That’s when you need a snake.
With drain snakes, try different angles if you’re not making progress. Sometimes the cable needs to curve around a bend. Don’t force it. Gentle pressure with steady turning works better than jamming. If your sink has an overflow hole near the rim, cover it with a wet rag when plunging. Otherwise air escapes and you lose the pressure that breaks up clogs.
Start with hot water because it’s fast and has zero risk. Doesn’t work? Move to the plunger. Then try baking soda and vinegar. Save the snake and vacuum for stubborn situations. Most clogs clear within 15 to 45 minutes depending on which method does the job.
Identifying Causes and Symptoms of Kitchen Sink Blockages
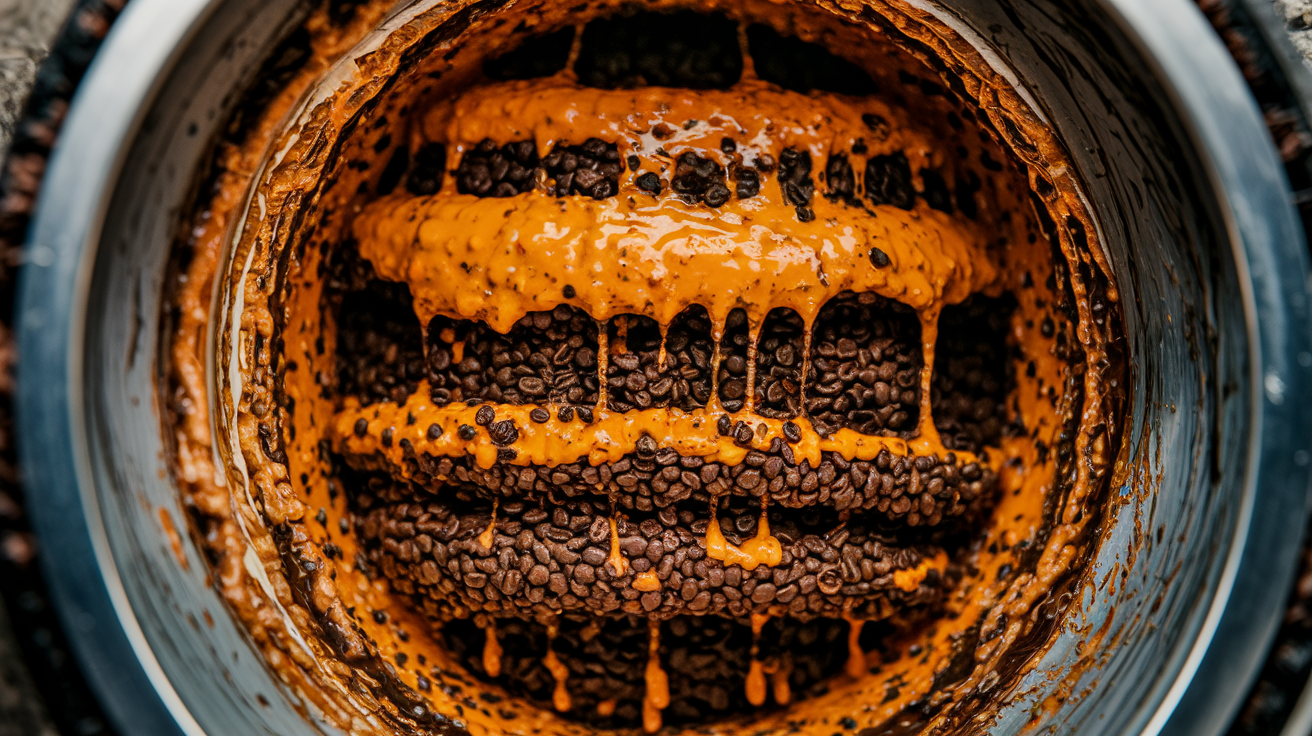
Kitchen sinks handle a constant stream of food waste, grease, soap, and debris that bathroom sinks never see. Some clogs build gradually over weeks. Others hit suddenly when something gets wedged in the drain. Understanding what caused your specific clog helps you pick the method that’ll actually fix it instead of wasting time on approaches that won’t work.
Here’s what usually causes kitchen sink blockages:
Grease, oil, and fat go down as liquid but cool and solidify inside your pipes, creating sticky layers that trap everything else. Food particles and scraps that slip past your strainer stick to grease buildup and create bigger blockages over time. Soap scum combines with minerals in your water and cooking residue to form a film inside pipes that narrows the opening. Coffee grounds clump together when wet and don’t break down, creating dense masses in your drain. Rice and pasta both expand when they absorb water in your pipes, turning small amounts into pipe-filling blockages.
Bones and shells don’t break down and get wedged in bends or catch other debris passing by. Eggshells stick to pipe walls because of the membrane inside, and the shells themselves create rough surfaces that catch more debris. Potato peels form a starchy paste that coats pipes and creates sticky barriers. Fibrous vegetables like celery strings, corn husks, and similar materials wrap around disposal blades and tangle in pipes. Banana peels are extremely fibrous and don’t break down, often causing jams in garbage disposals.
Slow draining is your first warning sign. Water that takes longer than usual to empty means something’s building up. Gurgling sounds when water drains tell you there’s a partial blockage creating air pockets. A foul smell coming from your drain means trapped food is decomposing in there. Catch these early and you’ll stop a full clog before it happens.
Get a flashlight and look straight down into your drain opening. Sometimes you can see the clog right there at the surface. Visible food debris or a grease layer means surface methods will probably work. If you see clear all the way down but water still won’t drain, the blockage sits deeper in your system and you’ll need different tools.
| Symptom | Likely Cause | Severity Level |
|---|---|---|
| Complete stoppage, no drainage | Solid object or dense grease plug | Severe, needs immediate action |
| Slow drain, water eventually empties | Soap scum or gradual grease buildup | Moderate, fixable with basic methods |
| Gurgling sounds during drainage | Partial blockage creating air pockets | Moderate, early warning sign |
| Bad smell from drain | Trapped food debris decomposing | Moderate, needs cleaning soon |
| Water backing up into sink | Complete blockage in drain line | Severe, could overflow |
| Multiple drains affected | Main line blockage or vent issue | Severe, likely needs professional |
Essential Tools and Materials for Sink Drain Clearing
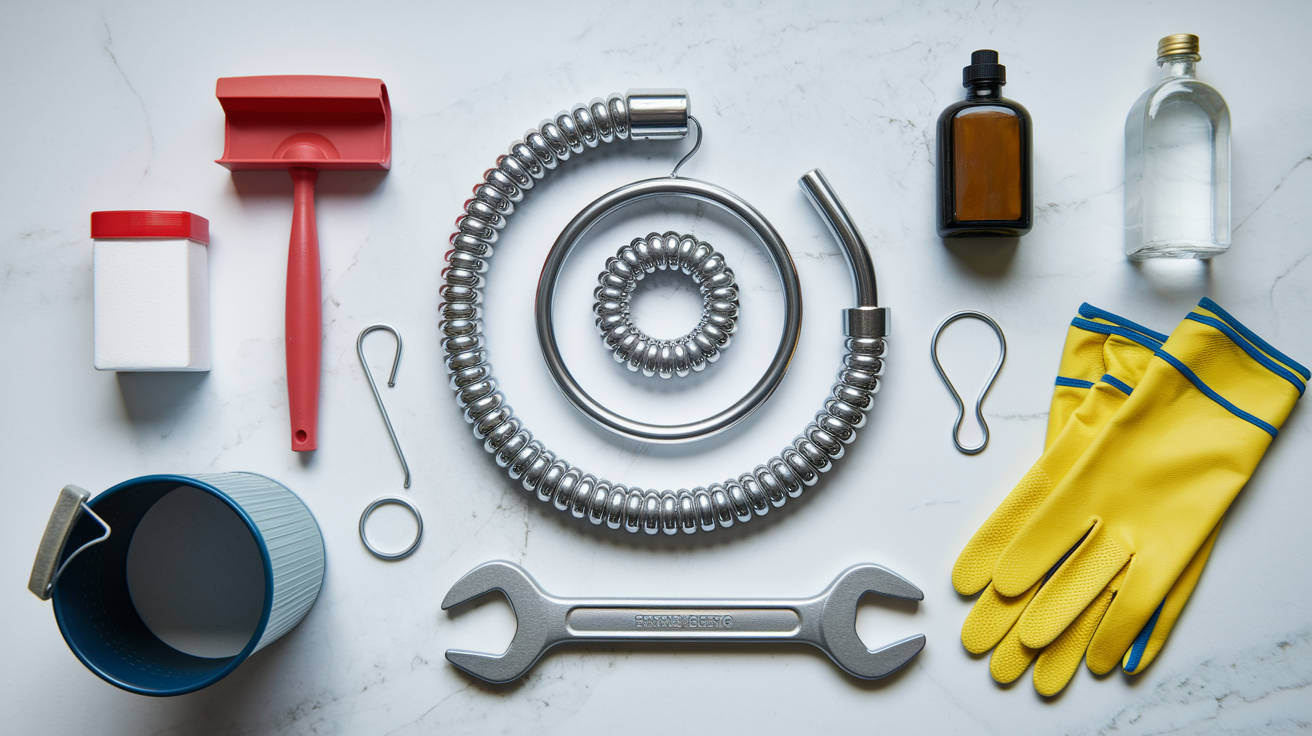
Having what you need before you start saves you from stopping mid-job to hunt for supplies or make a store run. Most of these items are probably already in your house. The specialized tools cost less than a single plumber visit.
| Tool/Material | Purpose | Household Alternative |
|---|---|---|
| Kitchen plunger | Creates suction to break up clogs | None, use kitchen plunger only, not bathroom plunger |
| Drain snake or auger | Reaches deep clogs mechanically | Wire coat hanger bent into hook with pliers |
| Bucket | Catches dirty water when removing P-trap | Large bowl or shallow container |
| Protective gloves | Keeps hands clean and protected | Dish gloves or latex gloves |
| Wire coat hanger | Makeshift hook to grab debris | Already a household item |
| Baking soda | Natural cleaning agent for drain treatment | None, inexpensive pantry staple |
| White vinegar | Reacts with baking soda to clear organic buildup | None, common kitchen item |
| Hot water source | Dissolves grease and flushes debris | Hot tap water works fine |
| Wet/dry vacuum | Powerful suction for stubborn clogs | None, specialized tool but not expensive |
| Pipe wrench | Loosens P-trap connections | Large adjustable pliers if connections are hand-tight |
Hardware stores carry drain snakes for $15 to $30. Wet/dry vacuums run $40 to $100 but they’re useful for other home projects too. If you’re dealing with a one-time clog and don’t want to buy tools, the coat hanger method works surprisingly well. Keep your plunger and snake clean and dry between uses so they’re ready next time you need them.
Removing and Cleaning the P-Trap Under Your Sink
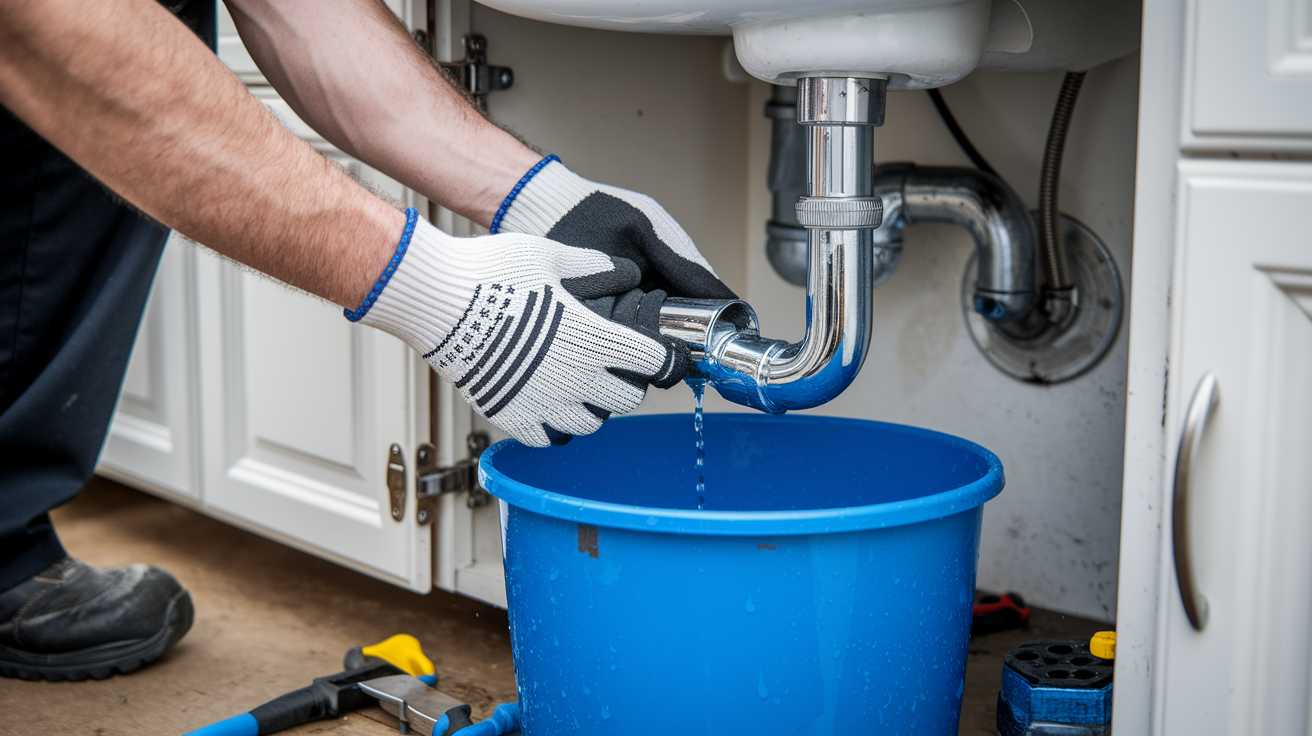
Try P-trap removal when surface methods haven’t worked and you suspect the clog sits in that curved section under your sink. The P-trap is the U-shaped pipe that holds a bit of water to block sewer gases from coming up through your drain. It also catches debris before it goes deeper into your plumbing system.
Clear everything out from under your sink first. You need room to work and space for your bucket. Place that bucket directly under the P-trap before you loosen anything. When you disconnect the trap, dirty water and whatever’s been sitting in there will pour out. Put on your protective gloves. Turn off the water supply if you want extra peace of mind, though it’s not required since you’re working on the drain side.
Locate the slip nuts on both ends of the P-trap. These are the large plastic or metal rings that connect the curved section to the pipes above and below. Try hand-tightening first by turning counterclockwise. Many P-traps install hand-tight and don’t need tools. If they won’t budge, use your pipe wrench but turn gently. You don’t want to crack plastic fittings. Lower the P-trap carefully into your bucket. Expect some smell and grimy water.
Look inside the P-trap for the clog. You’ll often find a clump of grease mixed with food particles, or sometimes a solid object that got washed down. Rinse the trap thoroughly in a different sink or outside with a hose. If the trap looks clear, use your wire coat hanger to probe the pipes that connect to it. Sometimes the clog sits just beyond the trap. Push the straightened hanger in gently and pull it back to see if you hook anything.
Line up the P-trap with both pipes and hand-tighten the slip nuts. Snug them down with your wrench but don’t overtighten. Run water and check underneath for leaks at both connections. A few drips mean you need to tighten slightly. This job takes about 20 to 30 minutes once you’ve got your workspace set up.
Fixing Clogs in Double Kitchen Sinks
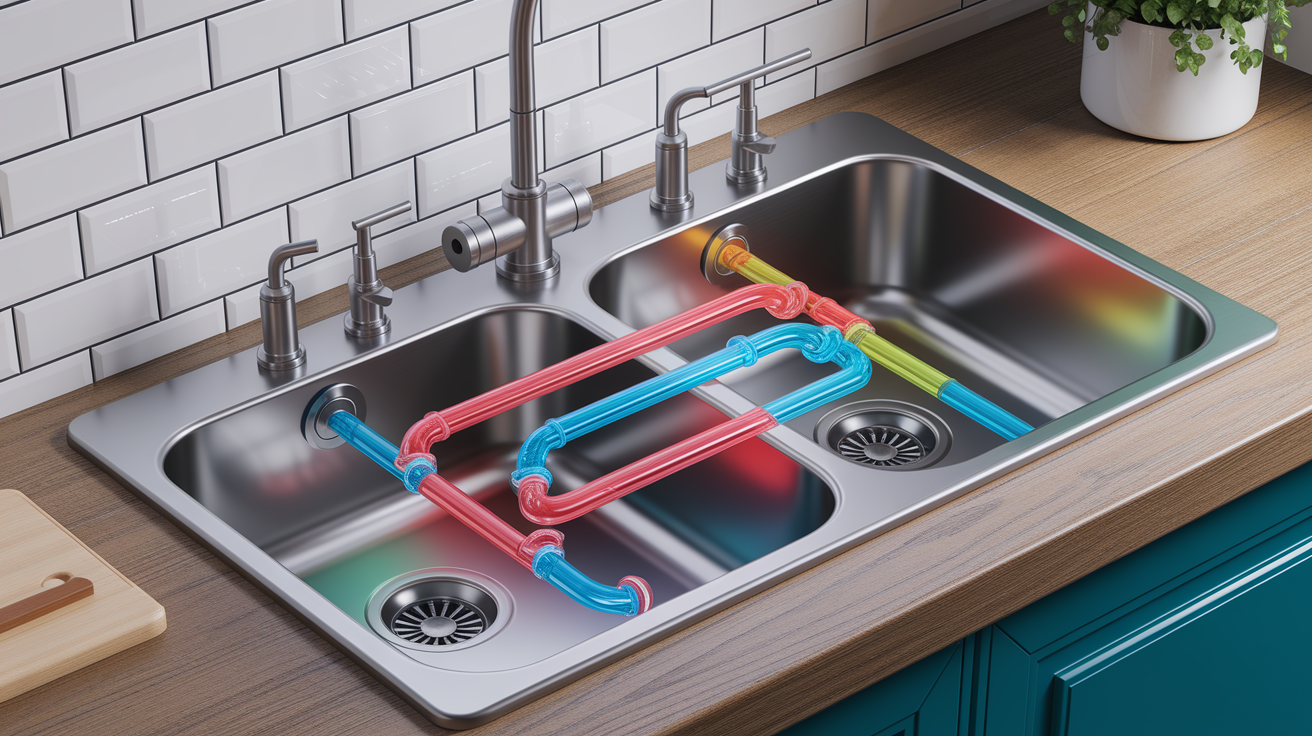
Double sinks share the same drain line underneath, which changes how you clear them. When you plunge or apply any pressure method on one side, that force can escape through the other drain opening instead of pushing through the clog. You end up moving air around instead of breaking up the blockage.
Here’s what makes double sinks different. Both basins connect to a shared pipe below, usually joining at a T-fitting before the P-trap. Water from either side flows to the same place. A clog in the shared section affects both sides. A clog in the individual branch affects just one basin. If only your left sink backs up but the right drains fine, the blockage sits in the left branch before the T-connection.
Before you plunge, plug that second drain completely. Soak a cloth or rag in water and press it firmly over the drain opening, or use a rubber stopper if you have one that fits tight. Now when you plunge the affected side, all that pressure goes toward the clog instead of whooshing out the other opening. Create your seal, pump hard, and focus on the upward pull. The wet cloth trick works better than dry because it molds to the drain shape and blocks air.
When both sides are backing up, the clog sits in the shared pipe or P-trap. Start plunging the side with more standing water. Keep the other side plugged. If that doesn’t work within a few attempts, the clog might need the baking soda and vinegar approach or P-trap removal. Pour your baking soda and vinegar down the drain that seems worse, cover it, wait your 10 to 15 minutes, then flush with hot water on both sides to clear the shared line.
Chemical Drain Cleaners: When and How to Use Them Safely
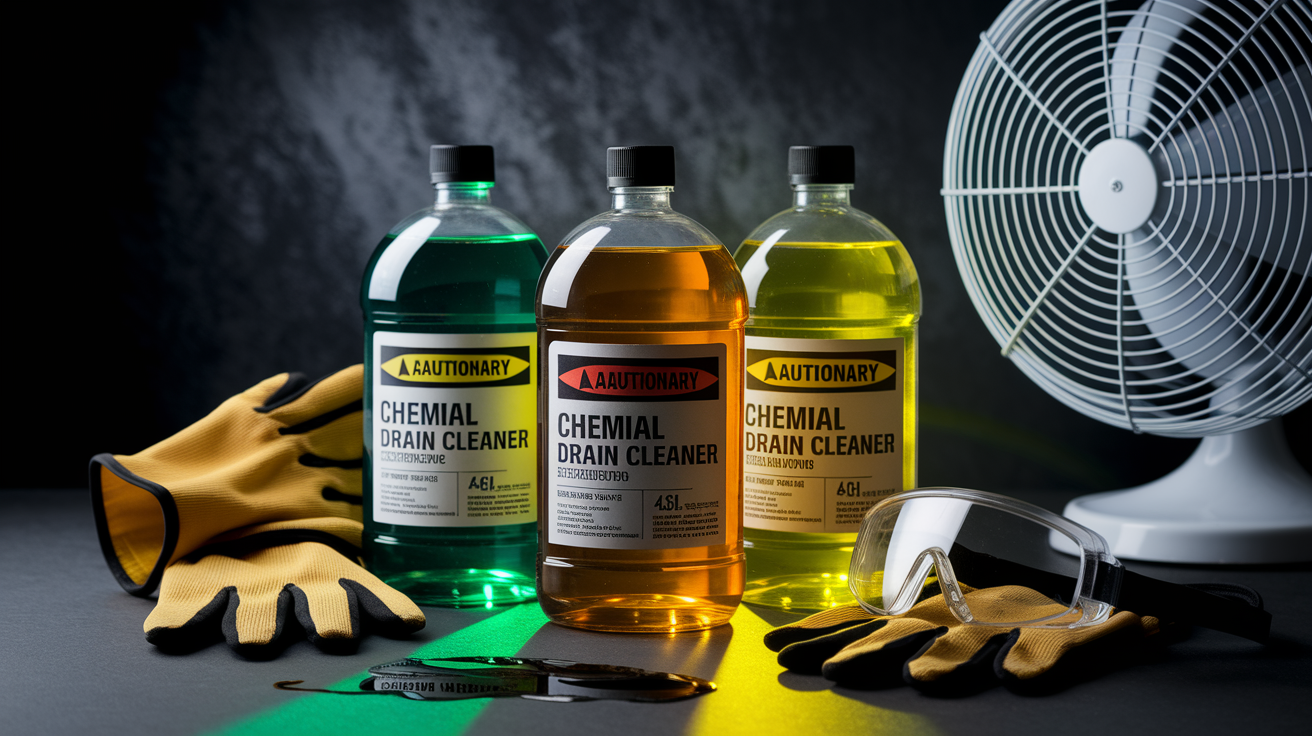
Chemical drain cleaners work best on clogs sitting near your drain opening that formed from grease, hair, or soap buildup. The further down your pipe that clog sits, the less effective these products become. By the time liquid cleaner reaches a clog three feet down, it’s diluted and losing strength. That’s just how chemistry works in a pipe full of standing water.
Follow these safety rules every single time:
Put on protective gloves before opening the bottle. Work in a well-ventilated space or open windows. Never mix different drain cleaners or add other chemicals. Keep children and pets out of the area completely. Pour unused product back in the bottle or dispose per label instructions. Read the manufacturer’s specific instructions before you start.
Chemical cleaners come in three main types. Caustic cleaners use lye to generate heat that melts grease. Oxidizing cleaners release gas and heat to break down organic material. Acidic cleaners dissolve hair and food but they’re harsh on pipes. All of them create fumes you don’t want to breathe. Enzyme-based products work differently. They use bacteria to digest organic clogs over several hours. They’re slower but safer for regular maintenance use and better for the environment.
The problem with harsh chemicals is they don’t discriminate. They can’t tell the difference between a clog and your pipe walls. Repeated use weakens pipes, especially older metal ones or any PVC plastic pipes. And if the chemical doesn’t clear your clog, now you’ve got caustic liquid sitting in your sink that makes any other repair method more dangerous. You can’t safely plunge or snake when there’s chemical cleaner in there.
Never use boiling water to flush chemical cleaners or try to speed them up. The combination of heat and caustic chemicals can damage PVC pipes or weaken older metal pipes. Hot tap water is different. It’s safe for flushing. Boiling water on its own can partially melt plastic pipes or stress old joints. Stick with hot tap water unless you know for certain you have newer metal pipes throughout. Follow the product’s timing exactly. Most say wait 15 to 30 minutes, then flush. If the clog’s still there after one treatment, move to a mechanical method instead of adding more chemicals.
Clearing Kitchen Sink Clogs with Garbage Disposal Units
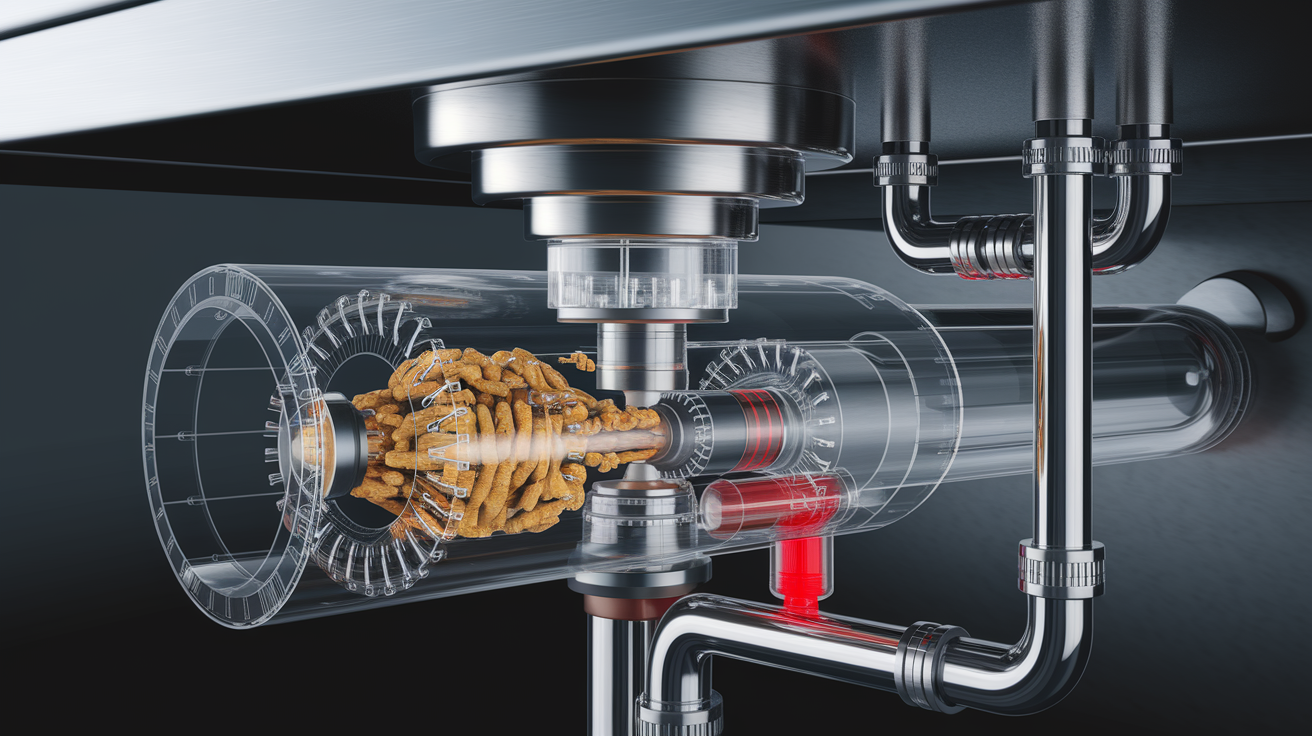
Before you do anything with a garbage disposal, cut the power. Not just the wall switch. Flip the circuit breaker or unplug the unit under the sink. Garbage disposals have blades that can seriously hurt you. Never put your hand in there without confirming the power is completely off.
Listen to your disposal when you flip the switch. A humming sound without grinding means something’s jamming the blades. A completely silent disposal might have tripped its internal reset button or blown the circuit. Check underneath for a small red reset button on the bottom of the unit. Press it if it’s popped out. If the disposal still won’t run, look for the hex-shaped hole on the bottom. Most disposals include a small hex wrench that fits in there. Turn it back and forth to manually rotate the grinding plate and free whatever’s stuck.
The clog might sit past the disposal in the drain pipe. Run the disposal with cold water flowing for 30 seconds after it sounds clear. The cold water solidifies any grease so the disposal can chop it up instead of letting it coat your pipes. Keep the water running for 15 seconds after you turn off the disposal. This gives everything time to flush through. If water still backs up, turn off the disposal and try the drain snake method from earlier. Feed the snake through the disposal opening carefully, or disconnect the discharge pipe underneath to access the drain from there.
Regular disposal maintenance stops most clogs before they start. Once a week, fill the disposal with ice cubes and add a handful of coarse salt. Run it with cold water. The ice and salt combination sharpens the blades and scrubs the grinding chamber. For odors, grind lemon or orange peels with cold water, or pour half a cup of baking soda followed by a cup of vinegar down there, let it fizz for ten minutes, then run cold water. This whole process takes 10 to 20 minutes when you’re clearing an actual clog.
Preventing Future Kitchen Sink Drain Clogs
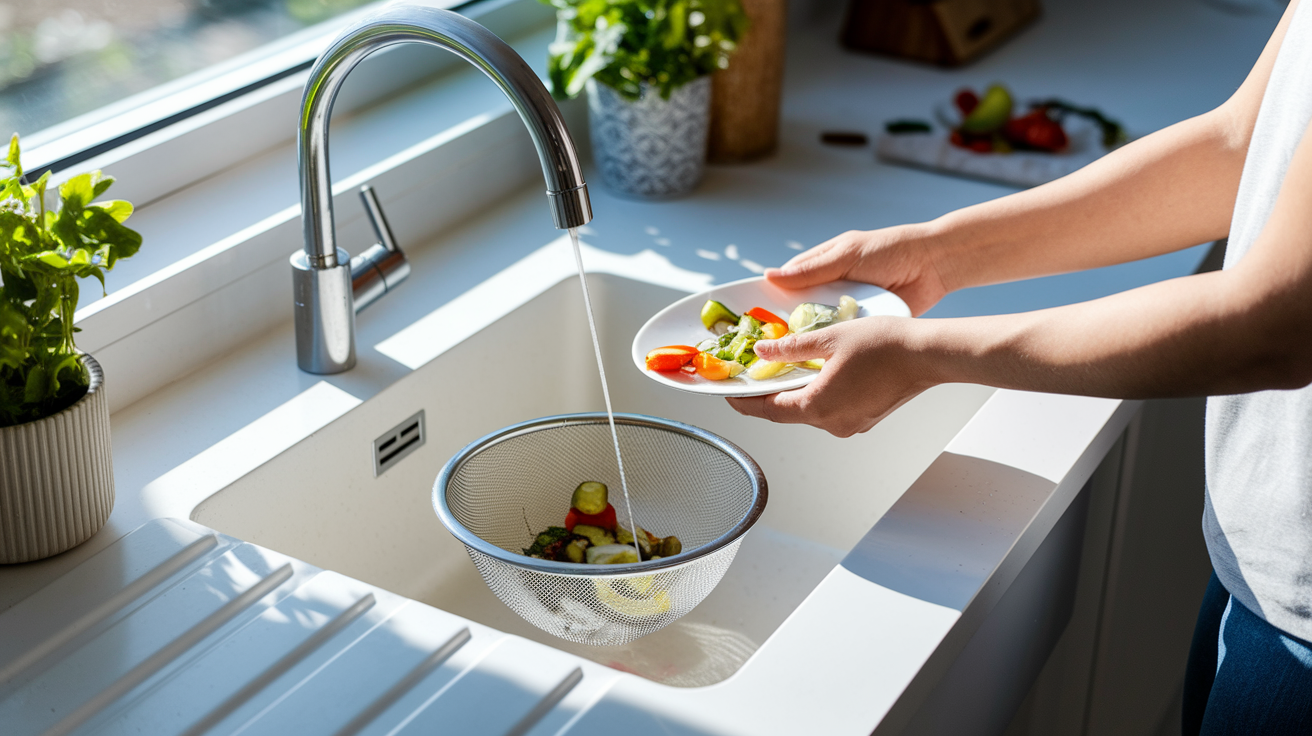
Stopping clogs before they form costs nothing and takes way less time than dealing with a backed-up sink. A few simple habits protect your drains and keep water flowing like it should.
Prevention practices that actually work:
Drop a mesh strainer or drain cover over your drain opening to catch food scraps before they go down. Never pour grease, oil, or fat down your drain. Let it cool in a container and throw it in the trash. Run cold water for 15 seconds before you turn on the disposal, keep it running while the disposal works, and let it flow for 15 seconds after you shut the disposal off. Keep bones and shells out of your disposal and drain. They don’t break down and they jam blades.
Don’t put seeds, pits, or hard materials down your drain. Coffee grounds go in the trash or compost, never down the sink. Same with eggshells. They seem small but they create problems. Rice, pasta, and potato peels expand when wet and form paste-like clogs. Skip putting celery, corn husks, or banana peels in your disposal. The fibers tangle and wrap around everything.
Once a week, run hot tap water down your drain for two or three minutes to clear light buildup. Once a month, do the baking soda and vinegar treatment even when your drain is working fine. Scrape plates into the trash before rinsing them in the sink. Run ice cubes and salt through your disposal weekly, plus lemon peels or a baking soda and vinegar rinse for freshness. After you clear a clog, use a pipe maintenance product like PipeShield to coat your pipes and prevent new buildup.
Set up a simple routine. Quick daily habits like using your strainer and scraping plates prevent most problems. Weekly tasks like the hot water flush and disposal ice treatment take five minutes. Monthly maintenance with baking soda and vinegar keeps everything fresh. Your plumbing system will last longer and you’ll avoid those frustrating backups that always seem to happen when you’re in the middle of cooking.
When to Call a Professional Plumber for Sink Clogs
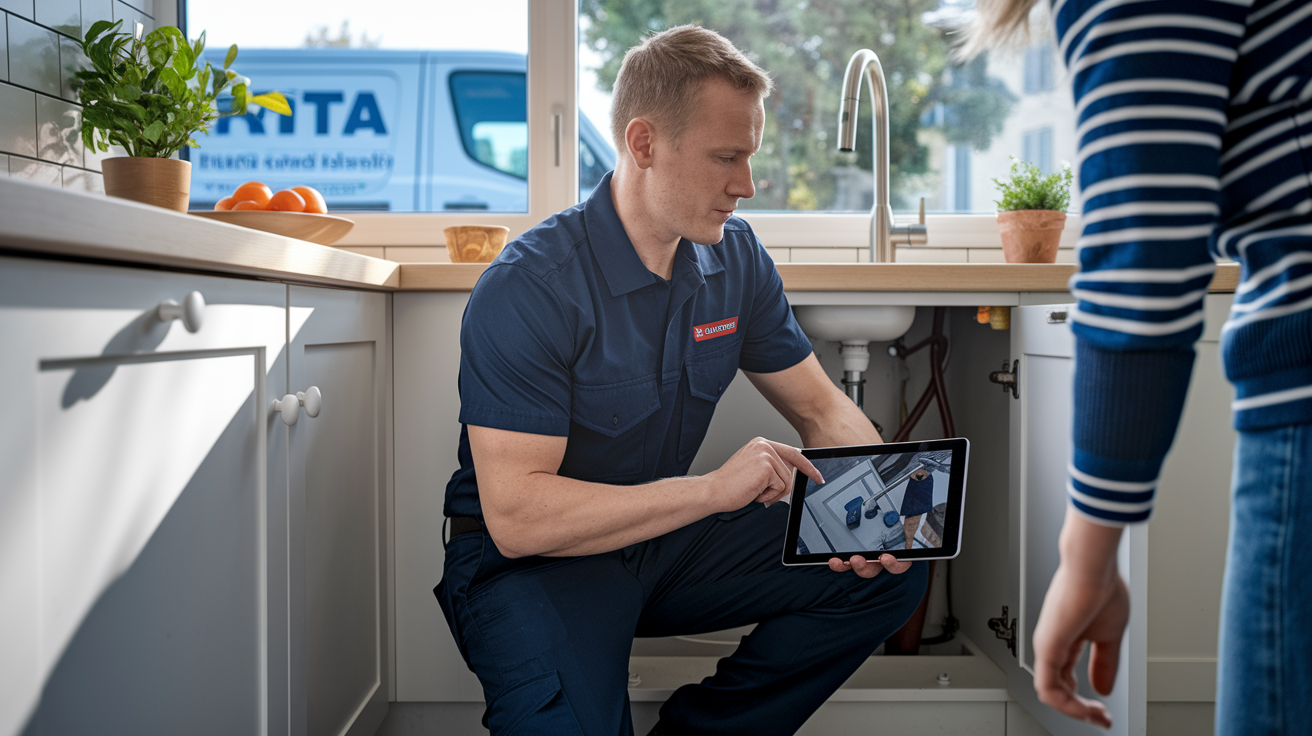
Knowing when to stop and call for help saves you time, prevents damage to your pipes, and actually ends up being the cost-effective choice. Some clogs need professional equipment and expertise that DIY methods just can’t match.
Here’s when to pick up the phone:
Multiple drains throughout your house are clogging or draining slowly at the same time. Water backs up in your shower, toilet, or other fixtures when you run your kitchen sink. The same drain keeps clogging in the same spot even after you clear it. You smell sewage coming from your drains or around your home. You’ve tried all five methods from the first section and nothing worked. You can see visible damage, cracks, or heavy corrosion on your exposed pipes. Your house has very old plumbing that might not handle aggressive clearing methods. Water backs up outside your house near the cleanout or foundation.
Professional plumbers have tools that go beyond what’s practical for homeowners to own. Motorized drain snakes punch through clogs that manual snakes can’t touch. Hydro-jetting uses high-pressure water to scour pipes completely clean of grease, scale, and buildup. Camera inspections show exactly where the clog sits and what caused it, so the fix targets the real problem. When a clog sits far from your drain opening, deep in your main line or at a point where home methods lose effectiveness, these professional tools become necessary.
Think about what’s happening in your plumbing system. One clogged sink is usually a local problem you can fix. Multiple slow drains suggest something bigger, possibly in your main sewer line or a vent stack issue. That needs professional diagnosis. Recurring clogs in the same spot mean there’s an underlying problem like a pipe belly, root intrusion, or damage that’s creating a catch point. You can clear the symptom but the cause stays until it’s properly addressed. Standard drain clearing for a kitchen sink runs $150 to $400 depending on your location and the severity. That covers the service call, diagnosis, and clearing the blockage.
Emergency plumbers charge more but they’re there when you need them, including nights and weekends. Scheduled service during business hours costs less if you can wait. Ask whether they charge a flat rate or hourly, what their diagnosis fee covers, and if they provide a camera inspection. Find out if their quote includes any warranty on the work. A reputable plumber shows you what they found and explains what they did to fix it. They’ll also tell you honestly if your pipes have other issues you should watch.
Delaying professional help when you actually need it leads to worse problems. Standing water damages cabinets and flooring. Ongoing leaks create conditions for mold growth. Backed-up drains can overflow and cause significant water damage that costs way more to repair than the original plumbing fix would have. If you’ve given DIY methods a fair shot and you’re still dealing with the problem, that’s your sign to call someone who has the right tools and training.
Final Words
Most kitchen sink clogs respond well to the methods you’ve just learned. Start with hot water or a plunger, then move to baking soda and vinegar if needed.
If you’re dealing with a stubborn blockage, try the P-trap removal or a drain snake. Knowing how to fix kitchen sink clog issues saves you time and money.
The key is catching problems early and keeping grease, food scraps, and expandable items out of your drain. Regular maintenance prevents most clogs before they start.
When DIY methods don’t work or you notice warning signs like multiple drains backing up, that’s when it’s time to call us.
FAQ
How do you unblock a badly blocked kitchen sink?
To unblock a badly blocked kitchen sink, start with hot water flushes and plunging with proper sealing technique. If those fail, try baking soda and vinegar, then progress to a drain snake or P-trap removal for stubborn blockages.
What can you pour down a sink to unclog it?
The safest solution to pour down a sink to unclog it is a mixture of 1/2 to 1 cup baking soda followed by 1 cup white vinegar, let sit 10-15 minutes, then flush with hot water.
Why is my kitchen sink clogged on both sides?
Your kitchen sink is clogged on both sides because double sinks share a common drain pipe, so a blockage in that shared section affects both basins. The clog is typically located beyond where the two drains meet.
Can Dawn dish soap unclog drains?
Dawn dish soap can help with minor grease clogs when combined with hot water, as it breaks down grease buildup. Pour 1/4 cup down the drain, wait 15 minutes, then flush with hot water for best results.
How long should I let baking soda and vinegar sit in a clogged drain?
Baking soda and vinegar should sit in a clogged drain for 10 to 15 minutes before flushing. This gives the chemical reaction enough time to break down grease and dissolve food particles causing the blockage.
What’s the proper way to plunge a kitchen sink?
The proper way to plunge a kitchen sink is to fill the basin with enough water to cover the drain, create a tight seal, and use vigorous upward motions rather than pushing down. The pulling action creates the suction that clears clogs.
Should I use boiling water to clear a kitchen sink clog?
You should avoid boiling water if you have PVC or older pipes, as extreme heat can damage them. Hot tap water works safely for most drain clearing and prevention without risking pipe damage.
When should I remove the P-trap to clear a clog?
You should remove the P-trap when surface methods like plunging and baking soda solutions fail after multiple attempts. This indicates the blockage is located in or just beyond the trap itself, requiring direct access.
How do I prevent my garbage disposal from clogging the sink?
Prevent garbage disposal clogs by running cold water before, during, and after use, avoiding grease and fibrous foods, and performing monthly maintenance with ice cubes and salt to keep blades sharp and drains clear.
What are the warning signs that I need a professional plumber?
Warning signs you need a professional plumber include multiple drains backing up simultaneously, recurring clogs in the same spot, sewage odors, water backing into other fixtures, or when all DIY methods have failed completely.