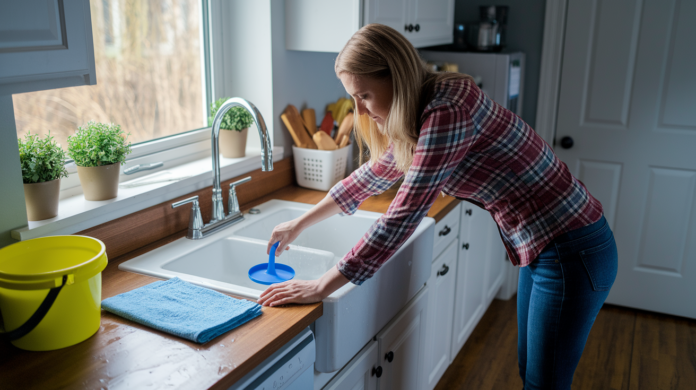

Ever notice how that slow draining sink always picks the worst moment to quit completely? Right when you’re hosting dinner or halfway through washing a week’s worth of dishes. Most kitchen sink clogs form over time from grease, food bits, and soap that gradually coat your pipes until water barely squeezes past. The good news is you can handle this yourself with tools you already have at home. We’ll walk you through five methods that actually work, starting with the simplest approach and moving to direct pipe access if you need it.
Five Proven Methods to Unclog Your Kitchen Sink
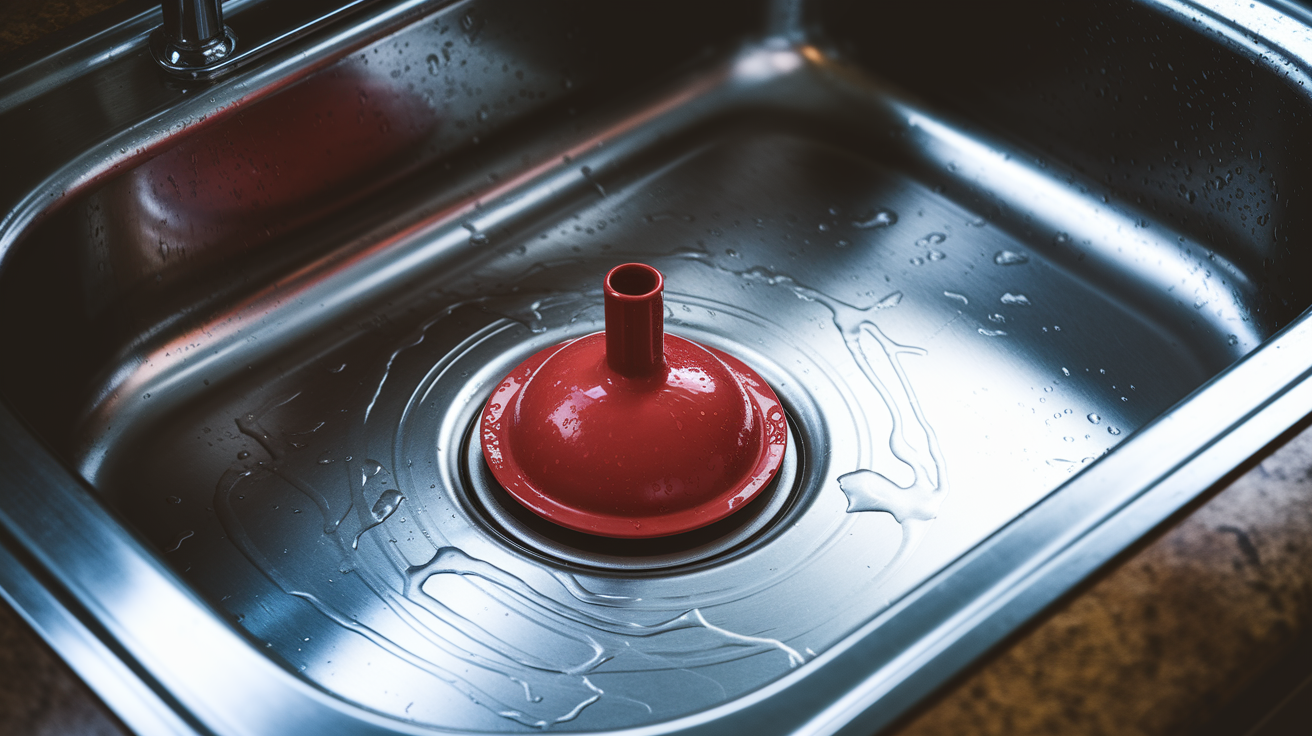
1. Plunger Method – Fill your kitchen sink with enough water to cover the plunger’s rubber cup completely. Position it directly over the drain and press down hard to get a tight seal. Pump up and down for about 15 seconds, keeping that seal intact the whole time. Yank the plunger off quickly and see if water drains. You might need to repeat this two or three times. For double sinks, stuff a wet cloth or stopper into the other drain before you start. This blocks air from escaping through the second side and creates the suction pressure you actually need to break the clog loose.
2. Hot Water Flush – Heat water until it’s very hot but don’t let it boil. Boiling water can soften PVC pipes or weaken older metal ones. Pour the hot water straight into the drain in stages, waiting a few seconds between each pour. This works well for grease that’s coating the inside of your pipes. The hot water melts it so it flows down instead of sticking to the walls.
3. Baking Soda and Vinegar – Pour 1 cup of baking soda directly down the drain. Follow immediately with 1 cup of white vinegar. The mixture will fizz and bubble up. Cover the drain with a stopper or wet cloth to keep the reaction working inside the pipes where you need it. Let this sit for 15 minutes. The reaction breaks down grease and food particles. After 15 minutes, flush with hot water for at least 30 seconds.
4. Plunger for Double Sinks – If you’ve got a double bowl sink, plunging needs one extra step. Before you start on the clogged side, plug the second drain completely. A wet dishcloth pressed firmly into the opening works. You can use a sink stopper if you have one. This step isn’t optional. Without blocking the second drain, air just moves back and forth between the two sides instead of creating pressure on the clog.
5. Testing and Verification – After using any clearing method, test your work by running cold water at full pressure for at least one minute. Watch how quickly it drains. A properly cleared drain empties the sink in seconds with smooth swirling. Listen for sounds while the water runs. Gurgling or bubbling means there’s still a partial blockage somewhere.
Start by looking at what you’re dealing with. Standing water that won’t drain at all usually means a complete blockage close to the drain. Slow draining with water gradually disappearing suggests a partial clog further down.
Most kitchen sink clogs respond to simple household items and manual methods. You probably have everything you need already. The key is matching the right method to what’s causing the problem. Grease clogs respond to hot water or baking soda and vinegar. Food particles usually clear with a plunger. Solid objects stuck in the P-trap need manual removal.
You’ll know your method worked when water disappears from the sink within a few seconds of opening the drain. The water should flow smoothly without hesitation or swirling that stalls partway through. No gurgling sounds from the drain or garbage disposal. No bad smells coming up when you run water. If you’re still seeing slow drainage or hearing odd noises, the clog isn’t fully cleared yet. Try the next method or consider that the blockage might be deeper in your drainage system than these surface techniques can reach.
Required Tools and Materials for Sink Clog Removal
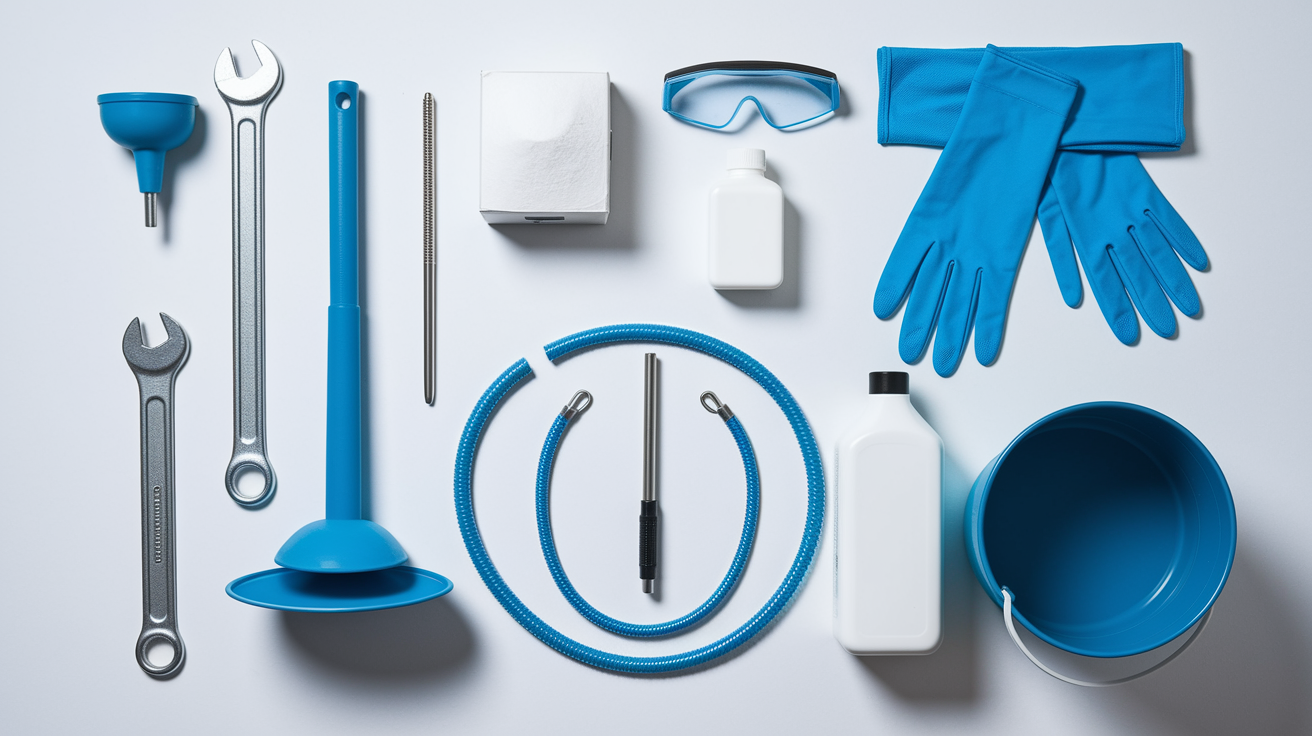
Getting everything ready before you start saves time and cuts down on frustration. You won’t have to stop halfway through to hunt for a wrench or realize you need gloves after your hands are already wet. Gather your tools and materials on a towel near the sink so everything’s within reach.
Safety Equipment:
- Rubber gloves (dishwashing gloves work fine)
- Safety goggles or glasses to protect from splashes
- Old clothes you don’t mind getting dirty or wet
Manual Tools:
- Cup plunger (flat bottomed type, not a toilet plunger)
- Drain snake or auger (3 to 6 feet long for kitchen sinks)
- Adjustable wrench or slip joint pliers
- Pipe wrench if you have older, tougher connections
- Flashlight or headlamp for seeing into the cabinet
Cleaning Supplies:
- Baking soda (1 to 2 cups)
- White vinegar (1 to 2 cups)
- Dish soap
- Very hot water (not boiling)
Support Items:
- Bucket (at least 2 gallons to catch water from pipes)
- Old towels or rags (at least three or four)
- Small wire brush for scrubbing inside pipes
- Plastic bag for debris removal
Optional but Helpful:
- Wet dry vacuum if you have one
- Wire coat hanger as a makeshift snake
- Allen wrench set if you have a garbage disposal
Set up your workspace before you touch anything under the sink. Spread towels on the cabinet floor to catch drips and spills. Clear out everything stored under there so you have room to work and can see the pipes clearly. Position your bucket where you can reach it quickly. Keep your flashlight somewhere you can grab it with one hand. This preparation makes the actual work go smoother and keeps you from kneeling in a puddle or banging your head while you search for a tool.
Advanced Manual Methods: P-Trap and Snake Techniques
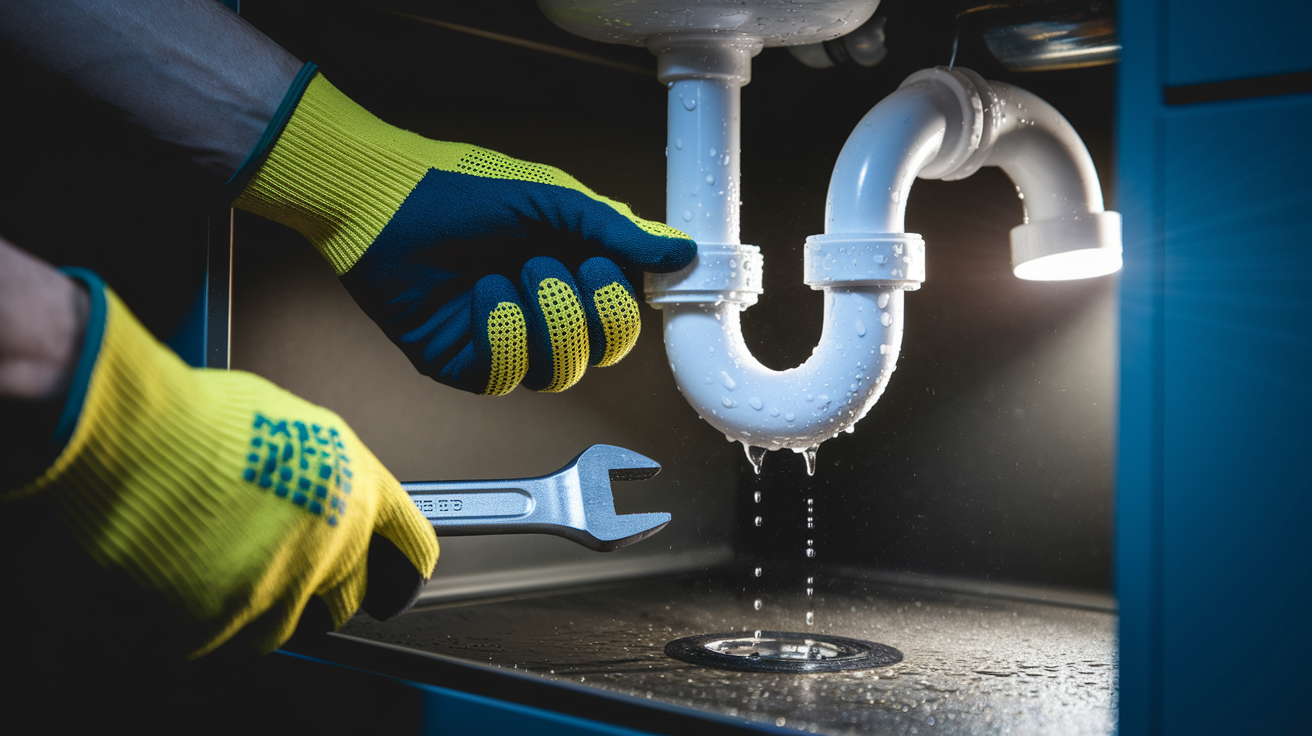
When basic plunging and home remedies don’t clear the clog, you need to access the pipes directly. The P-trap holds the most common blockages because its U shape naturally catches debris that makes it past the drain opening. Removing and cleaning the P-trap often solves clogs that other methods can’t touch. If the clog is deeper than the trap, you’ll use a drain snake through the opening you’ve created.
P-Trap Removal Process:
-
Turn off the water supply valves under the sink and place your bucket directly beneath the P-trap to catch water and debris that will spill out when you loosen the connections.
-
Locate the slip nuts on both ends of the curved pipe section. These large nuts connect the P-trap to the drain tailpiece coming down from the sink and to the drainpipe going into the wall. Use your adjustable wrench or pliers to loosen these nuts by turning counterclockwise. Hand tighten first if they’re really stuck.
-
Pull the P-trap straight down and away once both slip nuts are loose. Water, old food particles, and whatever caused your clog will drain into your bucket. This part can smell bad, especially if grease has been rotting in there for weeks.
-
Carry the P-trap to a different sink or outside. Use your wire brush and dish soap to scrub the inside thoroughly. Look for grease coating the walls or solid objects wedged in the bend. Rinse the trap completely with hot water.
-
Check both pipe openings now exposed. The tailpiece coming from your sink and the drainpipe going into the wall. Shine your flashlight inside both openings and look for visible blockages.
-
Keep your bucket in position because you’re ready to use the drain snake if needed. The P-trap removal gave you direct access to the pipes that continue deeper into your drainage system.
Inside a removed P-trap, you’ll typically find a combination of grease buildup coating the walls like thick paste, food particles that got past your drain strainer, and soap scum that’s accumulated over months of dishwashing. Sometimes you’ll find a foreign object wedged in the curve. A bottle cap, a twist tie, even a small spoon that somehow made it through the drain opening. The grease is usually the main culprit because it starts as a thin coating but traps everything else that flows past, building up layer by layer until water can barely squeeze through.
Operating the Drain Snake:
-
Feed the snake cable into the drainpipe opening in your wall with steady pressure, pushing it in a few inches at a time while keeping your other hand on the crank handle.
-
Keep feeding the cable until you feel clear resistance. This resistance means the snake head has reached your clog. The cable might curve and bend as it follows your pipe, so some resistance during feeding is normal, but a solid stop is what you’re looking for.
-
Lock the snake cable in position and rotate the crank handle clockwise, turning it firmly but not forcing it. This rotation lets the snake head grab onto the clog or break it into smaller pieces. Keep cranking for 10 to 15 rotations.
-
Push the cable a few more inches past the point of resistance, then crank again. Repeat this push and crank pattern two or three times to make sure you’ve broken through the entire clog, not just made a small hole in it.
-
Slowly pull the entire cable back out while continuing to rotate the handle. The snake head should bring debris out with it. Clean the cable with rags as you extract it, removing the gunk that’s accumulated on the metal.
A wire coat hanger can substitute for a proper drain snake if you don’t have one and need a quick solution. Cut the hanger with pliers and straighten it out, leaving the hook end intact but bending it to a tighter angle. You can push this makeshift tool about 2 feet into the drainpipe and use the hook to grab debris. The limitation is reach and strength. A wire hanger can’t push through tough clogs or reach more than a couple feet into your drainage system, where a real snake can extend 6 feet or more and has a head designed specifically to break through blockages.
Reassemble your P-trap by reversing the removal steps. Slide the trap back into position and hand tighten both slip nuts first to make sure the threads are catching properly. Then use your wrench to snug them down, but don’t overtighten or you might crack the plastic nuts or strip the threads. Turn your water supply back on and immediately check for leaks at both connections. Run hot water through the sink for at least a minute to flush any remaining debris and test that your clog is completely gone.
Addressing Kitchen Sink Clogs with Garbage Disposal Units
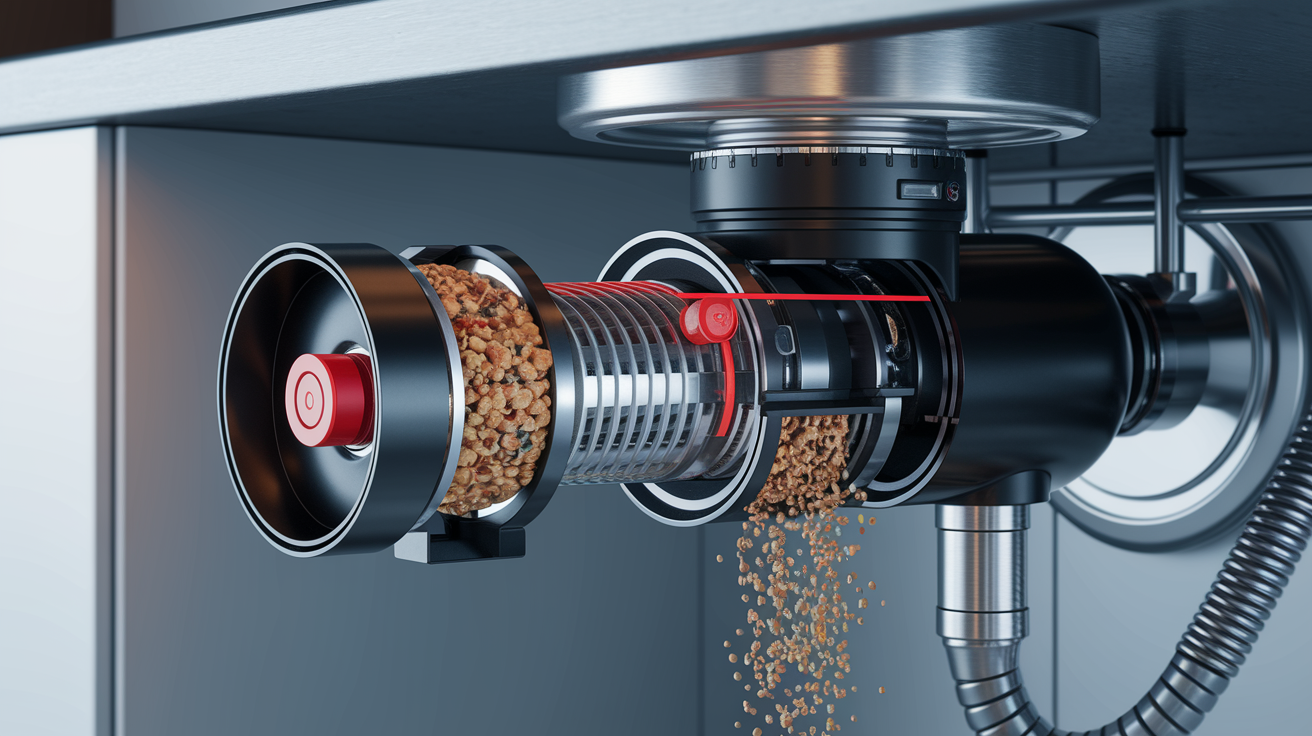
Sinks with garbage disposal units face different clog patterns than standard drains. The disposal grinding chamber itself can jam with food debris or develop buildup around the blades and grinding ring. The drain line from the disposal can clog with material that didn’t grind completely. These scenarios require different troubleshooting than a regular sink drain.
Always start with the simplest check. Make sure the disposal actually runs. If you flip the wall switch and nothing happens, the unit might be jammed or the reset button might have popped. Don’t keep flipping the switch if you hear humming but no grinding. That means something’s stuck and the motor is straining against it.
Disposal-Specific Troubleshooting:
-
Turn off the wall switch and look under the sink for a small red or black reset button on the bottom of the disposal unit. Press this button firmly. If it clicks, the unit had overheated or overloaded and shut itself off for protection. Try the wall switch again after resetting.
-
If the disposal still won’t run or you hear humming, locate the hex shaped socket in the center of the disposal’s bottom. Insert an Allen wrench (usually 1/4 inch) into this socket and turn it back and forth. This manually rotates the grinding plate and can free stuck debris or a utensil that fell into the chamber.
-
After freeing a jam, reach into the disposal chamber from the top with tongs or pliers. Never put your hand inside even when the power is off. Remove any visible food chunks, bones, or foreign objects. Shine a flashlight down the drain to see what you’re dealing with.
-
Run cold water at full pressure for at least 30 seconds while operating the disposal. Cold water keeps grease solid so the disposal can chop it instead of letting it melt and coat the pipes. The strong water flow flushes the ground particles through the drain line.
Foods and materials that should never go into a garbage disposal create most of the clogs and jams these units experience:
- Grease, cooking oil, or animal fat in any amount
- Coffee grounds (they don’t grind and they clump when wet)
- Eggshells (the membrane inside can wrap around the grinding ring)
- Bones, seafood shells, or fruit pits
- Fibrous vegetables like celery, corn husks, onion skins, and asparagus
- Starchy foods including rice, pasta, potato peels, and bread
- Expandable foods that swell with water
- Non-food items like twist ties, rubber bands, and produce stickers
- Harsh chemical drain cleaners (they can damage disposal components)
- Hot grease even if you’re running water (it re-solidifies in the pipes)
The cold water flushing technique matters more than most people realize. Start the water before you turn on the disposal. Keep it running the entire time the disposal is grinding. Let it continue for another 15 to 20 seconds after you shut off the disposal. This three stage flushing completely clears the drain line and prevents ground up food from settling in the pipes where it can build up over time. Use cold water specifically because it keeps fats solid during grinding, which helps the disposal break them apart rather than washing liquid grease into your pipes where it will solidify and cause clogs later.
Chemical Drain Cleaners and When to Use Them
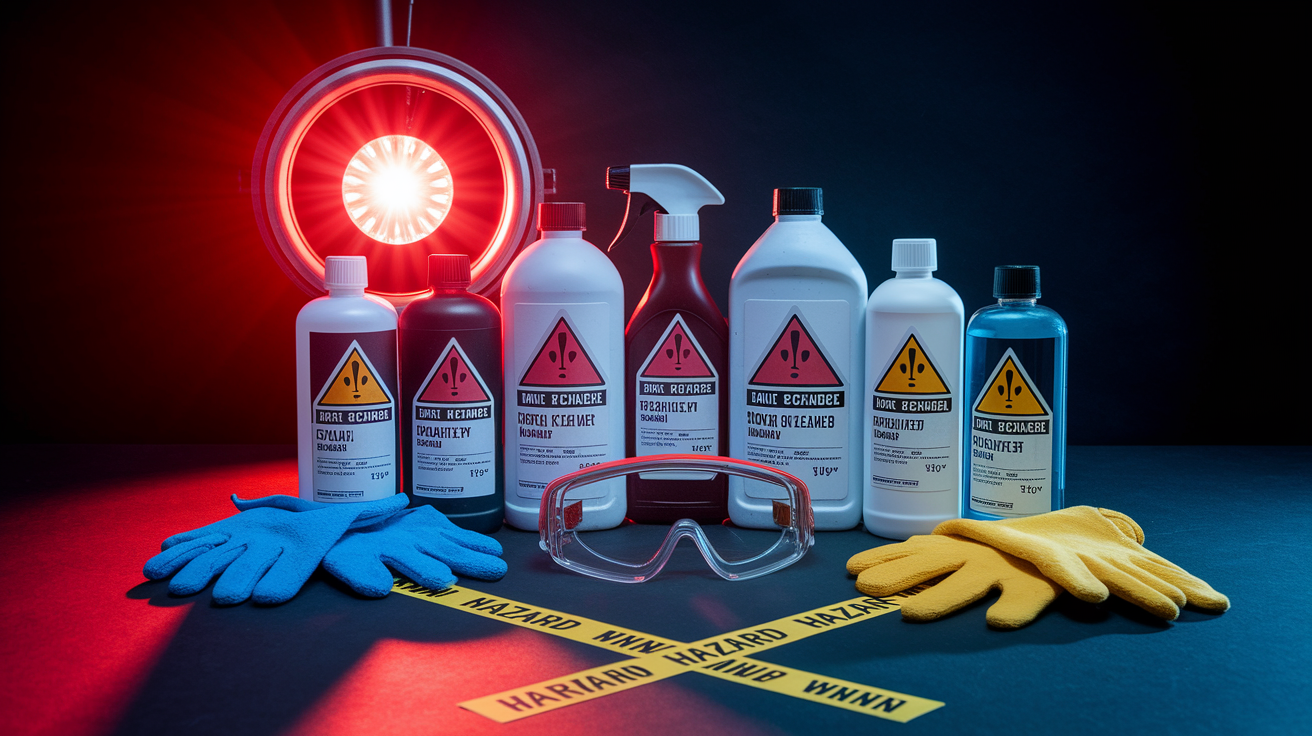
Chemical drain cleaners should be your last resort after manual methods have failed. These products work by generating heat and gas to break down organic material, but they come with significant drawbacks. They’re most effective on clogs very close to the drain opening where the concentration of chemicals stays strongest. The further down your pipes the clog sits, the less effective these cleaners become because the chemicals dilute as they travel through water sitting in your pipes.
| Cleaner Type | Best For | Wait Time | Safety Level |
|---|---|---|---|
| Caustic/Alkaline | Grease and soap scum near drain opening | 15-30 minutes | Corrosive, requires ventilation and protective equipment |
| Acidic | Mineral deposits and hair (not common in kitchens) | 15 minutes-2 hours | Highly corrosive, can damage older pipes, professional-grade |
| Enzyme-Based | Organic matter maintenance and prevention | Overnight or multiple treatments | Safe for pipes and septic systems, non-toxic |
| Granular Formulas | Standing water and grease buildup | 15-30 minutes | Less splashing risk, requires hot water activation |
Chemical cleaners perform poorly on complete blockages because they can’t reach the clog effectively. When your sink is full of standing water, the chemicals just sit on top of the water without much contact with the actual clog material. They also generate heat during their reaction, and if that heat has nowhere to go because the drain is fully blocked, it can soften or warp PVC pipes. Ventilation is not optional when using chemical cleaners. Open windows, turn on exhaust fans, and keep people and pets out of the kitchen while the product works. Never lean over the drain while pouring chemicals or checking if they’ve worked. The fumes can burn your eyes and airways even if you don’t think you smell anything strong. Never mix different chemical products or add a chemical cleaner after trying another one earlier the same day. Chemical reactions between different products can create toxic fumes or explosive heat.
Enzymatic cleaners use natural bacteria and enzymes to digest organic matter in your pipes. They work more slowly than caustic chemicals but offer a safer option for regular maintenance rather than emergency unclogging. These cleaners typically require 6 to 8 hours or overnight to work effectively, and you might need multiple treatments for heavy grease buildup. Pour the recommended amount down the drain before bed, let it work overnight without running any water, then flush with cold water in the morning. Enzyme cleaners won’t damage any type of pipe material and are safe for homes with septic systems. They’re genuinely a better choice for preventing clogs through monthly or bi-weekly treatments rather than for clearing a sink that’s already fully blocked and not draining.
Alternative Methods: Wet-Dry Vacuum and Air Pressure Techniques
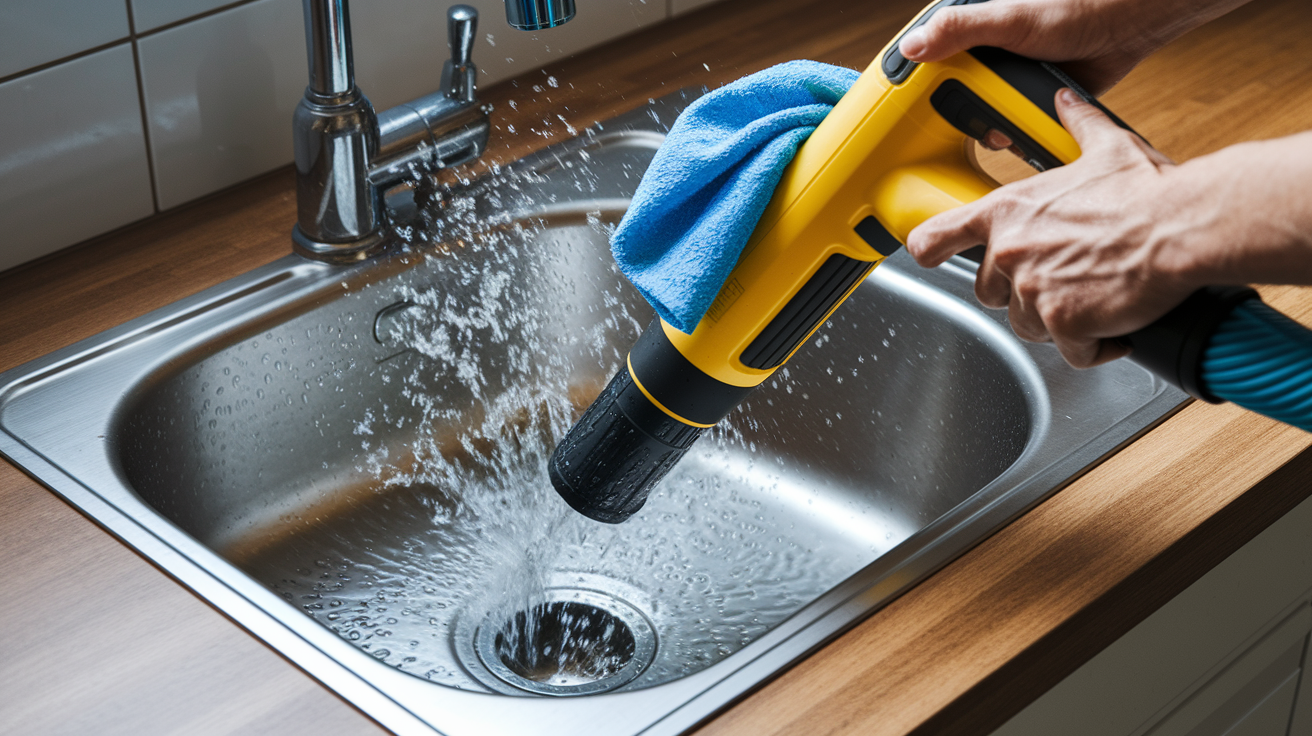
When standard plunging and snaking haven’t worked, less common techniques can sometimes break through stubborn clogs that are resisting other methods. These alternatives work particularly well when you suspect the blockage is close to the drain opening but plunging hasn’t created enough force to dislodge it.
The wet dry vacuum method creates powerful suction that can pull clogs out instead of pushing them further down like other techniques. First, make sure your vacuum is designed to handle liquids and set it to wet mode if it has that option. Build up a small amount of water in the sink, just enough to cover the drain opening by an inch or so. Take a damp rag and wrap it around the end of your vacuum hose, creating a seal that’s just slightly larger than your drain opening. Press the wrapped hose end firmly over the drain, using your hand to hold it tight against the sink surface. Turn the vacuum to its highest setting and hold the seal in place for 15 to 20 seconds. The suction should be strong enough that you feel the vacuum trying to pull the hose into the drain. Pull the hose away quickly and check if water drains. You might need to repeat this two or three times, and the vacuum might pull up water along with debris from the clog.
Air pressure methods work on the opposite principle. Instead of pulling the clog out, you’re forcing air down the drain with enough pressure to dislodge blockages. Some homeowners use a small bicycle pump or compressor with a rubber adapter that fits over the drain opening. You create a seal around the drain, then force short bursts of air pressure down the pipe. This technique can be effective but requires careful pressure control. Too much air pressure in the wrong spot can blow apart pipe connections under your sink or force water backward through the vent system. If you’re going to try air pressure, start with very small amounts and watch the pipes under the sink while someone else operates the pump.
These alternative methods work best on partial blockages close to the surface where you can see or smell the problem but plunging hasn’t solved it. They’re less effective on clogs deep in your drainage system or on complete blockages made of solid material. The wet dry vacuum method particularly shines when you’ve got a soft clog of food particles, grease, or soap scum that’s sitting just past the drain trap. The suction can grab and remove that material entirely instead of just shifting it further down the line where it might clog again later.
Essential Precautions for Drain Clearing Work
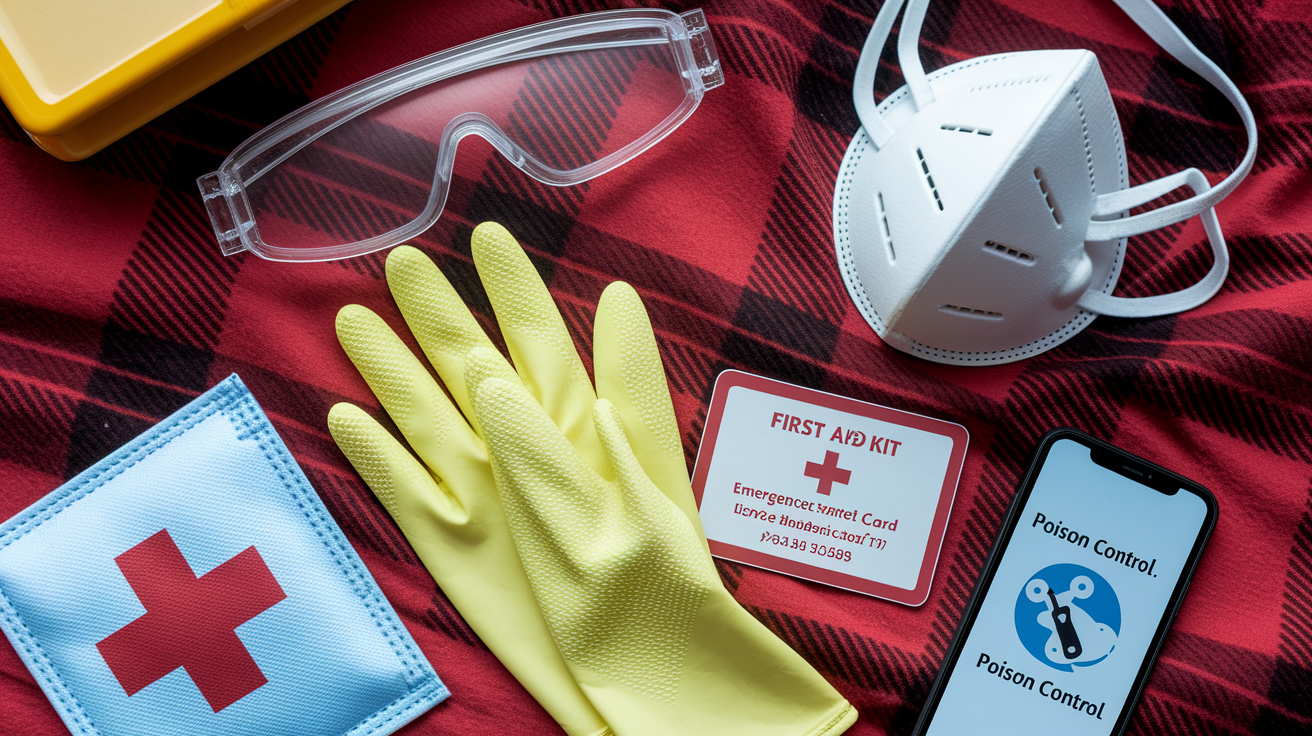
Working with clogged drains involves water, pipes under pressure, potential chemical exposure, and tight spaces under sinks. Taking proper safety precautions protects you from injury and prevents damage to your plumbing system that could cost more than the original clog.
- Always wear rubber gloves before putting your hands near a clogged drain or handling pipes. Drain water contains bacteria and food waste you don’t want on your skin.
- Put on safety goggles before working under the sink or using chemical cleaners. Pipe connections can spray water when loosened, and chemical splashes cause serious eye injuries.
- Ensure good ventilation when using any chemical drain cleaner by opening windows and turning on exhaust fans. Keep the area ventilated for at least 30 minutes after application.
- Shut off the water supply valves under the sink before removing any pipes or using a drain snake. This prevents flooding if something goes wrong.
- Unplug the garbage disposal at the outlet or turn off its circuit breaker before reaching near the unit or working on connected drain pipes. Even a disposal that seems off can start if someone hits the wall switch.
- Never mix chemical drain cleaners with other chemicals, including different brands of cleaner or products you used earlier the same day. Chemical reactions can create dangerous fumes or heat.
- Read and follow product instructions exactly when using commercial drain cleaners. Each formula has specific application methods, wait times, and safety requirements.
- Keep children and pets completely out of the kitchen when you’re working with chemicals or have pipes disconnected under the sink.
If chemical drain cleaner splashes on your skin, immediately remove contaminated clothing and rinse the affected area with cool running water for at least 15 minutes. Don’t try to neutralize the chemical with other substances. For eye exposure, flush your eye with cool water for at least 15 minutes while holding the eyelid open. Call poison control at 1-800-222-1222 or seek emergency medical care right away for any chemical exposure to eyes, significant skin contact, or if you’ve inhaled strong fumes and feel dizzy, have trouble breathing, or experience chest pain. Keep the product container or take a photo of the label so medical staff know exactly what chemical you were exposed to. Time matters with chemical burns, so don’t wait to see if symptoms get worse.
Understanding What Causes Kitchen Sink Clogs
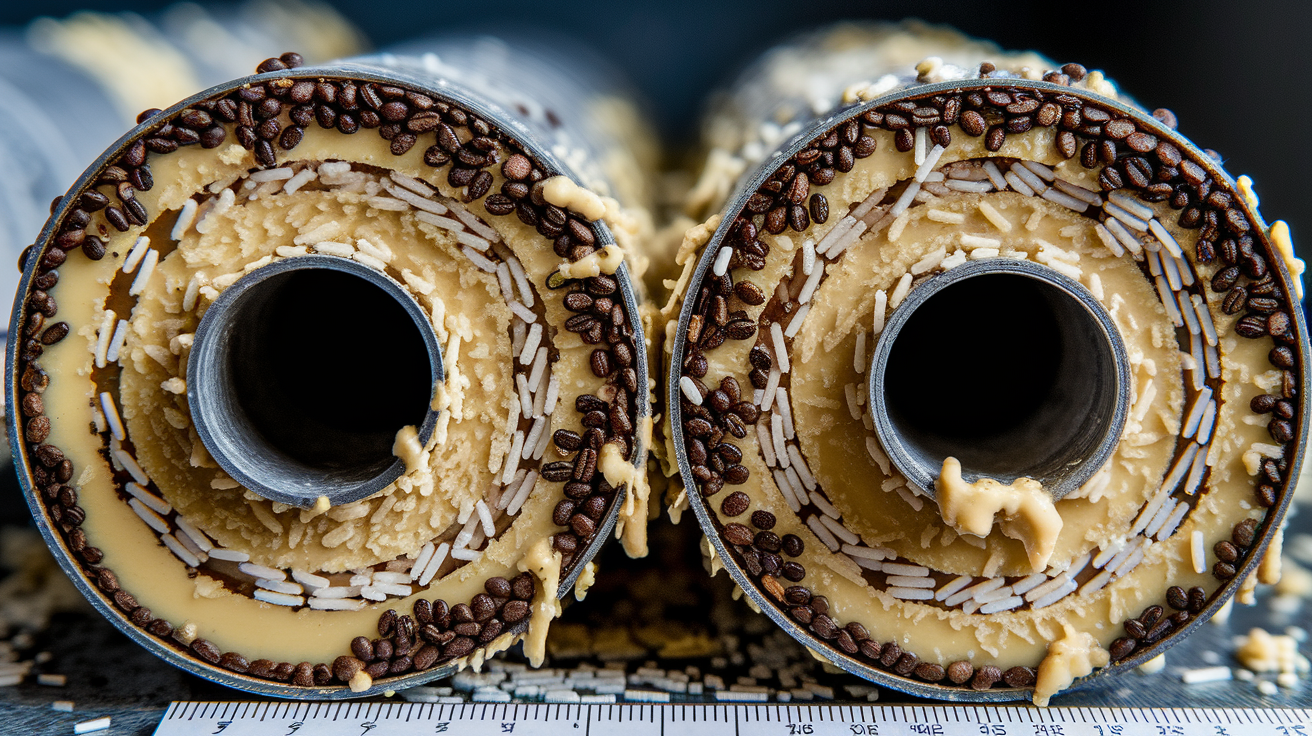
Knowing what typically clogs kitchen sinks helps you choose the most effective clearing method and avoid the same problem later. Different types of clogs respond better to specific techniques, so identifying the likely culprit saves you time and effort.
The distinction between sudden clogs and gradual buildup matters. A sudden clog usually means a foreign object dropped into the drain. A ring, a bottle cap, a chunk of food that shouldn’t have gone down the disposal. These clogs happen fast and completely block water flow. Gradual clogs develop over weeks or months as material accumulates inside your pipes. You’ll notice the drain getting slower before it finally stops working.
Seven major causes of kitchen sink clogs:
- Grease, oil, and fat coat the inside of pipes as they cool and solidify. Even small amounts build up over time. Hot grease looks harmless as it flows down the drain, but it hardens as it cools and catches everything else that comes through.
- Food particles from plates and pans get rinsed down the drain. Rice, pasta, oatmeal, and other starches swell with water and stick to pipe walls. They create a paste that traps other debris.
- Soap scum forms when soap mixes with minerals in hard water. This waxy residue sticks to pipes and combines with grease to create thick buildup.
- Starch from rice and pasta expands after it goes down the drain. These foods continue absorbing water inside your pipes, swelling to several times their original size.
- Coffee grounds don’t break down in water. They clump together when wet and stick to any grease or soap scum already coating your pipes.
- Mineral deposits from hard water gradually narrow pipe diameter over years. Calcium and magnesium in the water leave behind scale that builds up layer by layer, especially in metal pipes.
- Pipe corrosion in older homes creates rough spots inside pipes where debris catches more easily. Corroded areas also weaken pipe walls and can eventually cause leaks along with clogs.
Small amounts of grease create the foundation for most kitchen sink clogs. When you rinse a pan with bacon fat or pour even a little cooking oil down the drain, that grease sticks to the pipe walls as it cools. The coating starts thin, maybe just film you can’t even see. But every time more grease goes down, the layer gets thicker. Food particles flowing through the drain encounter this sticky grease surface and get trapped instead of washing through. Soap scum adds another layer. Minerals in hard water bond to the grease and create an even tougher deposit. Over months, this layered buildup narrows your pipe diameter from the inside out. Water flow slows down because there’s less space for it to pass through. Eventually the opening gets so small that one slightly larger piece of food or a coffee ground creates a complete dam. That’s when you notice your sink isn’t draining and realize you have a clog, but the actual problem has been building for much longer than you knew.
Recognizing Warning Signs and Clog Severity
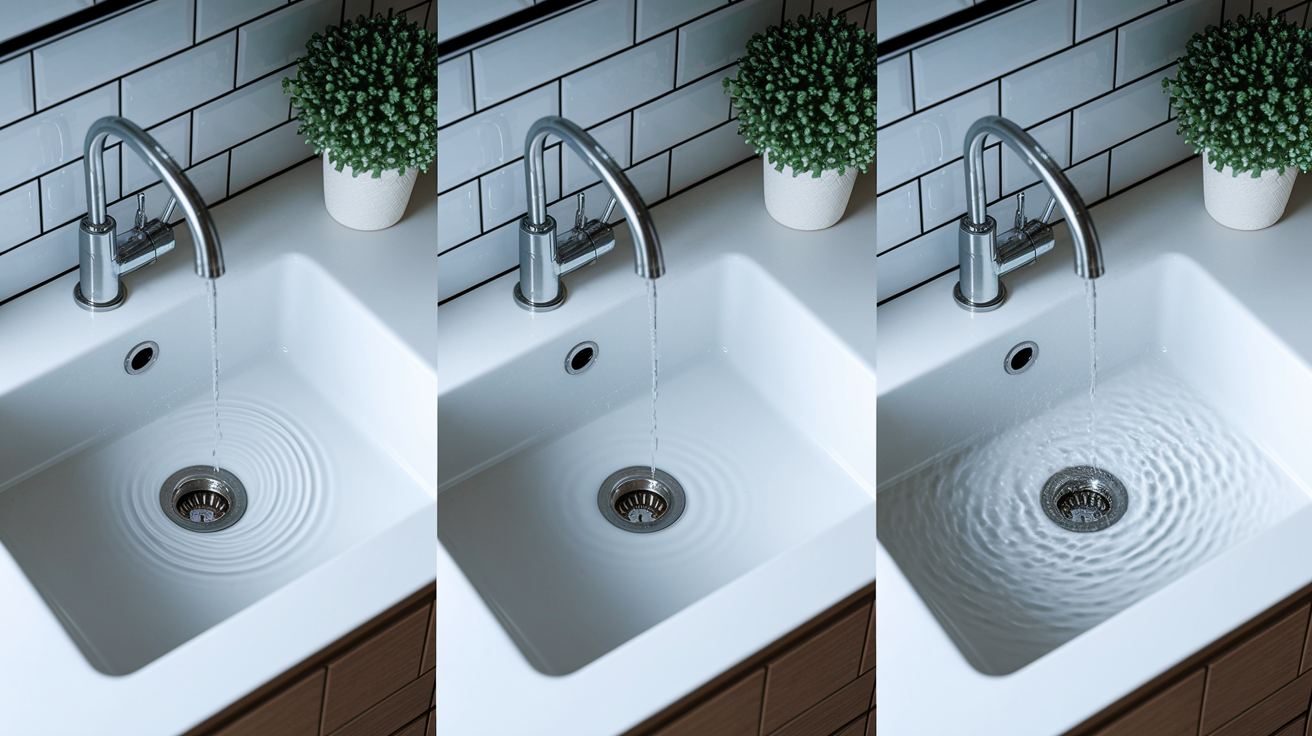
Catching a developing clog early makes clearing it much easier than waiting until your sink completely stops draining. The warning signs tell you how severe the blockage is and which clearing methods will work best.
| Symptom | Severity | Likely Cause | Recommended Action |
|---|---|---|---|
| Water drains slowly but steadily | Minor | Grease buildup or light soap scum | Hot water flush or baking soda and vinegar |
| Gurgling sounds when water drains | Moderate | Partial blockage creating air bubbles | Plunger or P-trap cleaning |
| Standing water that drains over several minutes | Moderate to Severe | Significant blockage close to drain | Plunger followed by snake if needed |
| Water backs up into second sink bowl | Severe | Complete blockage in shared drain line | P-trap removal and snake |
| Foul smell coming from drain | Varies | Food debris rotting in trap or pipes | P-trap cleaning and hot water flush |
Minor symptoms can escalate to severe problems quickly if the underlying cause continues. A sink that drains slowly this week might stop draining completely by next week. Water that gurgles suggests air is trapped behind a partial blockage. As more material accumulates at that spot, the partial blockage becomes total and you’re dealing with standing water instead of just slow drainage.
When you notice multiple symptoms together, you’re looking at a serious blockage that needs more than surface level treatment. A sink that both drains slowly and makes gurgling noises while producing a bad smell is telling you there’s substantial buildup in the trap or pipes. Water backing up into other fixtures means the blockage is far enough down the drain line that it’s affecting your entire drainage system, not just one sink. These situations need P-trap removal at minimum, possibly professional help if the clog extends into walls or further into your home’s main drain lines.
Your first action step should always be checking the drain strainer. Pull it out and look at what’s collected there. Food particles, slimy residue, or small objects show you what’s getting into your drain. Clean the strainer thoroughly with dish soap and a brush. Replace it and run hot water to see if drainage improves. This simple check takes 30 seconds and solves a surprising number of “clog” complaints that are actually just dirty strainers restricting water flow at the surface.
Preventing Future Kitchen Sink Clogs
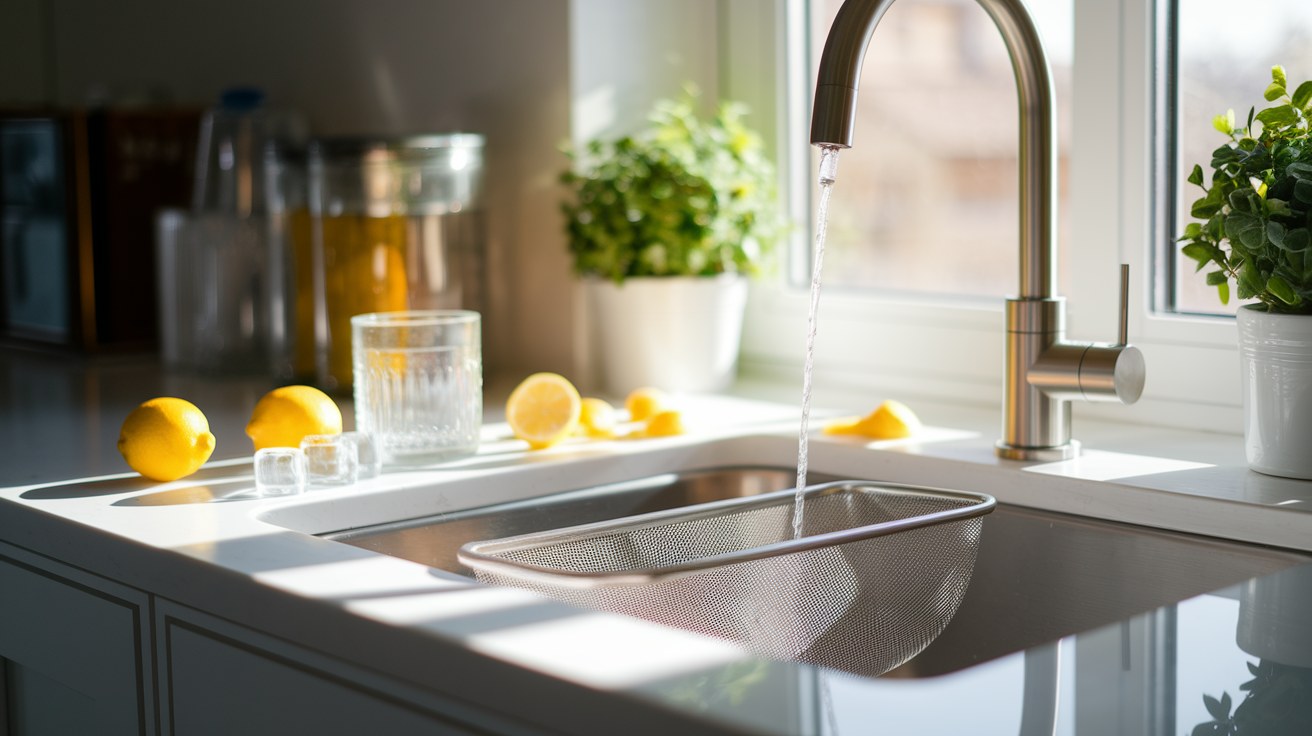
Prevention takes less time and costs less money than repeatedly clearing clogs. Building a few daily habits and monthly maintenance tasks keeps your kitchen sink draining freely.
Ten prevention practices for clear drains:
- Install and use a mesh sink strainer to catch food particles before they enter the drain. Empty the strainer after every meal cleanup.
- Never pour grease, cooking oil, or fat down the drain regardless of how hot it is or how much water you run with it. Let grease cool in a can and throw it in the trash.
- Scrape plates and cookware into the trash or compost before rinsing them in the sink. Even small amounts of food add up over time.
- Run cold water at full pressure for 15 seconds after finishing dishes. This flushes any particles that made it past the strainer.
- When using a garbage disposal, run cold water before turning it on, keep water running during operation, and continue for 15 seconds after shutting it off.
- Avoid putting starchy foods like rice, pasta, and potato peels down the drain or disposal. They expand with water and create clogs.
- Don’t treat your disposal like a trash can. Only grind soft food scraps in small amounts with plenty of water.
- Keep coffee grounds out of the drain. They don’t break down and they clump when wet.
- If you hand wash greasy pans, wipe them out with paper towels before washing to remove bulk grease.
- On busy cooking days with lots of grease and food particles going down the drain, follow up with extra hot water flushing and consider running a baking soda and vinegar treatment that evening.
Schedule a monthly maintenance treatment using 1 cup of baking soda followed by 1 cup of white vinegar. Let this mixture sit in the drain for 30 minutes, then flush with hot water. This simple treatment prevents grease buildup, eliminates odors, and keeps your drain flowing smoothly. The chemical reaction between baking soda and vinegar breaks down organic matter and grease before it can accumulate to clog causing levels. Think of it as preventive maintenance similar to changing your furnace filter. Regular attention prevents problems rather than reacting after something goes wrong. For overall home system care, this type of preventive plumbing maintenance fits naturally alongside other maintenance tasks like water heater troubleshooting and repair.
Clean your garbage disposal every two weeks with ice cubes and salt to maintain the grinding blades. Fill the disposal with two cups of ice cubes, add half a cup of rock salt or coarse sea salt, run cold water, and turn on the disposal for 30 seconds. The ice and salt combination scrubs the grinding chamber and removes buildup from the blades and grinding ring. To deodorize, grind a few lemon or orange peels afterward, or pour half a cup each of baking soda and vinegar down the disposal while it’s off, let it sit for 10 minutes, then flush with cold water while running the unit.
Troubleshooting Persistent and Recurring Clogs
Successfully clearing a clog is different from solving the underlying problem that caused it. If your kitchen sink keeps clogging in the same spot or you’re clearing clogs every few weeks, something deeper is wrong with your drainage system.
Watch for patterns. Does the clog always happen in the same drain? Does it occur after you’ve cooked certain types of meals? Do you notice it gets worse during specific times of the week when you’re doing more cooking or dishes? These patterns point to habits or system issues that need addressing rather than just repeatedly clearing the symptom.
Six common reasons clogs keep coming back:
- Inadequate drain slope means pipes don’t angle downward enough for proper flow. Water moves slowly through these sections, and debris settles instead of washing through.
- Partial clearing only happens when you break a hole through the clog instead of completely removing it. Debris still clinging to pipe walls rebuilds the blockage quickly.
- Continued grease disposal down the drain recreates the same coating that caused the first clog. Without changing habits, you’ll clear the same clog repeatedly.
- Improper garbage disposal use sends materials into the drain that shouldn’t be there. The disposal might grind them partially but not enough to flow through the pipes.
- Drain vent problems at the roof level restrict air movement, which slows drainage throughout the system and allows debris to settle.
- Deteriorating old pipes have rough interior surfaces from corrosion where debris catches easily, or narrowed diameter from decades of mineral deposits and scale.
A plumbing vent blockage affects drainage in ways that aren’t obvious when you’re only looking under the sink. These vents extend from your drainage system up through your roof to allow air into the pipes. Proper drainage requires air to replace the water flowing down and out. When a vent is blocked by leaves, a bird nest, or ice in winter, air can’t enter the system properly. You’ll hear gurgling sounds as water tries to drain and creates a vacuum behind it. The sink might drain slowly despite having completely clear pipes from the drain opening all the way to the main line. Checking and clearing roof vents requires getting on the roof safely. If you suspect a vent problem but can’t safely access your roof, this is when you call a professional who has the proper equipment and experience.
Old galvanized pipes that have been in place for 40 years or more develop corrosion inside that you can’t see or reach with a snake. The corroded surface feels rough instead of smooth, giving every food particle and grease globule something to catch on. Scale and mineral deposits from decades of hard water narrow the pipe’s interior diameter significantly. A pipe that started at 1.5 inches might effectively be less than an inch wide after years of buildup. You can clear specific clogs in these pipes, but new ones will form quickly because the pipe condition itself is the problem. In these cases, the real solution is repiping that section of your drainage system with modern PVC or ABS pipe. That’s a more significant project than clearing a clog, but it permanently solves recurring issues instead of temporarily treating them.
Cost and Time Estimates for Different Clearing Methods
Different clearing methods require varying investments of time, money, and physical effort. Understanding these factors helps you choose the most practical approach for your situation.
| Method | Time Required | Typical Cost | Success Rate | Best For |
|---|---|---|---|---|
| Plunger | 5-10 minutes | $5-15 for tool | 70% on minor clogs | Recent clogs near drain opening |
| Hot water flush | 5 minutes | None (uses tap water) | 50% on grease buildup | Grease coating before solid blockage forms |
| Baking soda and vinegar | 20-30 minutes | $3-5 for supplies | 60% on light to moderate clogs | Preventive maintenance and minor buildup |
| P-trap removal |
Final WordsA clogged kitchen sink doesn’t have to derail your day. Most blockages respond well to simple methods like plunging, hot water flushing, or the baking soda and vinegar treatment. If you’ve worked through the basic steps and the clog won’t budge, P-trap removal or a drain snake usually gets the job done. Learning how to clear kitchen sink clog issues yourself saves time and money. But if the problem keeps coming back or multiple drains are affected, that’s your signal to bring in a pro. We’re here when you need us. FAQHow do you unblock a badly blocked kitchen sink?To unblock a badly blocked kitchen sink, start with a plunger to create suction after filling the sink with enough water to cover the drain. If plunging doesn’t work, remove the P-trap under the sink with a wrench, clean out accumulated debris, then use a drain snake through the exposed pipe opening to reach deeper clogs. What can I pour down a sink to unclog it?You can pour a combination of one cup baking soda followed by one cup white vinegar down a clogged sink, then cover the drain and wait 15 minutes before flushing with hot water. This natural method breaks down grease and organic buildup without harsh chemicals. Avoid boiling water as it can damage plastic pipes or weaken older metal pipes over time. Can Dawn dish soap unclog drains?Dawn dish soap can help unclog drains when combined with hot water, as the soap breaks down grease buildup that traps food particles and debris. Pour a generous amount of dish soap down the drain, follow with hot water, and let it sit before flushing. This method works best on partial clogs caused by grease rather than complete blockages. How to fix a slow draining kitchen sink?To fix a slow draining kitchen sink, first remove and clean the drain strainer to clear visible debris, then try flushing with hot water. If drainage doesn’t improve, use a plunger to dislodge buildup, or treat the drain with baking soda and vinegar followed by a hot water flush to break down accumulation. What causes kitchen sink drains to clog repeatedly?Kitchen sink drains clog repeatedly when grease, oil, and fat solidify in pipes and trap food particles, soap scum, and other debris over time. Recurring clogs can also indicate inadequate pipe slope, blocked roof vents preventing proper drainage, or deteriorating pipes with corrosion and scale buildup that narrow the interior diameter. How long does it take to unclog a kitchen sink?Unclogging a kitchen sink typically takes 15 to 30 minutes for simple plunger or baking soda methods, while P-trap removal and drain snake work may require 45 minutes to an hour. Chemical cleaners need 15 to 30 minutes of wait time but often require multiple treatments for stubborn clogs. Should I use a plunger or drain snake first on a clogged sink?You should use a plunger first on a clogged sink since it’s faster, requires no disassembly, and clears most common blockages near the drain opening. If plunging doesn’t restore drainage after several attempts, then move to a drain snake or P-trap removal to reach deeper clogs in the pipe system. What should never go down a kitchen sink drain?Never put grease, oil, fat, coffee grounds, eggshells, rice, pasta, potato peels, bones, shells, seeds, or fibrous vegetables like celery down a kitchen sink drain. These materials either solidify and coat pipes, expand when wet, or tangle in disposal blades and create stubborn clogs that worsen over time. How do I know if my sink clog is severe?A sink clog is severe when you see standing water that won’t drain at all, hear gurgling sounds from the drain, notice water backing up into other fixtures, or smell foul odors from rotting debris. Multiple drains running slowly throughout the house indicates a main sewer line problem rather than just a kitchen sink issue. When should I call a plumber for a clogged kitchen sink?You should call a plumber for a clogged kitchen sink when clogs recur repeatedly in the same location, DIY methods fail to restore drainage, multiple drains throughout the house slow down simultaneously, or you suspect main sewer line problems. Professional help is also needed when you lack proper tools or notice sewage backup. Latest articlesMore like this |