
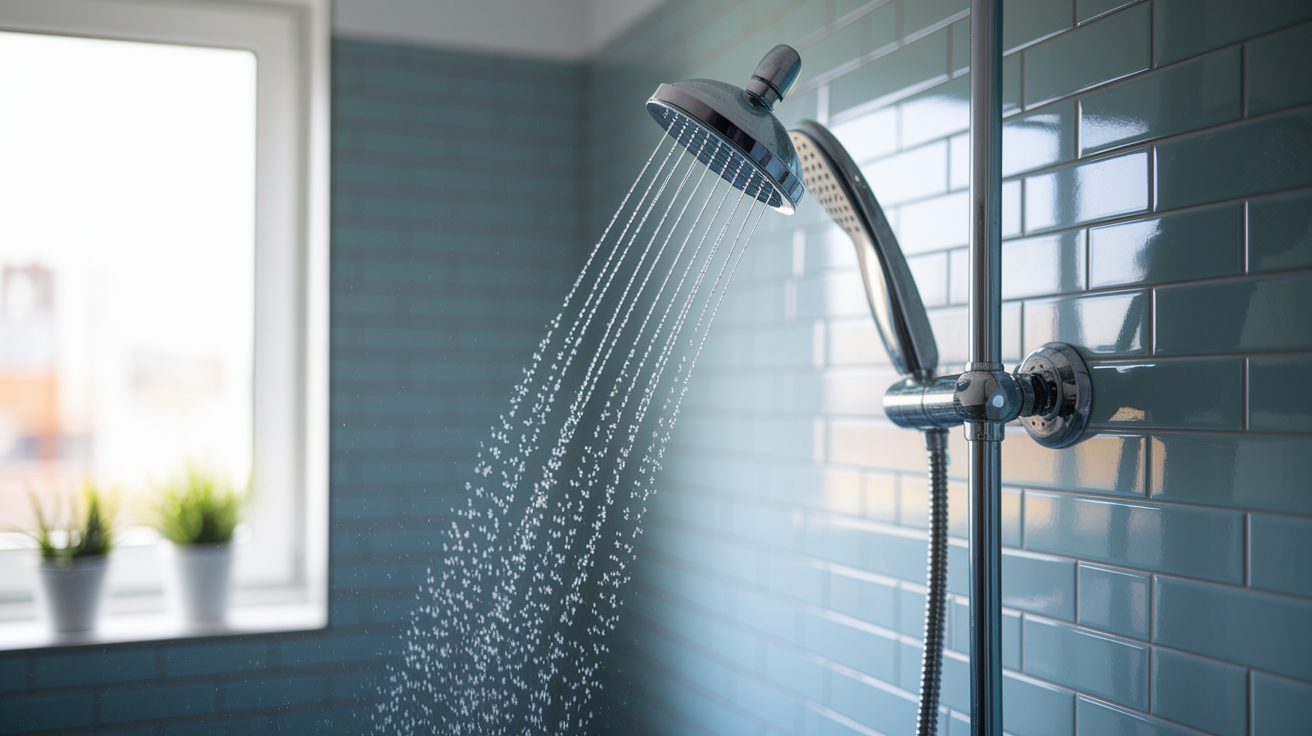
Ever notice your shower goes from strong to weak for no clear reason, or hear your pipes bang when you shut off a faucet? That’s your water pressure talking, and it’s trying to tell you something. Checking your home’s water pressure takes about 10 minutes with a simple gauge you can pick up for $15. This one small test tells you if your plumbing is getting beaten up by too much force or starved by too little, and whether you need to act before a pipe fitting gives out or your water heater takes damage.
Step-by-Step Water Pressure Testing Procedure
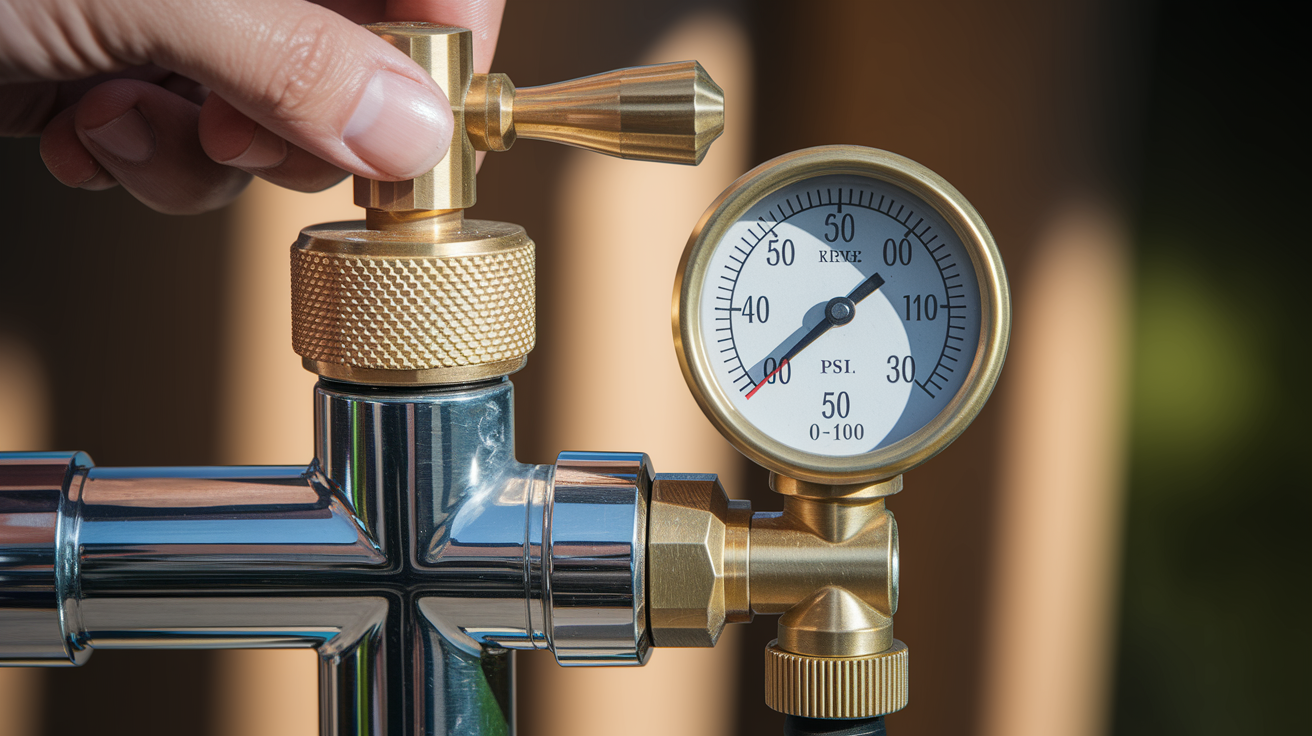
Testing your home’s water pressure takes about 10 to 15 minutes and you’ll need just one simple tool. This quick check gives you a clear picture of what’s happening in your supply line and whether you need to take action.
Tools and Equipment Needed:
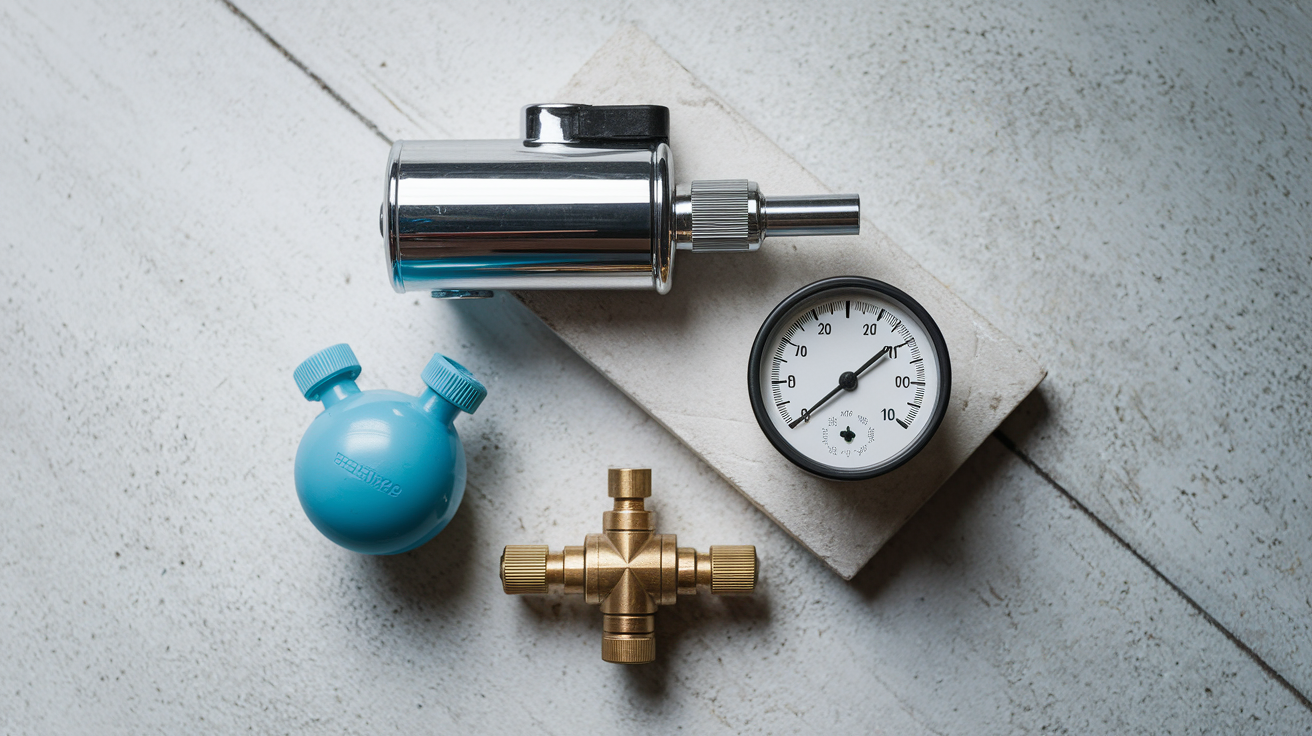
You’ll need a pressure gauge with female hose threads and a rubber gasket that can measure up to 300 PSI. Pick one up at any hardware or home improvement store for $10 to $30. You’ll also need an outdoor spigot or hose bib for attachment, a notepad or phone to record results with the date and time, and maybe an adjustable wrench if hand tightening isn’t enough (though you probably won’t need it).
Complete Testing Procedure:
-
Turn off all water using fixtures and appliances throughout your home. That means faucets, showerheads, dishwashers, washing machines, refrigerator ice makers, and sprinkler systems.
-
Find the right spot to attach your gauge. If you’ve got municipal water or city water, use the outdoor spigot or hose bib closest to your water meter. For well system homes, attach near your pressure tank.
-
Check that the rubber gasket is seated properly inside the gauge’s thread connection.
-
Thread the pressure gauge onto the outdoor spigot by hand, turning clockwise until it’s snug.
-
Hand tighten the gauge firmly but don’t force it. You really shouldn’t need tools for this.
-
Fully open the faucet valve by turning it counterclockwise all the way.
-
Wait 10 to 15 seconds for the gauge needle or digital display to stabilize and stop moving.
-
Read the PSI measurement on the dial face or digital screen.
-
Write down your reading along with the date, time, and any conditions you think matter.
-
Close the faucet, unthread the gauge, and store it for next time.
Reading the gauge is straightforward whether you’ve got an analog dial or digital model. The pointer on an analog gauge settles on a number representing your PSI, while a digital display just shows the exact number. The gauge should stabilize within a few seconds of opening the faucet fully. PSI stands for pounds per square inch, which is the standard measurement for water pressure in residential plumbing.
| Pressure Range (PSI) | Status | Action Needed |
|---|---|---|
| Below 40 | Low Pressure | Troubleshoot causes and consider booster or regulator adjustment |
| 40-55 | Ideal Range | No action needed—continue testing a few times per year |
| 55-80 | Acceptable | Monitor regularly, consider regulator if near 80 |
| Above 80 | High Pressure | Install pressure regulator immediately to prevent damage |
The sweet spot for residential homes ranges from 45 to 55 PSI. This range protects your plumbing while giving you good flow at fixtures. Readings below 40 PSI mean you’ll notice weak flow and need to identify the cause. Readings above 80 PSI require immediate attention because high pressure damages pipe connections, water heaters, appliances, and flexible supply lines over time. The acceptable range according to building codes and manufacturer specs falls between 40 and 80 PSI, but staying closer to the middle gives you the best balance of performance and protection.
Common Causes of Low Water Pressure Problems
When your pressure gauge reads below 40 PSI, you need to figure out whether you’re dealing with a system wide issue or a problem at specific fixtures. If only one faucet or shower shows weak flow but others work fine, you’re looking at a localized clog or valve issue. If every fixture in your home shows reduced flow, the cause is in your main supply line, municipal water provider, or pressure system components.
Start by checking valves throughout your home. The main shutoff valve near your water meter needs to be fully open, not just mostly open. Even a quarter turn closure can cut your pressure significantly. Look for other isolation valves under sinks, behind toilets, and at your water heater. Someone doing repairs might have partially closed a valve and forgotten to reopen it completely. These valves should point in line with the pipe when fully open.
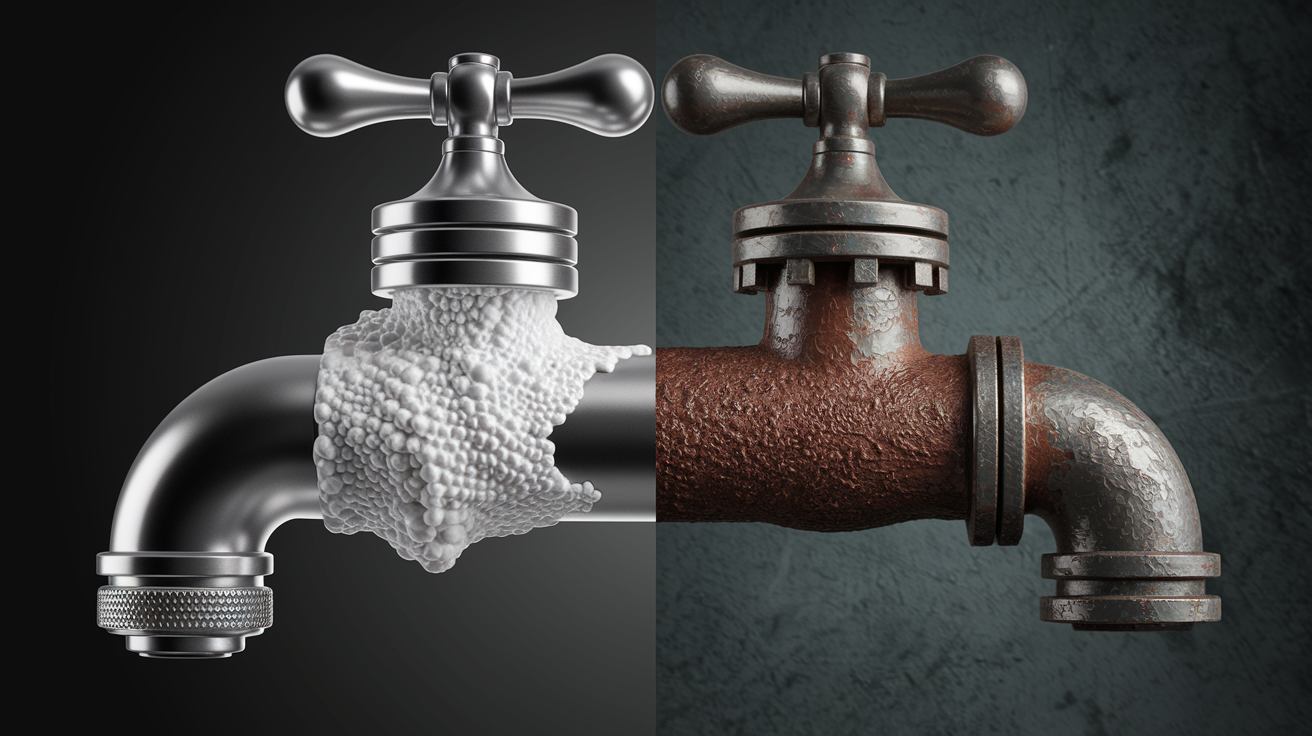
Mineral buildup and sediment accumulation block flow over time, especially in homes with hard water. Aerators on faucet spouts and shower heads trap calcium deposits that restrict water flow. Unscrew these parts and look for white or brownish crusty buildup around the screen. Flush them under running water or soak in vinegar overnight. Inside your supply lines, mineral scale builds up gradually on pipe walls, narrowing the passage. Older galvanized steel pipes are especially prone to corrosion and sediment that chokes off flow. Hidden leaks behind walls, under slabs, or in crawl spaces also drop pressure system wide by diverting water before it reaches your fixtures.
Sometimes the issue isn’t in your home at all. Municipal supply pressure varies based on demand, infrastructure age, and your location relative to water towers or pumps. Contact your water provider to ask about recent pressure changes or main line work in your area. For well system homes, check your pressure tank’s air charge and switch settings. The tank should maintain around 50 PSI when no water is running. A waterlogged bladder tank or failing well pump will cause persistent low pressure that regulator adjustment can’t fix.
Troubleshooting High Water Pressure Issues

High water pressure creates more risk than low pressure because it actively damages your plumbing system rather than just causing inconvenience. Pipes, fittings, and fixtures are designed to handle normal operating pressure, but constant force above 80 PSI stresses every connection point in your home. The damage happens silently and builds up over months or years until something fails.
Excessive pressure hammers pipe connections at joints and elbows, working fittings loose over time. Water heaters face particular risk because high pressure forces more water into the tank during heating cycles, creating dangerous thermal expansion. Washing machines and dishwashers have internal valves and hoses rated for normal pressure ranges. Above 80 PSI, these components wear out faster and fail without warning. Flexible supply lines under sinks and behind toilets are especially vulnerable. These braided or plastic lines develop pinhole leaks or burst completely when pressure stays high for extended periods. You might notice banging sounds when fixtures shut off quickly, a sign that pressure is slamming through your pipes with each valve closure.
High pressure usually comes from one of three sources. Some municipal supply systems push water at 90 to 100 PSI or higher to reach elevated areas or tall buildings. If your home sits on a low lying street, you get that full force without reduction. Homes without a pressure regulator on the main line receive whatever pressure the city provides. Failed or improperly adjusted regulators are another common cause. These devices wear out after 7 to 12 years and can stick in the open position, allowing full municipal pressure into your home. Thermal expansion from your water heater also spikes pressure temporarily when cold water heats up and expands inside a closed system.
Water Pressure Regulator Functions and Adjustment
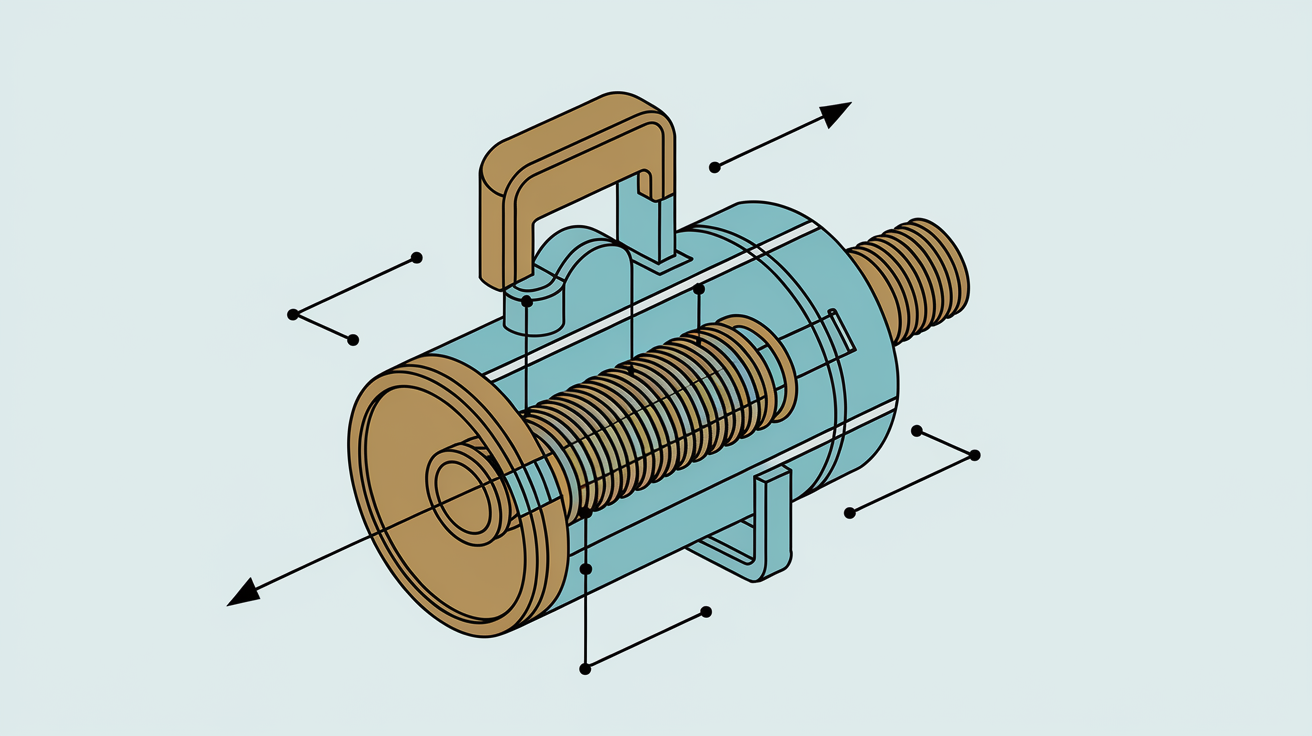
A pressure regulator sits on your main water line and restricts maximum flow to safe levels, typically around 75 PSI. This bell shaped valve protects everything downstream by automatically reducing whatever pressure comes from your municipal supply or well pump.
You’ll usually find the regulator within a few feet of where the main line enters your home, often right after the main shutoff valve or water meter. It looks like a brass or bronze bell with a screw adjustment on top and an arrow indicating flow direction. Not every home has one. If you don’t see a regulator near your main shutoff, your home receives full supply line pressure and probably needs one installed if your pressure reads high.
Adjusting an Existing Regulator:
Turn off one or two faucets so you can hear when pressure changes. Locate the adjustment screw on top of the regulator body. Loosen the locknut that holds the adjustment screw in place. Turn the screw clockwise to increase pressure, counterclockwise to decrease it. Make small adjustments because one full turn changes pressure by about 10 PSI. Test pressure with your gauge after each adjustment. Tighten the locknut once you reach your target pressure around 50 PSI.
Existing regulators should be checked regularly because they can fail without warning. Internal parts wear out, the diaphragm splits, or the adjustment spring loses tension. If you adjust the screw through its full range and pressure doesn’t change, or if pressure fluctuates wildly, the unit needs replacement rather than adjustment. Some regulators have a small bleeder valve on the side for testing internal pressure. If water continuously drips from this valve, internal failure has occurred.
New regulator installation requires a professional plumber because the main water line must be cut, threaded, and fitted correctly. The regulator needs proper orientation with flow direction, adequate clearance for future adjustment, and correct pipe support. A plumber will also install a bypass valve so the regulator can be serviced without shutting off water to the entire house. Expect to pay $300 to $600 for professional installation of a quality pressure regulator that will protect your plumbing for years.
Testing Water Pressure at Different Times and Locations
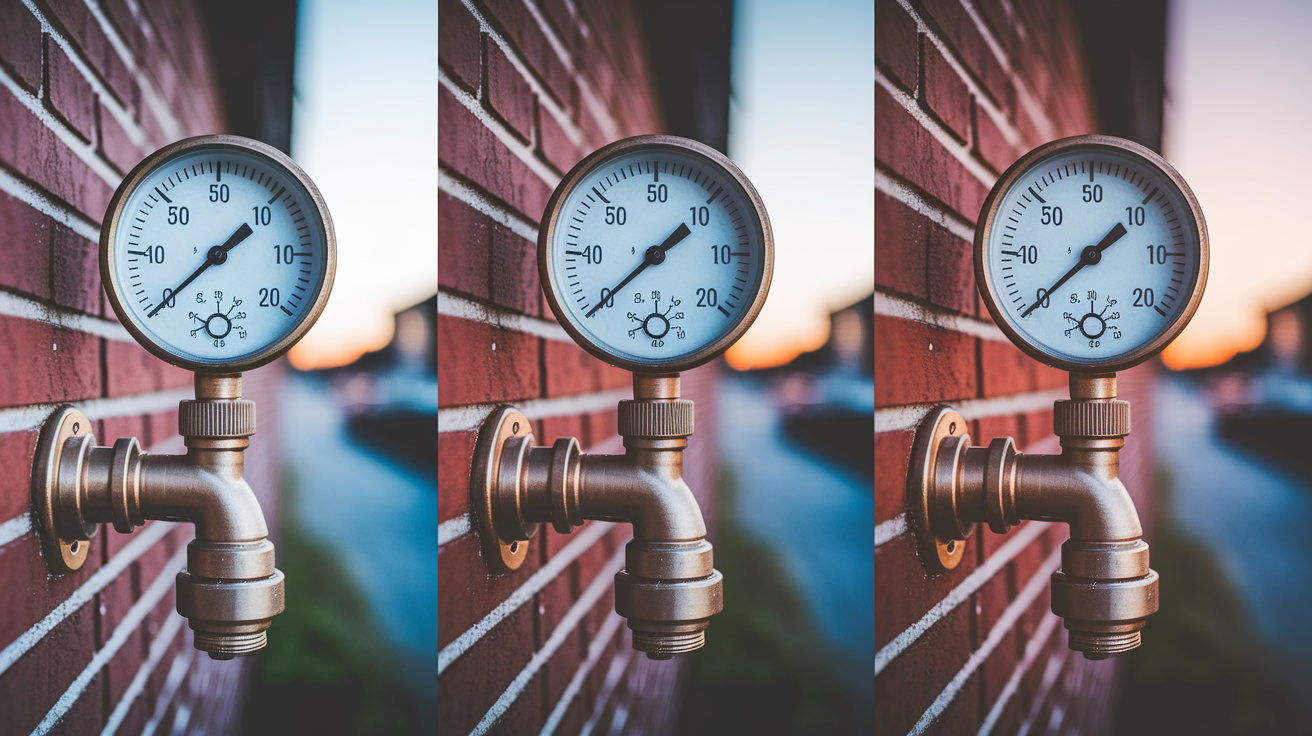
A single pressure reading gives you a snapshot, but water pressure shifts throughout the day based on demand patterns in your neighborhood and conditions inside your home. Testing only once can miss problems that show up during peak usage times or when multiple fixtures run simultaneously.
Test your pressure during early morning hours before 7 AM when neighborhood demand is low and your supply line delivers maximum pressure. Then test again during evening peak times between 6 and 9 PM when nearby homes are cooking dinner, washing dishes, and showering. You’ll often see pressure drop by 5 to 15 PSI during these high demand periods. Consistent drops below 40 PSI during peak times point to municipal supply issues or insufficient pipe sizing for your neighborhood’s demand.
Static pressure and dynamic pressure tell different stories about your plumbing system. Static pressure is what your gauge reads when no fixtures are running, the baseline pressure your system maintains. Dynamic pressure is what you get when one or more fixtures are actually using water. Test static pressure first using the standard procedure. Then turn on your shower to full hot and cold while watching your pressure gauge at an outdoor spigot. Pressure will drop. If it falls dramatically, more than 20 PSI, you might have undersized supply lines, a partially closed valve, or significant buildup restricting flow. Test again with multiple fixtures running. Turn on two showers, flush a toilet, and start the washing machine. Pressure should drop further but shouldn’t fall below 30 PSI even under this heavy load.
Document every reading with the date, time, number of fixtures running, and any other relevant conditions. Write down seasonal information too. Summer readings when irrigation systems run, winter data when outside temperatures affect supply lines. After testing a few times per year, you’ll establish normal patterns for your home and quickly spot changes that signal developing problems. Temperature affects readings slightly because cold water has higher density than warm water. Morning readings in winter might run 2 to 3 PSI higher than summer afternoon tests at the same location.
Pressure Solutions: Boosters, Tanks, and System Upgrades
When adjustments and repairs don’t solve chronic pressure problems, mechanical solutions can permanently fix your water delivery system.
A pressure booster pump raises low pressure from either municipal supply or well systems. This compact electric pump installs on your main line and increases pressure by 20 to 40 PSI. Boosters work best when your baseline pressure reads 30 to 40 PSI and you need a boost to reach the comfortable 50 to 55 range. The pump kicks on automatically when it senses flow, adds pressure, then shuts off when fixtures close. Modern boosters include pressure sensors, flow switches, and automatic shutoff protection. They’re especially useful in multi story homes where upper floors have weak pressure, in neighborhoods with aging infrastructure, or on properties far from municipal water towers.
Expansion tanks protect against pressure spikes caused by thermal expansion. When your water heater raises cold water temperature by 50 to 70 degrees, the water expands. In a closed system with a pressure regulator and check valve, that expansion has nowhere to go and can spike pressure above 100 PSI temporarily. An expansion tank provides a cushion, a small bladder style tank that absorbs the extra volume and keeps pressure stable. Modern plumbing codes require expansion tanks when pressure regulators are installed. These tanks mount near the water heater and need occasional checking for proper air charge. Well systems use larger pressure tanks that perform a similar function, maintaining steady pressure as the pump cycles on and off.
| Solution Type | Best For | Installation Level |
|---|---|---|
| Pressure Regulator | High pressure above 80 PSI | Professional installation, DIY adjustment |
| Booster Pump | Persistent low pressure below 40 PSI | Professional installation and electrical work |
| Expansion Tank | Pressure spikes from water heater | Professional installation near water heater |
| Pressure Tank Adjustment | Well system pressure fluctuations | DIY air charge check, professional for pump issues |
Signs Your Home Needs Water Pressure Testing
Testing water pressure a few times per year as preventive maintenance catches problems before they cause damage or major inconvenience. But certain symptoms tell you to test right now, today, before the situation gets worse.
Immediate Testing Indicators:
Shower flow that’s noticeably weaker than it was six months ago. Faucets that used to fill a sink quickly now take twice as long. Sputtering or spitting from fixtures when you first turn them on. Toilets that run constantly or take multiple flushes to clear. Washing machine cycles that run longer than normal or clothes that don’t rinse clean. Banging or hammering sounds when valves close quickly. Visible leaks at pipe connections that weren’t there before. Recently installed appliances that specify pressure requirements in their manuals.
Regular testing as part of your annual home maintenance routine prevents bigger plumbing problems in the future. Put it on your calendar for spring and fall each year, ideally when you’re doing other seasonal checks. Catching a failing pressure regulator early means adjusting it rather than replacing burst flex lines and damaged appliance valves. Identifying low pressure trends lets you address buildup before it completely blocks your supply lines. New construction or major remodeling that changes your plumbing system warrants immediate testing to establish new baseline readings for your updated configuration.
Impact of Water Pressure on Appliances and Fixtures

Water pressure directly controls how many gallons per minute flow through your fixtures and appliances. This flow rate determines whether equipment functions as designed or struggles to meet basic performance standards. Manufacturers engineer appliances assuming pressure will fall in the normal 40 to 80 PSI range, and anything outside that range causes problems.
Washing machines fill their tubs through small solenoid valves calibrated for standard pressure. Below 40 PSI, fill times stretch out and cycles run longer, wasting time and energy. The machine might not even reach the water level it needs for proper agitation and rinsing. Above 80 PSI, those same valves get hammered with excessive force, wearing out seals and causing leaks behind the machine. High pressure also pushes more water through during fills, potentially overflowing if the level sensor can’t react quickly enough. Dishwashers face similar issues. The spray arms need adequate pressure to spin and distribute water across all dishes. Weak pressure leaves the top rack dirty while high pressure can damage delicate glassware.
Water heaters suffer the most from incorrect pressure. High pressure above 80 PSI stresses the tank constantly, working metal seams and potentially causing premature tank failure. The pressure relief valve may weep or discharge periodically as thermal expansion spikes pressure even higher during heating cycles. This wastes water and indicates dangerous pressure buildup inside the tank. Low pressure doesn’t hurt the tank itself but reduces hot water delivery throughout your home. When cold inlet pressure is weak, hot outlet pressure will be weak too, giving you disappointing shower flow even though the water heater is working fine.
Irrigation systems and outdoor sprinkler performance depend entirely on having enough pressure to throw water across your lawn or garden beds. Below 40 PSI, spray patterns fall short, rotating heads don’t turn completely, and drip systems barely trickle. Zones farthest from your supply line or at higher elevations show problems first. High pressure over 80 PSI can blow apart sprinkler fittings, mist water into the air where wind carries it away, and turn adjustable heads into geysers that waste water and flood low spots in your yard.
When to Call a Professional for Water Pressure Issues
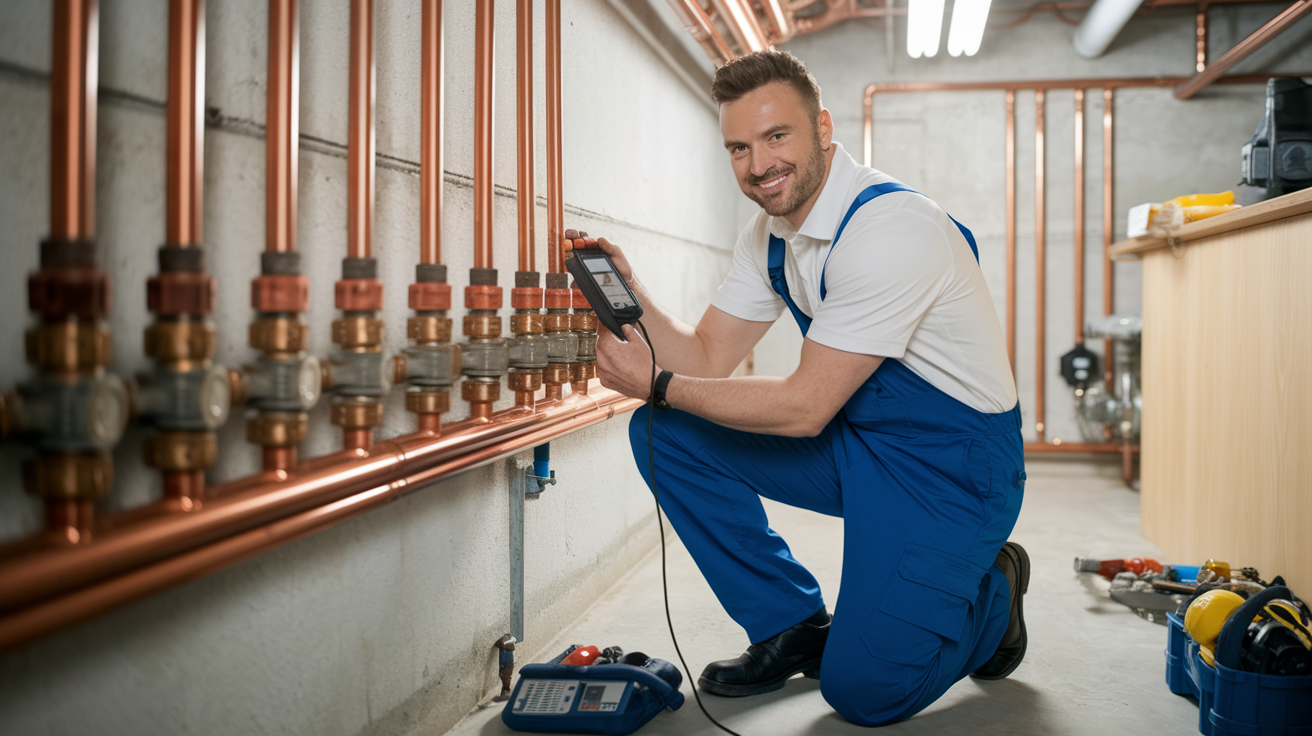
Testing your water pressure and making simple regulator adjustments are well within DIY capabilities for most homeowners. The gauge costs less than $30, the procedure is straightforward, and you’ll immediately know whether your pressure falls in the safe range. But certain situations require professional expertise and specialized tools that aren’t worth buying for a single use.
Situations Requiring Professional Service:
Installing a new pressure regulator on your main water line requires cutting and threading pipes. Persistent pressure problems after you’ve checked valves, aerators, and regulators. Suspected leaks behind walls, under floors, or in inaccessible locations. Booster pump installation that involves electrical work and pump sizing calculations. Pressure tank replacement on well systems with pump and switch coordination. Main line issues between the street and your home requiring excavation. Well pump problems causing erratic pressure readings that make no sense.
Choosing a qualified plumber means looking for someone with specific experience in pressure system diagnosis and repair. Ask about licensing, insurance coverage, and whether they’ve installed pressure regulators or booster systems recently. A good plumber will test pressure at multiple locations, check for leaks using acoustic equipment, and explain exactly what they find before proposing solutions. They should provide options rather than pushing a single expensive fix.
Expect to pay $100 to $200 for a professional pressure assessment and diagnostic visit. This covers testing throughout your home, leak checking, and a written report of findings and recommendations. Actual repair costs vary widely depending on the problem. Regulator installation runs $300 to $600. Booster pump systems cost $800 to $1,500 installed. Hidden leak detection and repair depends on location and access, ranging from $300 for an accessible pipe repair to $2,000 or more for slab leaks requiring concrete work. Well pump replacement or pressure tank installation falls in the $800 to $2,500 range depending on depth, pump size, and tank capacity. Professional assessment makes sense when your testing reveals problems you can’t explain or when DIY troubleshooting hasn’t solved the issue after checking the obvious causes.
Final Words
Knowing how to check water pressure in your home is a straightforward skill that protects your plumbing system and appliances.
With a simple pressure gauge and 15 minutes, you can measure your PSI, spot problems early, and decide if you need adjustments or professional help.
Test a few times a year, especially if you notice weak flow or appliance changes. It’s a small step that prevents bigger headaches down the road.
And if your readings fall outside the safe 40-80 PSI range, you’ll know exactly what to do next.
FAQ
How do I check the water pressure at my house?
To check the water pressure at your house, attach a pressure gauge to an outdoor faucet near your water meter, turn off all water-using fixtures, open the faucet fully, and read the PSI measurement on the gauge display.
How do I adjust the water pressure in my house?
To adjust the water pressure in your house, locate your pressure regulator near the main shutoff valve and turn the adjustment screw clockwise to increase pressure or counterclockwise to decrease it, testing after small adjustments.
How to check water pressure without a gauge?
To check water pressure without a gauge, time how long it takes to fill a gallon container at a faucet (should take 5-10 seconds at normal pressure) or observe shower flow strength and fixture performance throughout your home.
How can I tell if my water pressure is low?
You can tell if your water pressure is low when showers feel weak, faucets take longer to fill containers, toilets refill slowly after flushing, or appliances like washing machines run longer than normal to complete cycles.
What PSI should my home water pressure be?
Your home water pressure should be between 45 and 55 PSI for optimal performance, though 40 to 80 PSI is the acceptable range that protects pipes and appliances while providing adequate flow.
What causes high water pressure in my house?
High water pressure in your house is caused by municipal oversupply from the water company, a missing or failed pressure regulator, or thermal expansion from your water heater when it lacks an expansion tank.
Can high water pressure damage my plumbing?
High water pressure can damage your plumbing by stressing pipe connections, wearing out water heaters faster, breaking flexible supply lines, causing appliance failures, and creating leaks at joints and fittings throughout your system.
How often should I test my water pressure?
You should test your water pressure a few times per year as preventive maintenance, checking during different times of day to catch problems before they cause serious damage to pipes or appliances.
What is a water pressure regulator?
A water pressure regulator is a valve installed on your main water line that automatically restricts maximum flow to safe levels, typically 75 PSI, protecting your plumbing system from damage caused by excessive pressure.
When should I call a plumber for pressure problems?
You should call a plumber for pressure problems when you need a new regulator installed, suspect hidden leaks, experience persistent pressure issues after basic troubleshooting, or require booster pump or pressure tank work.
Does water pressure affect appliance performance?
Water pressure affects appliance performance by controlling fill times in washing machines and dishwashers, impacting cleaning effectiveness, stressing water heater tanks, and determining whether irrigation systems provide adequate coverage for your yard.
Why does my water pressure drop when multiple fixtures run?
Your water pressure drops when multiple fixtures run because the available flow is divided among all open outlets, revealing either undersized pipes, low municipal supply, or system capacity limits that may require a booster pump.