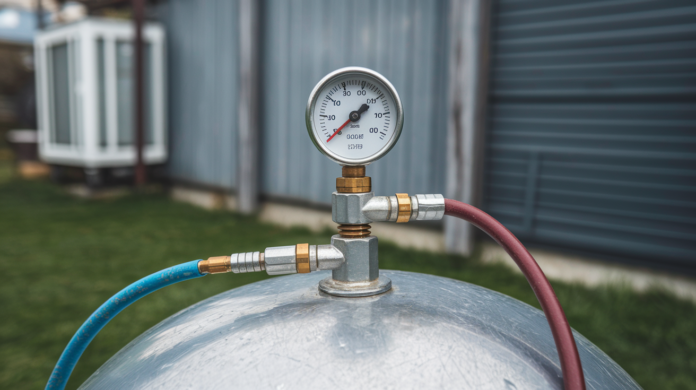

Ever wonder why your well pump kicks on every time someone flushes a toilet? That’s your pressure tank telling you something’s off. Most homeowners ignore their pressure tank until rapid cycling wears out a $1,200 pump. Testing takes under 30 minutes with a tire gauge and basic hand tools. You’ll know if the air charge is right, if the bladder failed, or if you’re headed for an expensive breakdown. We’ll walk you through the complete check, what the readings mean, and when you need to call for help.
Tools and Safety Preparation for Pressure Tank Checks
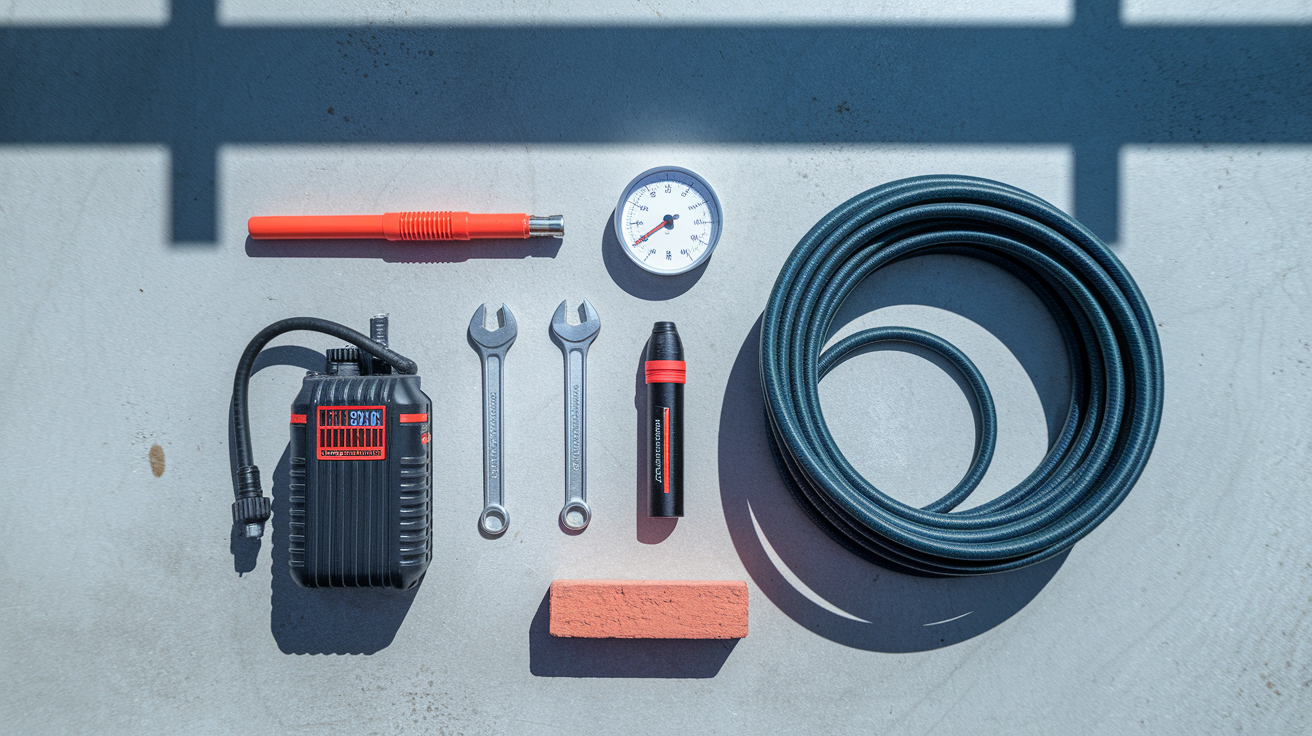
You need the right gear before you start. Most of this stuff is probably already in your garage. A standard tire pressure gauge, garden hose long enough to reach a drain, portable air compressor, adjustable wrench or pliers, something heavy like a brick, and a flashlight for dark corners. That’s it.
Here’s what matters. Before you touch anything, you’re going to complete three safety steps in order. First, kill the power to your well pump. Find the disconnect switch near the tank or flip the breaker at your main panel. Don’t assume the pump is off just because water isn’t running. Second, close the main shut-off valve between the tank and your house. This keeps your entire home from draining out during testing. Third, clear your work area and weigh down that garden hose with something heavy. Water pressure can whip an unsecured hose around hard enough to bruise you or break things.
Why this matters: water and electricity don’t mix. The power shutoff protects you from shock when you’re working around wet equipment. The main valve keeps hundreds of gallons inside your plumbing instead of flooding your mechanical room. Securing the hose prevents injuries when water surges through. Skip any of these and you’re either mopping up a flood or risking shock.
Complete Pressure Tank Testing Procedure
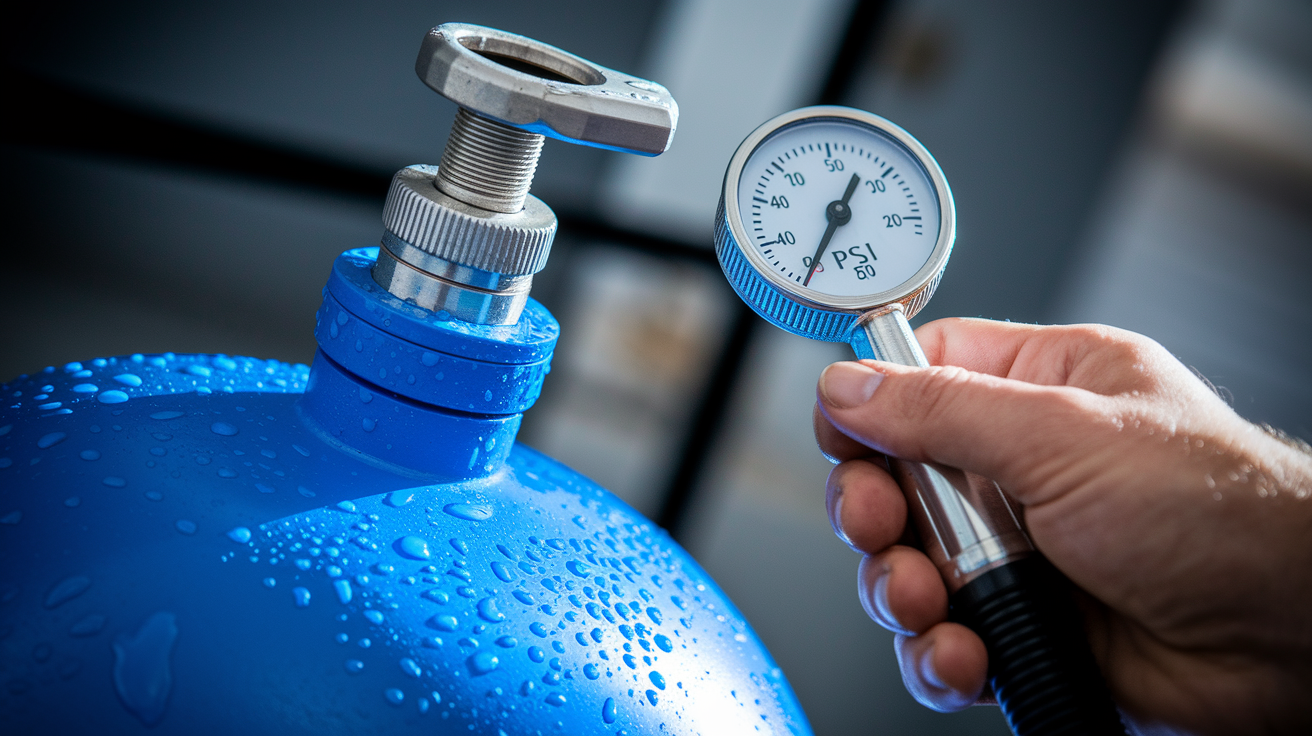
Testing a pressure tank means checking the air charge when the tank’s completely empty. You’re seeing if the compressed air side is holding the right pressure to support your household water system.
The whole thing takes 20 to 30 minutes with tools you already have. Drain the tank, measure air pressure, compare it to your switch settings, adjust if needed.
Here’s the process. Turn off power to the well pump at the disconnect or breaker panel. Close the main shut-off valve between the tank and your home. Connect a garden hose to the drain valve at the tank’s bottom. Secure the free end with a brick so it doesn’t jump around. Open the drain valve slowly, then fully, and let all the water out.
You’ll know it’s empty when three things happen together: the pressure gauge reads zero, no water flows from the drain, and the tank sounds hollow when you tap it with your knuckles. Full tanks can weigh over 500 pounds. You can’t test air pressure accurately with water still inside.
Find the air valve on your tank. Steel tanks have it at the top, composite tanks near the base. Remove the plastic cap. Press a tire pressure gauge firmly onto the valve and read the PSI. Compare what you see to the target pressure for your system. Add or release air to hit the right number. If water squirts from the valve when you press the gauge, that’s bladder failure.
What your pressure reading means:
Air over water tanks show zero pressure when drained. That’s normal. These older tanks don’t maintain separate air pressure.
Bladder tanks should hold some air when drained, typically 25 to 40 PSI depending on your settings.
Low pressure means more than 2 PSI below your cut in pressure. You need to add air.
Water squirting from the air valve or zero pressure in a bladder tank means the bladder’s ruptured. You need professional service for tank replacement.
Target pressure is 28 PSI for standard 30/50 switches or 38 PSI for 40/60 switches. Always 2 PSI below the cut in pressure. Readings outside this range need adjustment. Readings within 2 PSI of your target confirm everything’s working and needs no adjustment.
Pressure Switch Settings and Tank Air Charge Relationship
Tank air pressure has to be set 2 PSI below the pressure switch cut in point. These numbers work together. Change one and you must adjust the other.
Find your pressure switch settings on the label inside the switch cover. Most residential switches are preset to either 30/50 or 40/60. The first number is cut in pressure (when the pump starts), the second is cut off pressure (when the pump stops).
| Pressure Switch Setting | Tank Air Pressure (PSI) | Cut-In Pressure | Cut-Off Pressure |
|---|---|---|---|
| 30/50 (most common) | 28 PSI | 30 PSI | 50 PSI |
| 40/60 | 38 PSI | 40 PSI | 60 PSI |
| Custom settings | Cut-in pressure minus 2 PSI | Varies | Varies |
The 20 PSI gap between cut in and cut off is required on all pressure switches. This separation prevents your pump from cycling constantly. Never set cut off pressure above 60 PSI or below 20 PSI. Going higher damages pipes, fittings, and fixtures throughout your home. Going lower fails to provide adequate water pressure for normal use.
Most well tanks come from the factory preset at 30/50 with 28 PSI air charge. That’s why 30/50 is the standard on most residential systems. If someone cranked your pressure switch to 40/60 for better water pressure but never adjusted the tank air charge, your system won’t work right.
When to adjust tank air pressure:
Add air when measured pressure is more than 2 PSI below your cut in. For example, 26 PSI or lower on a 30/50 system.
Release air when measured pressure is 2 PSI or more above your cut in. For example, 32 PSI or higher on a 30/50 system.
No adjustment needed when pressure is within 2 PSI of target. Anywhere from 26 to 30 PSI on a 30/50 system is acceptable.
Don’t overinflate. Adding too much air reduces water storage capacity inside the tank and can damage the bladder through excessive stress during cycling.
Understanding Pressure Tank Function in Well Systems
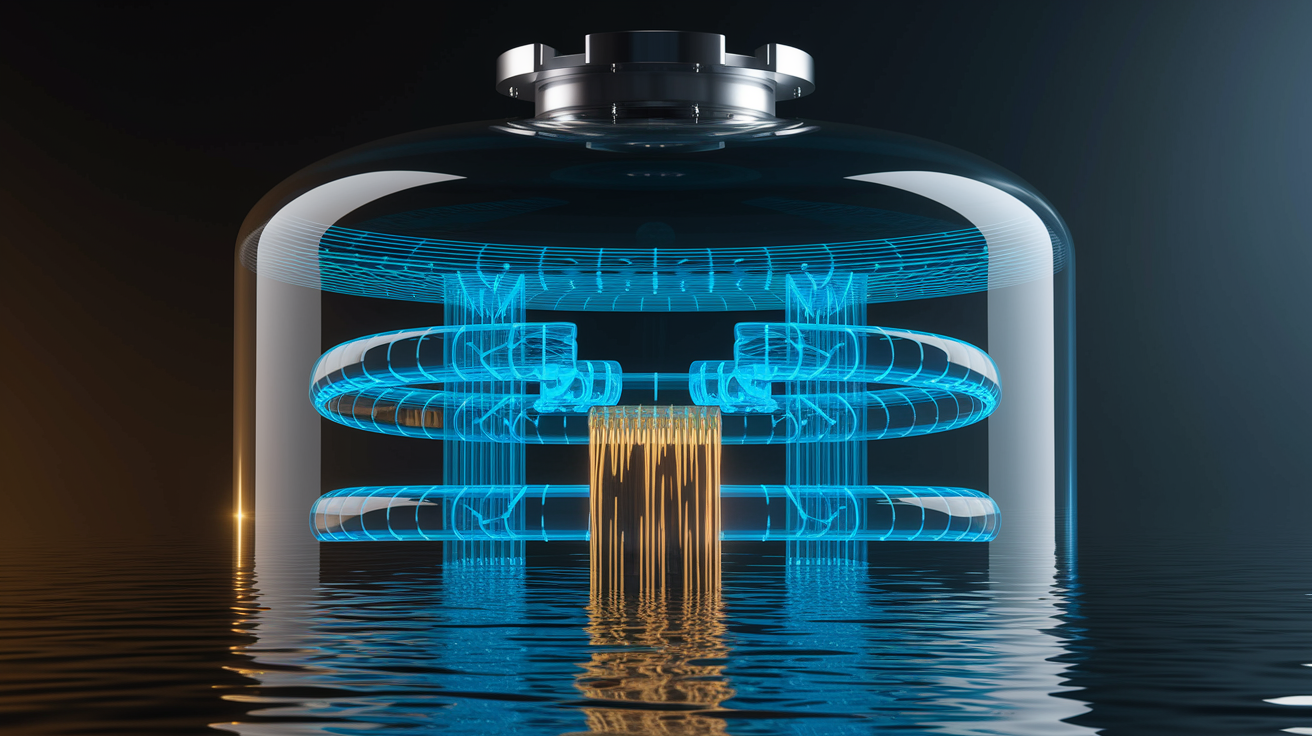
Well pressure tanks use compressed air to create household water pressure. Steel tanks have air chambers separated from water by a rubber diaphragm. Composite tanks use balloon shaped air bladders. Both do the same job but use different construction.
When water flows into the tank from your well pump, compressed air bears down on the diaphragm or bladder, increasing internal pressure. Think of squeezing a water balloon. The air pressure outside pushes on the flexible barrier, which pushes on the water inside. That compressed air creates the pressure you feel at your faucets. More water enters, the air compresses more, and pressure climbs higher.
Pressure switches control the pump by monitoring cut on and cut off points. When household water use drops pressure to the cut on point (typically 30 PSI), the switch closes and starts the pump. The pump refills the tank until pressure reaches cut off (typically 50 PSI), then the switch opens and stops the pump. The tank delivers pressurized water to your home until the cycle repeats.
The tank’s most important job is protecting well pumps from short cycling. Without a properly charged tank, the pump would start and stop every time you turned on a faucet. Dozens or hundreds of times per day. That constant cycling generates excessive electrical current and heat that shortens motor life dramatically. A properly functioning pressure tank buffers these cycles. The pump runs for a minute or two to refill the tank, then rests while stored water handles household demand. Submersible well pumps are water cooled, but they still generate significant heat from electrical current during operation. Frequent cycling doesn’t give them enough time to cool down between runs.
Recharging a Low Pressure Tank with Air
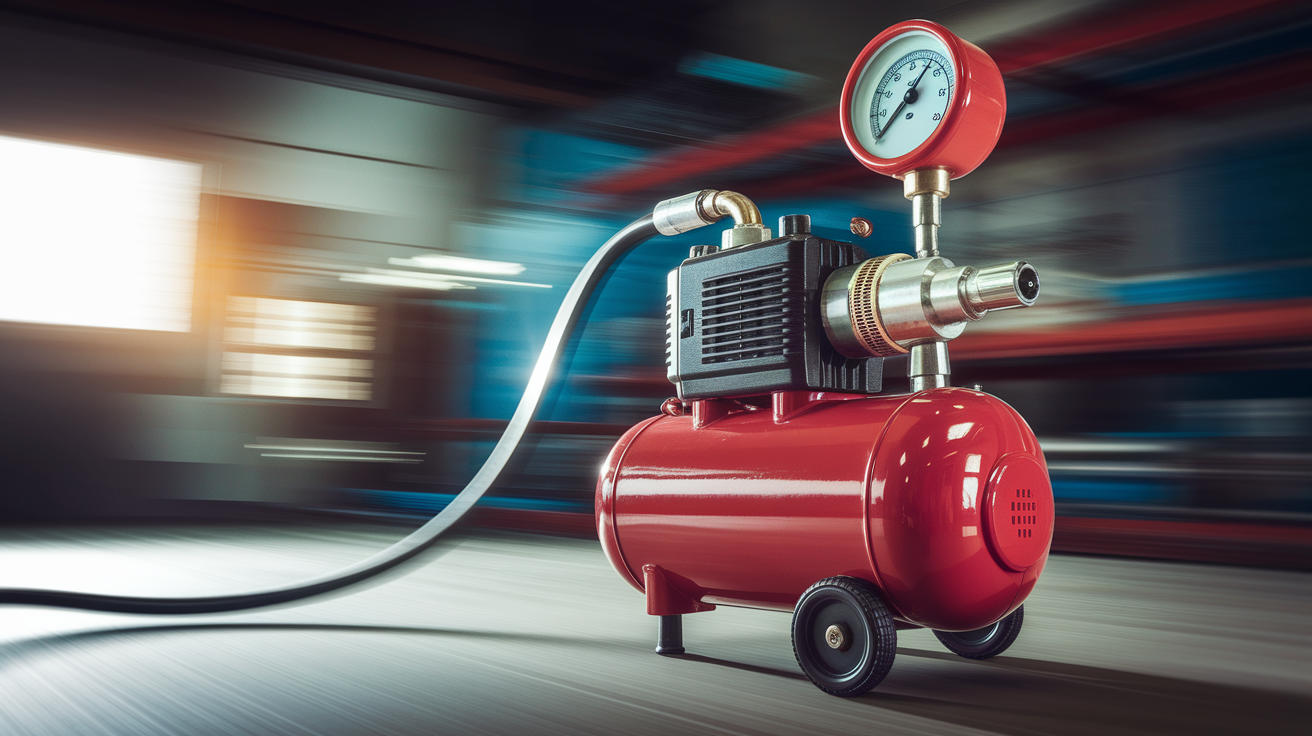
Use an electric air compressor for recharging pressure tanks. Bike pumps don’t generate enough pressure, and manual pumping takes forever.
Confirm the tank is completely empty and drained. Pressure gauge reads zero, hollow tapping sound. Attach the air compressor hose directly to the tank’s air valve, same connection as a car tire. Add air slowly while watching the pressure gauge on the compressor. Stop when you reach your target pressure. 28 PSI for 30/50 switches, 38 PSI for 40/60 switches. Verify the final pressure with your tire gauge after disconnecting the compressor.
Overinflating damages the bladder and reduces water storage capacity. Too much air pressure squeezes the bladder smaller, leaving less room for water. This forces the pump to cycle more frequently because the tank holds less water between cycles. Excessive pressure also stresses the bladder material, causing premature cracking and leaks.
Replace the valve cap tightly after adding air. Air can leak slowly over time through an uncapped valve, especially if dust or debris settles on the valve core. The cap also protects the valve stem from physical damage and corrosion.
Identifying Waterlogged and Failed Bladder Tanks
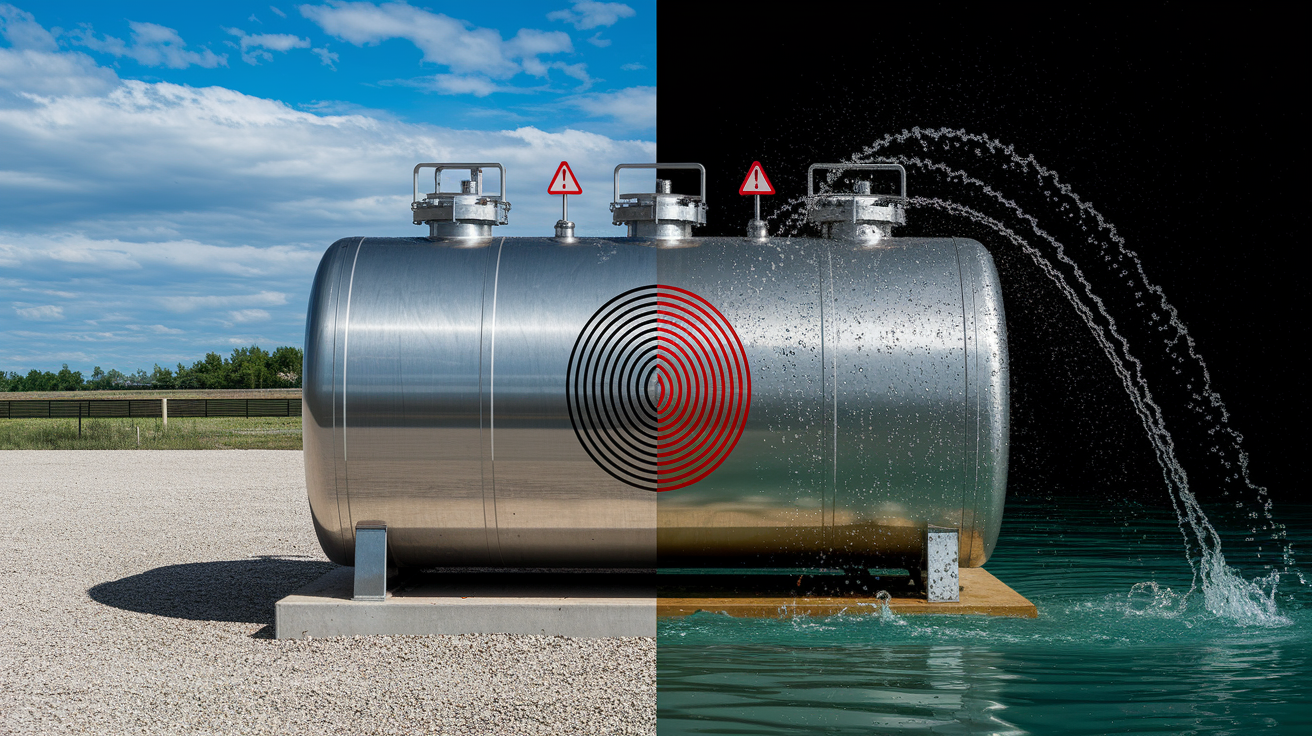
Waterlogged tanks are completely filled with water or contain too much water to function correctly. This happens when the bladder fails and allows water into the air chamber, or when air slowly leaks out over months or years until no air cushion remains.
Bladder failure occurs from repeated expansion and contraction creating pinhole leaks that allow air to escape. Every time your pump cycles, the bladder flexes. After thousands of cycles, the rubber develops tiny tears. Once air starts leaking through these tears, water fills the space where air should be.
Symptoms of bladder failure or waterlogging:
Pump cycles on and off rapidly, sometimes every 30 seconds or less.
Water squirts out of the air valve when you press a pressure gauge against it.
Tank won’t hold added air. Pressure drops to zero within hours of recharging.
No hollow sound when tapping the tank. Sounds dull and heavy like it’s full of water.
Pressure gauge shows pressure dropping abnormally fast after a normal pump cycle.
Water squirting from the air valve when you test pressure confirms a ruptured bladder. You need tank replacement. There’s no repair option. The bladder is sealed inside the tank and can’t be accessed or patched. Some older tanks had replaceable bladders, but most modern residential tanks are welded shut.
Failed bladders may work briefly but will eventually block the water inlet opening inside the tank. Once the loose bladder material shifts and covers the inlet, no water can flow into your home even though the pump is running and the tank is full. Waterlogging also causes excessive pump cycling that generates heat and electrical stress, shortening pump lifespan from 15 years down to 5 years or less in severe cases.
Restarting Your Well System After Pressure Tank Testing
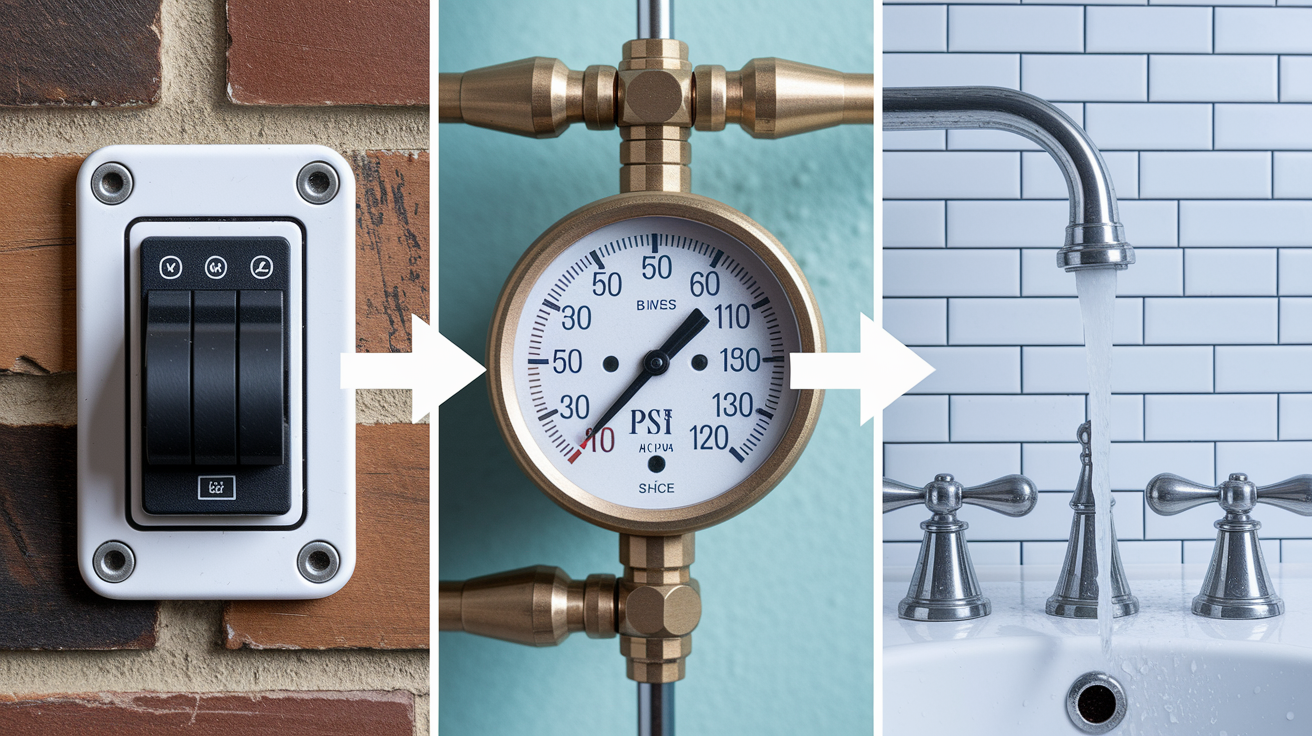
The restart sequence matters. Rushing this can damage fixtures, create leaks at fittings, or trip the pump’s thermal overload protection.
Verify the drain valve at the bottom of the tank is completely closed. Confirm the pressure switch cover is securely in place. Never energize the pump with the cover removed. Keep the main shut off valve to your home closed for now. Turn electrical power back on at the disconnect switch or circuit breaker. Let the pump run until it refills the tank and shuts off automatically. You’ll hear it stop.
Open the main shut off valve to your home slowly. A quarter turn at a time. Purge air and sediment from your plumbing by running cold water at faucets without aerators, like laundry tubs, until water runs clear and steady.
Dirty water and air sputtering from your faucets is completely normal after tank work. The draining and refilling process stirs up sediment that settled in pipes and introduces air into the lines. Start your purge at the closest faucet to the tank, usually a basement laundry sink. Run cold water for several minutes until it flows clear and steady without spurts or bubbles.
Circle back to check the work area for leaks after the system has been running for 30 minutes. Exercising valves and making adjustments can disturb old fittings. Small drips might not appear immediately but show up once full system pressure returns. Check around the drain valve, air valve cap, pressure gauge connections, and the main shut off valve. Tighten any connections that show moisture, but don’t overtighten. Many of these fittings are brass and can crack if forced.
Tank Maintenance and Preventing Future Pressure Issues
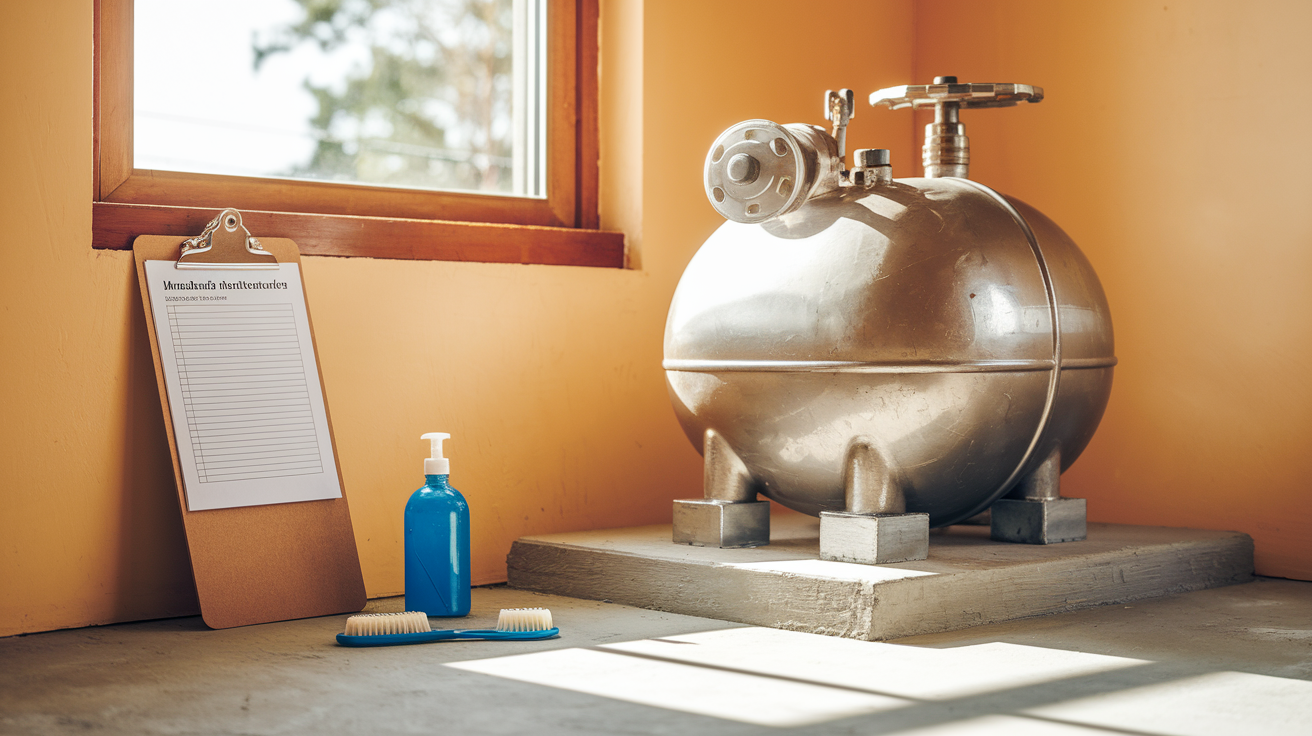
Annual pressure checks and simple maintenance can extend tank lifespan from 10 years to 20 years or more. Most people never check their pressure tanks until something goes wrong, but 15 minutes once a year prevents expensive failures.
Check and adjust air pressure every 12 months using the complete procedure outlined earlier. Drip soapy water on the air valve to detect slow air leaks. Bubbles indicate leaks requiring valve core replacement. Keep the tank elevated on a platform or concrete pad. Never sit it directly on dirt or continually wet surfaces. Maintain distance between the tank and chlorinators to avoid corrosive vapor exposure. Monitor and control water quality issues like high iron or manganese that coat bladders. Replace corroded or damaged valve caps immediately to prevent air loss and contamination.
Environmental factors silently damage tanks over years. Tanks sitting directly on ground or continually moist surfaces rust through from the outside, losing structural integrity until they suddenly fail and flood your mechanical room. Chlorinators give off corrosive vapors that attack the tank’s exterior coating and weaken welds. Even the air above a chlorinator is corrosive enough to cause pinhole rust within a few years. Excessive chlorine levels in the water itself damage bladders from the inside, making the rubber brittle and less flexible.
Sediment like iron and manganese coats the bladder surface over time, causing it to harden and lose flexibility. Once a bladder gets stiff, it cracks during normal expansion and contraction. The Preventative home maintenance checks page covers additional annual inspection schedules and when to consider professional service. Prevention costs far less than emergency tank replacement. A $20 annual pressure check beats a $600 tank replacement plus potential water damage from a rupture. Soap solution dripped on the air valve detects air leaks before they cause complete pressure loss. Look for bubbles forming around the valve stem. If you see bubbles, the valve core needs replacement.
When to Call a Professional for Pressure Tank Service
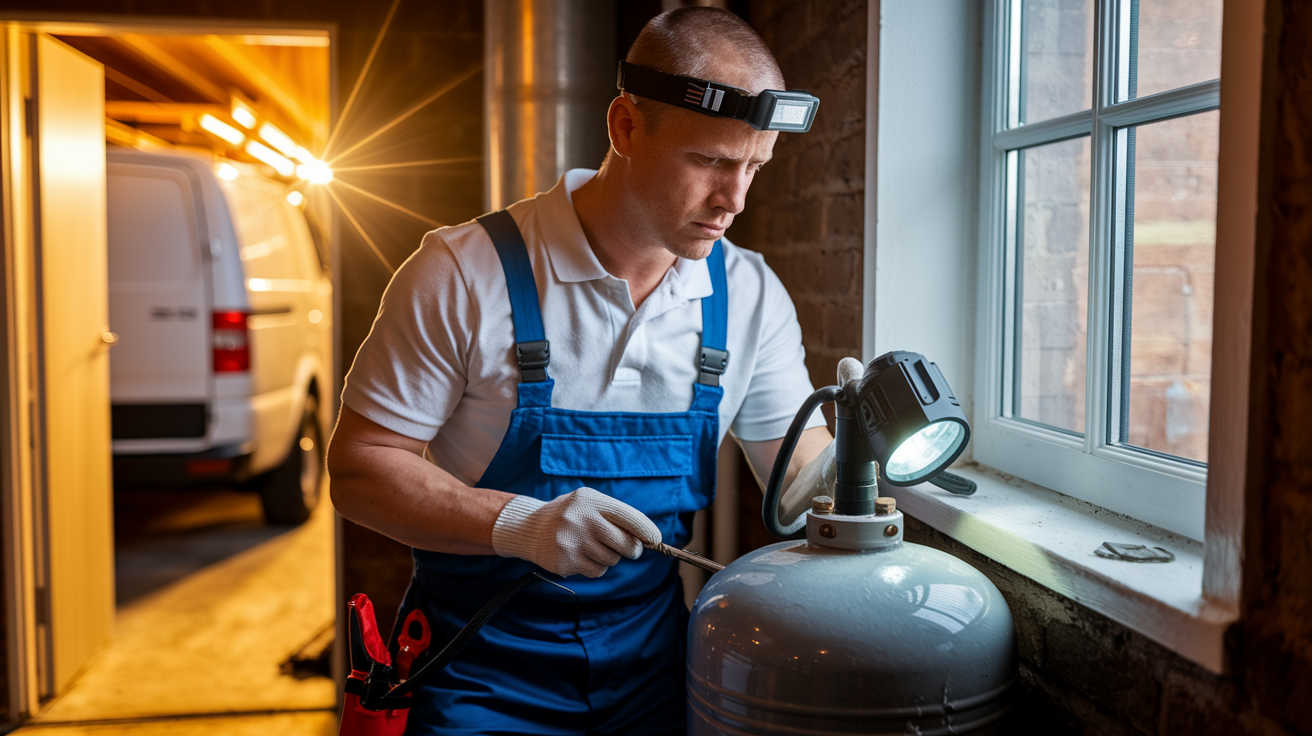
Pressure testing is DIY friendly, but certain conditions require professional help. Knowing when to stop prevents injuries, additional damage, and wasted money on parts that won’t fix the underlying problem.
Water squirting from the air valve during testing confirms a ruptured bladder. You need complete tank replacement. This isn’t a DIY repair. Professional service includes safely removing the old tank (which can weigh over 500 pounds when full), sizing and installing the correct replacement, verifying proper pressure settings, and testing for leaks. Attempting tank replacement without experience risks injury from the weight, improper pressure settings that damage the new tank, and connection leaks that cause water damage.
Repeated pressure loss, where you add air but the tank loses pressure again within days or weeks, indicates either a leaking air valve, a failed bladder, or a cracked tank. Professionals have pressure testing equipment that can isolate which component is failing. They can also evaluate whether your tank is properly sized for your pump’s output. Tank drawdown capacity must match pump flow rate to prevent short cycling damage. If your 10 gallon per minute pump runs with a tank that only provides 5 gallons of drawdown, the pump will short cycle no matter how perfectly you set the air pressure.
Scenarios requiring professional service:
Water squirting from the air valve indicating ruptured bladder and need for complete tank replacement.
Tank that won’t hold added air for more than a few days. Failed bladder or cracked tank body.
Desire to adjust pressure switch settings beyond factory presets. Requires electrical knowledge and recalibration.
Repeated tank failures within 3 to 5 years suggesting improper sizing or water quality issues.
Need for system evaluation when pump cycles more frequently despite correct tank pressure. May indicate undersized tank, failing pressure switch, or pump output mismatch.
Final Words
Knowing how to check a water pressure tank protects your well system from expensive pump damage and keeps water flowing reliably throughout your home.
The testing process is straightforward. Shut off the power, drain the tank completely, measure the air pressure, and compare it to your switch settings. Most issues show up clearly: low pressure means add air, water from the valve means bladder failure, and frequent pump cycling means something needs attention.
Annual pressure checks take less than half an hour and catch problems before they turn into emergencies. If you find water squirting from the air valve or the tank won’t hold pressure, that’s when it’s time to call for help.
Regular testing means fewer surprises and a system that lasts.
FAQ
How do you know if a pressure tank is bad?
You know a pressure tank is bad by watching for water squirting from the air valve, zero pressure in bladder tanks when drained, excessive pump cycling, or pressure dropping quickly after normal operation. These signs confirm bladder failure requiring tank replacement.
What is the average lifespan of a water pressure tank?
The average lifespan of a water pressure tank ranges from 10 to 15 years with proper maintenance and favorable conditions. Sediment buildup, excessive chlorine, ground moisture, and corrosive environments can shorten this timeframe significantly. Annual pressure checks extend tank life.
How do I reset a pressure tank?
You reset a pressure tank by shutting off power to the pump, draining the tank completely through the drain valve, checking air pressure at the schrader valve, and adjusting to 2 PSI below your pressure switch cut-in setting. Then close the drain, restore power, and refill the system.
Can I check the pressure of my pressure tank with water in it?
You cannot accurately check the pressure of a pressure tank with water in it because the gauge will measure combined water and air pressure instead of just the air charge. The tank must be completely drained first to get a reliable air pressure reading.