
Your toilet might be wasting 200 gallons of water a month because the fill valve is set wrong. Most people don’t realize that simple quarter turn of a screw or a half inch float adjustment fixes weak flushes, constant running, and water waste. You don’t need a plumber for this. The right water level sits 0.5 to 1 inch below the overflow tube, and getting it there takes about 5 minutes once you know which valve type you have. We’ll show you exactly how to adjust each common fill valve so your toilet flushes right and stops wasting water today.
Step-by-Step Fill Valve Water Level Adjustment by Valve Type
The target water level should sit 0.5 to 1 inch below the overflow tube. Most adjustments take 5 to 10 minutes. Some valve types need the water supply shut off before you start.
You’ll adjust based on which fill valve type is installed in your tank. The three most common types each use different methods, but they all achieve the same result: getting the water height right so your toilet flushes properly without wasting water or creating overflow problems.
Float Cup Valve Adjustment (Most Common)
This is what you’ll find in most homes built after 1990. Look for a cylindrical plastic cup that slides up and down a vertical shaft on the left side of your tank.
Most float cup valves use a spring clip adjustment. Press both sides of the metallic spring clip with your fingers and slide the float cup up to raise the water level or down to lower it. Move it in small increments, about half an inch at a time, so you don’t overshoot the target level.
Some float cup models have an adjustment screw instead. Turn the screw counterclockwise 1 to 2 rotations to raise the water level or clockwise 1 to 2 rotations to lower it. Eight complete screw turns typically adjust the water level by 0.5 inch. For example, if you need to raise the level a quarter inch, turn the screw counterclockwise about 4 times.
Ballcock Valve Adjustment (Ball Float)
Ballcock valves have a rubber or plastic ball attached to a metal rod that extends from the valve body. You’ll typically see this type in older toilets, though some newer models still use this design.
If your ballcock has a screw on top where the rod connects, turn it clockwise to lower the water level or counterclockwise to raise it. Make quarter turn adjustments and test between each one.
If there’s no screw, you’ll need to gently bend the metal rod. Bend it upward to raise the water level or downward to lower it. Use steady, gentle pressure. Don’t force it. Never try to bend plastic rods, which will snap. On ballcock valves, position the bottom of the ball float level with the fill line, and expect to make multiple attempts before you get the level exactly right.
Internal Float Valve Adjustment
Internal float valves have a large plastic top with no visible external float. The float mechanism sits inside the valve body. Before adjusting this type, shut off the water supply at the wall valve behind the toilet, then flush to empty the tank.
Turn the entire valve counterclockwise to unlock it. Pull the top of the valve up to raise the water level or push it down to lower the water level. Turn the valve clockwise to lock it in the new position, then restore the water supply by turning the wall valve counterclockwise.
After making your adjustment on any valve type, turn the water back on and let the tank fill completely. Perform a test flush to verify the water reaches the correct level and the toilet flushes with proper power. If the level isn’t quite right, repeat the adjustment process until you hit the target height of 0.5 to 1 inch below the overflow tube.
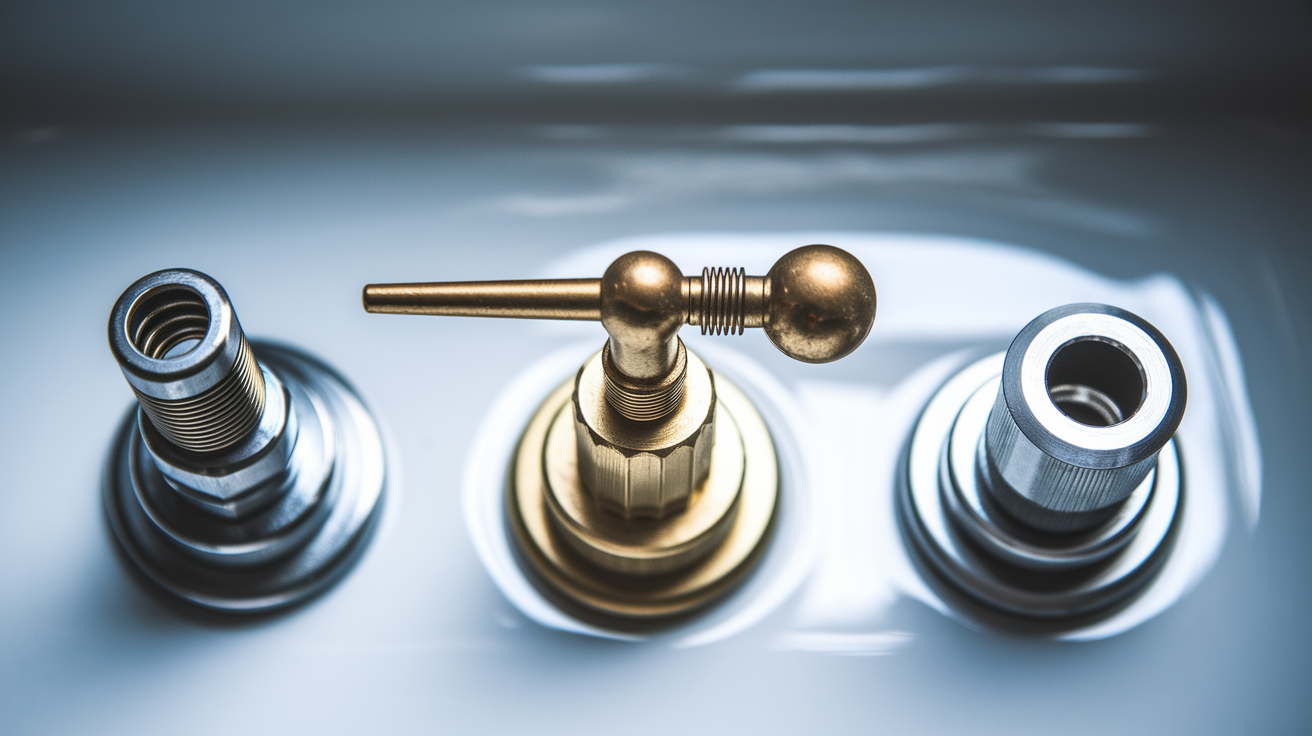
Identifying Your Toilet Fill Valve Type
Remove the toilet tank lid carefully and set it on a towel or soft surface. Tank lids are heavy and crack easily if dropped or placed on hard floors.
The fill valve is the tall mechanism on the left side of the tank when you’re facing the toilet. It’s connected to the water supply line underneath the tank. Look at the float mechanism attached to or built into this valve. That’s what tells you which type you have.
- Float cup valve: cylindrical plastic cup sliding up and down a vertical shaft (most common in homes built after 1990)
- Ballcock with ball float: brass or plastic ball attached to a rod or arm extending from the valve
- Internal float valve: large plastic top piece with no external float visible (Fluidmaster 400 series)
- Diaphragm ballcock: round valve body with brass or plastic housing and external float arm
- Pressure activated valve: no float mechanism visible, sits low in tank water (rare in residential toilets)
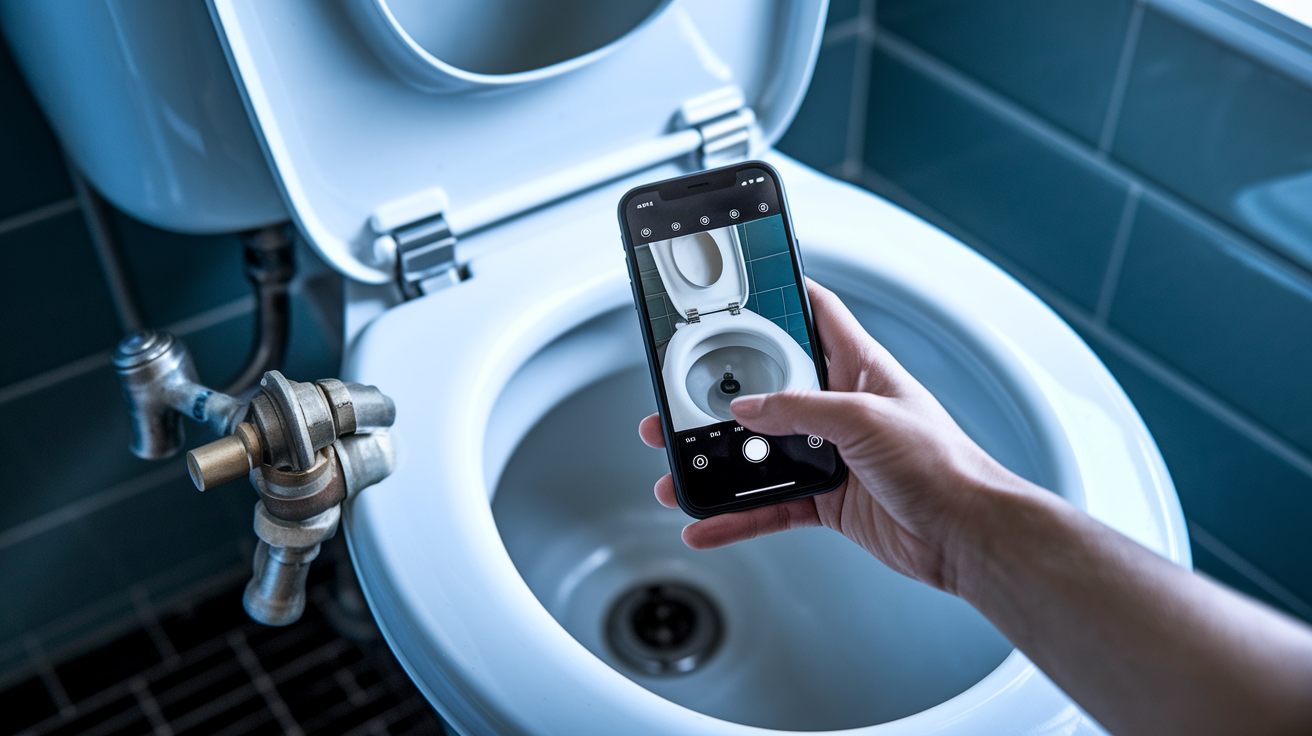
Most homes have either a float cup or ballcock valve type, which makes adjustment straightforward once you identify which one you’re working with. Take a photo with your phone if you need to reference the valve type while reading instructions.
Common Water Level Problems and Quick Diagnosis

Incorrect water level causes multiple toilet performance issues, from weak flushes to constant running. Visual inspection of the tank and listening for unusual sounds can quickly identify whether your water level is too high, too low, or if there’s a valve problem.
Look at where the water sits in relation to the overflow tube and check for water movement or sounds after the tank finishes filling.
| Problem Symptom | Likely Cause | Water Level Fix |
|---|---|---|
| Weak or incomplete flush | Water level too low | Raise fill valve adjustment |
| Continuous hissing or running | Water level too high | Lower fill valve adjustment |
| Water spilling into overflow tube | Water level above overflow | Lower fill valve immediately |
| Toilet runs after flush completes | Fill valve not shutting off | Adjust or clean valve |
| Partial flush performance | Insufficient tank water | Raise water level |
| Tank fills very slowly | Water pressure or valve clog | Check valve and water supply |
The proper water level sits 0.5 to 1 inch below the top of the overflow tube. If you see a calcium line or water stains on the interior tank walls, that often shows where the water level used to sit when the toilet was functioning correctly. Use that as your target height. If adjusting the water level to the correct height doesn’t solve your toilet problem, the fill valve itself may need cleaning or replacement rather than just adjustment.
Troubleshooting After Fill Valve Adjustment
Fine tuning the water level may require 2 to 3 adjustment attempts and test flushes to get the height exactly right. Small changes make a difference in flush performance and water waste.
- Water level still too low after adjustment: Make additional counterclockwise screw turns or raise the float higher. Check that the shutoff valve under the tank is fully open (turn counterclockwise until it stops).
- Water level still too high: Make additional clockwise screw turns or lower the float position. Verify the overflow tube isn’t cracked or damaged, which would change where the “safe” water level should be.
- Toilet still runs continuously: Check that the refill tube is properly clipped to the overflow tube and not hanging loose in the tank water, which prevents proper shutoff.
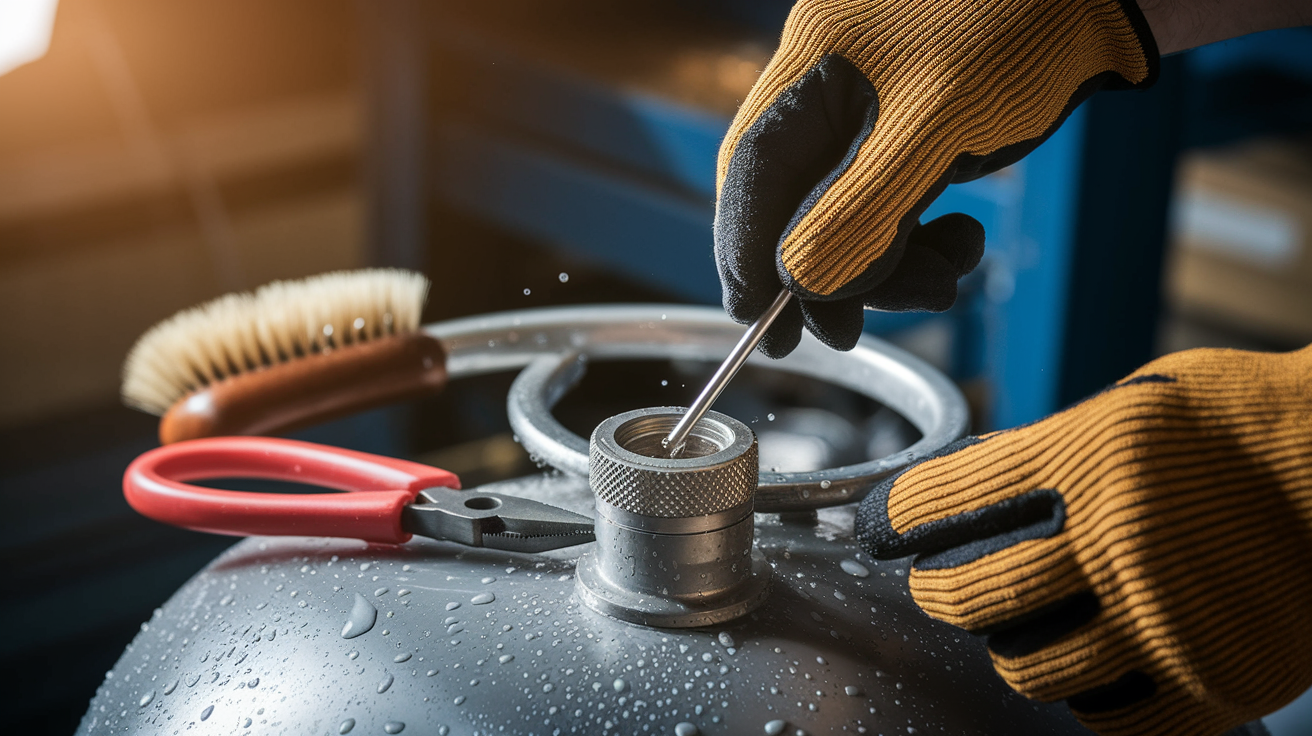
- Hissing sound persists: The fill valve may need cleaning or washer replacement due to mineral deposits. Remove the cap and washer, rinse both in clear water, then backflush by placing a cup over the valve opening and turning the water supply on for 5 to 6 seconds with the cap inverted on top of the valve hole. This forces out debris through pressure.
- Water fills too slowly: Low water pressure issue or clogged valve inlet screen. Remove the valve and clean the inlet screen where water enters.
- Adjustment screw won’t turn: Apply penetrating oil and let it sit 10 minutes. Manually push the button up and down multiple times until it moves freely. Or replace an aged valve that’s seized up.
- Float mechanism sticks: Clean around the float mechanism to remove sediment buildup that prevents smooth movement up and down.
Regular inspection every 6 months helps catch small issues before they turn into emergencies. Annual cleaning of fill valve components prevents mineral deposits and sediment from affecting performance. Hard water areas require more frequent valve inspection and cleaning because calcium buildup accelerates. Check and adjust water level seasonally if municipal water pressure changes affect how your tank fills. Inspect the refill tube connection to the overflow tube to make sure it remains properly clipped and positioned. Replace rubber washers and seals every 2 to 3 years as preventive maintenance even if the valve still functions properly.
If problems persist after adjustment attempts and basic troubleshooting, your fill valve may be worn out. The typical lifespan is 5 to 7 years, and replacement becomes more cost effective than continued repairs on an old valve. Contact a professional plumber for complex issues or if you’re uncomfortable with DIY toilet repair. There’s no shame in calling someone who does this work daily. Simple preventive maintenance extends valve lifespan from 5 years to potentially 10 or more years and prevents emergency toilet repairs at inconvenient times.
When to Replace Rather Than Adjust Your Fill Valve

Fill valves have a typical lifespan of 5 to 7 years depending on water quality and how often the toilet gets used. Hard water shortens that lifespan, while soft water can extend it.
Replacement is often faster and more reliable than repairing a deteriorated valve. When components start failing, other parts usually aren’t far behind. A new valve solves multiple problems at once instead of addressing one worn piece at a time.
- Valve is more than 7 years old and showing signs of wear or reduced performance
- Visible cracks, corrosion, or heavy mineral buildup on the valve body that cleaning won’t remove
- Adjustment mechanisms are stripped, broken, or completely non functional
- Water continues leaking from the base of the valve into the tank even when it’s supposed to be shut off
- Persistent hissing or running that doesn’t stop after adjustment attempts and thorough cleaning
- Float mechanism is damaged, cracked, or doesn’t move freely even after cleaning
- Replacement parts are unavailable for obsolete valve models (common with valves older than 15 years)
Universal fill valve kits like the Fluidmaster 400A cost $10 to $25 and fit most standard toilets. Installation takes 15 to 30 minutes for DIY homeowners who follow the included instructions. Replacing the entire valve eliminates guesswork about which specific washer or internal component has failed. Professional plumber installation costs $150 to $300 including parts if you prefer expert installation or run into complications during removal of the old valve.
Final Words
Getting your toilet fill valve water level dialed in takes just a few minutes once you know what type of valve you’re working with.
Most adjustments involve a simple screw turn or float clip slide. Test it, watch the refill, and tweak again if needed.
If the valve fights you or keeps acting up after cleaning and adjusting, replacement beats endless troubleshooting. A new universal valve runs about $15 and installs fast.
Your toilet will flush better, stop running, and you’ll avoid those middle-of-the-night hissing sounds. Worth it.
FAQ
Why is my toilet bowl not filling up with enough water?
Your toilet bowl not filling up with enough water is usually caused by a low water level in the tank. The fill valve needs to be adjusted higher, or the refill tube connection to the overflow tube may be loose or damaged.
Are all fill valves adjustable?
All modern fill valves are adjustable, though the adjustment method varies by type. Float cup, ballcock, and internal float valves each use different mechanisms like adjustment screws, spring clips, or twist-and-lock systems to change water level.
Can you change how much water is in your toilet bowl?
You can change how much water is in your toilet bowl by adjusting the tank water level, which controls bowl refill. The refill tube must connect properly to the overflow tube so water flows into the bowl after each flush.
How do I increase toilet fill rate?
You increase toilet fill rate by checking that your shutoff valve is fully open and cleaning the fill valve inlet screen to remove debris. Low water pressure or a clogged valve inlet screen are the most common causes of slow tank filling.
What is the correct water level in a toilet tank?
The correct water level in a toilet tank sits 0.5 to 1 inch below the top of the overflow tube. This height provides enough water for a complete flush without risking overflow or wasting water through continuous running.
How long does a toilet fill valve typically last?
A toilet fill valve typically lasts 5 to 7 years with normal use and average water quality. Hard water areas with high mineral content may see shorter lifespans, while regular cleaning and maintenance can extend valve life to 10 years or more.
What causes a toilet to keep running after flushing?
A toilet keeps running after flushing when the water level is too high and spills into the overflow tube, or when the fill valve doesn’t shut off properly. Adjusting the water level down or cleaning mineral deposits from the valve usually solves the problem.
Should I replace or adjust an old fill valve?
You should replace an old fill valve if it’s more than 7 years old and showing cracks, corrosion, or stripped adjustment mechanisms. Replacement takes 15 to 30 minutes and costs less than repeated repair attempts on worn components.
Why does my toilet make a hissing sound?
Your toilet makes a hissing sound when the fill valve has mineral deposits or a damaged washer preventing proper shutoff. Cleaning the valve cap and washer, then performing a backflush, usually stops the hissing noise.
How many times can I adjust my fill valve before getting it right?
You can adjust your fill valve 2 to 3 times during fine-tuning to reach the optimal water level. Each adjustment should be small, followed by a test flush to check performance before making additional changes.