
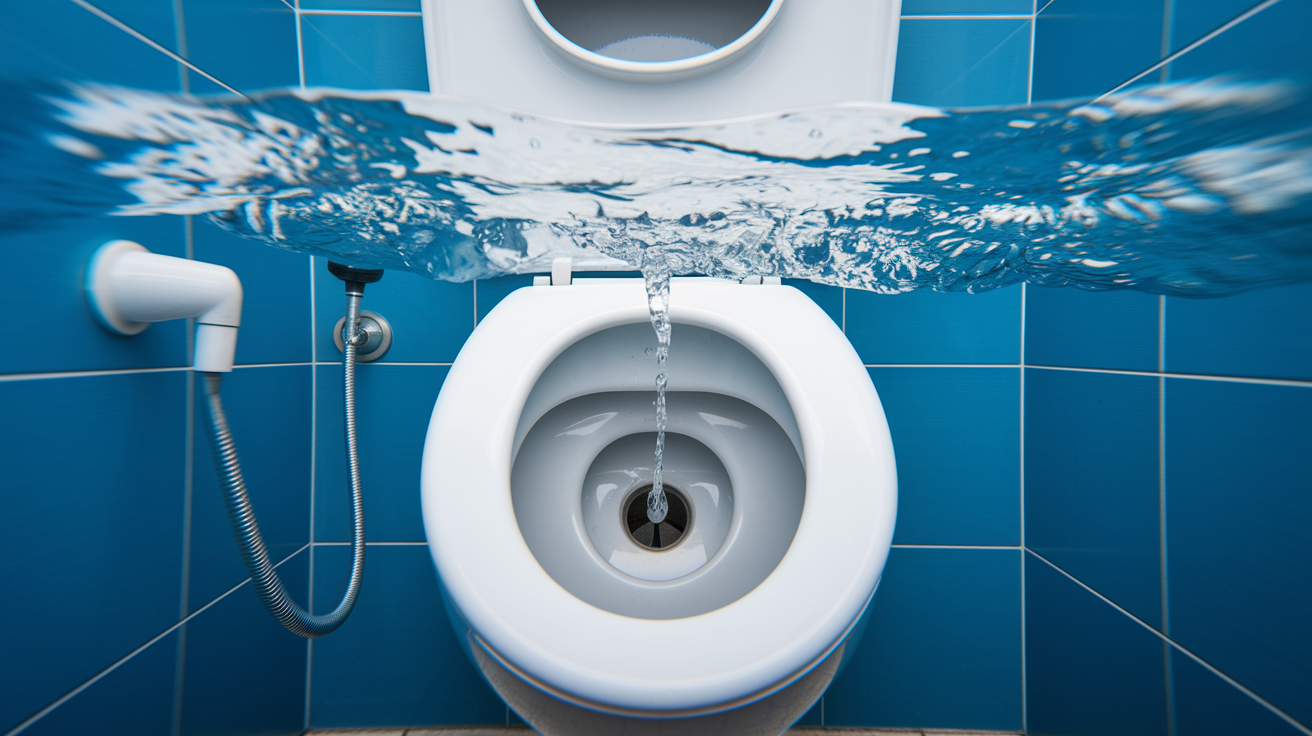
Your toilet’s fill valve does one job: refill the tank after every flush. When it stops working right, you’ll hear running water all night or deal with weak flushes that don’t clear the bowl. The Fluidmaster 400A fixes both problems in about 15 minutes. This universal valve fits most standard two piece toilets and includes everything you need for a complete replacement. We’ll walk you through each step so you can swap out that old valve, test for leaks, and get your toilet running the way it should.
Complete Step-by-Step Installation Process for the Fluidmaster 400A
The Fluidmaster 400A works with most standard toilets. Installation takes under 15 minutes if you’ve got basic tools handy.
Start by turning off the water. Find the shutoff valve (usually on the wall or floor behind the toilet) and rotate it clockwise until it stops.
Flush the toilet to drain the tank. Hold the handle down so the tank empties as much as possible.
Get rid of leftover water with a sponge or towel. Soak up whatever’s still sitting at the bottom of the tank.
Disconnect the supply line from the old fill valve using an adjustable wrench. Keep a bucket nearby because water’s going to drip out.
Remove the old valve by unscrewing the lock nut underneath the tank. Turn it counterclockwise, then lift the valve straight up and out.
Adjust the new valve height before you install it. Twist the threaded shank to make it taller or shorter. The critical level mark (stamped “CL”) needs to sit at least 1 inch above your overflow pipe.
Insert the new valve through the opening in the tank bottom. Make sure that shank washer sits flat against the tank.
Hand tighten the lock nut from underneath. Turn it counterclockwise onto the threaded shank until it’s snug. Don’t grab a wrench for this.
Reconnect the water supply line to the bottom of the valve. Thread the coupling nut counterclockwise by hand until it’s tight.
Attach the refill tube by sliding the small clip onto the overflow pipe. Position the tube so it points down into the pipe opening.
Turn the water supply back on slowly. Rotate the shutoff valve counterclockwise and watch the tank fill. Look for leaks.
Test everything by flushing the toilet. The valve should shut off on its own when the tank reaches the right level.
You’ve got to hand tighten all connections. Using a wrench or over tightening the lock nut can crack the porcelain, which means you’re looking at replacing the whole tank. After the tank fills, run dry fingers around the lock nut underneath and check the supply line connection. Even small drops mean you need to adjust something.
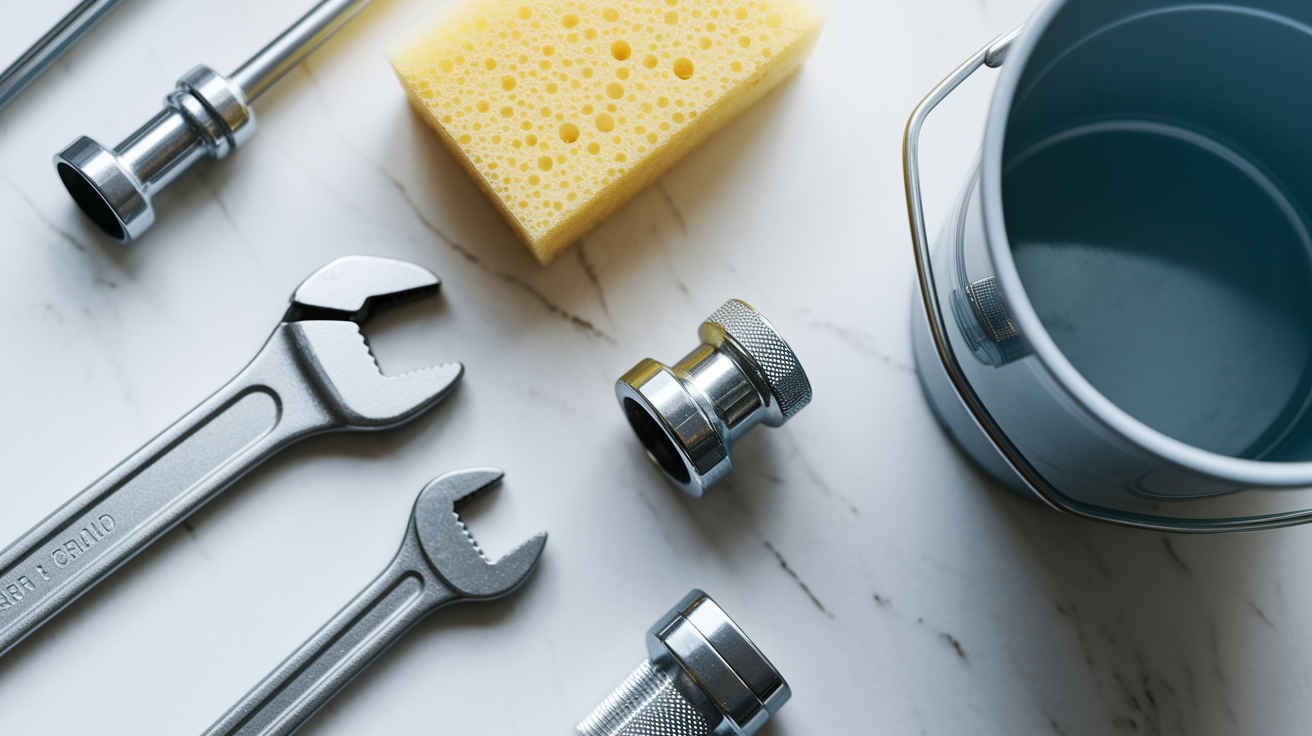
Required Tools and Parts for Fill Valve Installation
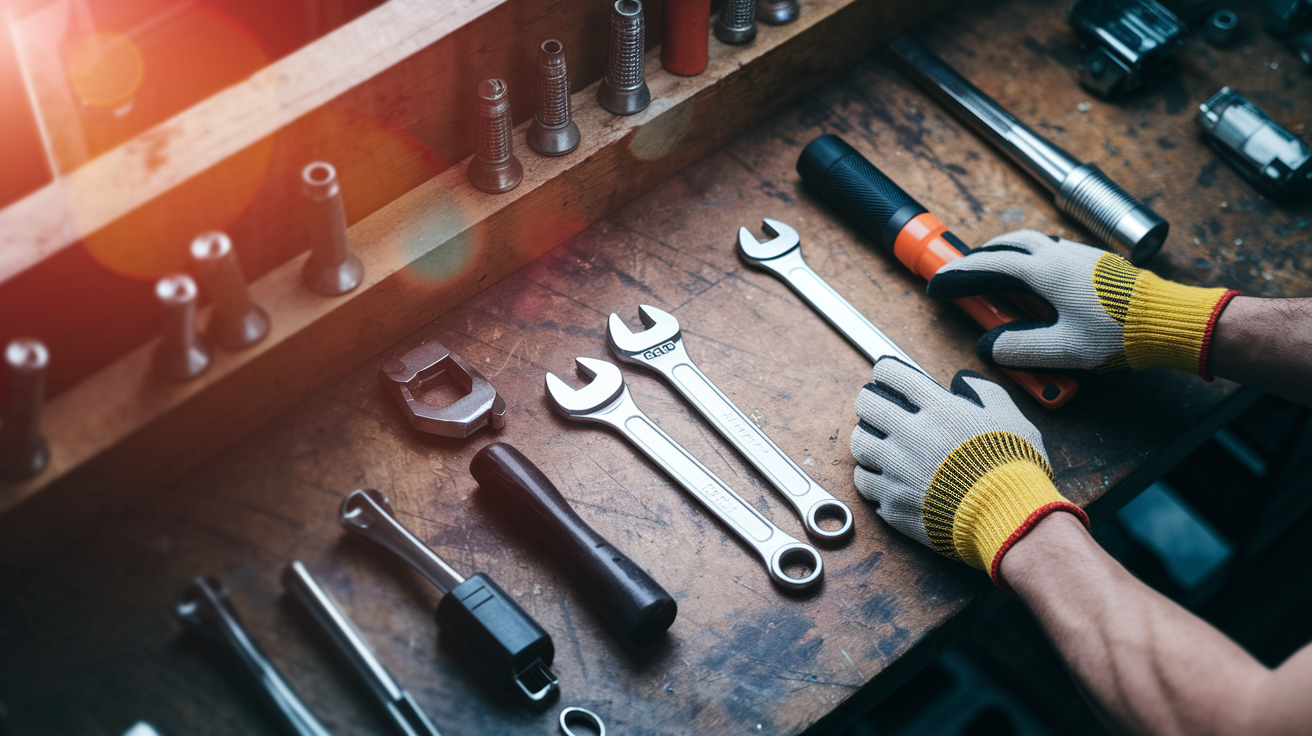
You probably already own everything you need. Getting it all together before starting saves you from running to the hardware store halfway through.
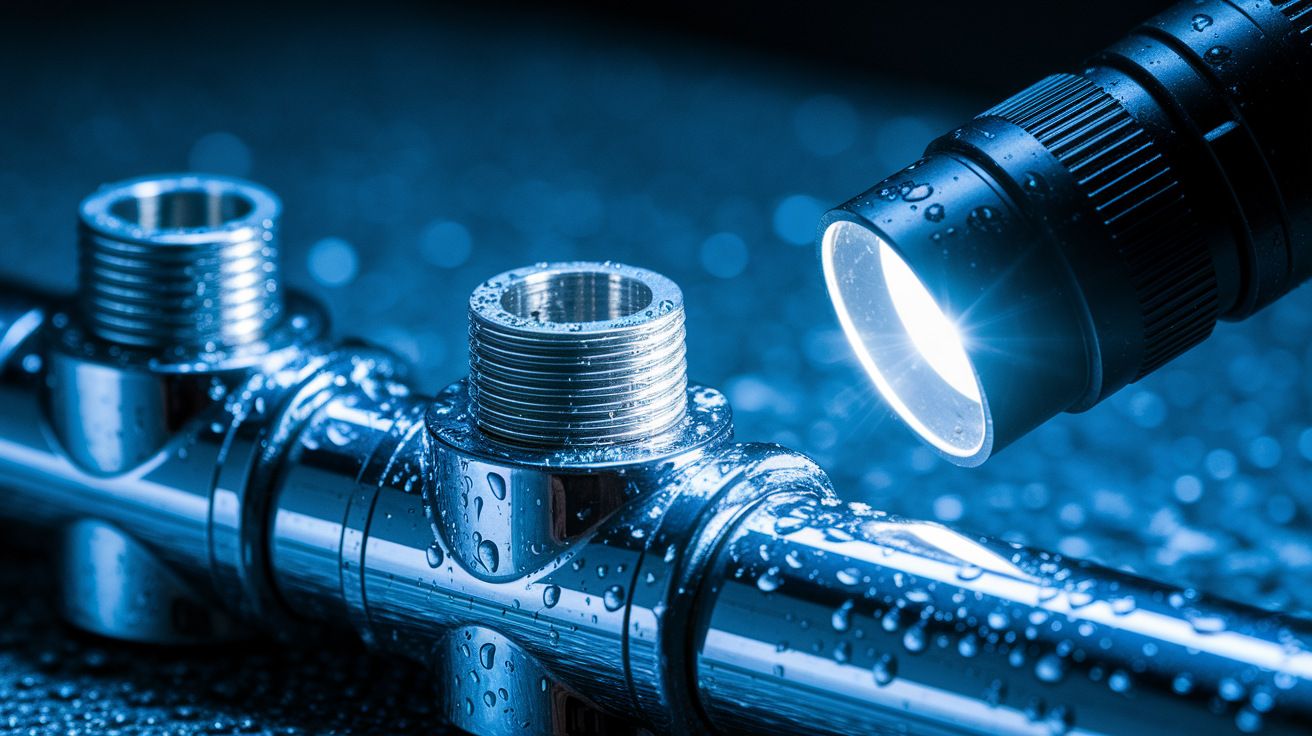
You’ll want an adjustable wrench or slip joint pliers for the supply line, a bucket to catch water, a sponge or towel for soaking up what’s left in the tank, and a flashlight so you can actually see what you’re doing underneath. Scissors are optional if you end up trimming the refill tube. Throw in an old towel for cleanup.
The Fluidmaster 400A comes complete. The box includes the main valve assembly with the float cup already attached, refill tube with clip, shank washer, lock nut, and angle adapter. Everything’s made from materials that resist corrosion even after years of sitting in water. Fluidmaster backs it with a 5 year warranty covering defects.
Fluidmaster 400A Components and Part Identification
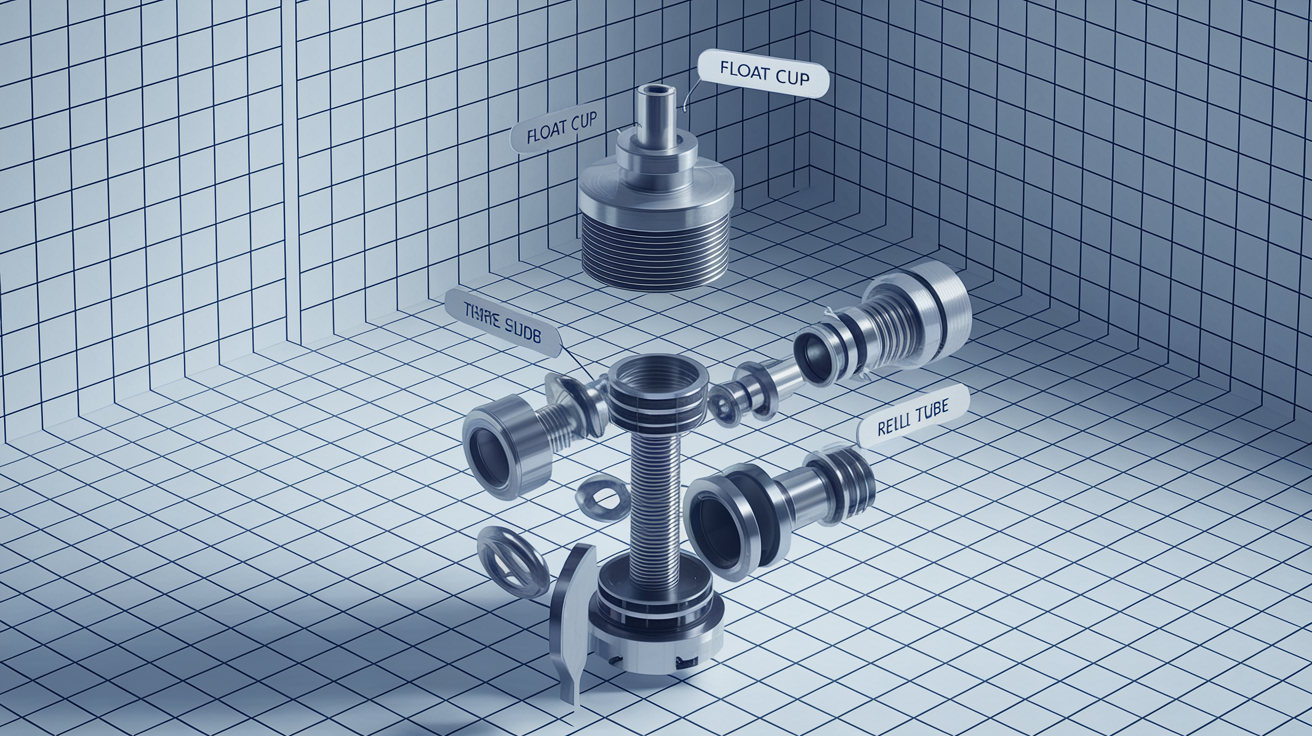
The main valve body holds the fill mechanism and has a threaded shank that goes through the tank bottom. This shank twists to adjust height anywhere from 9 to 14 inches. The float cup slides up and down on a stainless steel link. As the tank fills, the float rises and gradually closes the valve until water stops.
The angle adapter threads onto the bottom of the shank. It creates an air gap that stops water from getting sucked backward into your home’s water supply. The refill tube connects to a small outlet on the valve body and sends water into the overflow pipe during filling, which refills the bowl to the right level.
Here’s what you’re working with:
Valve body contains the internal fill mechanism and controls water flow
Threaded shank is the adjustable shaft that goes through the tank bottom and secures with the lock nut
Float cup is a hollow cylinder that rises with the water and triggers shutoff
Locking ring holds the float cup in place on the stainless steel link after you adjust it
Lock nut is the large plastic nut that threads onto the shank from underneath to hold everything in place
Shank washer creates a rubber seal between the valve shank and tank bottom
Refill tube directs water into the overflow pipe while the tank fills
Overflow pipe clip holds the refill tube in the right spot above the overflow pipe opening
Angle adapter connects the water supply line to the valve and keeps the required air gap
Coupling nut attaches the water supply line to the angle adapter at the valve bottom
Height Adjustment and Critical Level Positioning for the Fill Valve

You need to adjust height before installing the valve. Doing it afterward is a pain and might mess up your seal. The Fluidmaster 400A goes from 9 inches for compact toilets up to 14 inches for taller tanks.
Measure your overflow pipe from the tank bottom to the top of the pipe opening. That tells you the minimum height your valve needs.
Calculate the required height by adding at least 1 inch to that measurement (for the critical level requirement), plus another 2 inches for top cap clearance.
Twist the shank by holding the valve body with one hand and rotating the threaded shank with the other. Counterclockwise extends it taller. Clockwise makes it shorter.
Check that the critical level mark on the valve body will sit at least 1 inch above where the overflow pipe will be.
Verify top cap clearance by measuring from where the tank bottom will be to the top of the valve cap. You want about 3 inches so the tank lid closes right.
That CL mark stamped into the valve body has to sit at least 1 inch above the overflow pipe top. Plumbing codes require this to prevent contaminated water from siphoning back into your household supply during pressure drops. The mark shows where an air gap exists in the valve.
Top cap clearance matters for two reasons. The cap needs to sit at least 1 inch above the overflow pipe to meet the critical level requirement, but it also can’t be so tall that the tank lid won’t close or presses down on the cap. Most tanks need roughly 3 inches from tank bottom to valve cap top.
Water Level Adjustment After Fill Valve Installation
Set the water level one half inch below the top of the overflow pipe. This gives you enough water for a strong flush while keeping a safe margin in case the valve doesn’t shut off completely.
Let the tank fill completely after you turn the water back on. Wait for the valve to shut off and the water to settle.
Look at where the water line sits compared to the overflow pipe. Is it too close to the pipe top, too far below, or just right at one half inch below?
Find the adjustment mechanism on your 400A model. Most have either an adjustment screw on top or a squeeze clip system on the float cup.
Adjust the water level by turning the screw clockwise to raise it or counterclockwise to lower it. If you’ve got the clip system, squeeze it and slide the float cup up or down on the stainless steel link.
Test by flushing the toilet and watching the refill. Check if the water stops at the height you want.
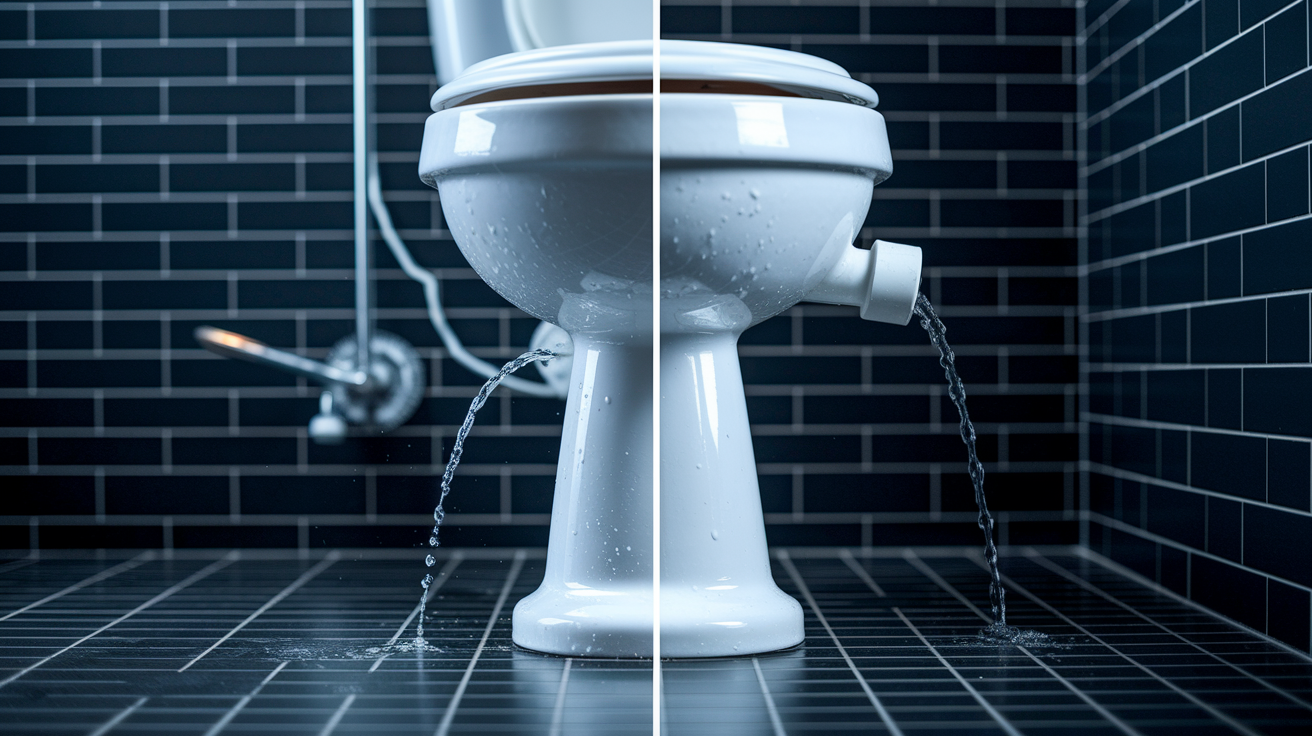
Water level too low means weak flushes that might need multiple attempts. You’ll see solid waste not clearing or toilet paper sticking around. Water level too high wastes water with every flush and raises the overflow risk if the valve fails. A toilet that won’t stop running often means the water’s too high and spilling into the overflow pipe.
The float cup has to slide freely on that stainless steel link. If it sticks, the valve might not close when the tank fills. Move the float cup by hand before your final test to make sure it moves smoothly. Getting it perfect usually means flushing a few times and making small changes between tests. Small turns make noticeable differences, so go gradually.
Testing for Leaks and Verifying Proper Fill Valve Operation
Test everything thoroughly before walking away. Check multiple connection points and watch the valve through a complete cycle.
Dry all connections with a towel before testing. Starting with dry surfaces makes even tiny leaks show up immediately.
Check the lock nut area underneath by running dry fingers around where the threaded shank goes through the tank bottom. Any moisture means the lock nut needs slight tightening.
Look at the water supply line connection at the valve bottom for drips. Even slow drips eventually cause rust stains on the floor or damage nearby materials.
Watch the valve during the entire fill cycle. The float cup should rise smoothly and you should hear the water flow gradually decrease as the valve closes.
Make sure automatic shutoff happens at the proper level. Water should stop flowing completely within a few seconds after reaching target height.
Test float cup movement by gently pushing it down and letting go. The cup should slide freely without catching on the stainless steel link.
Flush the toilet and watch the complete refill from start to finish. This confirms all components work together during actual use.
Listen for continuous running after the tank fills. Any sound of running water after the fill cycle finishes means something needs attention right away.
Check that the water level holds steady at the correct height you set. The level should stay put without slowly creeping toward the overflow pipe.
Finding leaks during testing is actually good because fixing them now prevents water damage to your floor, the ceiling below, or surrounding walls. Minor leaks at the lock nut or supply connection usually fix with slightly firmer hand tightening. Turn the connection another quarter turn and test again. Continuous running means the water level needs adjustment or debris got into the valve during installation.
Fluidmaster 400A Compatibility and Model Specifications

The Fluidmaster 400A works with most standard two piece toilets (separate tank that bolts onto the bowl). The universal design fits the standard tank opening size in most residential toilets made over the past several decades.
Height adjusts from 9 to 14 inches, which covers everything from compact round bowl toilets with small tanks to elongated models with taller tanks. This range fits about 90% of residential toilet models currently in use. The threaded shank lets you match your specific tank and overflow pipe setup precisely.
The 400A is NOT compatible with several toilet types. Glacier Bay models use proprietary fill valves that need brand specific replacement parts. Niagara Flapperless toilets operate on a completely different flushing system that doesn’t use standard fill valves. One piece toilets (where the tank and bowl form a single molded unit) typically have different internal setups and restricted access that prevent standard fill valve installation. Side entry configurations (found in some older toilets and certain commercial models) have the water supply entering through the tank side rather than the bottom, which requires specialized valves.
“Universal fit” means the valve physically fits the standard mounting hole and uses common connection types. It doesn’t mean every toilet ever made. Check your existing valve before buying a replacement. If the current valve mounts through the tank bottom and the water supply connects from underneath, the 400A will likely work. Two piece toilets with separately removable tanks are ideal because they give you full access to the tank interior and use standard sized mounting holes.
Troubleshooting Common Fill Valve Installation Problems
Most installation issues come from just a few common causes with straightforward solutions. Working through problems systematically usually gets your toilet working within a few minutes.
| Problem | Likely Cause | Solution |
|---|---|---|
| Tank leaking at base of valve | Lock nut not tight enough or shank washer not seated properly | Turn water off, hand tighten lock nut another quarter turn, check that shank washer sits flat against tank bottom before tightening |
| Continuous running water | Water level set too high or float cup binding on link | Lower water level adjustment so water sits one half inch below overflow pipe, check that float moves freely up and down |
| Slow filling (4+ minutes to fill tank) | Debris blocking valve inlet or restrictor clogged | Turn off water, flush tank empty, remove top cap by turning 1/8 turn counterclockwise, place cup over opening, turn water on briefly to flush debris out |
| Water overflowing into overflow pipe | Float cup position set too high | Adjust water level lower by turning adjustment screw counterclockwise or moving float cup down on stainless steel link |
| Valve won’t shut off completely | Internal valve seat damaged or debris preventing seal | Clean valve by removing cap and flushing system, if problem persists the main seal may need replacement or entire valve should be replaced |
| No water entering tank | Supply valve still closed or supply line kinked | Verify shutoff valve is fully open by turning counterclockwise, check that supply line has no kinks or sharp bends restricting flow |
Debris cleaning solves most slow fill issues without tools or replacement parts. Fine sand, rust pebbles, and pieces of pipe sealant commonly wash into new valves when the water supply turns back on. The cleaning procedure takes under 2 minutes. Turn off water, flush the tank empty, remove the cap by rotating 1/8 turn counterclockwise, place a cup over the valve opening, turn the water back on while holding the cup firmly in place, then turn the water back off. This flushes debris out through the side outlet. Repeat two or three times, then reinstall the cap by rotating 1/8 turn clockwise until it locks.
Some 400A units contain a small plastic restrictor insert designed to reduce water flow slightly for conservation. This restrictor can trap debris and cause persistent slow filling even after cleaning. Problems that don’t resolve with cleaning may indicate a defective valve that arrived damaged or with a faulty internal seal. Main seals inside the valve can fail over time, though this shouldn’t happen in a brand new valve.
If problems continue after attempting these solutions, consider getting help from a professional plumber who can diagnose less common issues. For detailed guidance on identifying and fixing various types of toilet leaks beyond fill valve problems, check out our comprehensive toilet leak repair guide. Valves installed for 10 years or longer may benefit from complete replacement regardless of whether they’re showing obvious problems, since internal components degrade over time even if the valve still functions.
Maintenance Tips and Fill Valve Lifespan Expectations

Check things every 1 to 2 years to catch minor issues before they become major problems. Remove the tank lid once or twice a year and watch the fill cycle. Listen for any changes in sound or operation. Look for mineral deposits building up on the valve body or float cup. That indicates hard water that may shorten the valve’s lifespan.
Simple preventative cleaning extends valve life and keeps things running efficiently. Turn off the water supply, flush the tank to empty it, remove the valve cap, and flush clean water through the valve by briefly turning the supply back on. This clears accumulated sediment before it builds up enough to affect performance. The whole cleaning process takes about 5 minutes and can prevent the slow fill problem that typically shows up after several years.
Realistic lifespan for the Fluidmaster 400A ranges from 5 to 10 years depending on your water quality. Hard water with high mineral content causes faster deterioration of rubber seals and may leave deposits that mess with the float mechanism. The valve comes with a 5 year warranty covering manufacturing defects and material failures. Signs your valve needs replacement include persistent slow filling that doesn’t improve with cleaning, needing frequent water level adjustments to maintain proper tank fill, visible mineral buildup that won’t come off, cracked components on the valve body or float cup, or the valve simply reaching 10 years of age. Hard water areas benefit from more frequent checks, maybe every 6 months instead of annually. Catching problems early through regular checks beats dealing with an emergency replacement when the old valve fails completely and leaves you with a non functioning toilet.
Final Words
The Fluidmaster 400A fill valve installation guide walks you through a straightforward repair that protects your home from toilet leaks and running water.
You’ve got the tools list, the step-by-step process, and the troubleshooting fixes. Most installations take less than 15 minutes once you’ve gathered your wrench and bucket.
Test for leaks at every connection point. Verify the auto-shutoff works. Adjust the water level if needed.
If you run into persistent problems or find moisture spreading beyond the tank, we’re here to help. A small fix now saves you from bigger water damage later.
FAQ
How do you install a Fluidmaster 400A universal toilet fill valve?
To install a Fluidmaster 400A universal toilet fill valve, start by shutting off the water supply and draining the tank completely. Remove the old valve by disconnecting the supply line and unscrewing the lock nut underneath the tank. Adjust the new valve height so the critical level mark sits at least 1 inch above the overflow pipe. Install the valve through the tank opening and hand-tighten the lock nut from below. Reconnect the supply line, attach the refill tube to the overflow pipe with the clip, and turn the water back on. The entire process takes less than 15 minutes with basic tools like an adjustable wrench and pliers.
What is the most common problem with Fluidmaster fill valves?
The most common problem with Fluidmaster fill valves is slow tank filling caused by debris buildup inside the valve mechanism. Fine sand, rust particles, and pieces of pipe sealant can clog the valve or the plastic restrictor insert, causing the tank to take 4 minutes or longer to refill. You can fix this by turning off the water, removing the top cap, placing a cup upside down over the exposed valve, and briefly turning the water back on to flush out the debris. Regular cleaning every 1 to 2 years prevents this issue and keeps the valve operating efficiently.
What is the difference between Fluidmaster 400 and 400A models?
The Fluidmaster 400A is an updated version of the original 400 model with improved adjustment features and enhanced durability. The 400A includes the EZ-Twist height adjustment mechanism that allows you to adjust valve height from 9 to 14 inches by simply twisting the threaded shank. Both models are universal fill valves designed for most two-piece toilets, but the 400A offers easier installation and more reliable performance with corrosion-resistant materials and a 5-year warranty covering improved internal components.
How much does a plumber charge to replace a toilet fill valve?
A plumber typically charges between $150 and $300 to replace a toilet fill valve, including parts and labor. The actual cost varies based on your location, the specific valve model needed, and whether additional repairs are required. Since fill valve installation takes less than 15 minutes with basic tools and requires only hand-tightening connections, many homeowners choose to install the Fluidmaster 400A themselves. The valve kit costs around $10 to $20 at most hardware stores, making DIY installation a practical money-saving option.
What tools are required to install a Fluidmaster 400A fill valve?
Installing a Fluidmaster 400A fill valve requires minimal tools: an adjustable wrench for disconnecting the supply line and removing the lock nut, pliers for grip assistance, and a bucket with sponge or towel for catching remaining water when you drain the tank. A flashlight helps you see connections underneath the tank clearly. The Fluidmaster 400A comes as a complete kit with all necessary hardware including the valve assembly, gaskets, refill tube, clip, and lock nut, so you won’t need to purchase additional parts.
How do you adjust the water level on a Fluidmaster 400A after installation?
You adjust the water level on a Fluidmaster 400A by turning the water level adjustment screw clockwise to raise the level or counterclockwise to lower it. The target water level should sit about one-half inch below the top of the overflow pipe for optimal flush performance. Some models use a squeeze-clip mechanism where you pinch the clip and slide the float cup up or down on the stainless steel link instead of turning a screw. Allow the tank to refill completely after each adjustment and test with several flush cycles until the water stabilizes at the correct height.
Can the Fluidmaster 400A fit all toilet models?
The Fluidmaster 400A fits most standard two-piece toilets but is not compatible with all models. It does not work with Glacier Bay toilets, Niagara Flapperless toilets, one-piece toilets where the tank and bowl are molded together, or toilets requiring side-entry valve configurations. The valve adjusts from 9 to 14 inches in height to accommodate various tank sizes. Before purchasing, check your existing valve type and verify your toilet is a standard two-piece design with bottom-entry water supply connection.
How do you test for leaks after installing a Fluidmaster 400A?
After installing a Fluidmaster 400A, test for leaks by drying all connection points and checking for moisture with your fingers and a towel. Inspect the lock nut area underneath the tank and the supply line connection point for any drips or wetness. Turn the water on and allow the tank to complete a full fill cycle, then check again after the valve shuts off automatically. Flush the toilet and watch the complete refill cycle while listening for continuous running sounds. Finding leaks during testing prevents water damage later and usually requires only gentle retightening of connections.
What does the critical level mark mean on a Fluidmaster fill valve?
The critical level mark on a Fluidmaster fill valve indicates the minimum height the valve must sit above the overflow pipe to meet plumbing code requirements and prevent contamination. This CL mark must be positioned at least 1 inch above the top of the overflow pipe before you install the valve into the tank. The required clearance creates an air gap that prevents toilet tank water from being siphoned back into your home’s drinking water supply through the anti-siphon device built into the valve.
How long does a Fluidmaster 400A fill valve typically last?
A Fluidmaster 400A fill valve typically lasts 5 to 10 years depending on your water quality and maintenance habits. The valve comes with a 5-year warranty and features corrosion-resistant materials designed for durability. In areas with hard water or high mineral content, the lifespan may be shorter due to sediment buildup affecting performance. Signs that your valve needs replacement include persistent slow filling even after cleaning, frequent water level adjustments, visible mineral deposits or cracks, and components that no longer move freely.