
You can patch a fiberglass shower pan crack in one afternoon for about $50. Or you can ignore it and watch water destroy your ceiling, rot your subfloor, and feed mold behind your walls for the next six months. A hairline crack doesn’t stay hairline. Every shower pushes more water through that opening, spreading damage you can’t see until it costs thousands to fix. This guide walks you through permanent crack repair, accurate leak testing, and the warning signs that tell you when DIY won’t cut it. We’ll show you exactly how to stop the water, fix it right, and know when to call for backup before small damage turns into a demolition project.
Quick Diagnostic Checklist for Shower Pan Leaks

A fiberglass shower pan leak happens when water escapes through cracks, worn seals, or compromised waterproofing in your shower base. The water doesn’t just disappear. It seeps into your subfloor, walls, and ceiling below, feeding mold growth and rotting wood. That damp smell you noticed last week? It’s probably been leaking for months. The longer you wait, the more expensive the fix becomes, because hidden water damage spreads fast once it starts.
Watch for these four critical signs that your shower pan is leaking:
- Visible movement or flexing when standing in shower
- Deflection or unusual sloping of the pan surface
- Hairline or visible cracks in the fiberglass
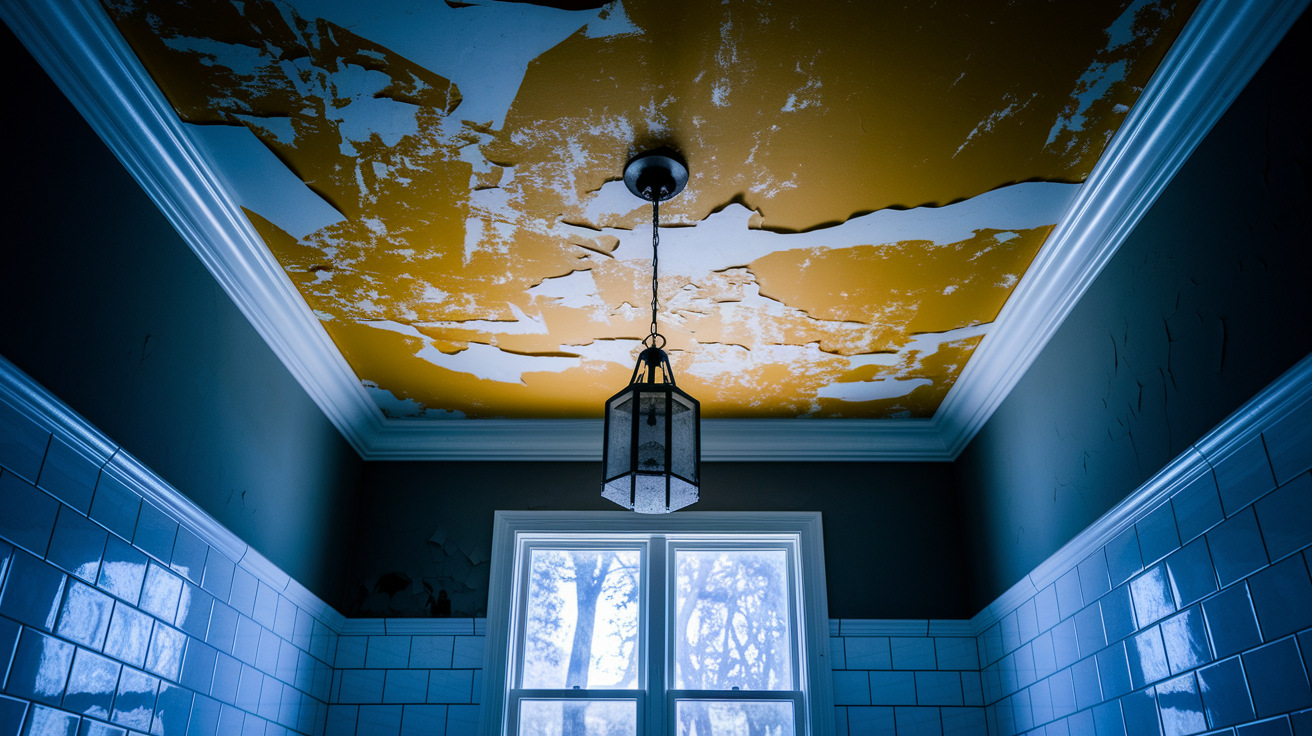
- Water stains on ceiling directly below shower
If you’re seeing any of these warning signs, head to the section on complete warning signs to understand what each symptom means. If you want to confirm whether you actually have a leak, the step by step leak testing procedure walks you through a simple 8 hour test. And if you’ve already confirmed a leak and need to stop the water now, jump straight to the permanent repair instructions to get started today.
Permanent Fiberglass Shower Pan Crack Repair Process
This repair method works for hairline cracks and small damaged areas up to about 3 inches across. It creates a permanent waterproof seal that’s as strong as the original fiberglass when done correctly.
If your crack is longer than 4 inches, you’re dealing with multiple cracks, or the pan flexes when you step on it, this isn’t a DIY fix. That kind of damage means the structure underneath is compromised, and you’ll need professional replacement to avoid a bigger mess later.
Here’s how to repair smaller cracks permanently:
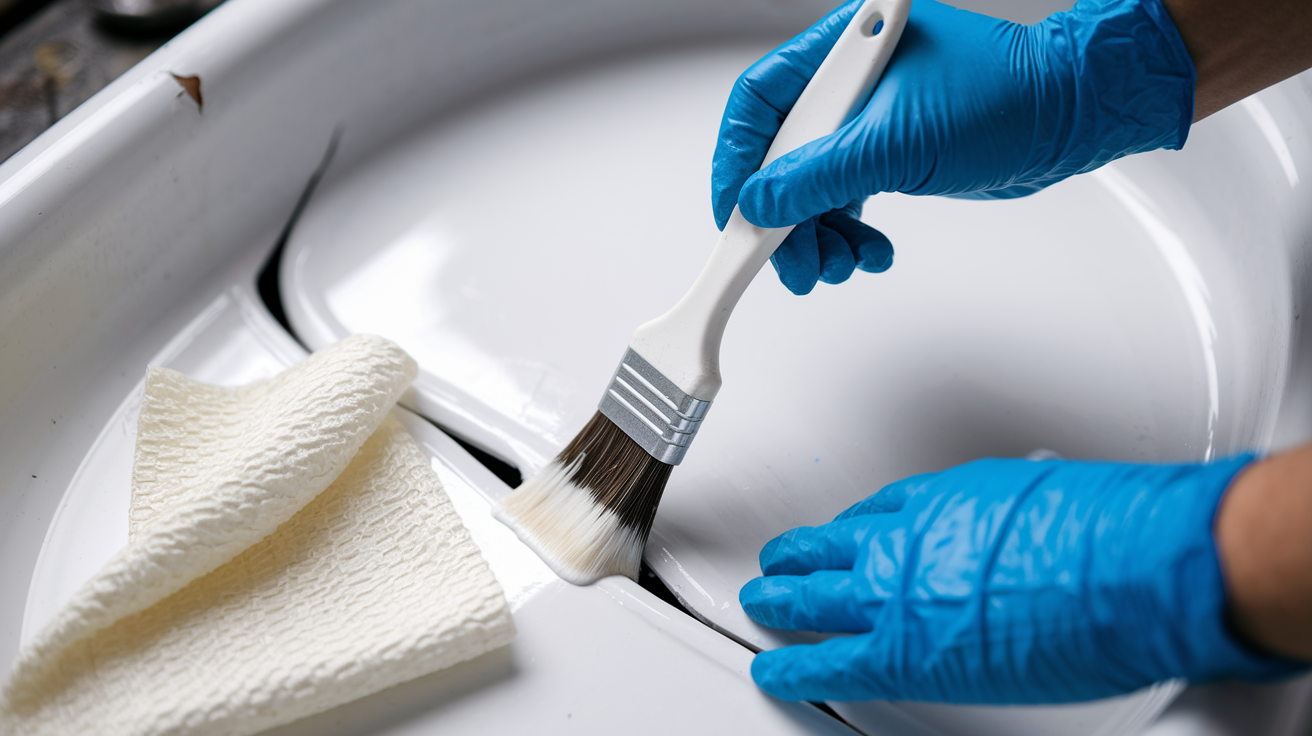
- Mix fiberglass resin and hardener according to manufacturer’s ratio (typically 10:1). Mix 10 parts resin with 1 part hardener in a clean disposable container, stirring slowly to avoid air bubbles.
- Apply thin layer of mixed resin to damaged area using disposable brush
- Cut fiberglass cloth to extend 2 inches beyond crack in all directions
- Place cloth over wet resin and press firmly to eliminate air bubbles
- Apply additional resin over cloth, saturating completely
- Add second layer of cloth for cracks larger than 1 inch
- Smooth surface with putty knife, feathering edges
- Allow to cure per manufacturer instructions (typically 2 to 4 hours)
- Sand cured repair smooth using 220 grit sandpaper
- Apply gelcoat or waterproof paint to match shower pan finish
Expect to wait 24 to 48 hours before you can use the shower again. The repair feels dry to the touch after 2 to 4 hours, but it’s not fully cured yet. Using water too soon breaks down the bond before it reaches full strength. After the full cure time, run the leak test again to make sure the repair actually worked. Mark your calendar and find another shower to use until then.
Warning Signs Your Shower Base Is Leaking
Catching a leak early saves you thousands in repair costs and prevents the kind of damage that requires tearing out walls and floors. Most leaks start small and quiet, just a slow drip behind a wall or under the floor. By the time you notice something’s wrong, water’s been doing damage for weeks or months.
Here’s what to watch for:
- Ceiling stains in the room directly below
- Loose or cracked tiles around shower perimeter
- Damp or discolored baseboards
- Musty odors in bathroom or adjacent rooms
- Soft or spongy floor when stepping near shower
- Puddles forming outside shower area
- Peeling paint or bubbling drywall on nearby walls
- Visible movement or flexing when standing in shower
- Water marks on floor joists (if accessible from below)
If you’re seeing three or more of these signs, stop using that shower right now. Every time you run water, you’re feeding mold growth, rotting wood, and weakening the structure underneath. Use a different bathroom while you figure out the repair plan. If you see ceiling bulging, severe floor deflection, or active mold growth, that’s an emergency. Call a plumber today. Water damage spreads fast once the structure starts breaking down, and waiting another week could mean the difference between a $2,000 repair and a $10,000 demolition project.
Step by Step Leak Detection Test for Shower Pans

This test takes about 8 hours total, but only requires 15 minutes of actual work. You’ll need duct tape or a rubber test plug, a marker or tape, and water. That’s it.
Here’s the complete testing process:
- Clean the shower pan thoroughly and dry completely
- Seal the drain opening completely using duct tape or a rubber test plug
- Pour 1 to 2 inches of water into the shower base
- Mark the exact water level using waterproof marker or tape on shower wall
- Wait 8 hours without disturbing the shower
- Check if water level has dropped and inspect areas below for moisture
- Document results with photos and measurements
Now let’s talk about what your results actually mean. If the water level dropped and you found moisture on the ceiling below or around the base of the shower, the pan itself is cracked or the waterproof membrane underneath has failed. If the water level stayed exactly the same but you still found moisture below the shower, your drain assembly connections are leaking. The pan is fine, but the plumbing isn’t. And if the water level dropped but there’s no moisture anywhere below, you might just have evaporation from a warm bathroom. Run the test again in cooler conditions or with better drain sealing. A confirmed pan leak means you need to move forward with crack repair or professional replacement depending on the damage extent.
Common Causes Behind Fiberglass Shower Pan Failures
Fiberglass shower pans typically last 10 to 45 years depending on quality, installation, and how you maintain them. But most don’t fail because they hit their expiration date. They fail because something stressed the material beyond what it could handle. Understanding why your pan failed helps you prevent the same problem after you repair it.
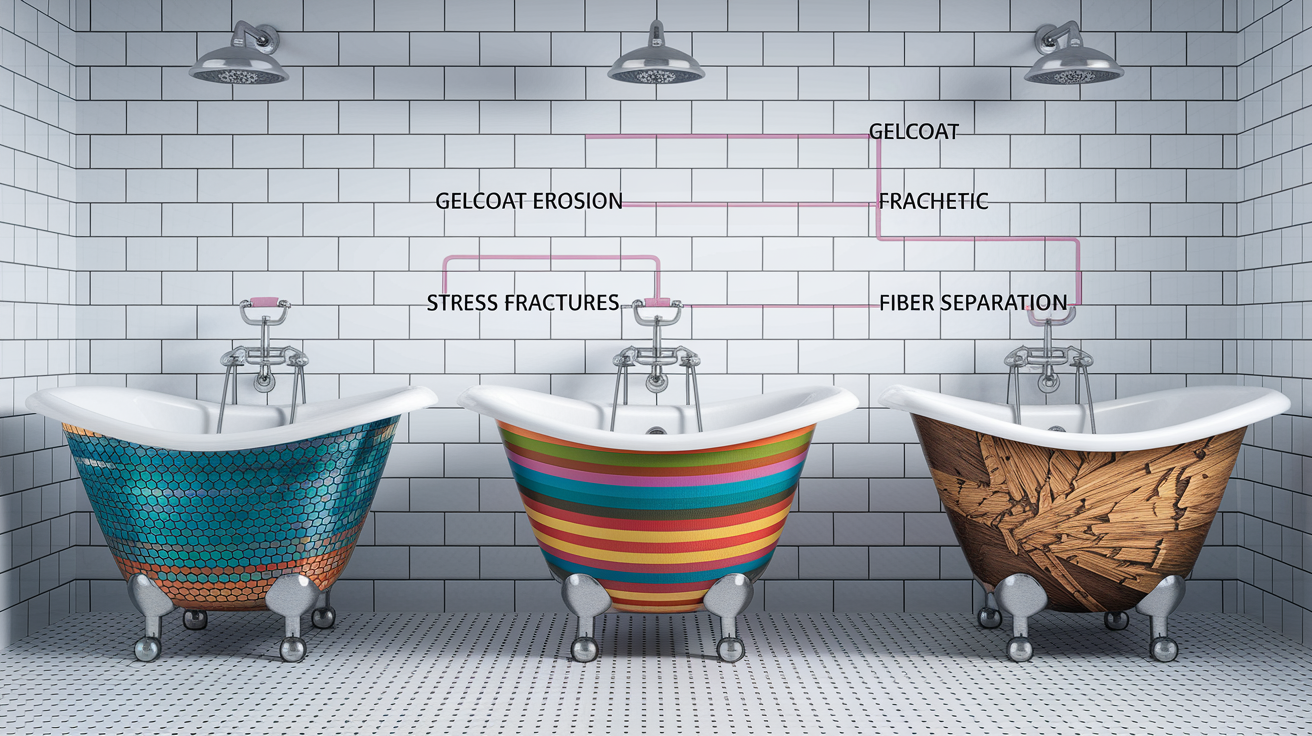
Age breaks down fiberglass gradually. The gelcoat surface that makes your shower smooth and waterproof gets thin over time from daily use. Small scratches and scuffs add up. Temperature changes from hot showers followed by cold air make the material expand and contract thousands of times. Eventually, that constant stress creates weak spots that turn into hairline cracks. Once a crack starts, water gets underneath the gelcoat and attacks the fiberglass layers below, spreading the damage faster.
Poor installation causes most premature failures. If the contractor didn’t build proper support underneath, your shower pan flexes every time you step in it. That flexing creates stress fractures that turn into full cracks within a few years instead of decades. Some installers skip the mortar bed that should support the entire pan surface, leaving hollow spots that sag and crack. Others don’t secure the pan properly to the walls, allowing movement that breaks the waterproof seal. Movement in your shower pan, even slight flexing, means it’s going to leak eventually if it isn’t already.
Drain assembly problems develop over time as rubber gaskets harden, plumber’s putty dries out, and connections loosen. The drain is where your pan connects to the plumbing below, and that connection takes constant stress from water pressure and temperature changes. A failing drain lets water bypass the pan entirely and leak straight into your subfloor. You’ll pass the standing water test because the pan itself is fine, but you’ll still get water damage because every shower sends water through those deteriorated seals. Impact damage from dropped bottles or tools, harsh chemical cleaners that eat away at the gelcoat, and even UV exposure from bathroom windows all contribute to weakening the fiberglass structure until something finally gives way.
Essential Tools and Materials for Fiberglass Crack Repair

Use marine grade or bathroom specific products designed for constant water exposure. Regular automotive fiberglass repair kits aren’t built to handle the wet conditions in a shower, and they’ll fail within months. The few extra dollars for proper marine grade materials means your repair actually lasts instead of peeling off the first time you take a hot shower.
| Material/Tool | Purpose | Approximate Cost |
|---|---|---|
| Fiberglass repair kit with resin and hardener | Primary bonding and waterproofing material | $25-$40 |
| Fiberglass cloth or mat | Reinforcement layer over cracks | $8-$15 |
| Epoxy filler | Fill deep cracks before applying cloth | $12-$20 |
| Acetone or cleaner | Surface preparation and cleanup | $8-$12 |
| Sandpaper (80-grit and 220-grit) | Surface roughening and smoothing | $5-$10 |
| Mixing containers | Combine resin and hardener | $3-$6 |
| Disposable brushes | Apply resin to crack and cloth | $4-$8 |
| Rubber gloves | Protect hands from chemicals | $5-$10 |
| Safety goggles | Eye protection during sanding | $8-$15 |
| Respirator mask | Protection from resin fumes | $20-$35 |
| Silicone caulk | Seal edges after repair | $6-$10 |
| Putty knife or spreader | Smooth and feather repair edges | $5-$12 |
Preparing the Damaged Fiberglass Surface for Repair
Clean the damaged area completely with acetone to remove soap scum, body oils, shampoo residue, and any other buildup. Pour acetone onto a clean cloth and wipe the cracked area and about 6 inches around it. You’re looking for a surface that feels squeaky clean when you run your finger across it. Soap residue looks invisible but stops the resin from bonding properly.
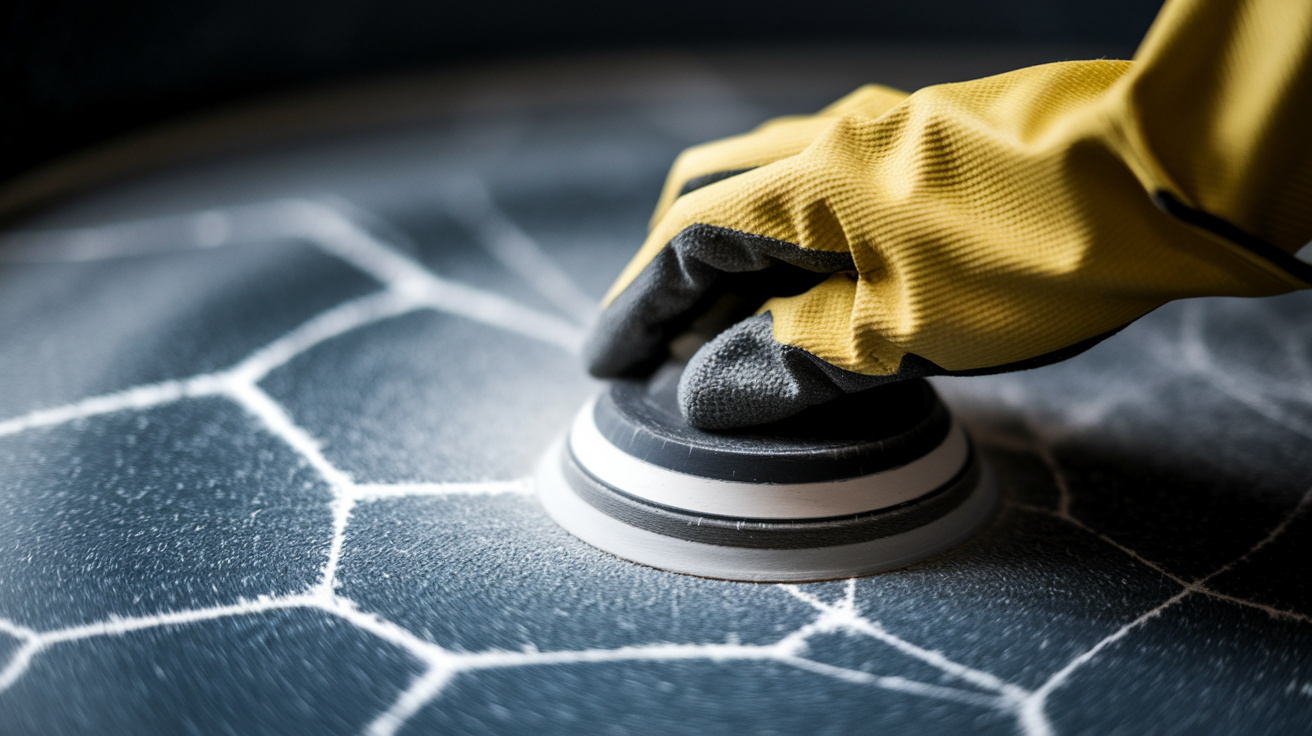
Sand the cracked area and 2 to 3 inches around it using 80 grit sandpaper. You want to create a rough surface texture that gives the resin something to grab onto. Think of it like roughing up a smooth countertop before gluing something down. The rougher the surface, the stronger the bond. Sand in circular motions with moderate pressure until the shiny gelcoat is dull and you can feel the texture with your fingers. Don’t sand through to the fiberglass mat underneath, just rough up the top surface.
Wipe away all sanding dust using an acetone dampened cloth. Any dust left behind contaminates the repair and creates weak spots. After wiping with acetone, let the area dry completely for at least 15 minutes. The acetone evaporates fast, but you want zero moisture when you start applying resin.
Make sure the area is bone dry and the room is well ventilated before you start mixing resin. Open windows, turn on the bathroom fan, or set up a box fan pointing out the door. Fiberglass resin releases strong fumes during application and curing. Without proper ventilation, you’ll get dizzy and the fumes can make you sick. If you can’t get good airflow in the bathroom, consider using an epoxy based repair product that has lower fumes, though it may not bond quite as strongly as polyester resin.
Temporary Solutions and Emergency Shower Pan Fixes
Temporary fixes make sense when you need to buy time before a complete repair. Maybe you’re waiting for materials to arrive, you can’t afford the full fix right now, or you need the shower working while you schedule a plumber. These aren’t real solutions. They’re Band Aids that give you a few weeks to a couple months while you arrange for proper repair.
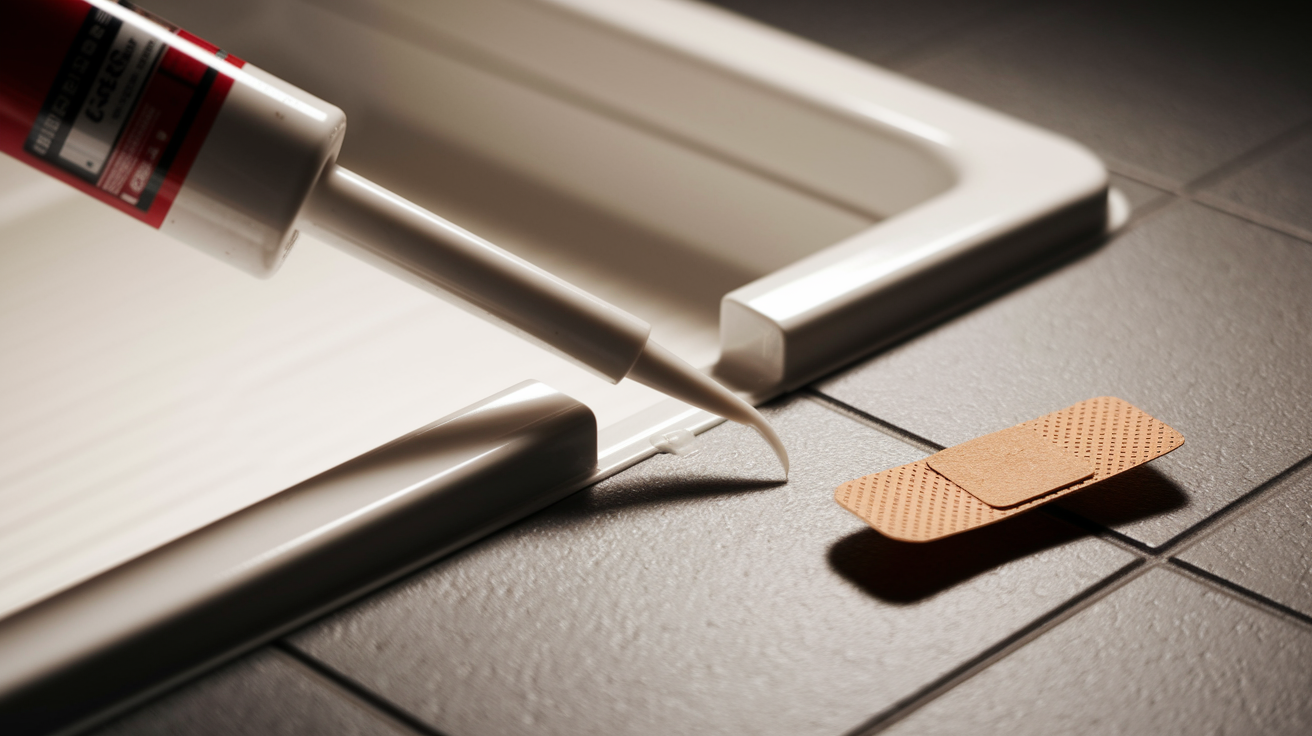
Marine grade silicone caulk or epoxy putty can seal small cracks for short term use. Clean the crack thoroughly with acetone, let it dry completely, then apply a thick bead of silicone directly into and over the crack. Smooth it with your finger to create a waterproof seal. For slightly larger cracks, two part epoxy putty works better. You knead the two components together until mixed, press it firmly into the crack, and smooth it flat. Either option gives you about 2 to 4 weeks of use before the constant water exposure and flexing starts breaking down the seal.
Waterproof sealant application for temporary fixes means going heavy on the material. Don’t try to make it look perfect. Focus on coverage. Apply the sealant so it extends at least an inch on either side of the crack, and build it thick enough that it can handle some movement. Check it every few days, and if you see any separation or new seepage, stop using the shower immediately. These temporary solutions are NOT permanent fixes, and continuing to use a failing shower pan causes serious water damage to your subfloor, supports mold growth in your walls, and creates structural deterioration that costs thousands to repair. Schedule your full repair or professional assessment as soon as possible. Temporary fixes are for buying time, not avoiding the real work.
Repairing Drain Assembly Leaks in Shower Bases
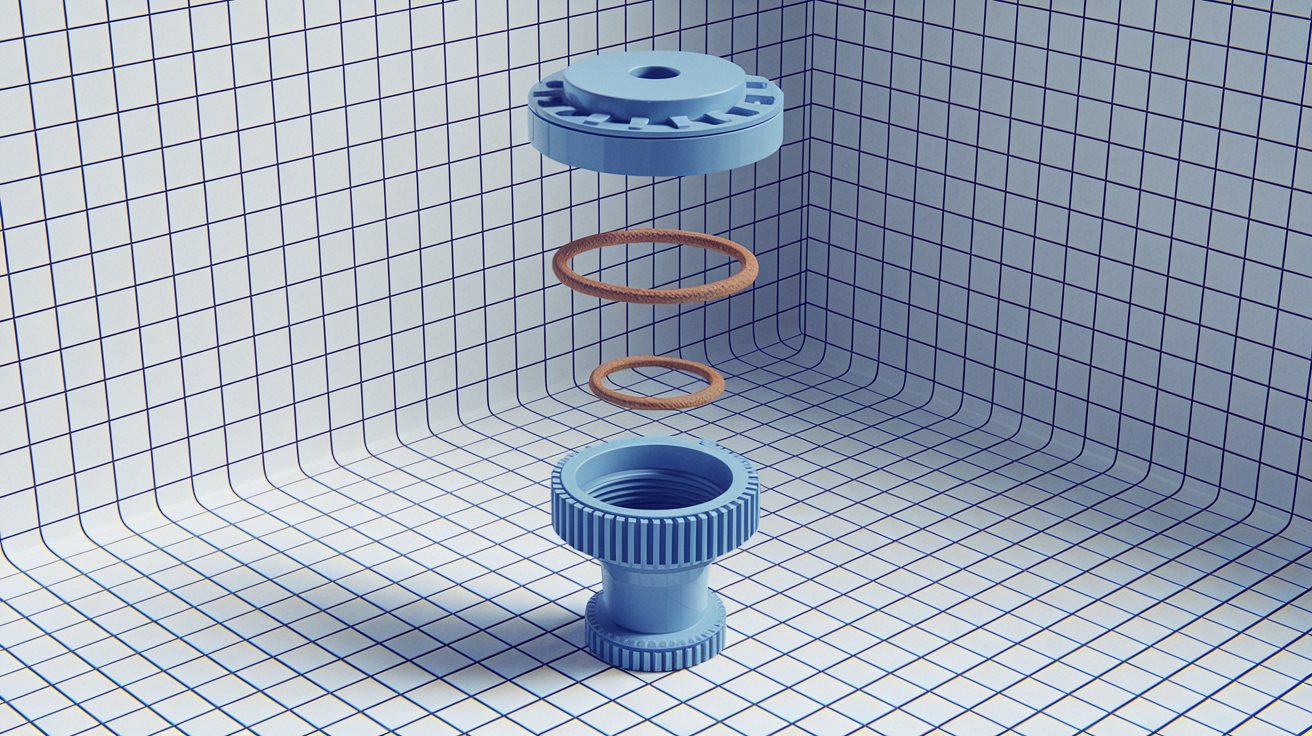
The drain assembly is where your shower pan connects to the drain pipe below. It consists of the drain flange that sits in the pan opening, rubber gaskets that create the seal, and the drain body that threads into the plumbing. Over years of use, those rubber gaskets harden and shrink, the plumber’s putty or silicone seal around the flange dries out and cracks, and the threaded connection can loosen from temperature changes and vibration. When any of these components fail, water bypasses your perfectly good shower pan and leaks directly into your subfloor.
You can spot a drain assembly leak because your standing water test shows stable water levels. The pan itself isn’t leaking, but you still find moisture on the ceiling below or around the shower base. The leak happens when water flows down the drain during actual use. To inspect the drain, remove the drain cover by unscrewing it or prying it up with a flathead screwdriver. Shine a flashlight into the opening and look for cracks in the flange, gaps between the flange and the pan, or visible corrosion on the metal parts.
Tightening the drain assembly sometimes solves the problem if the connection has simply worked loose over time. You’ll need a drain key or specialty wrench that fits the crossbars inside the drain body. Turn clockwise to tighten, but don’t force it. Overtightening can crack the shower pan. If tightening doesn’t stop the leak, you’ll need to replace the rubber gasket and reseal the flange. This means removing the drain assembly from below (if accessible) or cutting access through the ceiling underneath. Apply fresh plumber’s putty or a thick bead of silicone caulk around the underside of the flange, press it firmly into place, and reinstall the drain body with a new rubber gasket.
Drain replacement becomes necessary when the flange itself is cracked, corroded, or damaged beyond repair. This is similar to water heater leaking from overflow pipe situations where plumbing connection failures create leaks. Both require accessing the plumbing system to replace failed components. Most drain replacements require working from below the shower because you need to access the drain pipe connection. If you’re in a single story home with a basement or crawl space, you or a plumber can usually reach the drain from underneath. If you’re on a second floor or slab foundation, this becomes complicated fast and usually means hiring a professional.
Addressing Water Damage and Subfloor Issues

Long term shower pan leaks don’t just wet the floor. They rot the wood structure underneath, feed mold colonies inside your walls, and weaken the supports that hold everything up. You can fix the shower pan perfectly, but if you ignore the damage underneath, you’re standing on compromised structure that’s going to fail eventually.
Check for these subfloor damage indicators:
- Spongy or soft flooring around shower
- Visible sagging or deflection when standing in shower
- Musty odors indicating mold growth
- Discolored or stained ceiling below
- Cracked or loose bathroom floor tiles
- Water marks on floor joists (if accessible from below)
Inspect your subfloor by removing the shower pan access panel if your shower has one, or by checking the ceiling in the room directly below the bathroom. You’re looking for moisture stains on the wood, soft spots that your finger can press into, dark discoloration that indicates rot, and fuzzy white or black growth that means mold. A normal wood subfloor is hard, dry, and light colored. Damaged subfloor feels soft or spongy, shows dark water stains, and might have a damp or musty smell even when it looks dry on the surface.
Rotted subfloor, damaged floor joists, or extensive mold growth requires professional remediation and replacement before you can fix the shower pan itself. You can’t just patch over rotten wood and hope it holds. A contractor needs to remove all compromised material, treat any remaining mold with proper antimicrobial solutions, and install new properly waterproofed cement backer board or treated plywood rated for wet areas. The new subfloor must be completely level with proper slope toward the drain, and it needs time to dry completely before the shower pan goes back in. This kind of structural repair typically costs $800 to $2,500 depending on the damage extent, but it’s not optional. Putting a shower pan over rotted supports means you’re just delaying a bigger failure.
Shower Pan Liner Replacement Method
The waterproof liner membrane sits underneath your visible shower pan and serves as a backup waterproofing layer. It’s usually made from PVC or CPE (chlorinated polyethylene) and forms a watertight basin that catches any water that gets past the pan surface. Sometimes this liner fails while the fiberglass pan above it still looks fine.
You’ll know the liner is the problem when you have persistent leaks even after repairing visible pan cracks, when water damage shows up with no cracks or damage visible on the pan surface, or when you’ve done the standing water test multiple times and it keeps failing despite surface repairs. The liner underneath has torn, separated at the seams, or pulled away from the drain connection, and water is leaking through that hidden failure point.
Liner replacement is a major job that involves removing the entire shower pan:
- Remove shower pan to access underlying membrane
- Inspect and repair any subfloor damage
- Install new PVC or CPE waterproof membrane
- Create proper drainage slope toward drain (minimum 1/4 inch per foot)
- Secure membrane to walls extending 6 to 8 inches above pan height
- Install weep holes in drain assembly
- Pour mortar bed if required for pan support
- Reinstall or replace shower pan on prepared surface
This is one of those repairs you really want a professional to handle. The membrane has to be installed in one continuous piece with properly sealed seams, folded and secured at the corners without gaps or wrinkles, and attached to the drain assembly with a specialized clamping ring. The slope needs to be precise. Too flat and water pools, too steep and the pan won’t sit level. Local building codes have specific requirements for liner material, installation method, and inspection, and if you do it wrong, you’ll fail the inspection or end up with worse leaks than you started with. Most plumbers charge $1,200 to $2,800 for complete liner replacement including new mortar bed and labor, which includes proper waterproofing that’ll last another 20 to 30 years when done right.
Cost Breakdown for Shower Pan Leak Repairs
Repair costs range from under $50 if you’re doing small crack repairs yourself to over $4,000 for professional full replacement with subfloor repair. Understanding the cost for each scenario helps you budget properly and decide whether DIY makes sense for your situation.
| Repair Type | DIY Cost Range | Professional Cost Range | Time Required |
|---|---|---|---|
| Minor crack repair with epoxy | $30-$75 | $150-$350 | 3-4 hours + cure time |
| Fiberglass patch repair | $50-$125 | $250-$500 | 4-6 hours + cure time |
| Temporary silicone sealing | $15-$35 | $100-$200 | 1-2 hours |
| Drain assembly replacement | $75-$150 | $200-$450 | 2-3 hours |
| Pan liner replacement | $200-$400 | $1,200-$2,800 | 2-3 days |
| Full shower pan replacement | $500-$1,200 | $900-$4,600 | 3-5 days |
Several factors push costs toward the higher end of these ranges. Subfloor damage adds $500 to $2,000 for removing rotted wood and installing new treated plywood or cement board. Mold remediation costs $500 to $3,000 depending on the extent of growth. Small areas under 10 square feet can be cleaned, but extensive mold means bringing in specialists with proper equipment. Custom or oversized shower pans cost more because they’re not standard sizes stocked at home centers. Tile removal and replacement around the pan adds another $800 to $2,500 for materials and labor if you want to preserve the tile look. And some municipalities require permits for shower pan replacement, adding $50 to $200 in permit fees plus the cost of scheduling inspections. Insurance might cover some costs if the leak was sudden and accidental, like a dropped tool cracked the pan. But policies typically exclude gradual wear and maintenance issues, which is how most shower pans fail.
Common Mistakes to Avoid During Fiberglass Repairs
Most DIY fiberglass repairs fail not because the products don’t work, but because the person doing the repair skipped steps or rushed the process. A proper repair takes time and attention to detail. There’s no way around that.
Watch out for these mistakes that cause repairs to fail:
- Skipping surface preparation or inadequate sanding
- Not allowing proper curing time before water exposure
- Incorrect resin to hardener mixing ratios
- Applying repair materials in humid conditions
- Using automotive or non marine products
- Repairing cracks without addressing underlying movement
- Insufficient ventilation causing incomplete curing
- Continuing to use shower before testing repair
- Ignoring subfloor damage beneath the pan
Rushing the repair or ignoring what the manufacturer’s instructions actually say leads to adhesion failure within weeks. The resin doesn’t bond properly to dirty or smooth surfaces. Using the shower too soon washes away resin that hasn’t fully cured. Wrong mixing ratios mean the resin stays soft or becomes brittle instead of creating a strong waterproof seal. Each shortcut saves you maybe 20 minutes today but costs you the entire repair when it fails next month and you have to start over. Follow the steps, use the right products, wait the full cure time, and test thoroughly. That’s what separates repairs that last from repairs that peel off in the first hot shower.
Prevention Tips to Extend Your Shower Pan Lifespan
Your fiberglass shower pan should last 20 to 30 years with proper care, and possibly longer if you’re gentle with it. Most pans fail early because homeowners unknowingly damage them with harsh products or ignore small problems until they become expensive repairs.
Use pH neutral cleaners specifically designed for fiberglass instead of all purpose bathroom cleaners. Products with bleach, ammonia, or acidic ingredients eat away at the gelcoat surface that keeps your pan waterproof. It’s like using sandpaper to clean a car’s paint job. Works great at first, then you realize you’ve removed the protective coating. Stick to mild dish soap, white vinegar diluted 1:1 with water, or commercial fiberglass cleaners. Skip abrasive scrubbing pads and powdered cleansers entirely. They create microscopic scratches that collect dirt and eventually turn into cracks.
Set up a maintenance schedule and actually follow it. Once a month, inspect your shower pan for hairline cracks, check all caulk joints for separation or mold, and look for any movement or flexing in the pan surface. Every three months, pull the drain cover and check the drain assembly for buildup or corrosion. Once a year, especially if your home is over 15 years old, have a licensed plumber inspect your shower for hidden issues like worn drain gaskets or early subfloor damage that you can’t see from the bathroom.
Deal with minor issues the week you notice them instead of adding them to a mental list you’ll get to someday. Recaulk corners when you see the first signs of separation or mold growth. It takes 20 minutes and prevents water from getting behind the pan. Regrout tile grout lines before they crumble and allow water into the wall. Tighten fixtures that feel loose. These small fixes prevent water infiltration that turns into the expensive structural damage nobody wants to deal with.
Make sure your bathroom has proper ventilation. Run the exhaust fan during every shower and for 20 minutes after you’re done. Leave the bathroom door or shower door cracked open between uses to let moisture escape. Constant high humidity and temperature swings stress fiberglass material, making it brittle and more likely to crack. Good ventilation also prevents mold growth on caulk and grout, which people often try to clean with harsh chemicals that then damage the pan surface. A $30 timer switch for your exhaust fan pays for itself by adding years to your shower pan’s life.
When to Call a Professional Instead of DIY
DIY fiberglass crack repair saves money on small jobs, but certain situations require professional expertise for safety, code compliance, and getting results that actually last. There’s no shame in recognizing when a project is beyond your skill level or equipment.
Call a licensed plumber instead of attempting DIY for:
- Cracks longer than 4 inches or multiple cracks
- Visible subfloor damage, rot, or structural movement
- Active mold growth or extensive water damage
- Failed previous DIY repair attempts
- Drain assembly requires accessing plumbing below
- Full pan or liner replacement needed
- Building permit requirements for your area
- Lack of confidence or proper tools for fiberglass work
Select qualified contractors by confirming they’re licensed, bonded, and insured specifically for plumbing work in your state. Ask how many shower pan repairs or replacements they’ve completed in the past year. You want someone who does this regularly, not a general handyman learning on your bathroom. Request itemized quotes from at least three different plumbers so you can compare not just price but also what’s included in each bid. Check online reviews and ask for references from recent customers with similar projects. A good contractor explains what they’re going to do and why, answers questions without making you feel dumb for asking, and provides a written warranty for their work.
Emergency situations require immediate professional response regardless of cost. If you have active flooding that won’t stop, a ceiling that’s bulging from accumulated water and looks ready to collapse, extensive structural damage where floor joists are visibly rotted, or severe mold growth covering more than 10 square feet, don’t wait for business hours. Call an emergency plumber right now to prevent injury and catastrophic damage that gets exponentially more expensive the longer it goes. Similar to situations with complex bathtub faucet leaks that require professional plumbing consultation, shower pan failures sometimes need expert diagnosis to identify whether the problem is the pan itself, underlying waterproofing, or plumbing connections. Water damage doubles every few days once it starts affecting structural members, and mold spreads through your HVAC system contaminating your entire home. Emergency service costs more per hour, but it’s still cheaper than letting water run wild through your house for another week.
Testing Your Shower Pan Repair for Success
Don’t assume your repair worked just because it looks good. Test it thoroughly before you go back to regular use, because finding out it failed after another month of leaking means you now have new water damage to fix on top of redoing the repair itself.
Follow this testing sequence to verify your repair holds:
- Wait full recommended curing time (minimum 48 hours for most fiberglass repairs)
- Perform the same leak test used initially (seal drain, fill with 2 inches of water, mark level, wait 8 hours)
- Inspect repaired area closely for any seepage or discoloration
- Check areas below shower for new moisture or water marks
- Run shower normally for 10 minutes and recheck for leaks
- Monitor repair area for 1 to 2 weeks during regular use
Any sign of continued leaking, water level dropping during the standing test, new moisture on the ceiling below, damp spots around the shower base, or visible seepage from the repaired crack, means the repair failed and you need professional assessment to figure out why. Sometimes the crack extends beyond where you repaired, sometimes the underlying membrane is compromised, and sometimes the pan movement that caused the original crack is stressing the repair until it breaks again. Don’t ignore a failed repair and keep using the shower. Every day of continued leaking feeds more water into your subfloor and walls, creating damage that costs serious money to fix properly.
Final Words
A fiberglass shower pan leak repair doesn’t have to turn into a full replacement if you catch it early and fix it right.
Small cracks respond well to proper resin application and reinforcement. Drain assembly issues usually just need new gaskets and tightening. But if you’re seeing subfloor damage, extensive cracking, or failed DIY attempts, call in a pro before the damage spreads.
Test your repair thoroughly, keep an eye on it for a couple weeks, and stick to gentle cleaners going forward.
Your shower pan can last decades with the right care.
FAQ
Can a leaking shower pan be fixed?
A leaking shower pan can be fixed in many cases, depending on the extent of damage. Small hairline cracks and minor damage areas up to 3 inches can be permanently repaired using fiberglass resin and cloth. Larger cracks, multiple damaged areas, or compromised waterproof membranes typically require professional pan replacement rather than repair.
What is the life expectancy of a fiberglass shower pan?
A fiberglass shower pan life expectancy ranges from 10 to 45 years depending on quality, installation, and maintenance. Proper care including using pH-neutral cleaners, avoiding harsh chemicals, maintaining good ventilation, and addressing minor issues immediately can extend the lifespan toward the upper end of this range.
Does homeowners insurance cover a shower pan leak?
Homeowners insurance typically covers shower pan leaks if the damage resulted from a sudden, unexpected event like a pipe burst or fixture failure. Insurance usually won’t cover gradual deterioration from age, poor maintenance, or normal wear and tear. Check your specific policy and document all damage with photos and measurements.
Does flex seal work on shower pans?
Flex seal and similar waterproof sealants can provide temporary emergency fixes for very small shower pan leaks, lasting about 2 to 4 weeks. These products are not permanent solutions for fiberglass shower pans and won’t address underlying structural issues. Marine-grade silicone caulk or proper fiberglass repair materials offer better temporary results while scheduling permanent repairs.
How do I know if my shower pan is leaking?
Your shower pan is leaking if you notice ceiling stains directly below the shower, loose tiles around the perimeter, damp baseboards, musty odors, soft flooring when stepping near the shower, or visible movement when standing in the pan. A simple leak test involves sealing the drain, filling the pan with 2 inches of water, and checking if the level drops after 8 hours.
Can I repair a fiberglass shower pan crack myself?
You can repair fiberglass shower pan cracks yourself if they’re hairline cracks or small damaged areas under 3 inches long. The DIY repair involves proper surface preparation, applying marine-grade fiberglass resin mixed with hardener, layering fiberglass cloth, and allowing 24 to 48 hours curing time. Larger cracks, multiple damage areas, or subfloor issues require professional replacement.
What causes a fiberglass shower pan to crack?
A fiberglass shower pan cracks due to age-related wear over 10 to 45 years, improper installation with inadequate support causing flexing, deteriorated drain assembly connections, impact damage from dropped objects, temperature fluctuations, harsh chemical cleaners, and UV exposure. Daily movement from insufficient securing creates stress fractures that eventually become visible cracks.
How much does it cost to fix a leaking shower pan?
Fixing a leaking shower pan costs $30 to $500 for minor DIY crack repairs and resealing, $900 to $2,300 for professional full pan replacement, and potentially $2,000 to $4,600 if extensive subfloor damage, mold remediation, or structural repairs are needed. DIY fiberglass patch kits cost $20 to $75, while replacement pan liners run $50 to $100.
Should I stop using my shower if the pan is leaking?
You should stop using your shower immediately if the pan is leaking to prevent further water damage, subfloor deterioration, and mold growth. Continuing to use a leaking shower causes structural damage including wood rot, ceiling damage in rooms below, and costly remediation needs. Use alternative bathing facilities until the leak is properly repaired and tested.
What’s the difference between a shower pan crack and drain leak?
A shower pan crack causes water level to drop during an 8-hour sealed drain test and shows visible damage to the fiberglass surface. A drain leak maintains stable water level during testing but creates moisture below the shower, indicating failed gaskets, loose drain connections, or deteriorated plumber’s putty around the drain assembly rather than pan damage.