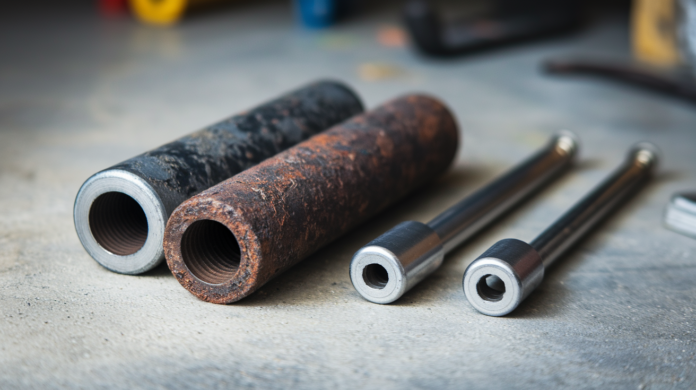

Most people don’t know their water heater has a part designed to corrode and die so the tank doesn’t. That’s the anode rod, and when it fails completely, your tank is next. The good news? Replacing it yourself takes about an hour and costs a fraction of buying a new water heater. We’ll walk you through spotting the warning signs, picking the right rod for your water type, and handling the actual swap without fighting a seized fitting or flooding your utility room.
Identifying When Your Anode Rod Needs Replacement
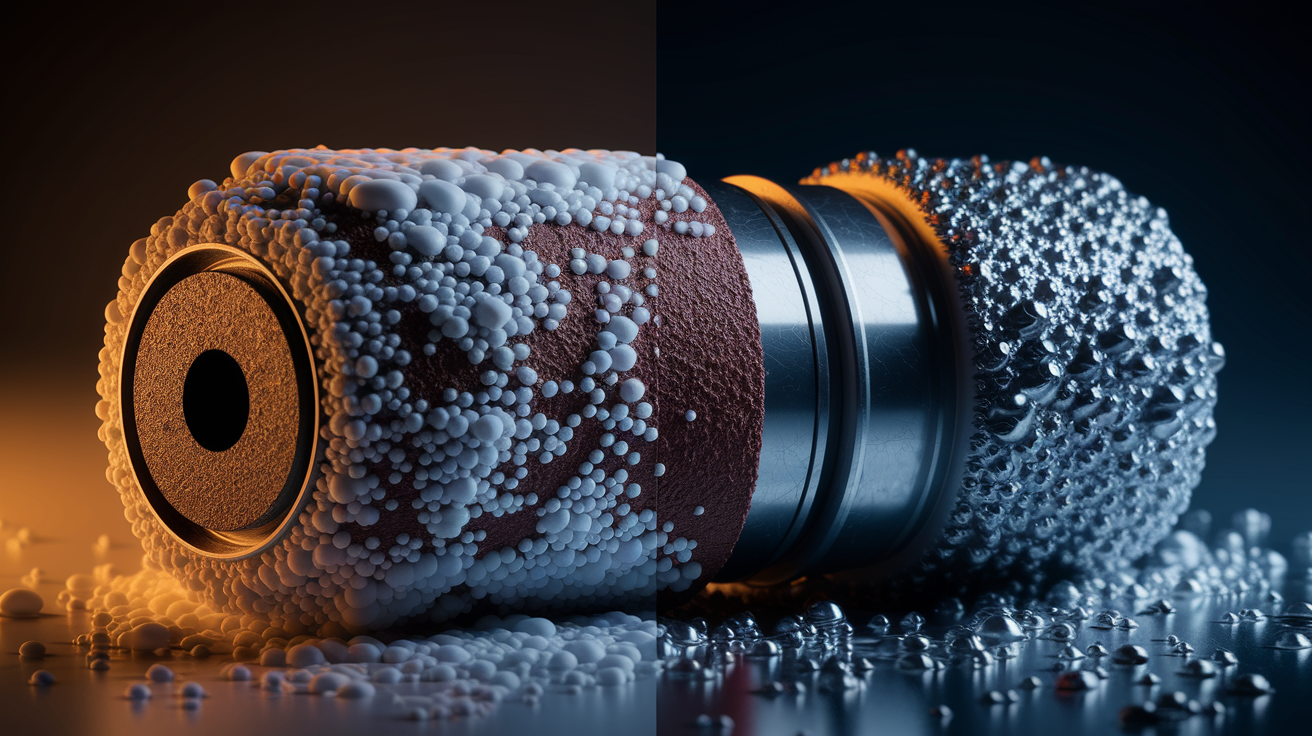
Regular inspection keeps small problems from becoming expensive water heater failures. Most homeowners never think about the anode rod until something goes wrong, but a quick annual check takes less than an hour and can save thousands in premature replacement costs.
Watch for these warning signs that your anode rod needs attention:
Rotten egg or sulfur smell in hot water. Bacteria interacting with depleted anode material create this distinctive odor.
Rusty or discolored water from hot taps. Brown, orange, or murky water suggests advanced rod deterioration.
Metallic taste in hot water. Exposed steel from failed anode protection leaches into your water supply.
Popping or rumbling sounds from the tank. Sediment buildup on a corroded rod creates noise as water heats.
Visible corrosion on the exposed hex head portion. Surface rust signals internal deterioration.
Reduced hot water capacity. Sediment accumulation from rod breakdown displaces usable water volume.
Set a consistent inspection schedule based on your water source. Municipal water systems with normal hardness need annual rod checks, with replacement typically required every three to five years. Well water accelerates corrosion, so inspect every six months and plan for replacement closer to the three year mark. Homes with water softeners fall somewhere between these intervals depending on softener type and settings.
Pull the rod for visual inspection when you notice any warning signs. A rod corroded down to its steel core wire needs immediate replacement. It’s no longer protecting your tank. At that point, corrosive elements are already attacking the tank lining. The same applies to rods showing heavy calcium buildup that prevents proper electrochemical function.
Choosing the Right Anode Rod Type for Your Water Heater
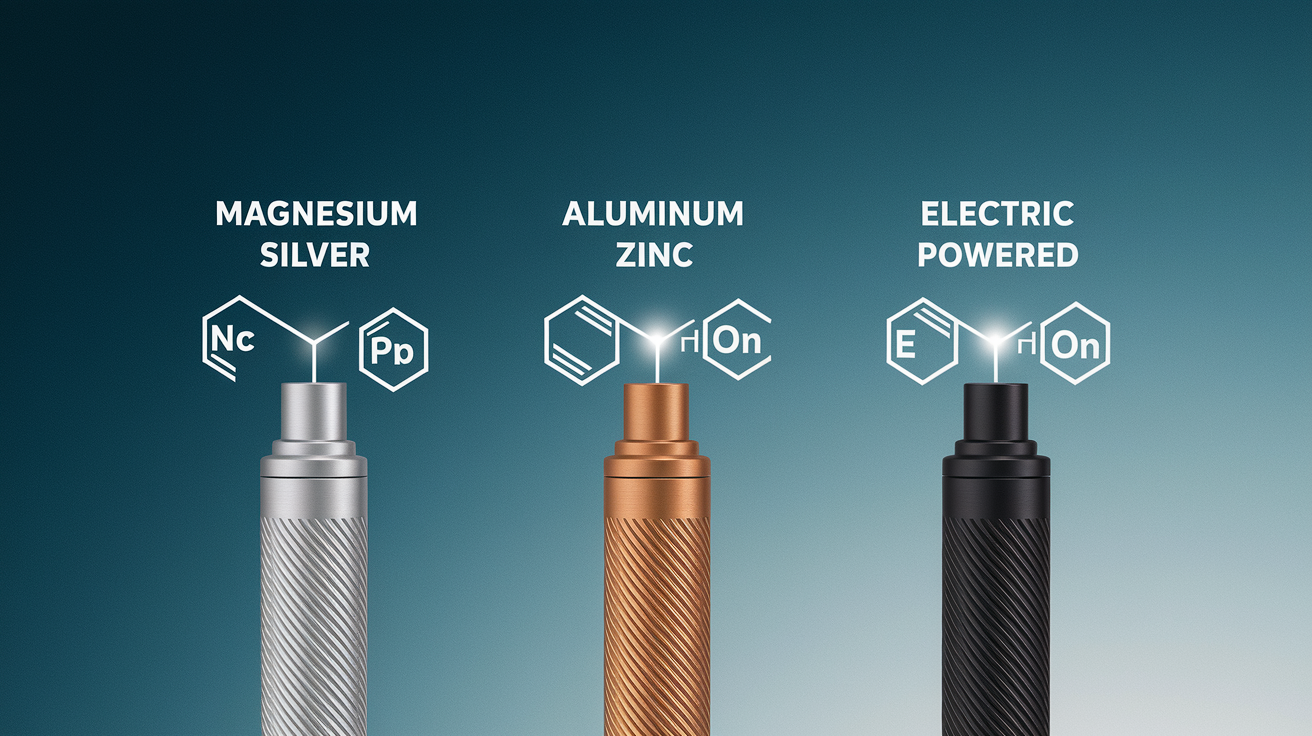
Rod material affects both how well your tank is protected and how long that protection lasts. Match the rod type to your specific water conditions for the best results.
Three main types handle different situations:
Magnesium rods are standard equipment in most new water heaters. These provide excellent corrosion protection for normal water conditions. They corrode faster than other materials, typically lasting three to five years, but they do the best job attracting corrosive elements away from your tank steel.
Aluminum or aluminum zinc rods are a better choice for hard water with high mineral content. These last longer than magnesium, often reaching five to seven years before replacement. If you’re dealing with sulfur smell issues, an aluminum zinc rod like the zinc alloy models helps eliminate that rotten egg odor.
Powered or electric rods are a premium solution that doesn’t corrode at all. These create protective current using household electricity instead of sacrificial metal. They cost more upfront but never need replacement, just an accessible electrical outlet nearby. Some manufacturers back these with extended warranties.
Standard sizing works across most residential tanks. The threaded connection uses 3/4″ NPT fitting, and traditional rigid rods measure 40 to 55 inches long depending on your tank capacity. Before buying, measure the clearance above your water heater. You’ll need four to five feet of overhead space to pull a rigid rod straight out and drop the new one in.
Most installations don’t have that kind of clearance. Water heaters tucked into basements, utility closets, or under low ceilings can’t accommodate full length rigid rods. For tight spaces, flexible segmented rods solve the problem. These three section designs bend during installation, letting you work in spaces with as little as two feet of clearance above the tank.
Required Tools and Materials for Anode Rod Replacement
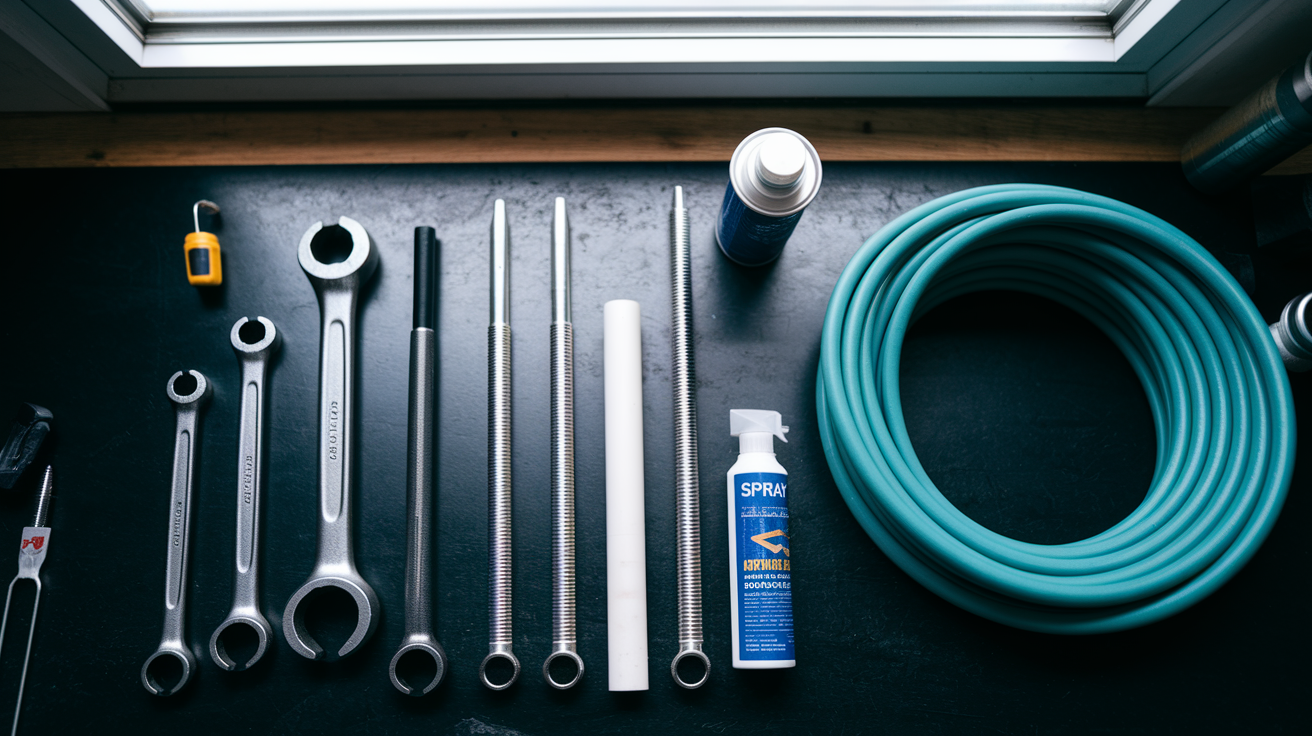
Gathering everything before you start prevents frustrating trips to the hardware store mid project.
| Tool/Material | Purpose | Estimated Cost |
|---|---|---|
| 1-1/16″ socket wrench with extension | Remove and install hex head fitting | $15-30 |
| Breaker bar or cheater pipe | Extra leverage for seized rods | $10-20 |
| Replacement anode rod | Corrosion protection | $50-150 |
| Thread sealant or pipe dope | Seal threaded connection | $5-10 |
| Garden hose | Drain water from tank | $10-20 |
| Bucket | Catch drainage water | $5-10 |
| Penetrating oil/spray lubricant | Loosen corroded threads | $5-8 |
| Impact wrench – optional | Remove stubborn seized rods | $30-100 |
Total DIY cost typically ranges from thirty dollars if you already own basic tools and choose a standard anode rod, up to two hundred dollars if you’re starting from scratch and selecting a premium powered rod. The impact wrench is optional for most replacements, but if you’re dealing with an older water heater that’s never had the rod serviced, it’s often worth the investment. Basic corded models run about thirty dollars and make seized rods manageable instead of impossible.
Safety Precautions Before Starting Your Water Heater Work
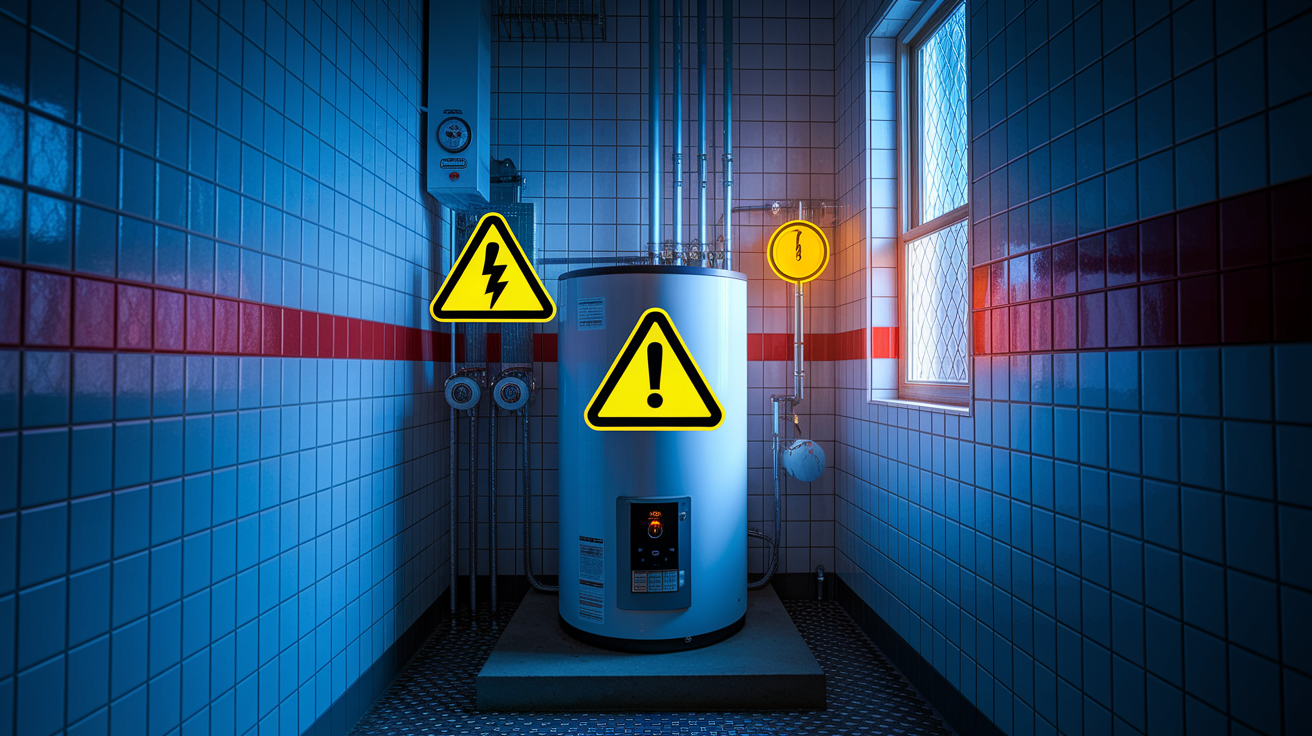
Electric water heaters create two serious risks. Electrocution from exposed connections and severe scalding from pressurized water above 120°F.
Follow these safety steps in order:
- Shut off power at the breaker panel and verify it’s off using a voltage tester on the heating element terminals
- Turn off the cold water supply valve located on the pipe entering the top of the tank
- Open a hot water faucet somewhere in the house to relieve tank pressure
- Allow water to cool for at least thirty minutes if the heater has run recently
- Keep your work area dry and well lit with working flashlights or work lights
Each step prevents a specific hazard. Cutting power at the breaker eliminates shock risk from the 240 volt heating elements and their exposed terminal connections. The voltage tester confirms power is actually off. Breakers sometimes fail or you might switch the wrong one. Shutting off the water supply prevents the tank from refilling as you work and reduces pressure that could spray hot water when you break the anode rod seal.
Opening a hot water tap relieves residual pressure in the system. Without this step, removing the anode rod can release a pressurized spray. Waiting for the water to cool is basic burn prevention. Water at 140°F causes serious scalding in seconds. Finally, keeping your work area dry prevents electrical shock if any connections weren’t properly de energized, and good lighting helps you see what you’re doing around tight connections and overhead work.
How to Replace Your Electric Water Heater Anode Rod
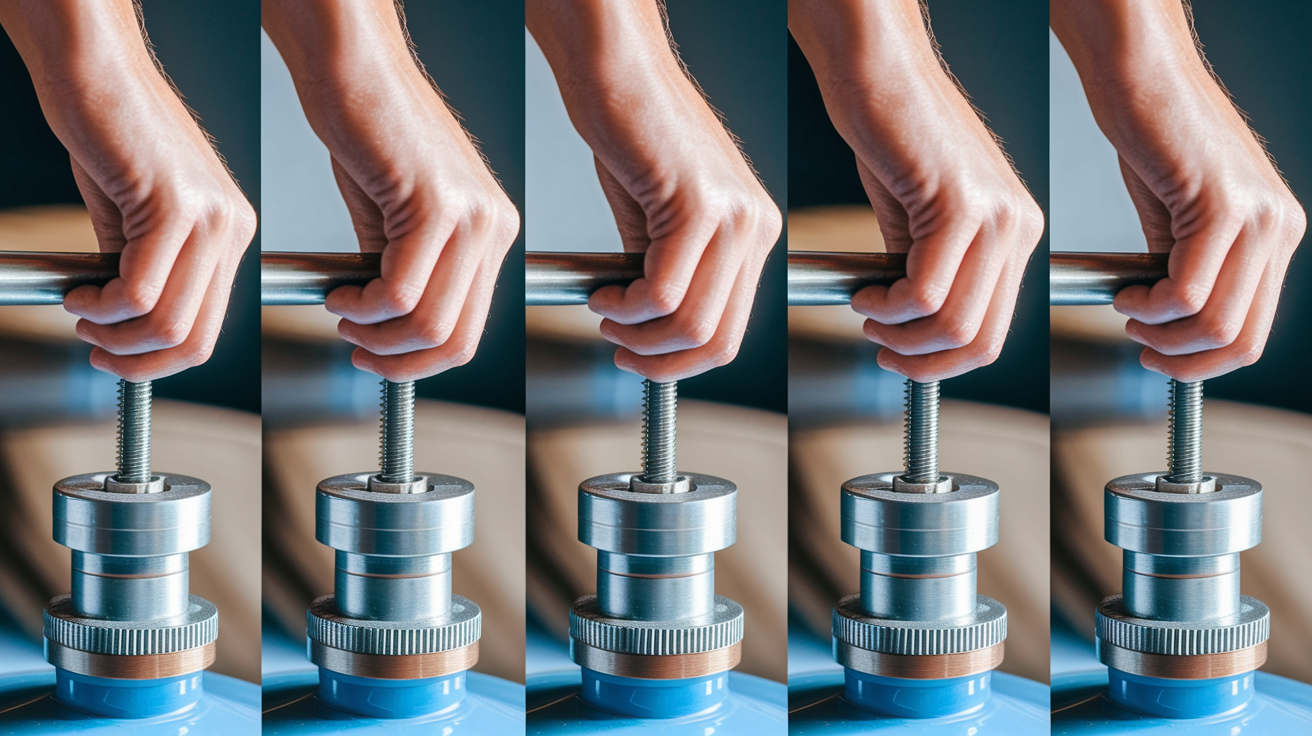
This is a straightforward project once you’ve gathered your tools and taken the safety steps. Most replacements take one to two hours start to finish.
Follow this complete replacement sequence:
- Turn off power at the breaker panel serving your water heater
- Shut off the cold water supply valve at the top of the tank
- Drain two to three gallons through the drain valve near the tank bottom
- Locate the hex head on top of the tank, usually on the left side near the hot water outlet
- Use your 1-1/16″ socket wrench to loosen the rod turning counterclockwise
- Remove the old rod and inspect it for corrosion to the steel core wire
- Apply pipe thread sealant (pipe dope, not tape) to the threads of your new rod
- Thread the new rod by hand until it seats snugly against the tank opening
- Use your socket wrench for final tightening. Approximately half a turn past hand tight without making the tank twist or move
- Refill the tank, inspect the hex head connection for leaks, and verify no water seepage
The 1-1/16″ socket size fits the standard hex head on most residential water heaters. If your socket won’t grip properly, the hex head might be worn. Try a deep socket for better engagement. When tightening the new rod, pay attention to the tank itself. If the whole water heater starts to rotate, you’ve gone too far. Back it off slightly and stop. The weight of water in the tank usually keeps it stable, but older installations with weakened mounting straps sometimes need a helper to steady the tank while you tighten.
Restoring power and purging air from the system completes the job. Turn the cold water supply back on and let the tank refill completely. Open hot water faucets throughout your house and let them run until water flows steadily without sputtering. That sputtering is trapped air working its way out of the system. Once water flows smoothly, close the faucets and restore power at the breaker panel. The water heater will begin heating within a few minutes.
Troubleshooting Stuck or Corroded Anode Rods
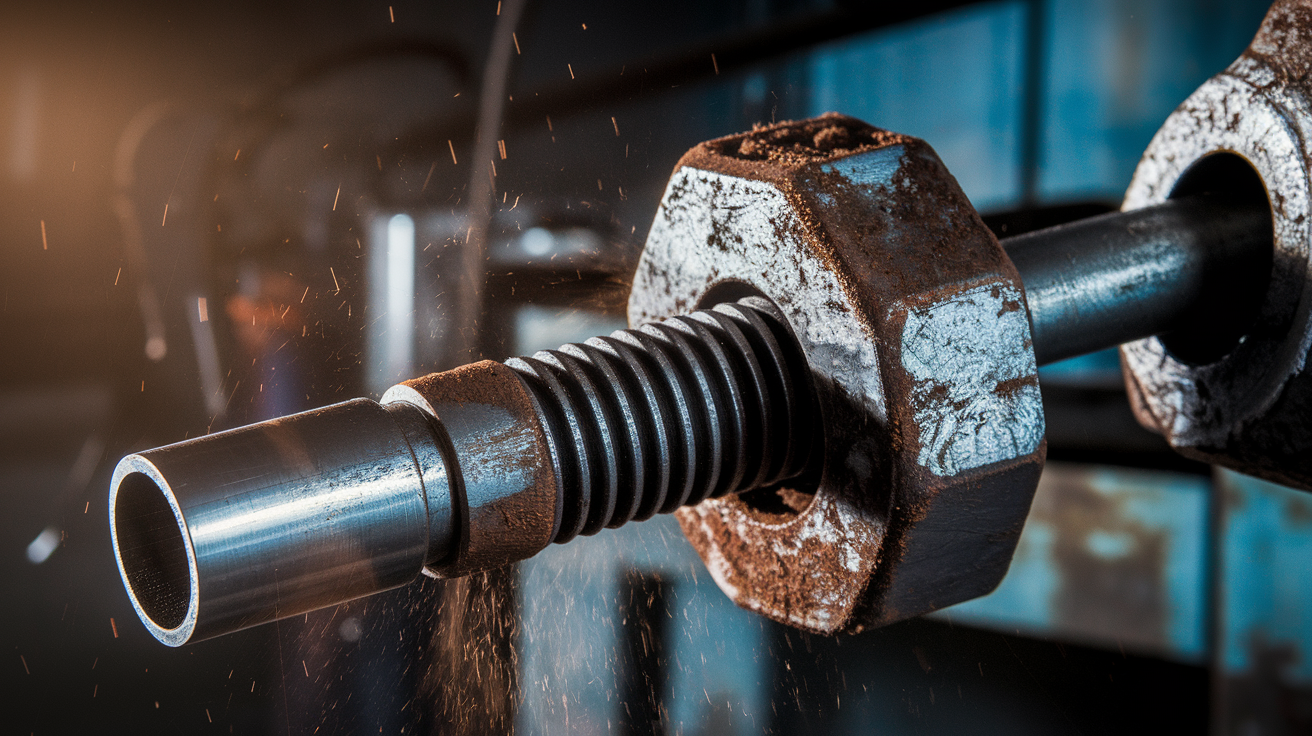
Years of corrosion frequently seize anode rod threads, making removal the hardest part of this job. Don’t be surprised if the rod won’t budge on your first attempt.
Work through this troubleshooting sequence when the rod won’t turn:
- Apply penetrating oil around the hex head where it meets the tank, then wait fifteen to thirty minutes for it to work into the threads
- Use a breaker bar or cheater pipe over your socket handle for increased leverage. A two foot pipe section typically provides enough additional torque
- Try an impact wrench for maximum rotational force without excessive manual pressure that could damage the tank
- Have a helper stabilize the tank to prevent the entire water heater from twisting as you apply force
Stop immediately if you see the tank itself starting to rotate, cracks forming around the hex head, or signs that threads are stripping instead of turning. The full tank weighs several hundred pounds, which usually provides enough resistance to keep it stable. Older tanks with corroded mounting straps or floor stands sometimes need physical support while you work on stubborn rods.
If the rod breaks during removal, the detached portion falls harmlessly to the tank bottom. There’s no way to retrieve it, and it won’t interfere with normal operation. But a broken rod during removal definitely signals that your tank desperately needed this maintenance. The corrosion was severe enough to weaken the rod structurally. Get the new rod installed as quickly as possible. Your tank has been running without protection.
Understanding Electric Water Heater Anode Rod Function

The anode rod is a sacrificial component designed to corrode so your water heater tank doesn’t.
Steel water heater tanks start with a thin glass lining coating the interior. This lining prevents direct contact between steel and water, but it inevitably cracks over time from thermal expansion and contraction. Once water reaches the bare steel underneath, corrosion starts immediately. The anode rod provides the second line of defense through a process called electrolysis. The rod’s reactive metals (magnesium, aluminum, or zinc) naturally attract corrosive ions dissolved in your water. These ions attack the softer anode metal instead of the harder tank steel, slowly consuming the rod while preserving the tank structure.
Think of it like having a part that’s designed to rust so nothing else does. The electrochemical attraction is constant whenever water sits in the tank. Oxygen, chlorine, sulfates, and other corrosive elements suspended in water actively seek metal to oxidize. The anode rod’s metals are more chemically reactive than steel, so they corrode preferentially. This sacrificial process continues until the protective metals are mostly gone, at which point the rod stops working and tank corrosion begins.
Properly maintained anode rods extend tank life from the typical eight to ten years up to fifteen to twenty years by preventing rust perforation and leaks. The cost difference between a thirty dollar rod every five years and a fifteen hundred dollar tank replacement makes this one of the highest return maintenance tasks in your home.
Cost Analysis: DIY Versus Professional Anode Rod Service

Understanding the cost breakdown helps you decide whether to tackle this yourself or hire a plumber.
| Service Type | Parts Cost | Labor Cost | Total Cost | Time Required |
|---|---|---|---|---|
| DIY standard rod | $50-150 | $0 | $50-150 | 1-2 hours |
| DIY powered rod | $150-300 | $0 | $150-300 | 1-2 hours |
| Professional service | $50-150 | $150-300 | $300-450 | Scheduled appointment |
DIY offers significant savings, typically $150 to $300 per replacement compared to professional service. Over a water heater’s lifetime, that’s $450 to $900 in saved labor costs if you replace the rod every five years. You also gain a learned skill and complete control over timing. No waiting for appointments or adjusting your schedule around service windows.
The limitations matter though. Stuck rods that won’t budge after reasonable effort need professional torque tools and experience. If you don’t own the right socket size, breaker bar, or impact wrench, tool costs can approach professional service pricing for a one time job. Some newer water heater warranties require professional installation of replacement parts to remain valid. Check your warranty terms before starting.
Professional service makes sense for first timers uncomfortable with the process, homes with known plumbing complications like corroded supply lines or failing drain valves, or when your DIY attempts don’t break the rod loose. Plumbers encounter seized anode rods routinely and know how much force is safe before risking tank damage. If you’ve spent thirty minutes fighting a stuck rod, the remaining $200 to $300 in labor costs can start looking reasonable. For more on preventive care that reduces the need for professional intervention, see our guide on water heater maintenance tips.
How Water Quality Affects Anode Rod Lifespan

Water chemistry dramatically changes how quickly anode rods corrode and need replacement. Understanding your water helps you set realistic replacement schedules.
Five key factors influence anode rod lifespan:
Hard water with high mineral content accelerates magnesium rod corrosion through increased dissolved solids, often shortening useful life to two to three years instead of the standard four to five.
Soft or softened water can be more corrosive to aluminum rods because water softeners replace calcium and magnesium with sodium, which affects electrochemical balance differently.
Low pH or acidic water increases overall corrosion rate across all metal components including the tank itself, not just the anode rod.
Well water with sediment coats the rod with mineral deposits that can interfere with the electrochemical process, requiring more frequent inspection even if the rod isn’t fully corroded.
Chlorinated municipal water produces moderate corrosion at predictable rates, typically allowing standard three to five year replacement intervals.
Test your water hardness using pH test strips available at hardware stores and pool supply shops. Neutral water reads around seven on the pH scale. Higher numbers indicate alkaline conditions, lower numbers show acidity. You don’t need laboratory precision. A general sense of whether your water is hard, soft, or neutral guides rod selection and replacement timing.
Visual indicators work too. White mineral stains on dishes, shower walls, and faucets signal hard water that will corrode magnesium rods faster than average. A chalky film on fixtures means high mineral content. Conversely, water that feels slippery and doesn’t rinse soap easily suggests soft water conditions.
Establish inspection schedules based on your results. Normal municipal water with neutral pH supports annual inspections. Aggressive water chemistry from wells, very hard water, or acidic conditions warrants semi annual or even quarterly checks. Testing your specific conditions once lets you set a maintenance schedule that prevents premature tank failure without excessive service.
Maintaining Your Water Heater After Anode Rod Replacement
Anode rod replacement is one part of comprehensive water heater maintenance that maximizes your investment.
Continue these maintenance tasks with their recommended frequencies:
Annual anode rod inspection. Quick visual check each year for heavy corrosion, even if full replacement isn’t due yet.
Tank flushing every six to twelve months. Removes sediment buildup that accelerates corrosion and reduces heating efficiency.
Temperature and pressure relief valve testing annually. Ensures your critical safety system will function during overpressure emergencies.
Drain valve operation check quarterly. Running a gallon through the drain valve prevents mineral buildup from seizing the valve completely.
Temperature setting verification. Confirm your thermostat stays in the 120 to 140°F optimal range for safety and efficiency.
Sediment management deserves special attention. Minerals naturally present in water settle to the tank bottom as water sits and heats. This sediment layer insulates the tank bottom from the heating elements, forcing them to work harder and use more energy to reach temperature. The sediment also creates localized corrosion sites where it contacts the tank lining. Flushing removes this buildup before it causes problems. Attach a garden hose to the drain valve, run it to a floor drain or outside, and drain two to three gallons. The first water out looks cloudy with suspended sediment. When it runs clear, the worst buildup has been removed.
Proper maintenance achieves fifteen to twenty year tank lifespan compared to eight to ten years without regular care. For more on early problem detection and prevention strategies, see our guide on preventing water heater leaks. That additional decade of service, at current replacement costs, represents $1,500 to $2,000 in avoided expenses from a few hours of simple maintenance.
Common Mistakes to Avoid During Anode Rod Replacement
Simple errors during replacement can damage your water heater or create safety hazards.
Avoid these six common mistakes:
-
Skipping power shutoff. Exposed electrical terminals on heating elements create serious electrocution risk. Always verify power is off using a voltage tester.
-
Attempting removal on a full tank. Full tanks weigh 400 to 500 pounds depending on capacity. That excessive weight makes the tank difficult to stabilize if it starts rotating during rod removal, and creates dangerous pressure if the seal breaks unexpectedly.
-
Over tightening the new rod. Threading the rod too tight can strip threads, distort the tank opening, or stress the glass lining inside. Tighten approximately half a turn past hand tight, then stop.
-
Using Teflon tape instead of pipe sealant. Tape creates an insulating layer that interferes with the electrical conductivity needed for proper electrochemical protection. Use pipe dope or thread sealant compound instead.
-
Forcing a stuck rod with excessive torque. When a seized rod starts twisting the entire tank instead of turning in the threads, you risk breaking internal connections between heating elements and water lines.
-
Ignoring rusty sediment in drained water. Heavy rust flakes indicate the tank interior is already corroding beyond what a new anode rod can fix. This signals imminent tank failure regardless of rod condition.
The most critical mistake is continuing to force a seized rod that’s causing the entire tank to rotate. Water heaters aren’t designed to twist. The cold water inlet, hot water outlet, drain valve, and relief valve all have rigid connections that can break if the tank spins. Internal heating element threads can also strip. If the tank moves more than a few degrees during your removal attempts, stop immediately.
Know when to call a professional. If you’ve applied penetrating oil, waited the recommended time, used a breaker bar for additional leverage, and the rod still won’t budge without moving the tank, that’s the stopping point. Professional plumbers have specialized tools and the experience to know exactly how much force is safe before risking tank damage.
Signs Your Electric Water Heater May Need More Than an Anode Rod
Sometimes the tank has deteriorated beyond what a fresh anode rod can protect. Recognizing these warning signs prevents throwing money at a water heater that’s already failing.
Watch for these indicators that full tank replacement makes more sense than anode service:
Active leaks from the tank body (not from connections or valves). Once the tank steel is compromised enough to leak, the structure has failed and cannot be repaired.
Heavy rust flakes in drained water. Significant rust debris indicates the interior lining has failed extensively and the tank is corroding from inside.
Tank age exceeding twelve to fifteen years. Even with perfect maintenance, glass lining failure accelerates after a decade of thermal cycling.
Frequent cycling or failure to maintain temperature. May indicate failed heating elements, but can also signal extensive sediment buildup displacing water volume.
Visible rust or corrosion on tank exterior. External rust means internal corrosion is likely worse, especially near the bottom where it’s not visible.
Multiple component failures. When heating elements, thermostats, and valves all start failing within a short timeframe, the hostile internal environment signals tank wide deterioration.
Run a simple cost benefit analysis before committing to anode rod replacement on older tanks. If the repair costs approach fifty percent of replacement cost and your tank is over ten years old, replacement typically provides better long term value. A new thirty dollar anode rod makes perfect sense for a six year old tank in good condition. That same rod is questionable for a thirteen year old tank showing rust stains and temperature problems.
Professional inspection definitively assesses whether anode replacement is worthwhile or if tank replacement is the more practical solution. Plumbers can evaluate internal corrosion through drained water samples, test heating element resistance, check thermostat operation, and inspect the condition of the glass lining through the anode rod opening. That comprehensive assessment costs less than misguided repairs on a tank that’s already failing.
Final Words
Electric water heater anode rod replacement protects your tank from corrosion and can double its lifespan when done correctly.
The process takes 1-2 hours with basic tools, costs $50-150 for parts, and prevents expensive tank failures down the road.
Check your rod annually. Watch for rotten egg smells, discolored water, or rumbling sounds.
Replace it every 3-5 years, or sooner if you have hard water or well water.
If the rod won’t budge after reasonable attempts, or if you’re seeing rusty sediment and active leaks, call us. We’ll assess whether you need a simple rod swap or if the tank’s telling you it’s time for a replacement.
FAQ
How long do electric anode rods last?
Electric anode rods (also called powered anode rods) last significantly longer than traditional sacrificial rods, typically functioning for the entire lifespan of the water heater without needing replacement. Most manufacturers back these rods with warranties ranging from 5 years to the full life of the tank.
What are the symptoms of a bad anode rod in a water heater?
The symptoms of a bad anode rod in a water heater include a rotten egg or sulfur smell in hot water, rusty or discolored water from hot taps, a metallic taste, popping or rumbling sounds from the tank, and reduced hot water capacity. You might also notice the rod corroded down to the steel core wire during visual inspection.
How often should an anode rod be replaced in a hot water heater?
An anode rod should be replaced every 3 to 5 years in most water heaters, though inspection should happen annually. Homes with well water need semi-annual or quarterly checks since aggressive water chemistry accelerates corrosion. Hard water conditions may shorten replacement intervals to 2-3 years.
Do powered anode rods actually work?
Powered anode rods actually work by using electrical current to protect the tank instead of sacrificial metal deterioration. They provide continuous corrosion protection without needing replacement, making them effective for homeowners who want lower long-term maintenance. These rods require an electrical outlet near the water heater.
When should I inspect my water heater’s anode rod?
You should inspect your water heater’s anode rod at least once per year under normal conditions. Well water systems require more frequent checks, typically every 6 months or quarterly, because sediment and minerals accelerate rod deterioration and reduce the protective lifespan.
What type of anode rod is best for hard water?
Aluminum or aluminum-zinc alloy anode rods are best for hard water conditions because they resist the accelerated corrosion that high mineral content causes. Magnesium rods, while standard in most heaters, corrode quickly in hard water and may need replacement every 2-3 years instead of the typical 3-5 year interval.
Can I replace an anode rod myself?
You can replace an anode rod yourself if you have basic mechanical skills, the right tools (1-1/16″ socket wrench, breaker bar), and clearance above the water heater. The project takes 1-2 hours and costs $50-150 for parts, saving $150-300 in professional labor charges.
What happens if I never replace my water heater’s anode rod?
If you never replace your water heater’s anode rod, the tank’s steel will corrode once the sacrificial rod depletes completely, leading to rust perforation and leaks. A tank without anode protection typically fails in 8-10 years instead of lasting the potential 15-20 years with proper rod maintenance.
Why does my hot water smell like rotten eggs?
Hot water smells like rotten eggs when sulfur bacteria react with the deteriorating anode rod, creating hydrogen sulfide gas. Switching to an aluminum-zinc alloy rod or a powered anode often eliminates this sulfur odor while maintaining corrosion protection for the tank.
How much clearance do I need to replace an anode rod?
You need 4-5 feet of overhead clearance to remove and install a traditional rigid anode rod since most measure 40-55 inches long. If your water heater sits in a basement with low ceilings or tight spaces, flexible segmented rods eliminate this clearance requirement.
Should I use Teflon tape or pipe sealant on anode rod threads?
You should use pipe thread sealant (pipe dope) on anode rod threads, not Teflon tape. Tape can interfere with the electrical conductivity needed for proper corrosion protection, while sealant creates a watertight seal without blocking the electrochemical process that protects the tank.
What does it mean if my anode rod won’t come out?
If your anode rod won’t come out even with penetrating oil and a breaker bar, it’s likely frozen by years of corrosion. Try an impact wrench for maximum torque, but stop if the entire tank starts twisting. Excessive force can damage internal connections and requires professional help.