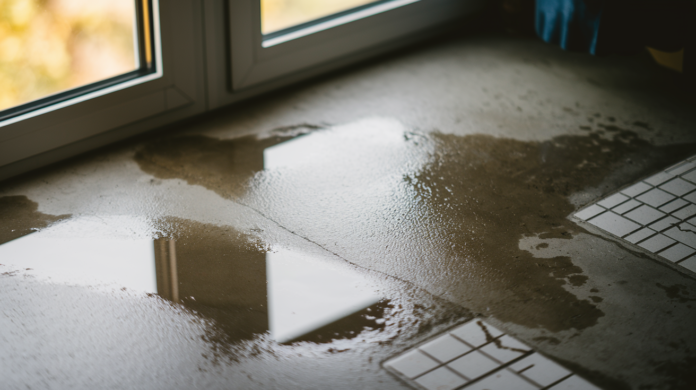

You might think a leak beneath your concrete slab would be obvious, but most homeowners miss the signs for months or even years. Water escapes from pipes embedded in your foundation, erodes the soil underneath, and creates structural problems long before you notice anything wrong. By the time a slab leak becomes impossible to ignore, the damage is already serious and the repair cost has multiplied. Here’s what those hidden leaks look like from above ground, how professionals find them without tearing up your entire floor, and when it’s time to stop monitoring and start fixing.
Warning Signs That Indicate a Slab Foundation Leak
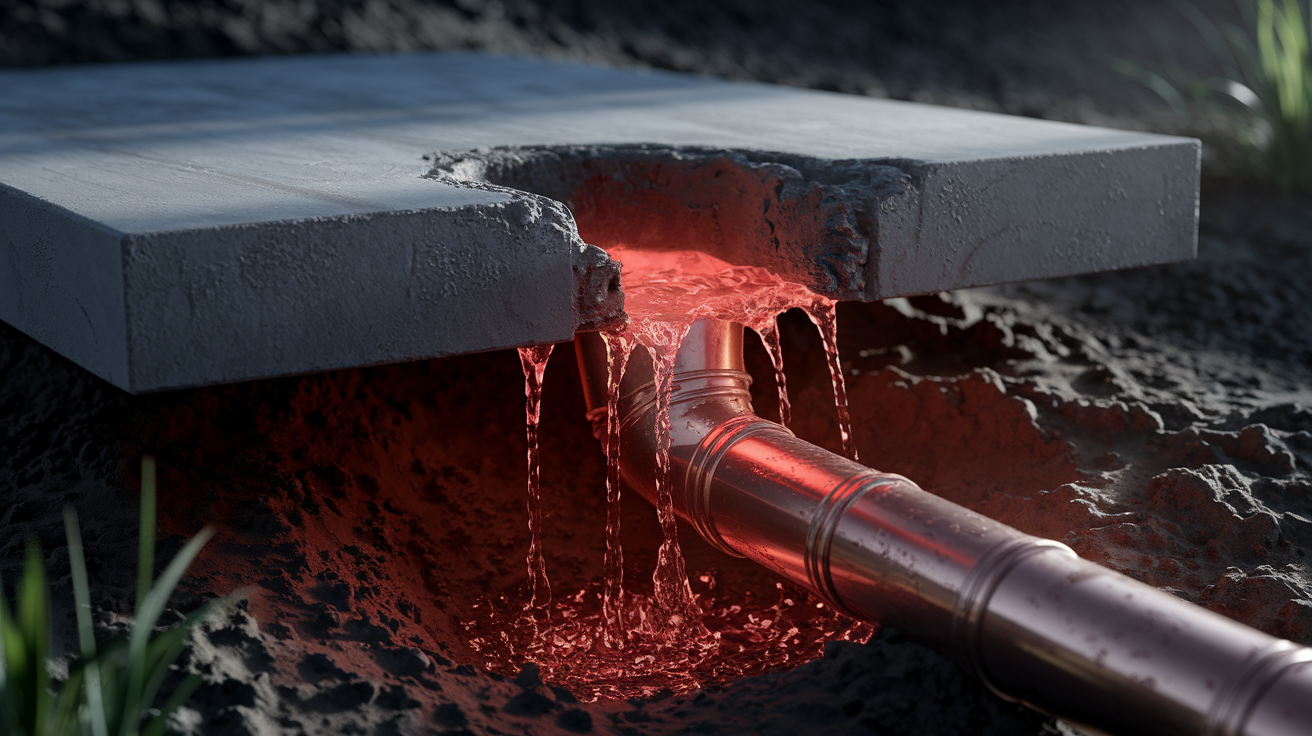
Slab leaks happen beneath concrete where you can’t see them. The leak itself stays hidden while symptoms show up around your home. Catching multiple warning signs early matters. Water leaking beneath your foundation erodes soil, creates voids, and compromises structural stability the longer it flows.
Here’s what to watch for when water escapes from pipes embedded in your concrete slab:
Sudden water bill increases with no explanation. Your usage habits haven’t changed but your bill jumped. Water’s going somewhere it shouldn’t.
Sound of running water when nothing is on. Turn off every fixture and appliance, then listen. You hear water moving through pipes? It’s leaking somewhere in the system.
Warm or hot spots on floors. Step around barefoot, especially on tile or concrete. Areas that feel noticeably warmer mean hot water is pooling beneath that spot from a supply line leak.
Wet spots on interior floors or saturated ground outside. Unexplained damp areas on flooring or ground that stays soggy near your foundation edges, even when it hasn’t rained.
Dropping water pressure throughout the home. Multiple fixtures have weaker flow than usual? A significant leak is diverting water before it reaches your faucets and showerheads.
Mold growth and persistent musty odors. Constant moisture beneath the slab creates perfect conditions for mold. You’ll smell it before you see it. That damp, earthy scent that won’t go away.
Foundation cracks appearing or expanding. New cracks or existing ones that get wider signal that soil beneath the slab is shifting, often because water has washed it away.
Warped flooring, lifted baseboards, or cracked tiles. When water saturates the concrete, it pushes upward. Flooring materials respond by buckling, separating, or cracking.
Constant dampness or unusually high humidity indoors. Rooms feel clammy even when the AC is running. Moisture from beneath the slab is seeping into your living space.
Gurgling, whistling, or banging sounds from plumbing. Odd noises happen when water escapes and air gets pulled into the system, disrupting normal flow patterns.
Smell like rotten eggs near drains or floors. This sulfur odor indicates high hydrogen sulfide gas concentration, which can occur when water leaks compromise sewer lines beneath the slab.
Untreated slab leaks don’t stay small. They wash away soil that supports your foundation. Settlement, structural cracks, damage that costs exponentially more to repair. What starts as a small pinhole can undermine your entire foundation if water keeps flowing for months or years.
When you notice several of these symptoms showing up together, that’s your signal to act. The longer you wait, the more soil erodes and the bigger the repair becomes.
DIY Steps to Verify a Slab Leak Before Calling Professionals
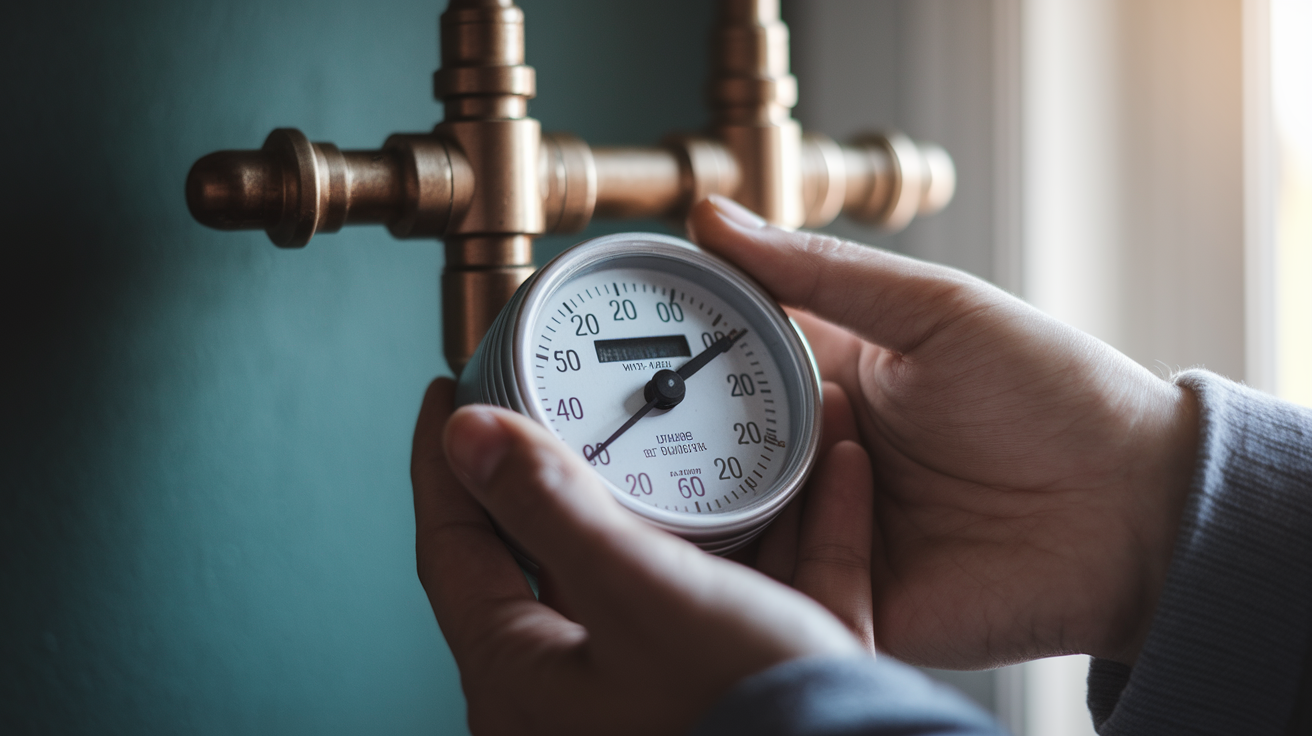
You can’t see pipes beneath concrete, but you can confirm whether water is escaping somewhere in your plumbing system. Basic verification tests won’t tell you exactly where the leak is. They’ll help you determine if professional detection services are worth the investment.
The water meter test is the most reliable DIY method:
Turn off all water fixtures and appliances. Shut off faucets, ice makers, washing machines, dishwashers, and any system that uses water. Make sure toilets aren’t running.
Locate your water meter and record the reading. Write down the exact numbers showing on the meter dial or digital display.
Wait 15 minutes without using any water. Don’t flush, don’t wash hands, don’t turn anything on. Just wait.
Check the meter reading again. If the number increased at all, even slightly, water is leaking somewhere between the meter and your fixtures.
Repeat if you’re uncertain. Do the test a second time, waiting 30 minutes instead. Consistent meter movement confirms an active leak.
After the meter test, walk around your home’s exterior perimeter and look for areas where the ground stays unusually wet or soft. Pay special attention to spots near your foundation. You find saturated soil that doesn’t match recent weather? Water is likely escaping beneath the slab in that area.
When the meter test shows movement or you find persistent wet spots, DIY methods have done their job. The next step is professional detection to pinpoint exactly where the leak is hiding.
Causes and Vulnerable Pipe Types in Slab Foundations
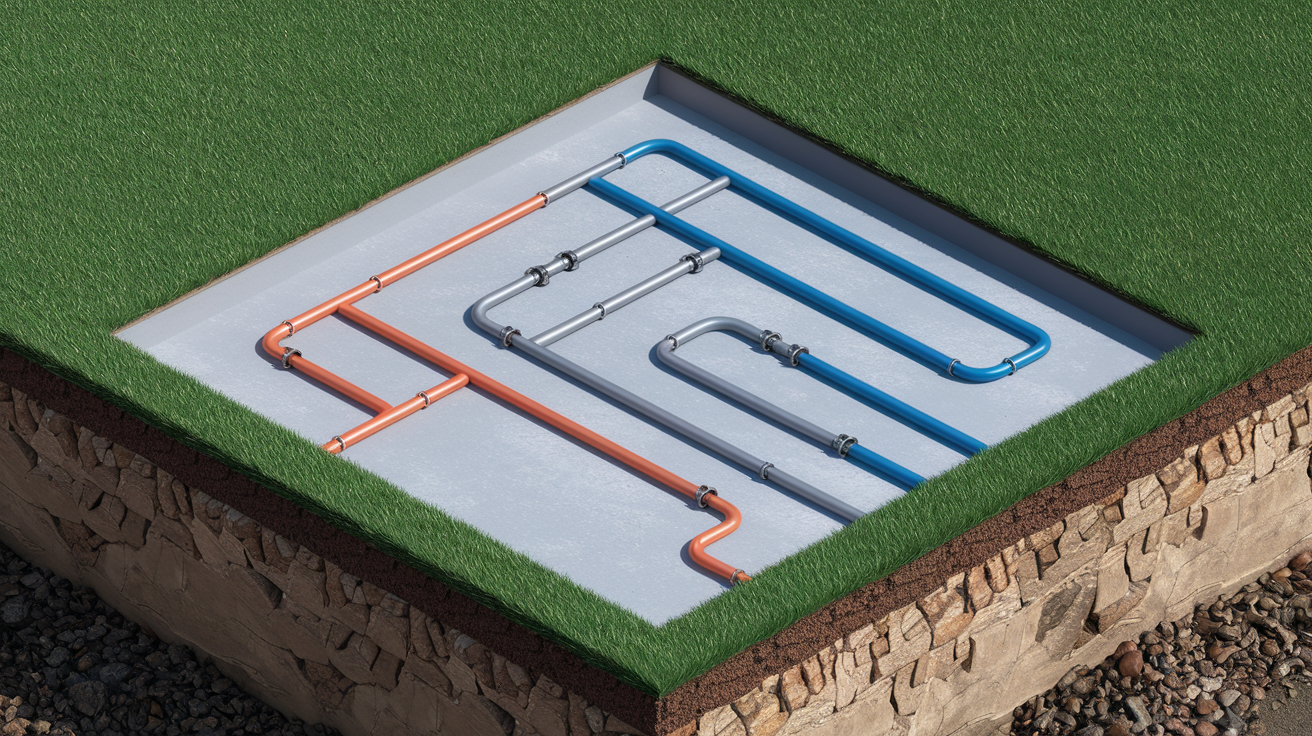
Slab leaks develop from a combination of material failures, installation issues, and environmental factors. Understanding what makes pipes fail helps you recognize risk factors in your own home. Two types of plumbing run beneath concrete slabs: freshwater supply lines that bring clean water into your home, and wastewater removal lines that carry sewage away. Both are vulnerable, but for different reasons.
| Cause/Pipe Type | Description | Risk Factors |
|---|---|---|
| Poor Installation | Incorrect pipe placement creates bends, weak joints, and sagging sections (bellies) that trap debris and develop leaks | Older homes, quick construction timelines, untrained installers |
| Soil Pressure and Shifting | Expansive clay soils shrink when dry and swell when wet, creating repeated stress on pipes and joints | Clay-heavy soil, poor drainage, seasonal moisture changes, drought followed by heavy rain |
| Friction and Abrasion | Pipes installed against concrete, gravel, or abrasive materials wear thin from vibration as water flows through | High water pressure, hard water, long pipe runs without proper bedding, improper pipe supports |
| Excessive Water Pressure | Pressure consistently above 80 PSI forces water through pipe walls faster, accelerating wear and creating weak spots | Homes without pressure regulators, municipal supply pressure fluctuations, older pressure regulation systems |
| Copper Pipes | Most common in homes built from 1950s-2000s, susceptible to pinhole leaks from chemical reactions with soil | Acidic soil conditions, high mineral content in water, homes 30+ years old, thin-wall copper installations |
| Galvanized Steel Pipes | Found in pre-1960s construction, corrodes from inside out as zinc coating deteriorates over decades | Homes 50+ years old, original plumbing never replaced, areas with aggressive water chemistry |
| PEX Piping | Flexible plastic tubing used since the 1990s, resistant to corrosion but can fail at connection points or from chemical exposure | Improper installation, overtightened fittings, contact with concrete or soil contaminants, UV exposure before installation |
Copper pipes are the most common culprit in slab leak situations. When copper sits in contact with certain soil types, especially acidic or high-chloride soils, electrochemical reactions slowly eat through the pipe walls. It starts small. A microscopic pinhole forms, water escapes at low volume, and the leak can go unnoticed for months. Over time, soil chemicals and constant water exposure turn that pinhole into a larger opening. Copper pipes typically start developing these problems after 20 to 30 years, but aggressive soil conditions can accelerate the timeline.
Galvanized steel pipes follow a different deterioration pattern. The zinc coating on the inside gradually wears away from water flowing through. Once the zinc is gone, the underlying steel corrodes. Scale builds up inside the pipe, reducing water flow and creating rough surfaces that accelerate wear. Most galvanized steel reaches the end of its functional life after 40 to 50 years.
PEX piping offers better resistance to soil chemicals and doesn’t corrode, but it’s not immune to problems. Connection fittings can fail if installed improperly, and certain soil contaminants can degrade PEX over time. Still, PEX generally outlasts metal pipes in slab applications.
These causes rarely work alone. A home with expansive clay soil puts constant pressure on pipes. If those pipes are copper and the soil is acidic, corrosion happens faster. Add water pressure above 80 PSI, and the combination accelerates failure.
Older homes face different challenges than new construction. If your home was built before 1980, there’s a good chance you have copper or galvanized steel beneath the slab. Homes built after 2000 more commonly use PEX, but that doesn’t eliminate risk. Knowing what’s beneath your slab helps you understand your home’s vulnerability. If you’re not sure what pipe material you have, a plumber can often determine it by checking exposed pipes near your water heater or in the attic.
Professional Detection Methods and When to Hire Specialists

Modern leak detection technology pinpoints problems beneath concrete without tearing up your entire floor. That matters because once you start breaking concrete blindly, you’re adding unnecessary cost and damage to an already expensive situation. DIY methods tell you a leak exists. Professionals tell you exactly where it is.
Detection specialists use tools that locate leaks from the surface, identifying the precise spot where water escapes. Here’s how each method works and what situations call for each approach.
Acoustic Listening and Sound Amplification
Sensitive microphones amplify the sound of water escaping from pressurized pipes. A technician moves the listening device across your floor while water flows through the system. When water breaks through a pipe wall, it creates a distinct frequency. The microphone picks up that sound, even through concrete. Correlation technology uses multiple sensors placed at different points to triangulate the leak’s exact location by measuring how long it takes sound to reach each sensor.
This method works best for pressurized supply lines. It’s fast and highly accurate when the leak produces audible sound. It’s less effective for very small pinhole leaks or sewer line leaks that aren’t under pressure.
Electronic Leak Detection Systems
Electronic detectors use sensor arrays and electromagnetic pipeline locators to map your plumbing system and identify anomalies that indicate leaks. These systems can detect both water and gas leaks without breaking through concrete. Some advanced systems include tracing capabilities that monitor plumbing over time, helping catch slow leaks before they become major problems.
Electronic detection works well for complex plumbing layouts and situations where multiple leaks might exist. It provides a comprehensive view of your entire system’s condition, not just the most obvious problem spot.
Thermal Imaging and Infrared Scanning
Infrared cameras detect temperature variations in your flooring that reveal hot or cold spots created by leaking water. Hot water supply line leaks show up as warm areas. Cold water leaks appear cooler than surrounding surfaces. A technician scans your floors systematically, looking for temperature differences that shouldn’t be there.
Thermal imaging is effective for hot water line leaks because the temperature contrast is dramatic. It works on any floor covering. Tile, wood, carpet, vinyl. The method is quick and gives instant visual feedback. It’s less effective when the leak is very deep or when ambient temperature conditions mask the contrast.
Pressure and Hydrostatic Testing
Pressure testing isolates sections of your plumbing system, pressurizes them with water, then monitors for pressure drops that indicate leaks. Hydrostatic testing fills the entire system, brings it up to a controlled pressure, then checks whether that pressure holds steady or drops over a set time period. This method is fast, efficient, and relatively inexpensive compared to other detection approaches.
The test doesn’t require digging or breaking concrete. It tells you definitively whether a leak exists in a particular section of plumbing and helps narrow down the search area for other detection tools. Hydrostatic testing is often the first step professionals take because it quickly confirms or rules out slab leaks without expensive equipment mobilization.
Tracer Gas and Ground-Penetrating Radar
Tracer gas detection involves pumping gas into your plumbing lines, then using sensors to detect where gas escapes. The gas seeps out wherever water would leak, even through tiny openings. It’s precise for pinpointing small leaks that other methods might miss. Ground-penetrating radar uses radio waves to detect changes in soil composition caused by water intrusion beneath concrete. Radar shows voids, soil displacement, and moisture patterns that reveal where leaks have been active.
These methods work well for stubborn leaks or when standard detection hasn’t provided clear results. Tracer gas is highly accurate but requires specialized equipment. Radar provides valuable information about soil conditions and foundation integrity beyond just leak location.
You need professional help immediately when your water meter confirms a leak and you can’t locate it above the slab. When you’ve found multiple warning signs like warm floor spots and unexplained water bills. When you notice foundation cracks and structural changes. DIY verification methods are helpful, but they can’t replace professional detection. Pipes embedded in concrete are invisible. You need technology that sees through barriers.
When selecting a leak detection service, verify that technicians are licensed, insured, and experienced specifically with slab foundation leaks. Ask what detection methods they use and whether they have thermal imaging, acoustic equipment, and hydrostatic testing capabilities. A qualified service should explain their process clearly, provide a detailed estimate before starting work, and guarantee their findings.
Check for references from other homeowners who’ve dealt with slab leaks. Local contractors who’ve worked in your area understand regional soil conditions, typical pipe materials for your home’s age, and municipal plumbing standards. Look for services that offer both detection and repair, or that coordinate with trusted repair contractors. That streamlines the entire process.
Emergency leak detection services cost more but make sense when you’re dealing with active flooding, rapidly increasing water damage, or situations where the leak is clearly causing immediate foundation problems. For suspected leaks without emergency conditions, scheduled service works fine and costs less. Either way, establishing a relationship with a trusted local provider means you’ll know exactly who to call when problems develop. Check out WaterFixCentral leak detection services to see what professional detection includes and how specialists approach slab foundation leak diagnosis with the right technology and experience.
Repair Options After Slab Leak Detection
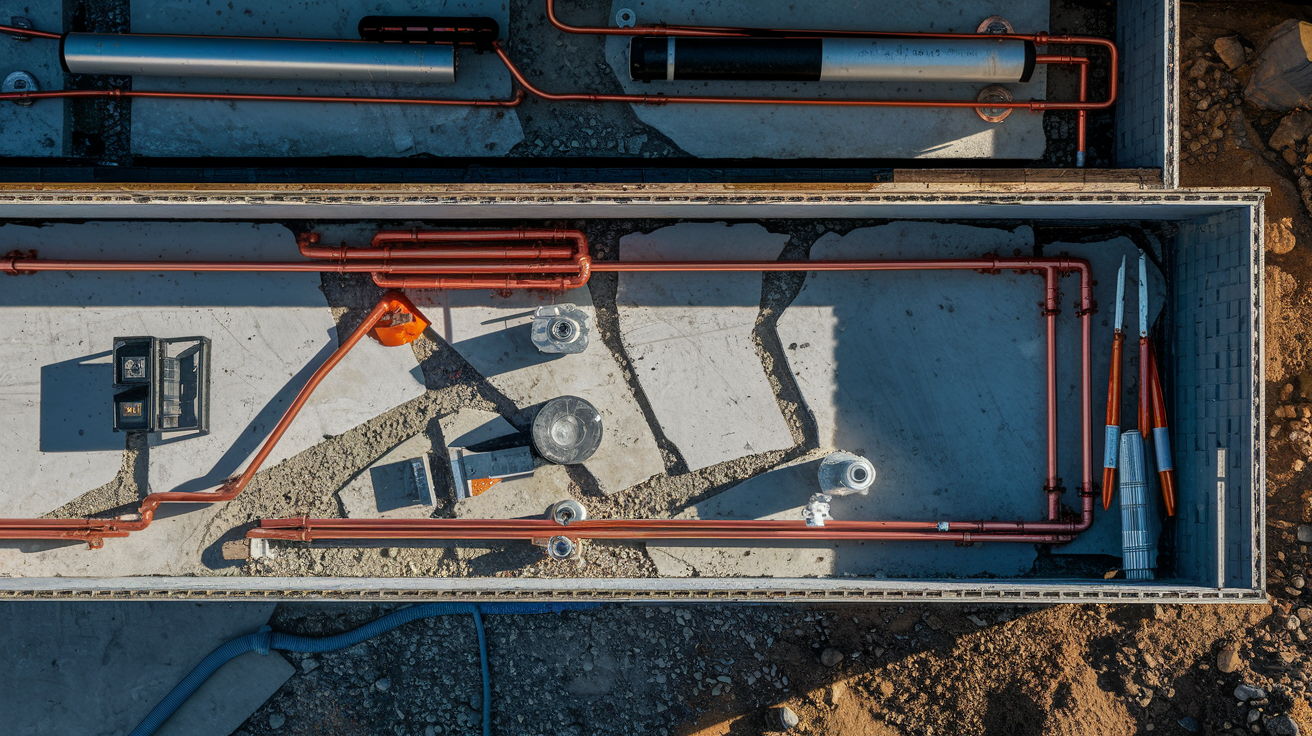
Once detection pinpoints the leak location, you need to choose how to access and fix the damaged pipe. The right repair method depends on where the leak is, how bad the pipe damage is, and what makes sense for your home’s layout. Some methods address just the leak. Others solve underlying problems that would cause more leaks down the road.
| Repair Method | Process | Best For | Invasiveness Level |
|---|---|---|---|
| Direct Access/Concrete Removal | Break through concrete at leak location, repair or replace damaged pipe section, then repour concrete and restore flooring | Single isolated leaks, accessible locations, newer pipe systems with one failure point | High, requires demolition, concrete work, flooring replacement |
| Tunneling from Outside | Dig beneath the foundation from outside perimeter to access pipes without breaking interior concrete | Leaks near foundation edges, situations where preserving interior flooring is critical, accessible exterior areas | Medium, outdoor excavation, no interior demolition |
| Pipe Rerouting | Abandon leaking slab pipes, install new supply lines through attic, walls, or crawl spaces, bypassing the slab entirely | Multiple leaks, aging pipe systems likely to fail again, homes with accessible alternate routing paths | Medium, minimal concrete work, requires running new lines through living spaces |
| Epoxy Pipe Lining | Clean interior pipe surfaces, then coat with epoxy resin that hardens into a new pipe within the old one | Pipes with widespread corrosion but intact structure, preventing future pinhole leaks, supply lines only | Low, no digging, works from access points, not suitable for severely damaged pipes |
| Whole-House Repiping | Replace all supply plumbing throughout the home with new pipes, eliminating slab lines and aging systems completely | Older homes with systemic pipe failure, multiple previous leaks, when long-term reliability matters more than upfront cost | High, comprehensive work, significant investment, permanent solution |
Professionals determine the best approach by weighing several factors. How old are your pipes? If you’re dealing with 40 year old copper that’s already failed once, direct repair of one spot doesn’t address the rest of the system that’s aging at the same rate. Accurate detection is crucial here because it minimizes how much concrete needs to be removed. When technicians know exactly where the leak is, they break only what’s necessary to reach that spot.
Multiple small leaks or recurring problems in the same line signal that the pipe material itself has reached the end of its useful life. Patching one leak when two more develop six months later just means you’re paying for concrete demolition twice. That’s when rerouting or repiping makes more financial sense. It costs more upfront, but you’re done. No more slab leaks from those lines.
Short-term fixes work when the pipe system is generally sound and you’ve caught a single failure point early. Long-term solutions matter more when the underlying cause points to systemic material failure. Talk through options with your plumber. Ask about the age of your pipes, what’s likely to fail next, and whether fixing one spot solves the problem or just delays the inevitable.
Cost Factors for Slab Foundation Leak Detection and Repair

Leak detection and repair costs vary widely based on several factors, but understanding the range helps you budget and plan. More importantly, it shows why catching leaks early saves money. The longer water flows beneath your slab, the more damage accumulates and the higher your total cost climbs.
Detection services typically run between $150 and $800 depending on your home’s size, the detection methods needed, and how many leaks exist. Basic hydrostatic testing costs less than comprehensive thermal imaging and acoustic correlation surveys. Most professionals include a detailed report showing exactly where the leak is, which pipe is affected, and what they recommend for repairs. That precision reduces your repair costs because contractors don’t have to search blindly or break unnecessary concrete.
Repair costs depend heavily on the method used and the extent of damage. Direct access repairs where crews break concrete at one spot, replace a pipe section, and restore the area usually range from $2,000 to $4,000 for straightforward jobs. Tunneling from outside can run $3,000 to $6,000 depending on how deep they need to dig and what obstacles they encounter. Pipe rerouting projects typically cost $1,500 to $3,500 per line depending on how far the new route runs and what spaces they have to work through. Epoxy lining is often quoted per linear foot and makes sense for longer pipe sections, usually running $80 to $250 per foot. Whole-house repiping is the most significant investment at $4,000 to $15,000 or more, but it eliminates future slab leak risk from those lines completely.
Several factors drive costs up or down:
Leak location and accessibility. Leaks beneath tiled bathrooms cost more to repair than leaks under carpet because tile replacement is expensive and time-consuming.
Number of leaks. Finding three leaks instead of one triples certain costs, though detection fees don’t increase proportionally.
Access difficulty. Tight crawl spaces, finished basements above a small access panel, or homes with complex floor plans add labor time.
Pipe material and replacement options. Copper costs more than PEX, and matching existing systems sometimes requires special materials.
Extent of water damage. If the leak has caused foundation settling, mold growth, or structural damage, remediation and restoration add thousands to the total.
Geographic location and local labor rates. Urban markets cost more than rural areas, and some regions require specific licensing that affects pricing.
Insurance coverage is complicated. Most homeowner policies cover sudden, unexpected leaks and the resulting water damage, but they typically don’t cover the cost of detection or accessing the leak. You’ll usually pay out of pocket to find and fix the leak itself, then file a claim for damaged flooring, walls, furniture, or structural repairs. Read your policy carefully and talk to your insurance agent before starting work. Some policies explicitly exclude slab leaks or require specific documentation.
Early detection dramatically reduces total costs. A leak caught within weeks might cause $5,000 in total damage. That same leak left running for a year can undermine your foundation, create widespread moisture damage, and require $20,000 or more in repairs. Detection services cost a fraction of what delayed action costs, which is why professional help makes financial sense the moment you suspect a problem.
Prevention Strategies to Avoid Slab Foundation Leaks
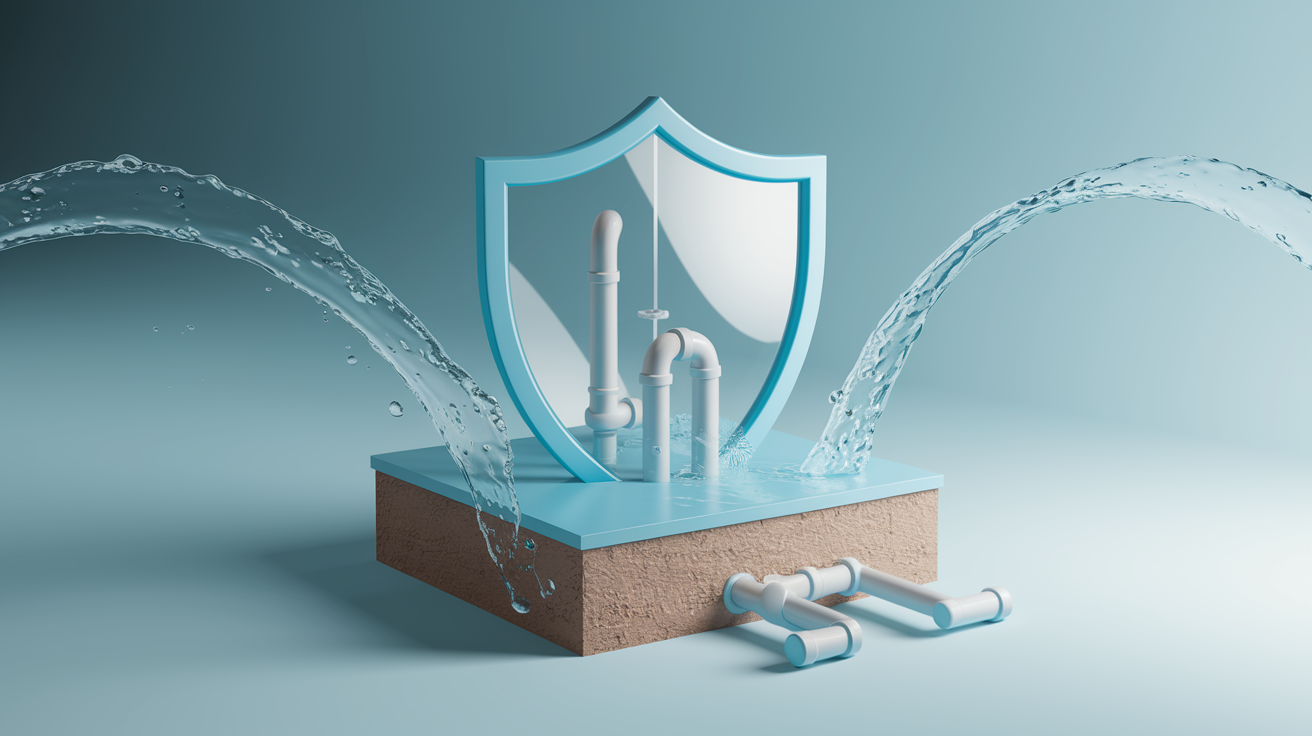
Preventing slab leaks costs far less than repairing them. Proactive maintenance catches problems before they become expensive crises and extends the life of plumbing systems that would otherwise fail prematurely.
Here are specific preventive actions that reduce your slab leak risk:
Install and maintain a water pressure regulator. Keep your home’s water pressure consistently below 80 PSI. High pressure forces water through pipe walls faster, accelerating corrosion and creating weak spots. Test your pressure annually with a simple gauge available at hardware stores.
Schedule annual professional plumbing inspections. Have a licensed plumber check your system every year, looking for signs of corrosion, pressure irregularities, and early leak indicators. Catching a problem at the “starting to fail” stage prevents full failure.
Maintain gutters and downspouts properly. Clean gutters twice yearly and make sure downspouts direct water at least six feet away from your foundation. Water accumulating near the foundation saturates soil, causing it to expand and contract repeatedly, stressing pipes beneath the slab.
Manage foundation drainage actively. Grade soil away from your home so surface water flows outward. Consider French drains or other drainage solutions if you have persistent moisture issues around your foundation perimeter.
Protect pipes during home modifications or remodeling. If you’re renovating, reroute plumbing lines away from the slab when possible. Moving pipes into walls or attics eliminates slab leak risk from those lines permanently.
Monitor your water bills for early warning signs. Compare bills month to month. A gradual increase over several months that doesn’t match your usage habits often indicates a slow leak that’s getting worse.
Winterize and insulate vulnerable pipes in cold climates. Freezing temperatures can crack pipes even in mild climates during unusual cold snaps. Insulate exposed pipes and know where your main shutoff valve is in case temperatures drop unexpectedly.
Test your water meter periodically using the DIY method. Run the meter test every six months even when you don’t suspect a leak. It’s a free early warning system that catches problems before visible symptoms develop.
Create a simple maintenance schedule that includes these prevention steps. Mark your calendar for annual inspections, seasonal gutter cleaning, and twice-yearly meter tests. The small time and money invested in prevention delivers substantial long-term value. Pipes that receive proper care and operate within safe pressure ranges last decades longer than neglected systems. Prevention doesn’t eliminate all slab leak risk, but it dramatically reduces the likelihood that you’ll face expensive emergency repairs.
Final Words
Slab leaks don’t announce themselves clearly. They hide under concrete and show up as warm spots, climbing water bills, and floors that feel damp for no good reason.
But now you know what to look for. You understand why copper and galvanized pipes corrode, how professionals pinpoint leaks without tearing up your whole house, and what your repair options actually look like.
The key is noticing multiple signs early and acting before a small leak turns into foundation damage or a flooded room.
Leak detection for slab foundation problems works best when you catch them fast, call someone who uses the right equipment, and fix the root cause instead of guessing.
Your home will thank you for it.
FAQ
How can you detect a water leak under a slab foundation?
You can detect a water leak under a slab foundation by performing a water meter test (shut off all water, record the meter reading, wait 15 minutes, and check if the number increased), listening for running water sounds when nothing is on, checking for warm spots on floors, watching for unexplained water bill increases, and looking for wet spots on interior floors or saturated ground around your foundation. Professional detection uses acoustic listening devices, thermal imaging cameras, pressure testing, and electronic leak detectors to pinpoint the exact location without breaking concrete.
How long can a slab leak go undetected?
A slab leak can go undetected for months or even years, depending on the leak size and location. Small pinhole leaks may only show subtle signs like gradual water bill increases or slight foundation settling, while larger leaks create obvious symptoms like wet floors, warm spots, or mold growth within weeks. The longer a leak goes undetected, the more damage it causes to your foundation through soil erosion and structural instability.
How much does slab leak detection cost?
Slab leak detection typically costs between $150 and $400 for basic services, with costs varying based on your location, the detection methods used, and the complexity of your plumbing system. Hydrostatic pressure testing is one of the more affordable methods, while advanced electronic detection and thermal imaging may cost more but provide pinpoint accuracy that reduces repair costs by minimizing unnecessary concrete removal.
Will insurance cover a leak under a slab?
Insurance coverage for a slab leak depends on your specific policy and the cause of the leak. Most homeowner policies cover sudden and accidental leaks and the resulting water damage, but they typically don’t cover the cost of accessing and repairing the pipe itself or damage from gradual leaks that developed over time. Review your policy carefully and contact your insurance provider when you suspect a slab leak to understand your coverage before starting repairs.
What are the most common warning signs of a slab foundation leak?
The most common warning signs of a slab foundation leak include unexplained increases in your water bill, the sound of running water when no fixtures are on, warm or hot spots on floors, wet spots on interior floors or saturated ground outside, low water pressure throughout the home, mold growth with musty odors, foundation cracks that appear or expand, and warped flooring or baseboards. When you notice multiple symptoms appearing together, act quickly to prevent foundation erosion and costly structural damage.
When should you call a professional for slab leak detection?
You should call a professional for slab leak detection when your DIY water meter test confirms an active leak, when you notice multiple warning signs appearing simultaneously, or when you observe any serious symptoms like foundation cracks, significant floor warping, extensive mold growth, or standing water. Professional detection is necessary because pipes embedded in concrete prevent visual inspection, and specialized equipment pinpoints leak locations without unnecessary demolition.
What causes pipes under slab foundations to leak?
Pipes under slab foundations leak due to poor installation creating weak joints, corrosion from soil chemicals and constant water exposure in copper and galvanized steel pipes, shifting and settling soil creating stress on pipes, friction from pipes rubbing against concrete or gravel, and excessive water pressure above 80 PSI. These causes often work together, and older homes with copper or galvanized pipes face higher risk than newer construction with PEX piping.
What repair options exist after detecting a slab leak?
After detecting a slab leak, repair options include direct access by removing concrete above the leak, tunneling from outside your home to reach pipes beneath the foundation, rerouting pipes around or above the slab, epoxy pipe lining to seal small leaks from inside, and whole-house repiping if multiple leaks indicate systemic pipe failure. The best method depends on leak location, pipe condition, and whether you’re dealing with an isolated problem or widespread deterioration.
How can you prevent slab foundation leaks?
You can prevent slab foundation leaks by installing a pressure regulator to keep water pressure below 80 PSI, scheduling annual professional plumbing inspections to catch problems early, maintaining gutters and downspouts to prevent water accumulation near your foundation, protecting pipes during home modifications, monitoring water bills for unusual increases, and ensuring proper drainage around your foundation. Prevention is significantly less expensive than repairing foundation damage from untreated leaks.