
Most people skip the shower pan leak test and only find out they needed it after water destroys the ceiling below. By then, you’re looking at ripping out brand new tile, replacing rotted framing, and starting the whole shower over from scratch. A simple 24 hour flood test catches waterproofing failures before tile goes down, when fixing problems costs you almost nothing. We’ll walk you through exactly how to plug the drain, fill the pan, mark the water level, and diagnose any leaks you find so you can move forward with confidence.
How to Perform a Shower Pan Flood Test Successfully
A flood test plugs the shower drain and fills the pan with water for at least 24 to 72 hours. You’re watching for any drop in water level that signals a leak. It’s the main way to catch waterproofing failures before you install tile, when problems are still simple and cheap to fix.
The test happens after the waterproofing membrane goes in but before any tile goes down. If you’re using thinset mortar to bond the membrane, wait at least 24 hours for it to cure completely before you start testing. Testing too early means the membrane connections might not be fully sealed yet.
Required Tools and Materials for Testing
You’ll need a test plug (inflatable or mechanical wingnut style, 2 inch diameter for standard drains), an air pump or bicycle pump if you’re using an inflatable plug, a pencil or marker for marking the water level on the drain or curb, and a measuring tape or ruler to document water depth. Red food coloring or dye is optional but makes leaks easier to spot. Grab a flashlight or inspection light for checking underneath and around the pan, a timer or watch to track the full 24 to 72 hour period, towels or rags for cleanup and controlling small spills, and temporary dam materials for curbless showers (spray foam, foam board, waterproof sealant). A camera or smartphone helps you document the test process and results.
Inflatable test plugs give you the most reliable seal. You insert the deflated plug into the drain, position it below any silicone or sealant, then inflate it until it’s snug and watertight. Mechanical wingnut style plugs work by rotating a wingnut clockwise to expand rubber gaskets against the drainpipe walls. For curbless showers, you’ll need to build a temporary waterproof dam using spray foam or foam board sealed with waterproof caulk to hold water at a testable level. Once the plug is in place, pour a small amount of water around it. No bubbles means you’ve got a proper seal. If you see bubbles forming around the plug, it’s not seated correctly and water will drain slowly during the test.
Here’s the complete procedure:
- Remove the drain cover and clean out any debris, loose mortar, or excess caulk from the drain opening
- Insert the test plug into the drain opening (typically 2 inches standard) and secure it by inflating or tightening until you have a complete seal
- Fill the shower pan with water to just below the curb level, covering all floor to wall transitions and the membrane to drain connection completely
- Mark the water surface elevation with a pencil on the drain assembly or curb where you can see it clearly
- Wait at least 24 hours for basic systems, up to 72 hours for thorough testing (24 hours minimum for Schluter Kerdi installations)
- Check the water level against your pencil mark after the waiting period
- Inspect visually for any signs of leaks, dampness, or moisture appearing outside the shower boundaries
- Remove the plug by deflating or turning the wingnut counterclockwise, then let the water drain completely
The test passes when the water level stays even with your pencil mark and no visible leaks or dampness show up outside the shower area. This means the waterproofing membrane, drain connection, and all seams are holding correctly. A failed test shows a dropped water level, moisture on the bathroom floor outside the shower, or damp spots on baseboards or ceilings below.
If the water level dropped significantly, drain all the water out, identify where the leak is coming from using the failure points we’ll cover next, repair that specific area, and run the complete test again. Don’t move forward to tile installation until you get a clean pass.
Identifying and Diagnosing Shower Pan Leak Sources

A passing test means the water level stays exactly at your pencil mark with no visible moisture showing up outside the shower boundaries. You shouldn’t see red dye or water anywhere beyond the shower threshold, and there should be no dampness on baseboards or visible drips if you can check underneath the pan.
Failed tests show dropped water levels, dampness appearing on the exterior bathroom floor, red tinted water seeping past the shower boundaries, or moisture stains on baseboards and ceilings below. Any of these signs means water is escaping somewhere it shouldn’t.
| Failure Location | Common Causes | Detection Method |
|---|---|---|
| Drain to membrane connection | Improper sealing, insufficient bonding, wrong adhesive or sealant used | Check for dampness directly around drain assembly, water pooling near drain |
| Drain to drainpipe connection (2 to 3 inches down) | Loose fitting, degraded gasket, improper tightening during installation | Look for leaks underneath shower if accessible, moisture appearing below drain location |
| Membrane corners | Inadequate folding technique, tears during installation, insufficient overlap | Inspect corner areas inside pan for visible damage, check walls near corners for dampness |
| Membrane seams | Insufficient overlap, poor bonding, material incompatibility | Trace seam lines visually, check for moisture along seam paths on exterior side |
| Wall floor junction | Membrane not extended high enough, poor transition sealing | Look for dampness where walls meet floor, especially in corners |
| Penetrations and fastener holes | Unsealed screw holes, pipe penetrations without proper sealing, cut edges not sealed | Check around any fasteners or pipes passing through membrane |
These areas fail because of installation errors like rushing the process, using incompatible materials, or skipping steps. Material defects matter too, though less often. Movement and settling after installation can open up initially good seals, especially around the drain connection. Understanding these weak points helps you install carefully and know where to look first when diagnosing a failed test.
Flood testing only checks the shower pan floor. It doesn’t test curbs, built in benches, half walls, or any vertical surfaces above the pan level. Those areas need separate leak detection methods, often involving water testing during tile installation or post installation observation. A shower can pass the flood test perfectly but still leak from an improperly waterproofed curb or bench.
Evaporation rarely causes significant water level drops, even in hot bathrooms over several days. If you’re concerned about evaporation affecting your results, set a separate container of water outside the shower at the same time you start the test. Fill a bucket with water to the same depth as your shower pan and mark its level too. After 24 hours, compare how much water the bucket lost to what the shower pan lost. If the shower pan dropped more than the bucket, you’ve got a leak, not evaporation.
Check these points during and after the test:
Water level compared to your marked line on the drain or curb. Underneath the shower pan if you have access through a basement, crawl space, or removable ceiling panel. Exterior bathroom floor for any dampness, especially near the shower threshold. Baseboards around the shower perimeter for discoloration or soft spots. Ceiling directly below the shower if there’s a lower floor, basement, or crawl space access.
During the final drainage phase, watch how water exits through the weep holes in the drain assembly. All weep holes must actively drain water, not just one or two of them. Minimal drainage or some holes staying dry indicates a blockage or improper installation of the drain’s internal components. If the test fails, drain all the water, identify the specific failure location by checking each area in the table above systematically, repair or replace the damaged waterproofing membrane section, and retest the entire pan before you do anything else.
Building Codes, Timing, and Why Shower Pan Testing Matters
The Tile Council of North America recommends flood testing but doesn’t require it. Some municipalities write it directly into their plumbing codes as mandatory, while others treat it as an optional best practice. The variation means you need to check your local building department’s requirements before starting any shower project.
Code compliance matters most during new construction, permitted bathroom renovations, and any commercial shower installations where inspections are required. If your project needs a permit, assume the flood test will be part of the approval process unless your inspector specifically tells you otherwise.
Typical documentation and inspection requirements include pre tile flood test completion demonstrated before the plumbing or framing inspection closes, minimum 24 hour water retention showing no level drop or leakage, photographic evidence showing the water level mark at start and finish of test period, documentation of passing results with date, time, and installer signature, inspector verification and sign off before approval to proceed with tile installation, and signed compliance certification becoming part of the permanent building record.
When flood testing is required for permit closure, a failed test delays your entire project timeline. You’ll need to make repairs, retest, and schedule another inspection visit. In situations where testing isn’t code required, it’s still best practice for any shower where you’re installing new waterproofing or working with a membrane system. The small time investment catches problems while they’re still easy to fix.
The test must happen after the waterproofing membrane is fully installed and after any thinset mortar has cured for at least 24 hours. It has to be completed before you install tile. Once tile, mortar, grout, and mud bed are in place, flood testing can’t accurately diagnose leaks anymore because water absorbs into all those porous materials and you lose the ability to see where it’s actually escaping the waterproof barrier.
Undetected leaks warp subfloors, damage drywall, cause structural rot in framing members, and compromise foundations by allowing water to accumulate at slab edges or seep into the ground near the home’s foundation. This kind of water damage prevention matters because standing water trapped in hidden areas creates perfect conditions for mold growth behind walls and under floors where you won’t notice it until the problem is severe.
Catching failures before tile installation costs you maybe a day of project time and some membrane repair materials. Finding the same leak after the shower is finished means tearing out tile, removing grout and mortar, replacing waterproofing, and reinstalling everything (easily 10 to 20 times the cost). Insurance claims, emergency water damage repairs, and structural remediation after a shower has been leaking for months turn a preventable issue into a major expense. For homeowners, a documented passing test also protects installation warranties and proves the work was done correctly if you ever need to make a claim.
Testing Different Shower Pan Types and Waterproofing Systems
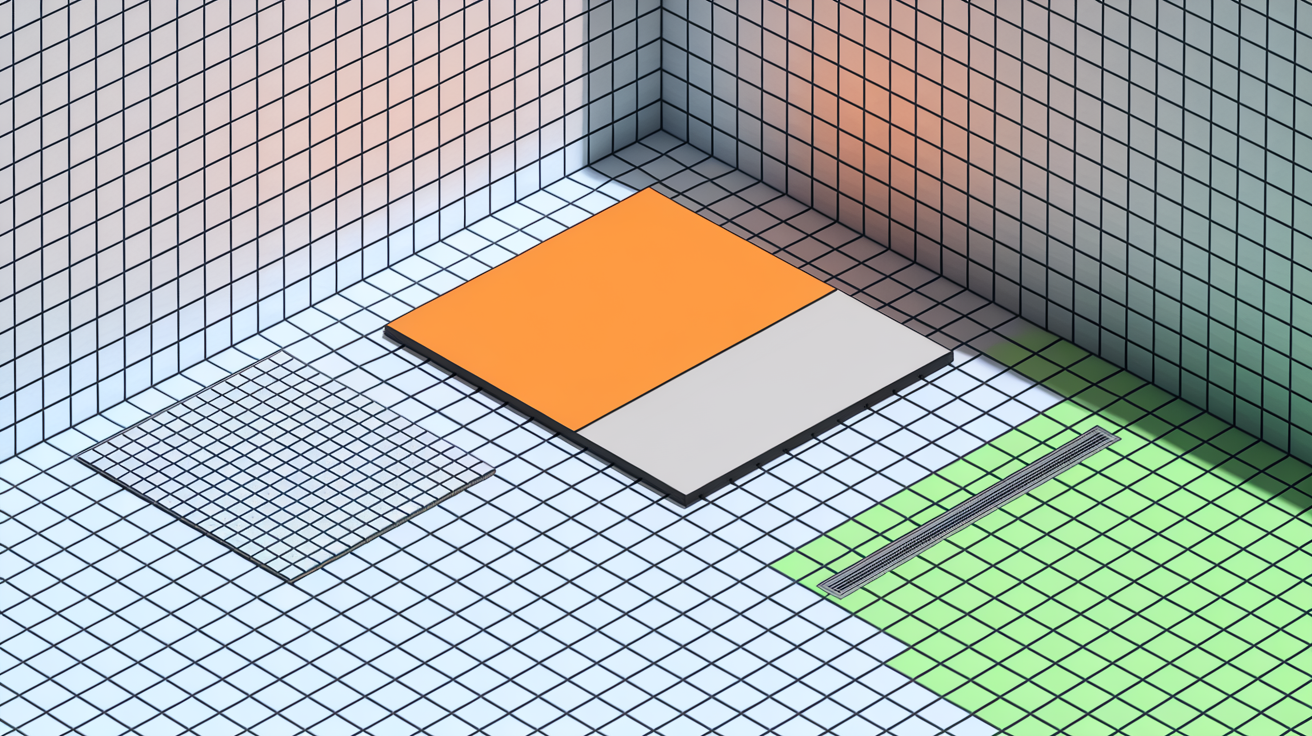
Testing procedures and requirements change depending on what kind of shower pan you’re working with, which waterproofing system the installer used, and how well the substrate underneath was prepared.
Custom Tile Showers with Membrane Systems
PVC liner, CPE membrane, hot mop applications, and Schluter Kerdi systems all get tested the same basic way. Wait at least 24 hours after installing the waterproofing membrane before you start the flood test. This gives thinset mortar time to cure and bond the membrane properly. Schluter specifically recommends 24 hours minimum for Kerdi system testing, which contradicts claims you sometimes hear that Kerdi systems won’t pass flood tests. They absolutely should when installed correctly.
Traditional shower liner systems made from PVC or CPE require a pre slope underneath. That’s a sloped mortar bed layer installed before the waterproofing membrane that directs any water that gets past the drain toward the weep holes. Installing a shower liner directly on a flat subfloor is incorrect and will cause standing water problems even if the liner itself doesn’t leak. The flood test checks if the membrane is waterproof, but you still need to verify proper drainage by checking for standing water after you drain the test.
Prefabricated Acrylic and Fiberglass Pans
Factory made shower bases come as single waterproof units. Testing these focuses on the drain connection rather than the pan itself, since the manufacturer already verified pan integrity. Fill the pan with water and watch the area where the drain assembly connects to the pan and where the drainpipe connects below. These connection points are where prefab units typically fail, not from cracks in the pan material.
Curbless and Barrier Free Showers
Curbless showers need temporary dams to hold water at a testable level. Use spray foam to build a dam across the shower opening, or cut foam board to size and seal all edges with waterproof sealant. The dam needs to be tall enough to hold several inches of water and completely watertight at the bottom where it meets the membrane. Linear drains add complexity because water needs to stay above the drain grate level to test the membrane to drain connection properly.
Identifying Standing Water and Drainage Issues
After you drain the flood test water, look for any pools or “birdbaths” remaining on the shower floor. These standing water areas indicate improper pre slope underneath the waterproofing membrane. The floor should drain completely with no puddles left behind. This matters even if the shower passed the leak test because standing water causes slow drainage, creates conditions for mold growth, and leads to premature grout deterioration.
A shower might pass the flood test but fail the drainage test. That means you need to remove the membrane, correct the substrate slope, reinstall the waterproofing, and test again before any tile goes down. It’s frustrating, but fixing it now prevents years of maintenance problems and potential mold issues.
Regardless of which system you’re testing, the fundamental principle stays the same. Contain water in the pan, monitor for leaks over a minimum 24 hour period, and verify complete drainage without standing water. The materials and exact procedures vary, but the goal is identical across all shower types.
Repair Options When Your Shower Pan Fails the Leak Test
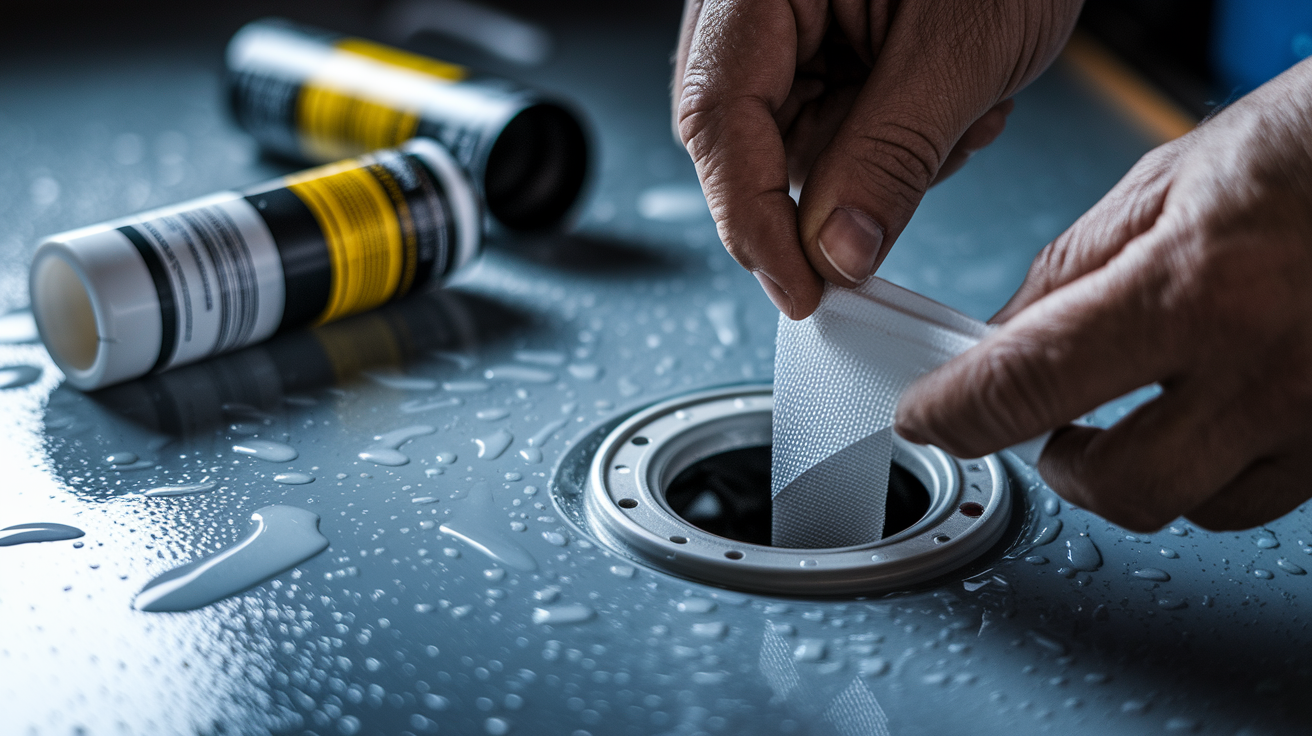
If the water level dropped significantly during your test, drain all the water, identify where the leak is coming from, repair that specific failure point, and run the complete test again. Start by working through the most common causes systematically. Check if the drain plug was properly sealed first, then move to the drain to membrane connection, then the drain to drainpipe connection located 2 to 3 inches down inside the drain assembly, then membrane seams and corners, and finally look for any holes or punctures in the membrane itself.
Repairable issues include drain connection resealing, minor membrane patches, corner reinforcement, and sealing fastener holes. For drain connections, you can often remove the drain flange, clean all surfaces thoroughly, apply fresh waterproofing sealant or membrane adhesive, and reinstall with proper compression. The drain to drainpipe connection below might just need retightening or a new gasket. Small membrane tears or punctures can be patched using compatible repair materials following the manufacturer’s instructions (usually a piece of the same membrane material bonded with appropriate adhesive and overlapped several inches beyond the damage).
Repairs become insufficient when you’re dealing with extensive membrane damage across large areas, multiple failure points in different locations, or improper installation that requires a complete redo. If the pre slope wasn’t installed under a traditional liner system, or if the membrane wasn’t brought up the walls high enough, or if wrong materials were used, patching specific spots won’t solve the underlying problem. Sometimes patch repairs themselves create additional weak points because you’re introducing new seams and bonding surfaces that can fail later.
Deciding between targeted repairs and complete replacement depends on the extent of damage, how old the installation is, and cost comparison. A single corner that needs reinforcement is worth repairing. Six different leak points across the pan suggests the whole installation was done incorrectly, and you’ll spend less time and money starting over than chasing multiple repairs. If the membrane is older or was a budget product to begin with, replacement might make more sense than investing repair time in a system that’s near the end of its service life anyway. Warranty considerations matter too. Some membrane manufacturers void coverage if you patch their product rather than replacing it.
Never proceed to tile installation without confirming your repair was successful through another complete 24 hour flood test. That’s not optional. A repair that looks good might still leak, and you won’t know until you test it again. This second test verifies proper sealing and confirms the leak detection process identified the actual problem, not just one of several issues.
DIY Shower Pan Leak Testing Versus Professional Services
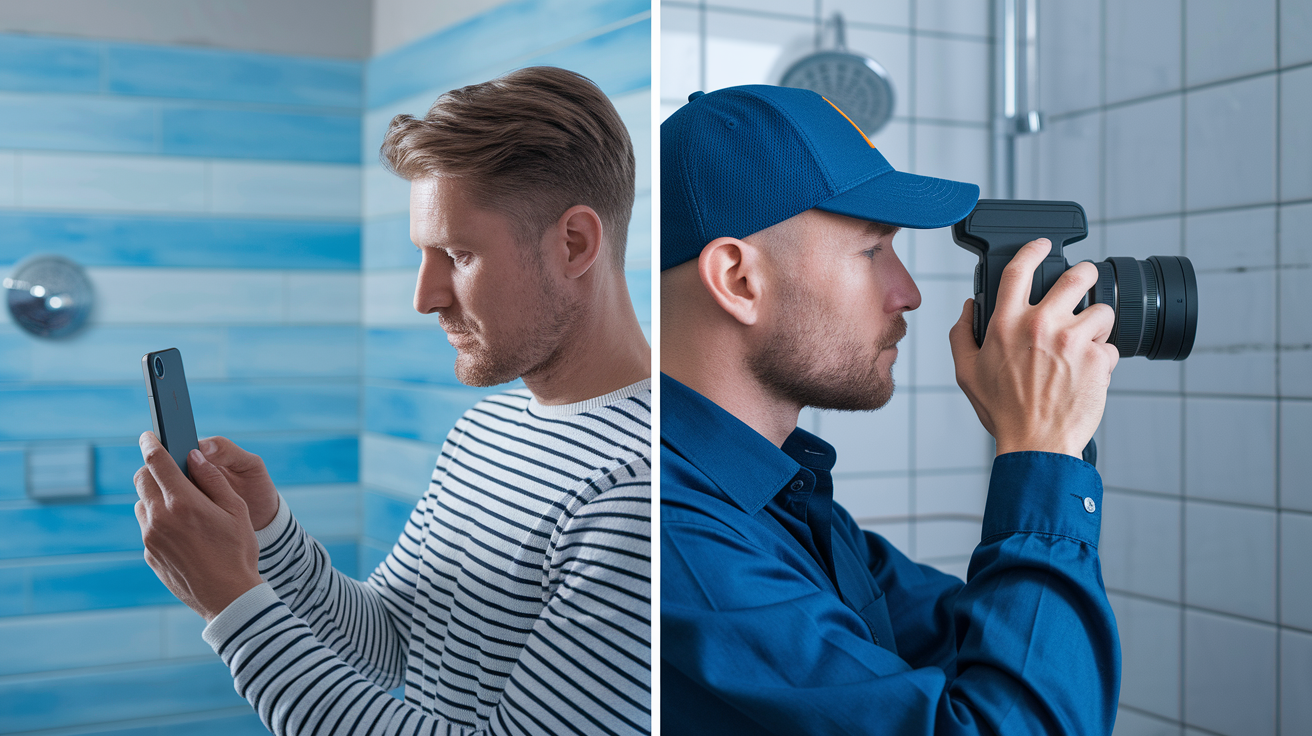
The basic flood test procedure is straightforward enough that most homeowners can handle it themselves. You’re plugging a drain, filling the pan with water, and watching for leaks. There’s nothing technically complex about the testing process itself.
DIY testing accomplishes several important things. Basic leak detection before tile installation. Pre tile verification that saves you from expensive failures later. Cost savings since you’re not paying for a service call. If you’ve got access underneath the shower through a basement or crawl space, you can perform visual inspections during the test to catch leaks early.
But DIY has limitations. You might not be able to access areas below the shower if it’s on a slab foundation or over finished living space. Interpreting ambiguous results gets tricky when water level drops slightly but you can’t find visible leaks. You probably don’t have specialized moisture detection equipment that can pinpoint hidden leaks in walls or subfloors. And if you find leaks, you need repair expertise to fix them correctly. The test only identifies problems, it doesn’t solve them.
Hire professional leak detection services when you’re working with complex systems like multi head showers or steam showers, when leak locations are inaccessible and need specialized equipment to find, when new construction requires code compliance and formal inspection approval, when you need warranty protection that might be voided by DIY work, when insurance documentation requires professional verification, or when you’ve identified a leak but can’t figure out exactly where it’s coming from or how to repair it properly.
Professional services provide specialized leak detection equipment like thermal imaging cameras and moisture meters, experience interpreting subtle test results and knowing where to look based on symptoms, repair capabilities with proper materials and techniques, knowledge of local code compliance requirements, proper documentation formatted for building inspections, and warranty protection for homeowners that backs up the work with guarantees. When the stakes are high or the situation is complex, the cost of professional testing and repair is small compared to the cost of getting it wrong.
Limitations of Shower Pan Flood Testing You Should Know
Flood testing is the best pre tile leak detection method available, but it has important limitations you need to understand before you assume a passing test means your shower is bulletproof.
The biggest timing limitation is that this test only works before tile installation. Once tile is down and grouted, with mortar and mud bed in place, water absorbs into all those porous materials instead of staying on the membrane surface where you can track it. You lose the ability to tell whether water is leaking through the waterproofing or just soaking into grout joints and mortar. Post tile leak detection requires completely different methods and equipment.
Several critical areas aren’t tested when you fill the shower pan with water. Shower curbs and thresholds where water can pass through to exterior floors. Built in shower benches and seats with their own waterproofing requirements. Half walls and pony walls that don’t extend to the ceiling. Vertical wall to wall corners above the pan level where membranes must lap properly. Overhead fixtures and connections like shower heads or hand sprayers.
The false security issue matters. Passing the flood test doesn’t guarantee the shower won’t leak from those untested areas listed above, or that installation quality is perfect throughout the entire shower enclosure. A successful test only proves the shower floor might not leak at this specific moment under these specific conditions. It doesn’t test the durability of seals over time, it doesn’t test wall penetrations above the pan, and it doesn’t test how the system performs under actual use conditions with temperature changes, water pressure variations, and physical stress.
Flood testing is one component of quality assurance in a complete shower installation. It should be combined with proper installation standards at every step, following best practices for substrate preparation, using compatible materials from the same product system when possible, careful attention to detail on all vertical surfaces and transitions, and ongoing preventive maintenance after the shower is in use. The test verifies one critical element (pan waterproofing) but long term performance depends on everything working together correctly.
Final Words
A shower pan leak test is your last checkpoint before locking in tile and hoping for the best. Plug the drain, fill the pan, mark the water line, and wait at least 24 hours. If the level holds and nothing shows up outside the shower, you’re clear to tile.
If it fails, don’t skip the diagnosis. Find the leak, fix it right, and retest.
Catch it now while the fix is simple. Miss it, and you’re looking at tearing out finished tile, cutting into walls, and dealing with hidden water damage. Testing takes patience, but it saves you from surprises you don’t want later.
FAQ
Is a shower pan leak covered by insurance?
A shower pan leak is covered by insurance only if the damage resulted from a sudden, accidental event like a burst pipe. Most policies exclude coverage for leaks caused by poor maintenance, gradual wear, or faulty installation.
How to find a leak under a shower tray?
To find a leak under a shower tray, perform a flood test by plugging the drain and filling the pan with water for 24 hours. Check underneath for moisture, inspect the drain connection, and look for dampness on ceilings or floors below the shower.
How to tell if your shower is leaking from the bottom?
Your shower is leaking from the bottom if you notice water stains on the ceiling below, dampness around the shower base, musty smells near the bathroom, or soft spots in the flooring adjacent to the shower pan.
How do plumbers detect hidden leaks?
Plumbers detect hidden leaks using flood testing, thermal imaging cameras, moisture meters, and visual inspection of accessible areas below the shower. They also check drain connections and look for water damage patterns on surrounding surfaces.
What is a shower pan flood test?
A shower pan flood test is a 24-hour procedure where you plug the drain, fill the pan with water to just below the curb, and monitor the water level to detect leaks before tile installation.
How long should a shower pan hold water during testing?
A shower pan should hold water for a minimum of 24 hours during testing, though 48 to 72 hours provides more thorough leak detection. The water level should remain constant at your marked line throughout the entire testing period.
Can you flood test a shower after tile is installed?
You cannot accurately flood test a shower after tile is installed because water absorbs into grout, mortar, and the mud bed. Testing must occur after waterproofing installation but before tile work to detect leaks effectively.
What does it mean if water level drops during flood test?
If water level drops during flood test, it indicates a leak in the drain connection, waterproofing membrane, corner seams, or penetration points. Drain the water, locate the failure point, repair it, and repeat the test before proceeding.
Do curbless showers need flood testing?
Curbless showers need flood testing but require temporary waterproof dams made from spray foam or foam board with sealant to contain water at testable levels. The testing process is the same 24-hour minimum duration as standard showers.
What is pre-slope in shower pan installation?
Pre-slope in shower pan installation is the sloped mortar bed layer underneath the waterproofing membrane that directs water toward the drain. Traditional shower liners require proper pre-slope to prevent standing water and drainage problems.
How do you know if shower pan test passed?
You know if shower pan test passed when the water level remains at your pencil mark after 24 hours, no moisture appears outside the shower area, and no dampness shows on baseboards or ceilings below the shower.
What causes standing water in shower after flood test?
Standing water in shower after flood test indicates improper pre-slope underneath the waterproofing membrane. Even if the pan passes the leak test, these birdbaths will cause slow drainage, mold growth, and premature grout deterioration.
Should all weep holes drain during shower pan test?
All weep holes should drain actively during shower pan test drainage, not just some of them. Minimal drainage or only partial weep hole function indicates blockage or improper installation requiring correction before tile work.
Can you repair a failed shower pan or replace it?
You can repair a failed shower pan if the leak involves isolated drain connections, minor membrane patches, or corner reinforcement. Extensive membrane damage or multiple failure points require complete replacement for reliable long-term performance.
Do you need a professional for shower pan testing?
You need a professional for shower pan testing when leak sources cannot be identified, repairs are beyond your capability, or the project requires code compliance documentation and inspection approval for permits or warranty protection.