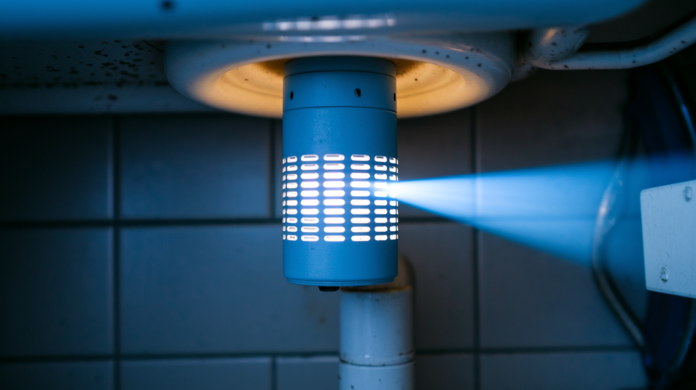

If your kitchen sink is draining slow and making weird gurgling noises, you might be dealing with a clogged air vent, not a blocked drain. Most people don’t even know their sink has an air vent until it stops working. This small part does a big job. It lets air into your drain pipes so water can flow smoothly. When it clogs or fails, you get slow drainage, bubbling sounds, and sometimes a sewer smell that won’t go away. The good news is you can fix most vent problems yourself in under an hour with basic tools. We’ll show you how to spot the real issue and get your sink draining right again.
Recognizing Kitchen Sink Air Vent Problems

Here’s how to tell if you’re dealing with a vent issue instead of a drain clog. Gurgling sounds and slow drainage despite clear drain lines point to a vent problem. Complete water stoppage usually means something’s blocking the drain itself. The difference matters because the fix is completely different.
Three primary symptoms show up when your kitchen sink vent isn’t working right. Slow drainage happens when a vacuum forms in the pipes fighting against the water trying to flow down. Gurgling or bubbling noises occur when air gets pulled backward through the P-trap because the vent can’t supply air the normal way. Sewer gas odors emerge when negative pressure either pulls gases backward through the system or empties the trap seal entirely, removing the water barrier that normally blocks those smells.
You can run two quick tests right now to confirm what’s happening. For the running water test, turn on your faucet at full flow for 30 to 60 seconds and listen carefully near the drain. A healthy mechanical vent makes a quiet clicking sound, while a failing one causes loud gurgling or stays completely silent. For the drain stopper test, fill your sink about halfway, then pull the stopper and release all that water at once. Watch how fast it drains and listen for excessive gurgling or bubbling sounds.
If you’re seeing multiple symptoms at the same time, especially gurgling combined with slow drainage, you’re almost certainly looking at a venting system problem rather than a drain clog. This becomes even more obvious when connected fixtures like your dishwasher start acting up at the same time.
Symptoms that indicate vent problems specifically:
- Gurgling or bubbling sounds during drainage
- Slow water drainage with clear drain line
- Persistent sewer gas odors near sink
- Multiple fixtures affected when one drains
- Water backup when dishwasher runs
How Kitchen Sink Venting Systems Work
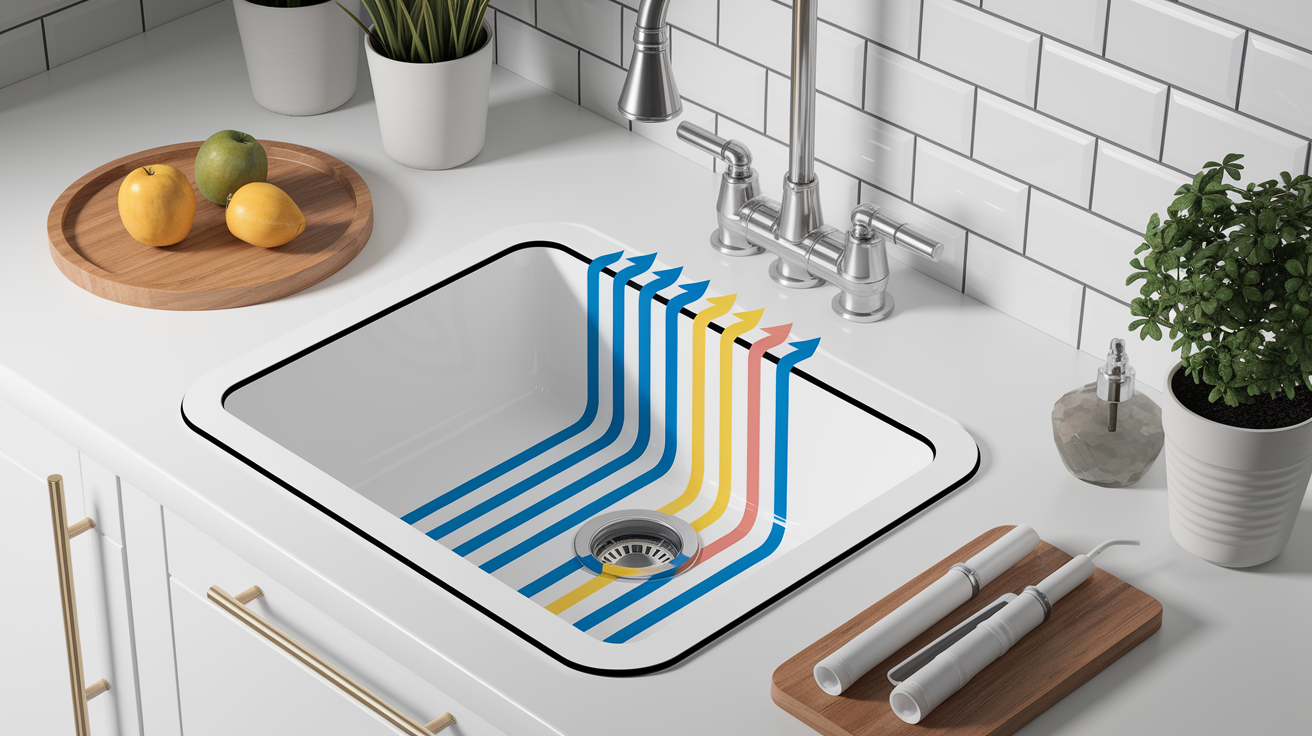
Every plumbing fixture in your home needs both water and air to work properly. This is called the Drain Waste and Vent system, or DWV. Water needs air behind it to flow smoothly down the pipes. Without that air, a vacuum forms that fights against the water trying to drain. Vents equalize the pressure inside your drain pipes with atmospheric pressure outside, preventing that vacuum from ever forming in the first place.
Traditional plumbing runs vent pipes all the way up through your roof. But that’s not always practical for kitchen sinks, especially island sinks in the middle of your kitchen or sinks added during remodels where running a new pipe through the roof would mean tearing into finished walls and ceilings. That’s where mechanical vents come in. These are small devices installed right under your sink that do the same job as a roof vent but in a much smaller space.
Your P-trap is that U-shaped pipe under the sink that always holds some water. That water creates a seal that blocks sewer gases from coming up through the drain and into your kitchen. But here’s the thing. Proper venting is what keeps that water seal in place. Without a working vent, the vacuum created by draining water can actually siphon the water right out of your P-trap. Once that happens, there’s nothing stopping sewer gases from entering your home.
Common Causes Behind Air Vent Blockages

The most common reason mechanical vents fail is simply age. Inside these vents are rubber seals and internal diaphragms that open and close every time you use your sink. Over time, usually somewhere between 5 and 15 years, those rubber parts harden and lose their flexibility. When that happens, the valve either sticks closed and can’t let air in, or it won’t seal properly and can’t block sewer gases when it’s supposed to.
Kitchen sinks deal with grease, and that creates its own set of problems. Even if you’re careful about not pouring grease down the drain, small amounts still make it into the system, especially if your dishwasher drains through the same pipes. That grease and food particles coat the internal valve mechanism over time, making it sticky and preventing it from moving freely.
Installation errors cause a surprising number of early vent failures. The vent needs to be mounted above the height of the drain trap, and it has to stay perfectly vertical to work right. If someone installed it below the trap or tilted at an angle, it’s been malfunctioning from day one. Placing the vent too close to where the trap arm connects to the drain can also cause problems with how air flows through the system.
Temperature swings accelerate wear on these vents too. Hot water from your dishwasher creates heat that affects the rubber components, while cold drafts coming up through the drain in winter can make those same parts contract and crack. This constant expansion and contraction breaks down the seals faster than they would normally wear out.
Step-by-Step Air Vent Inspection Process
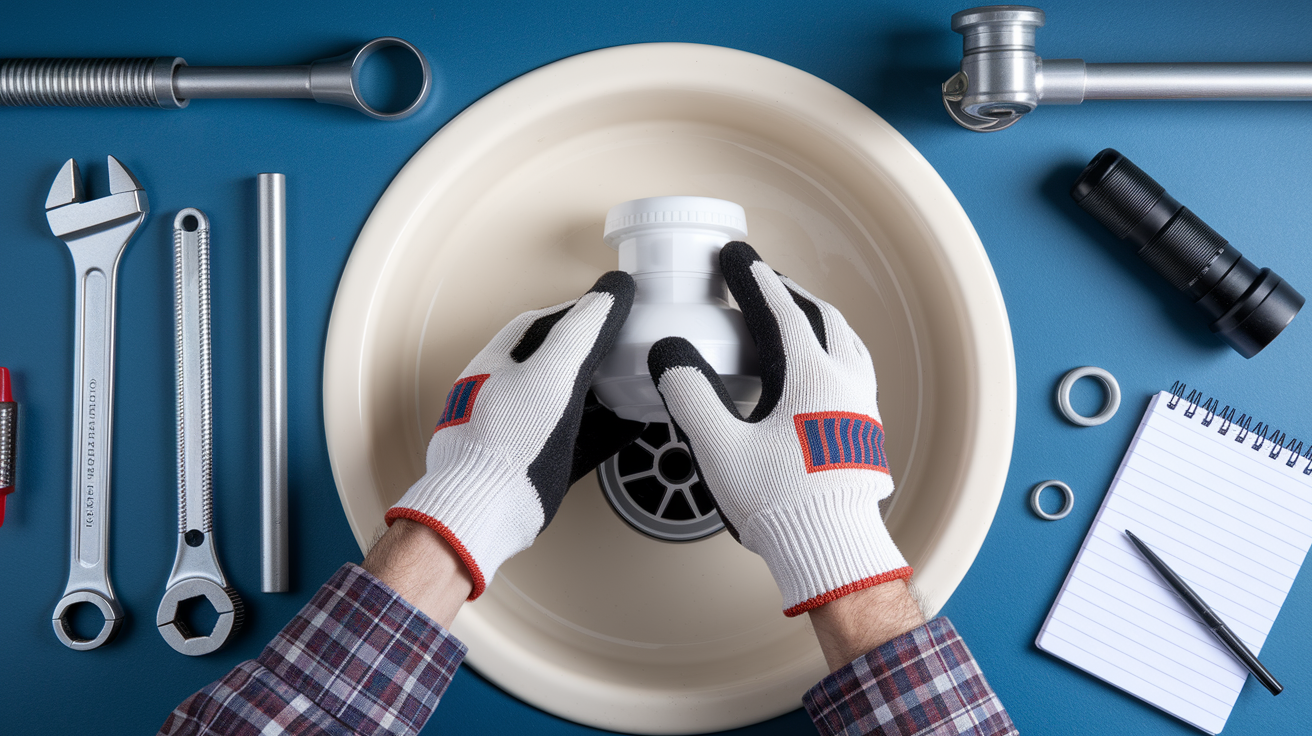
A systematic inspection tells you exactly what’s wrong and whether you need to clean, adjust, or replace the vent. This approach beats guessing and potentially wasting time on the wrong fix.
Locate the Mechanical Vent
Get under your sink and look at the plumbing. The mechanical vent sits on a vertical pipe somewhere between your trap and where the drain line goes into the wall or floor. It’s a small cylindrical piece, usually gray or white plastic, with slots or slits around the sides or top. On some setups, it’s mounted right on top of the trap. On others, it’s a few inches higher on the vertical pipe.
Perform Visual Examination
Look for cracks in the plastic body or any signs the mounting is loose. Check whether grease or sticky residue has built up around the slots. Make sure the vent is truly vertical, not tilted. The bottom of the vent should be higher than the flood rim of your sink. That’s the top edge of the basin. If it’s mounted too low or at an angle, that’s an installation error causing your problems.
Conduct Running Water Test
Turn your faucet on full blast and let it run for 30 to 60 seconds. Get close to the vent and listen. A working vent makes a subtle clicking sound as the internal valve opens to let air in. If you hear loud gurgling, or if the vent stays completely silent, the internal mechanism isn’t working. You might also feel a slight vibration when you touch the vent body if it’s operating correctly.
Execute Drain Stopper Test
Close your drain stopper and fill the sink about halfway with water. Pull the stopper and release all that water at once. Watch how it drains. A properly vented sink empties smoothly and relatively quietly. If the water drains slowly despite having no visible clog, or if you hear excessive gurgling and bubbling coming up from the drain, the vent isn’t supplying enough air.
Check for Sewer Odors
With the water turned off, lean in close to the vent area and smell. Don’t run water first. You want to check when everything is static. A persistent sewer gas odor near the vent means the seal that’s supposed to close and block those gases has failed. The smell might be faint, but if you notice it regularly, especially when you’re not using the sink, that’s a clear sign of valve failure.
Monitor for Recurring Symptoms
Pay attention to patterns. Do problems happen every time you use the sink, or only when the dishwasher runs? Do symptoms get worse as the day goes on, or do they stay consistent? If multiple fixtures in your kitchen act up at the same time, like the sink gurgling when the dishwasher drains, that tells you the vent can’t handle the air demand from multiple sources.
Determine Replacement Necessity
If your vent is older than 7 years and you’re seeing multiple symptoms from the tests above, replacement makes more sense than trying to fix it. These vents are inexpensive, and the internal mechanisms aren’t designed to be repaired. A new unit costs less than the time you’d spend trying to clean and restore an old one.
Clearing Methods for Air Admittance Valves
Air admittance valves are different from roof vent stacks. They’re sealed mechanical units, which means when the internal components fail, you typically need to replace the whole thing rather than repair it. Unlike a roof vent pipe that you can snake out or flush with water, an AAV has moving parts inside that wear out.
You can try external cleaning if you’re seeing grease or debris on the outside. Turn off the water supply under the sink and put a bucket directly under the vent. Gently unscrew the AAV counterclockwise. Most hand tighten, though some need a wrench. Wipe the external surfaces and vent slots with degreasing cleaner and a soft brush. Look through the slots at the internal mechanism for obvious debris, but don’t try to take it apart. If the mechanism looks heavily coated or sticky when you peek inside, replacement is your best move. You can reinstall it temporarily for testing, or go ahead and put in a new unit.
Sometimes the problem isn’t the vent itself but how it’s installed. Check if it’s mounted at the correct height. It needs to be above the flood rim of your sink and higher than the trap. Make sure it’s perfectly vertical. If either of those is wrong, correcting the installation position might solve your issues without needing a new vent.
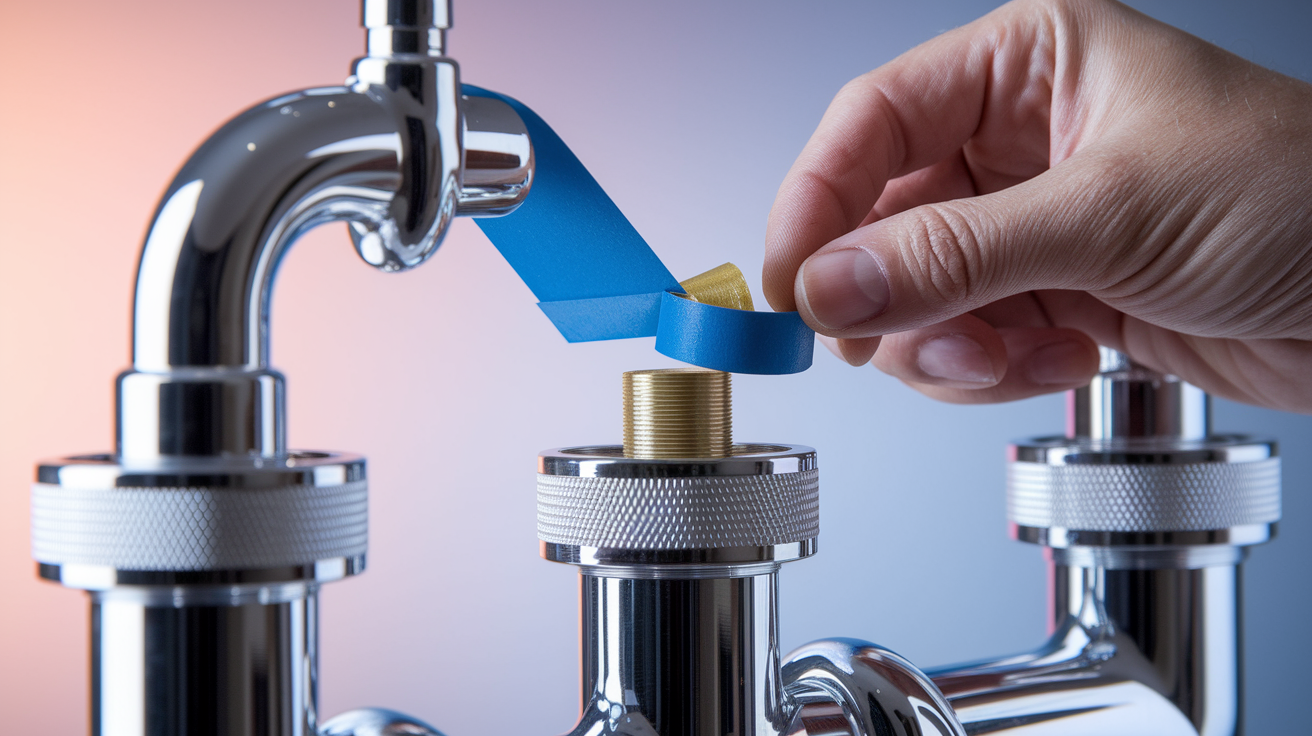
The replacement process is straightforward for most AAVs. They’re universal threaded fittings that screw directly onto the existing pipe. You’ll spend between $15 and $40 for the part, and installation takes about 10 to 15 minutes. Unscrew the old one, clean the threads, wrap them with Teflon tape if needed, and thread the new vent on hand tight.
Addressing Traditional Roof Vent Stack Clogs
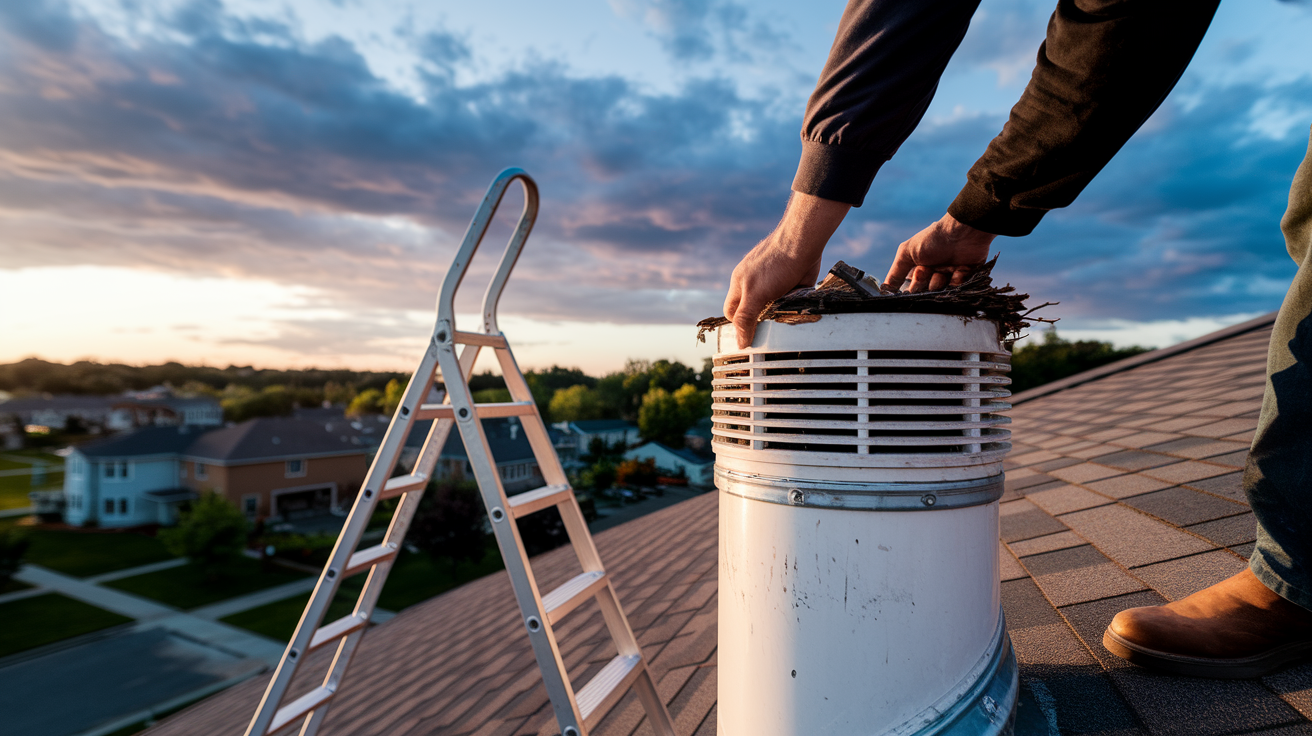
When your kitchen uses traditional venting that runs up through the roof instead of a mechanical vent under the sink, blockages usually happen at the roof opening. Leaves, branches, bird nests, and occasionally small animals create obstructions that stop air from flowing down into your plumbing system.
The roof based clearing procedure starts with safety. Make sure you have a stable ladder and good footing before getting on your roof. Use a flashlight to look down into the vent pipe opening. You can often see leaves, nests, or other debris right at the top. Put on work gloves and remove anything you can reach by hand. Next, feed a plumbing snake or drain auger down the vent pipe about 6 to 10 feet. Rotate it as you push to break up any blockages deeper down. Once you’ve cleared the visible obstruction and snaked the pipe, run a garden hose down the vent with the nozzle set to jet mode. This flushes out any remaining material and confirms water flows freely through the stack.
Some homes make roof access unsafe or impractical. In those cases, you can work from the attic if your vent stack is accessible there. Locate the pipe in your attic space, then use a PVC cutter to carefully cut out a section of the pipe. This gives you access from both directions, up toward the roof opening and down toward the fixtures. Clear the blockage from both sides, then reconnect the pipe section you removed using a PVC coupling and PVC cement. This method keeps you off the roof entirely.
| Blockage Type | Clearing Method | Time Required |
|---|---|---|
| Surface debris | Hand removal with gloves | 15-30 minutes |
| Bird nests | Manual extraction and hose flush | 30-60 minutes |
| Ice formation | Warm water or attic hair dryer method | 45-90 minutes |
| Deep blockages | Plumbing snake from roof or attic | 1-2 hours |
| Corrosion buildup | Professional power snake or replacement | 2-4 hours |
When to Contact a Professional Plumber

Some vent problems go beyond what’s practical or safe to handle yourself. Knowing when to call in professional help prevents bigger damage and saves you from wasting time on issues that need specialized equipment or expertise.
Seven scenarios that need professional attention:
- Sewer odors that persist after you’ve cleaned or replaced the vent
- Water backing up into your sink every time the dishwasher runs
- Multiple fixtures throughout your house showing drainage problems at the same time
- Suspected blockages deep within walls or in underground vent lines you can’t reach
- Need for a camera inspection to locate hidden obstructions in the vent system
- Installation of a completely new venting system or major modifications to existing venting
- Verification of code compliance for remodels or when preparing your home for sale
Professional plumbers bring specialized tools that homeowners don’t typically own. Camera inspection systems can navigate inside your vent pipes and locate blockages you can’t see or reach. High pressure water jets clear obstructions that resist snaking. More importantly, licensed plumbers know the specific venting requirements in your local plumbing code. They understand proper pipe sizing, required heights, and legal venting methods that meet inspection standards.
The cost varies depending on what needs to be done. A straightforward vent replacement typically runs $150 to $300 including parts and labor. Camera inspections to diagnose mysterious blockages cost about $200 to $400. Major vent system repairs, like rerouting pipes, installing new vent stacks, or correcting improper venting configurations, can range from $500 to $1,500 depending on the complexity and how hard it is to access the problem areas.
Preventing Future Kitchen Sink Vent Problems
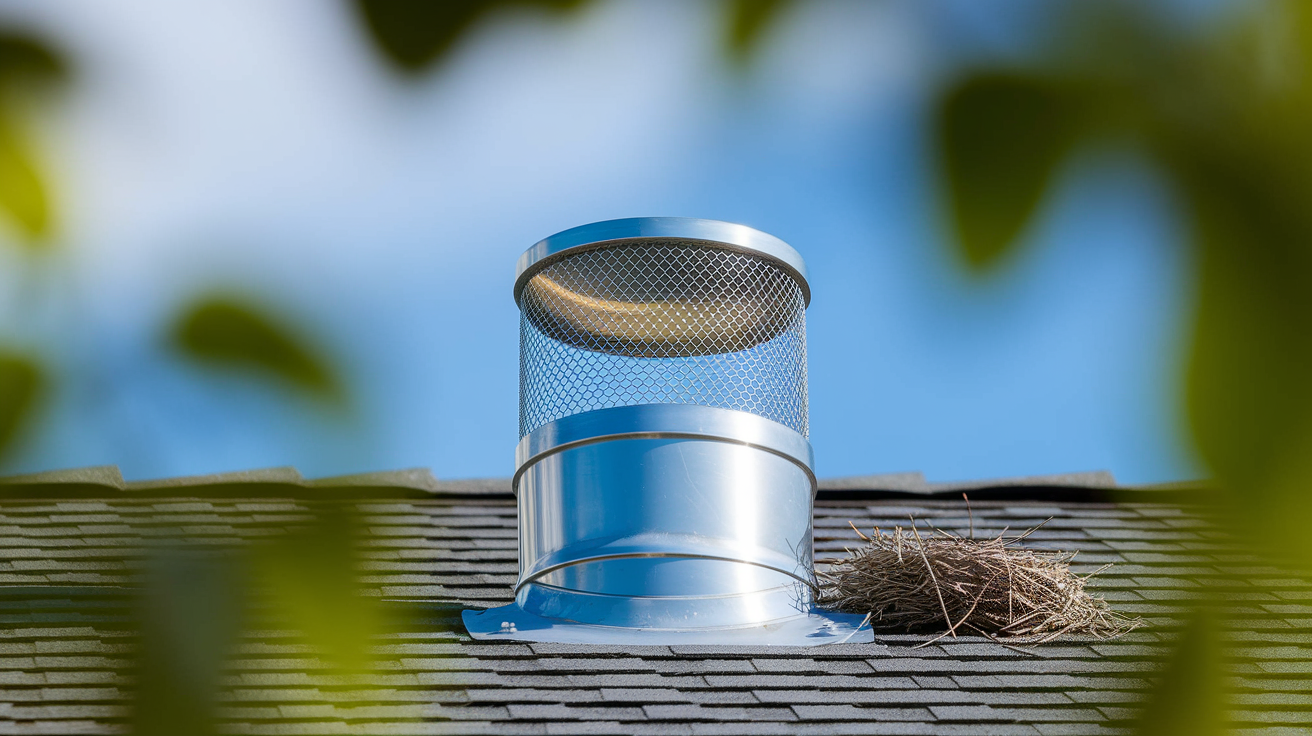
Taking care of your venting system before problems develop keeps your kitchen drains working smoothly and avoids emergency situations that disrupt your daily routine.
For roof vent stacks, install mesh screens or vent caps over the pipe openings. These simple barriers stop leaves, branches, and animals from getting inside while still allowing air to flow freely. Inspect and clear these screens at least once a year. Fall is a good time to check after leaves drop, and spring works well to clear any debris from winter storms or nesting season.
If you have an air admittance valve under your sink, minimize grease exposure by running hot water down the drain for 20 to 30 seconds after disposing of any fats or oils. This helps keep residue from coating the valve mechanism. Make sure your sink cabinet has decent ventilation too. Excess moisture in an enclosed cabinet space accelerates wear on the valve’s rubber components.
Five maintenance practices that prevent vent problems:
- Test vent function every 6 months using the running water and drain stopper tests
- Keep the sink cabinet clean and dry to protect mechanical vent components from moisture
- Avoid pouring grease down any kitchen drain that shares the venting system
- Replace AAVs proactively when they hit the 10 year mark, before failure occurs
- Document the vent installation date and type somewhere you’ll remember for maintenance tracking
Alternative Venting Solutions for Kitchen Sinks

Modern plumbing codes recognize that traditional roof venting doesn’t work for every situation. Several alternative approaches solve venting problems in kitchens where standard vent pipes are impractical or too expensive to install.
Air Admittance Valves for Island and Remote Sinks
AAVs work particularly well for sinks that are far from the main vent stack, like island installations in the middle of your kitchen or peninsula sinks that stick out into the room. The valve contains a spring loaded diaphragm that opens automatically when negative pressure occurs during water draining. It lets air into the system, then closes as soon as pressure equalizes to block sewer gases from escaping into your home. The mechanical valve must be installed above the trap and needs to stay accessible for future service. You’ll find these most often in island sinks, peninsula installations, and basement additions where running a new vent through the roof would require major demolition. Keep in mind that code compliance for AAVs varies by jurisdiction. Some areas allow them freely while others restrict their use or don’t permit them at all.
Loop Venting for Double Sink Configurations
Loop venting creates a self venting effect without needing a mechanical valve. The drain line from your sink rises well above the flood rim before it drops back down toward the main drain. This creates a natural air break that prevents vacuum formation. This method works particularly well for double bowl sinks where both drains connect together before reaching the main trap. The loop ensures air can enter the system even when both sinks drain simultaneously.
Wet Venting Shared Drain Lines
Wet venting allows the drain pipe from one fixture to serve as the vent for another fixture. The key requirement is sizing. The shared pipe typically needs to be one pipe size larger than normal to handle both drainage and venting functions. This approach works well in kitchen and bathroom combinations where fixtures are close together. The larger pipe prevents the draining water from completely filling the pipe, leaving room for air flow at the same time.
Check with your local building department or a licensed plumber before modifying your venting system. Improper venting creates genuine health threats from sewer gas exposure and can cause code violations that complicate future home sales or insurance claims.
Tools and Materials for Vent Troubleshooting
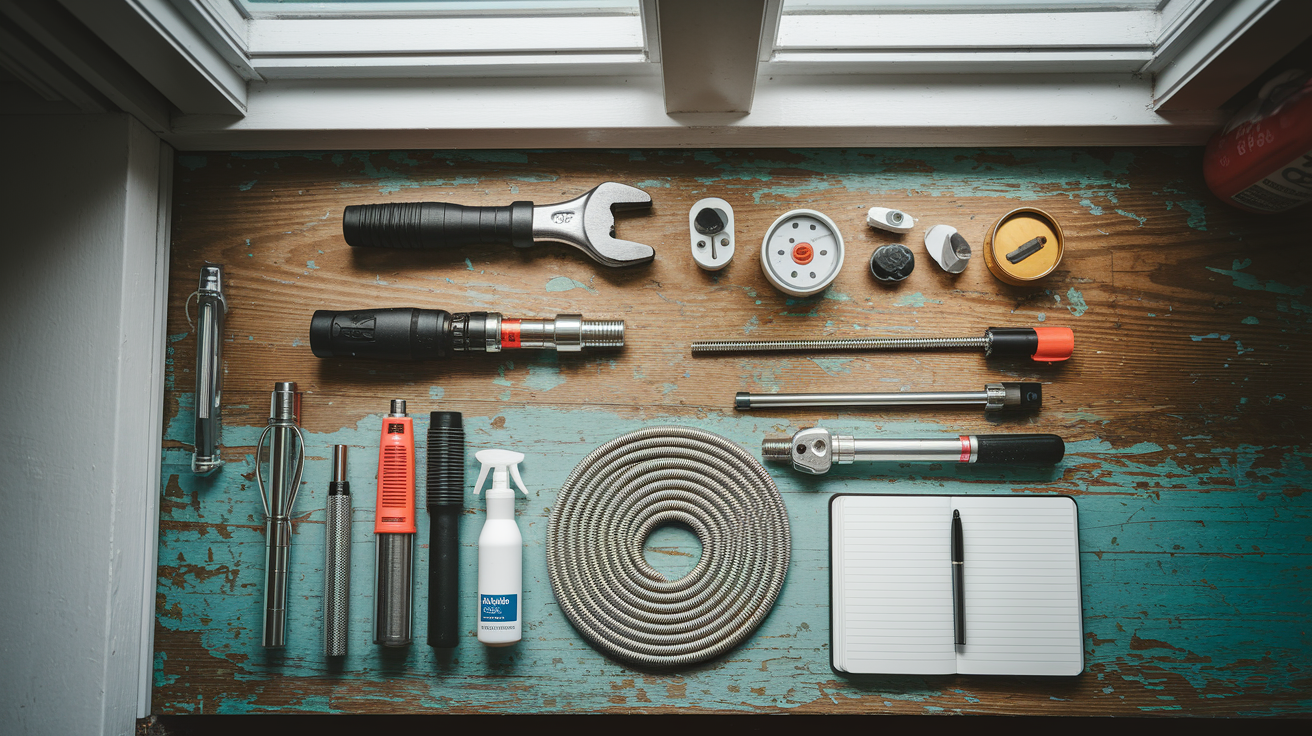
Having the right equipment before you start makes the diagnosis and repair process smoother and protects your plumbing components from accidental damage.
What you need depends on whether you’re working with an air admittance valve under the sink or a traditional roof vent stack, and whether you’re inspecting, cleaning, or replacing components.
Basic inspection tools you should have:
- Flashlight or headlamp for under sink and roof inspection
- Bucket and towels for catching water during AAV removal
- Adjustable wrench or channel locks for threaded connections
- Screwdriver set for accessing sink cabinet and mounting hardware
- Camera phone for documenting conditions before and after
- Notepad for tracking symptoms and test results
Clearing and repair tools for more involved work:
- Plumbing snake or drain auger, 15 to 25 foot length for roof vents
- Garden hose with a nozzle that has a jet setting
- Replacement AAV unit if applicable. Buy this after you confirm the size you need
- PVC primer and cement for permanent roof vent repairs
- Degreasing cleaner and soft brushes
- Ladder and roof safety equipment including harness and non slip shoes
Cost and Time Expectations for Vent Repairs
Understanding what you’ll spend and how long repairs take helps you decide whether to tackle the work yourself or hire professional help.
Budget planning matters because costs vary significantly based on how severe the problem is and how hard it is to reach the affected components. A simple fix under your sink costs very little. Complex vent system repairs requiring wall or ceiling access run much higher.
If you’re doing it yourself, materials for AAV replacement typically cost $15 to $40. Clearing a roof vent uses basic tools most homeowners already own. A snake, a garden hose, work gloves, and a ladder. Time investment ranges from about 30 minutes to swap an AAV to 2 or 3 hours for thoroughly clearing a roof vent stack including safe roof access and testing afterward.
| Repair Type | DIY Cost | DIY Time | Professional Cost | Professional Time |
|---|---|---|---|---|
| AAV replacement | $15-$40 | 30-45 minutes | $150-$250 | 1 hour |
| Roof vent clearing | $0-$30 | 1-3 hours | $200-$350 | 1-2 hours |
| New AAV installation | $20-$50 | 1-2 hours | $200-$400 | 1-2 hours |
| Vent system diagnosis | $0 | 1-2 hours | $150-$300 | 1 hour |
| Major vent repairs | Not recommended | N/A | $500-$1,500 | 3-6 hours |
Professional service provides a warranty on the work, ensures proper code compliance, and handles complications that would stall a DIY attempt. Pricing reflects the complexity of the job and regional labor rates. In areas where accessing vents requires navigating steep roofs or cutting into finished walls, expect costs toward the higher end of these ranges.
Final Words
A kitchen sink air vent clog creates frustrating symptoms, but now you know what to look for and how to fix it.
Whether it’s replacing an aging air admittance valve under the sink or clearing debris from a roof vent stack, most homeowners can handle the basics with simple tools and a clear plan.
Test the fix by running water and watching for those telltale gurgling sounds to disappear. If symptoms persist after your repair attempt, or if multiple fixtures act up together, that’s when a plumber’s camera and expertise make sense.
Regular checks twice a year keep your venting system working quietly in the background, right where it belongs.
FAQ
How do you unclog a kitchen sink air vent?
To unclog a kitchen sink air vent, you first identify whether you have a mechanical air admittance valve under the sink or a traditional roof vent stack. For mechanical vents (AAVs), unscrew the unit counterclockwise, wipe external surfaces with degreasing cleaner, inspect for debris, and replace if the internal mechanism appears sticky or damaged. For roof vent stacks, inspect the opening with a flashlight, remove visible debris by hand, feed a plumbing snake 6-10 feet down the pipe, and flush with a garden hose on jet setting.
How do I know if my kitchen sink vent is clogged?
You know if your kitchen sink vent is clogged when you notice gurgling or bubbling sounds during drainage, slow water flow despite a clear drain line, persistent sewer gas odors near the sink, or water backing up when the dishwasher runs. Run water for 30-60 seconds and listen near the vent. A healthy mechanical vent makes a quiet clicking sound, while a clogged or failed vent causes loud gurgling or no sound at all.
Will a clogged vent stop a sink from draining?
A clogged vent will slow a sink from draining but typically won’t stop it completely. The blockage creates vacuum in the pipes that fights against water flow, making drainage sluggish and often accompanied by gurgling sounds. Complete water stoppage usually indicates a drain clog rather than a vent issue. If you have slow drainage with gurgling sounds, the vent is likely the problem.
Can plumbing air vents get clogged?
Plumbing air vents can get clogged from outdoor debris like leaves and bird nests in roof vent stacks, or from grease and food particle buildup in mechanical air admittance valves. Age-related wear also causes failures. Rubber seals and internal diaphragms harden over 5-15 years, making valves stick closed or fail to seal properly. Temperature fluctuations from dishwasher discharge or cold drafts can accelerate deterioration and create blockages.
What are the main symptoms of a failing air admittance valve?
The main symptoms of a failing air admittance valve include gurgling sounds when water drains, slow drainage despite clear drain lines, sewer gas odors near the sink, and water backup when connected fixtures like dishwashers run. Multiple symptoms appearing together almost certainly indicate a venting problem rather than a simple drain clog. These symptoms occur because negative pressure pulls gases backward or empties the P-trap water seal.
How long do air admittance valves typically last?
Air admittance valves typically last 5 to 15 years, with replacement recommended if the unit is older than 10 years or showing failure signs. Age causes rubber seals and internal diaphragms to harden, making the valve stick closed or fail to seal properly against sewer gases. Kitchen installations often fail sooner due to grease exposure and heat from dishwasher discharge accelerating component wear.
Where is the mechanical vent located under a kitchen sink?
The mechanical vent is located under the kitchen sink near the drain trap as a small cylindrical plastic piece mounted on a vertical pipe. Look for a dome-shaped component with visible slits or slots, typically positioned on the vertical section between the P-trap and the wall or floor drain connection. The vent must be installed above the trap height and in a vertical orientation to function properly.
Can I replace an air admittance valve myself?
You can replace an air admittance valve yourself because most units screw off by hand or with a basic wrench. Turn off the water supply, place a bucket underneath, unscrew the old unit counterclockwise, and thread the new AAV onto the existing pipe. The process takes 10-15 minutes, costs $15-40 for the replacement unit, and requires no specialized plumbing skills or tools.
What’s the difference between a vent clog and a drain clog?
The difference between a vent clog and a drain clog is that vent clogs cause slow drainage with gurgling sounds while drain clogs cause complete water stoppage. Vent issues create vacuum that fights water flow and pulls air through P-traps, making bubbling noises. Drain clogs physically block the pipe, preventing water from moving at all. If water drains slowly with sounds, check the vent first.
When should I call a plumber for vent problems?
You should call a plumber for vent problems when sewer odors persist after vent replacement, water backs up when the dishwasher runs, multiple fixtures show drainage issues simultaneously, or you suspect deep blockages within walls. Professional help is also needed for camera inspections, major system modifications, or code compliance verification for remodels. Simple vent replacements by plumbers cost $150-300, while complex repairs range $500-1500.
How can I prevent kitchen sink vent clogs?
You can prevent kitchen sink vent clogs by installing mesh screens on roof vent openings, testing vent function every 6 months using running water tests, and minimizing grease exposure by running hot water after disposing of fats. Replace air admittance valves proactively at the 10-year mark, keep the sink cabinet clean and dry, and inspect roof vents annually to clear debris before blockages form.
Are air admittance valves legal in all areas?
Air admittance valves are legal in Charlotte and allowed under North Carolina Plumbing Code if they meet International Code standards, but regulations vary by jurisdiction. Some areas restrict AAV use or require them only in specific situations like island sinks or retrofit installations. Always check local building codes before installing a mechanical vent, as improper venting creates health hazards and may affect home resale.