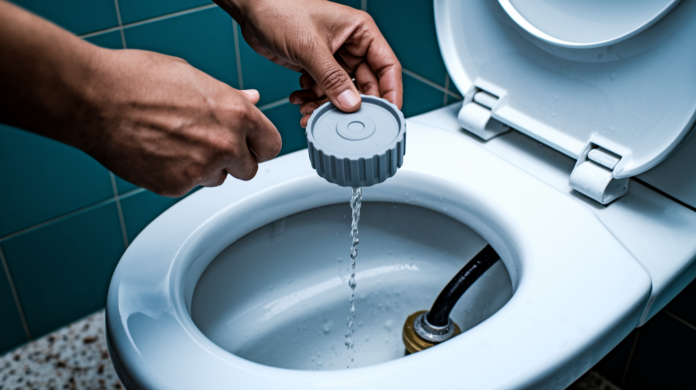

Your Kohler toilet won’t stop running, and you’ve jiggled the handle three times already this morning. That hissing sound and the ripple in the bowl aren’t going away on their own, and ignoring them just wastes gallons of water every day. Good news? Most Kohler fill valve problems come down to debris stuck in the cap assembly or a quick adjustment you can make yourself in under 15 minutes. This guide walks you through the simple fixes that work most of the time, how to spot when you actually need a new valve, and the complete swap process if cleaning and adjusting don’t solve it.
Quick Fix: Flushing Debris From Your Kohler Fill Valve

Most Kohler fill valve problems look the same: a toilet that won’t quit running, constant hissing, or a tank that takes forever to fill. You might hear water trickling way after you flush, see ripples in the bowl that shouldn’t exist, or notice the fill valve making noise for minutes instead of shutting off cleanly. Good news? Debris stuck in the cap assembly causes most of these headaches, especially right after a new toilet gets installed. When the water supply gets turned on and off during installation, sediment loosens in the supply lines and jams the valve so it can’t close all the way.
You don’t need much. Plastic cup, couple towels. The critical first step is finding the shutoff valve behind your toilet and cranking it clockwise until it stops. Flush once to drain most of the water from the tank. That gives you workspace and keeps water from going everywhere when you pop the valve open.
Here’s how to flush the debris:
-
Shut off water at the valve behind the toilet. Turn clockwise until it won’t go anymore.
-
Flush once to drain the tank. Leave an inch or two at the bottom.
-
Find the fill valve on the left side. Look for the cap assembly at the top with the float cup attached.
-
Lift the float cup straight up with your right hand. Hold the gray shaft steady with your left.
-
Turn the cap counterclockwise about 1/8th of a turn until it unlocks.
-
Lift the whole cap assembly off and set it aside. Hold your plastic cup upside down over the exposed opening.
-
Turn the shutoff back on full blast. Let water shoot through the valve for 10 to 15 seconds while the cup catches spray and debris.
-
Turn water back off. Put the cap assembly back on with the cap arm next to the refill tube, press down hard, and turn clockwise till it locks.
Watch what comes out during the flush. You might see brownish water, tiny plastic or rubber bits, white calcium particles, small chunks of mineral crud. Water should run clearer after a few seconds. When you turn the supply back on after putting the cap back, the valve should shut off completely within a minute or two. Listen for nothing. A successful flush means no running, no hissing, and a tank that fills and stops without overflow into that center tube.
Sometimes flushing doesn’t work, and that tells you something else is wrong. If your fill valve’s over 7 years old, the internal seals might be worn past what cleaning can fix. If you still hear running after flushing, or you spot cracks in the cap or valve body, you’re looking at replacement instead of a quick debris fix. But this 10 minute job should always be your first move. Works most of the time, costs nothing, saves you from swapping parts that just needed a flush.
Adjusting Kohler Fill Valve Water Level and Float Height
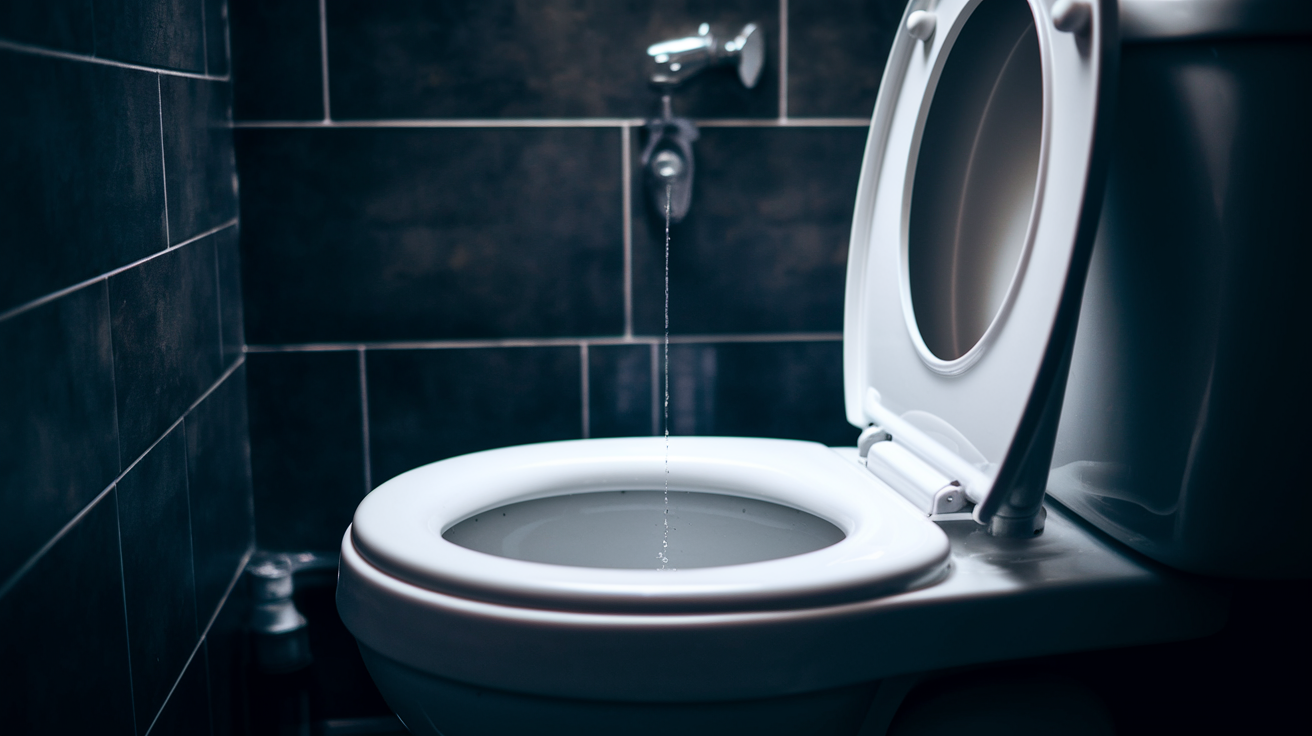
Getting water level right matters more than people think. Too high and water spills into the overflow tube so the tank never stops filling. Too low and you get weak flushes that don’t clear the bowl. The float tells the valve when to shut off, so adjusting float height controls where the water stops. When everything’s dialed in, the tank fills to about an inch below the top of the overflow tube (that tall pipe in the center), valve shuts off completely, everything stays quiet.
Look in your tank and find the overflow tube. Most Kohler toilets have a little line or mark on that tube showing target water level. That’s your reference. Water should stop rising when it hits a spot roughly one inch below the top edge of that tube. If water’s creeping over the edge and trickling down inside, you’re overfilling. If it sits more than two inches below and flushes feel weak, you’re underfilling. Both get fixed the same way, just opposite directions.
Most Kohler fill valves have an adjustment screw or clip at the top of the valve body. Find that screw and turn clockwise to lower the float and drop water level. Turn counterclockwise to raise the float and boost water level. Make small turns, maybe a quarter rotation, then let the tank refill and check where it stops. Some older models use a clip that slides up or down on a rod instead of a screw. Either way, small adjustments beat big ones. Test after each change until water stops at the right height and the valve goes silent.
Fixing Leaking, Hissing, and Slow Fill Issues
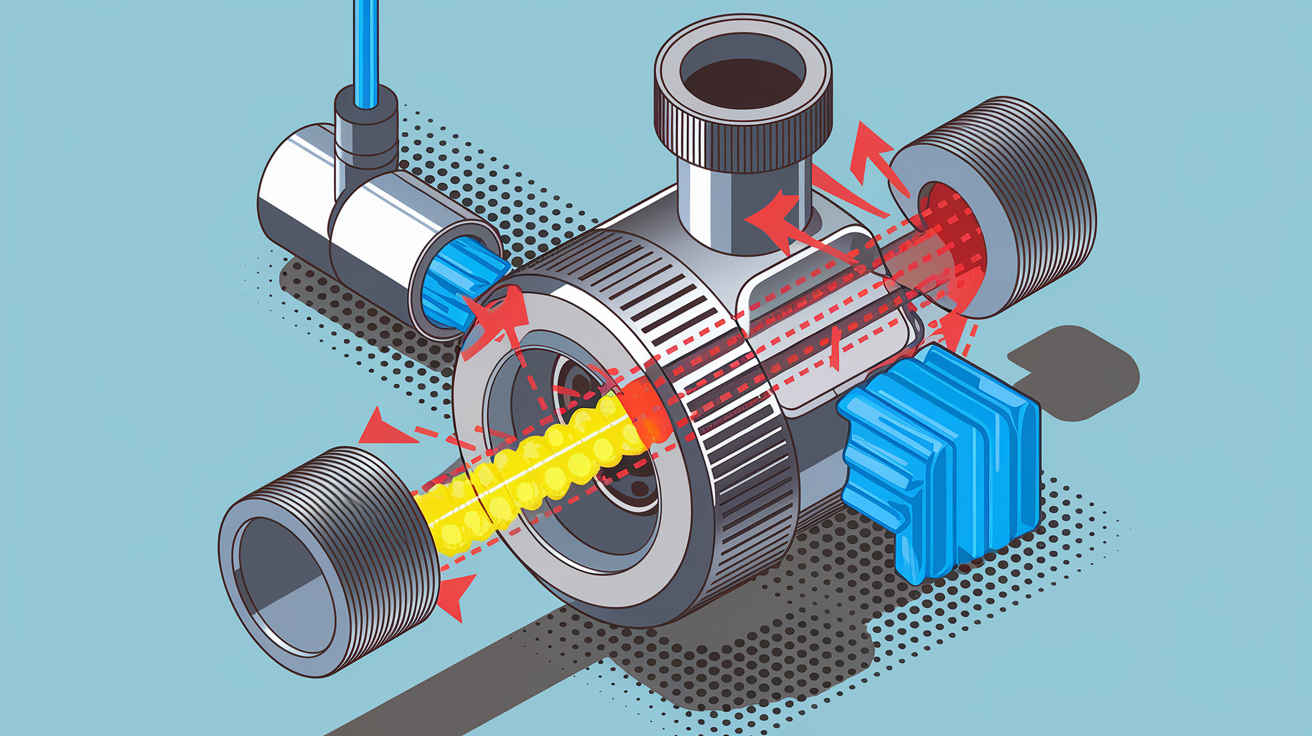
Leaks, noises, and slow fills usually share the same basic causes: worn seals, mineral buildup choking flow, or debris blocking water. Once you know your symptom, you can track down the specific part that’s failing and fix it without replacing the whole valve.
| Symptom | Probable Cause | Solution |
|---|---|---|
| Hissing noise after tank fills | Worn or dirty diaphragm seal | Flush valve debris or replace seal (part 242) |
| Water pooling at valve base | Failed base seal or loose supply connection | Tighten supply nut or replace valve |
| Tank takes over 2 minutes to fill | Debris in inlet valve or supply line | Flush valve debris, clean inlet screen |
| Whistling sound during fill | High water pressure or restricted valve opening | Install pressure regulator or replace valve |
| Weak water flow into tank | Calcium buildup in inlet valve | Clean inlet screen, soak in vinegar, or replace valve |
| Constant tank refilling | Cap seal not seating properly | Replace cap assembly (part 385) or full valve |
External leaks show up as water you can see, usually at the valve base where it connects to the tank or at the supply line underneath. Internal leaks are sneakier. They let water flow constantly from tank into bowl, so you hear refilling sounds or see a ripple in the bowl even though there’s no puddle. Hissing and whistling point to worn seals or high pressure forcing water through tight spaces. If you’re hearing steady hiss from the top of the valve, the diaphragm seal inside the cap assembly is either dirty or shot. Kohler part 242 is the replacement seal by itself. Part 385 is the complete cap assembly that includes the seal, and that’s often the better pick since the whole cap might be wearing out together.
Slow fill is easier to diagnose than you’d think. Time how long your tank takes to go from empty to full after a flush. Should finish under two minutes. If it’s taking three or four, something’s choking flow. Check that the shutoff valve behind the toilet is turned all the way open (counterclockwise as far as it goes). Partially closed shutoff is the most common cause of slow fill people miss. If the valve’s wide open and tank still fills slowly, check water pressure by running a sink nearby. Weak pressure everywhere means whole house issue. Normal pressure elsewhere but slow toilet fill means the problem’s in your fill valve, supply line, or shutoff valve.
Calcium and mineral deposits pile up over time, especially with hard water. They clog the tiny inlet valve screen where water enters the fill valve from the supply. You can usually see this screen by disconnecting the supply line from the bottom of the valve. If it looks crusted or discolored, soak it in white vinegar for 20 minutes, rinse, reinstall. Clean the inside of the supply line the same way if you see buildup. If cleaning doesn’t bring back normal flow, or the valve’s been working for seven years or more, replacement makes more sense than chasing worn parts.
Complete Kohler Fill Valve Replacement Process
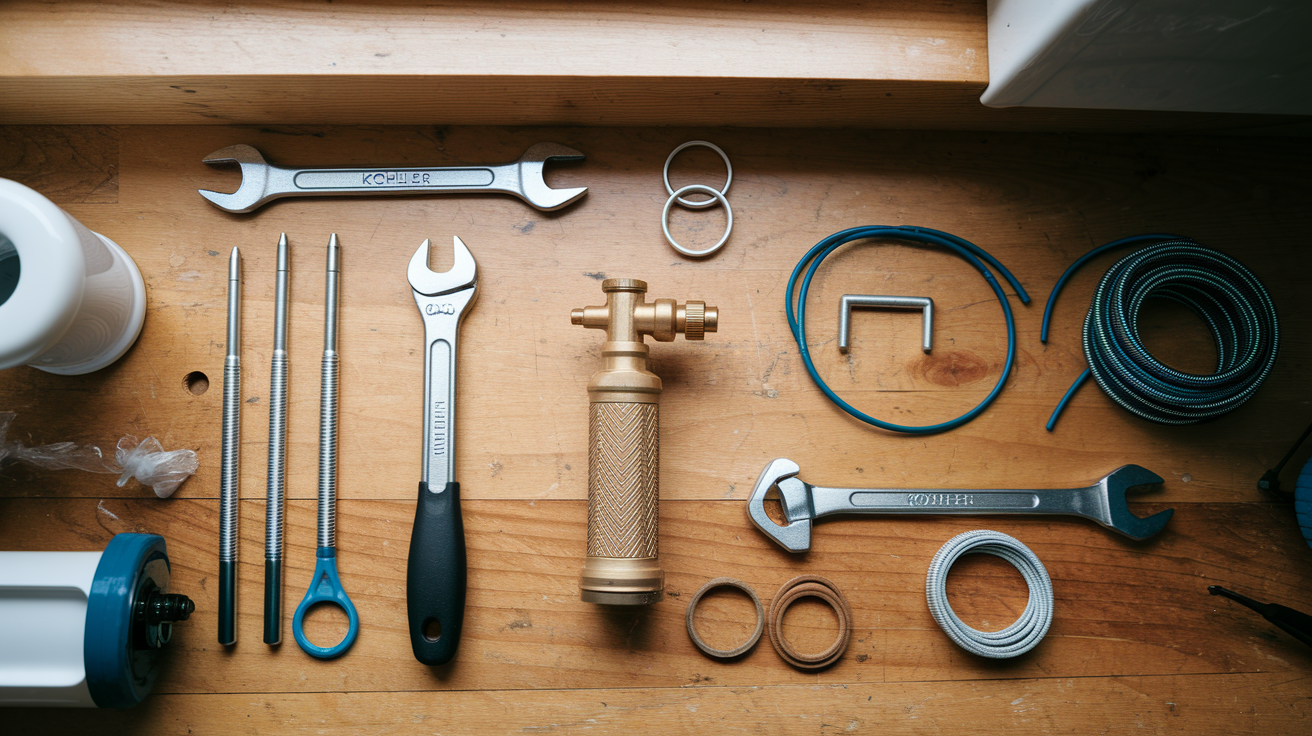
Sometimes flushing debris and swapping small parts isn’t enough. Full valve replacement becomes necessary when debris flushing doesn’t stop the running, when the valve’s 7 to 10 years old and showing multiple problems, or when you spot cracks in the valve body or cap. Replacing the entire fill valve sounds bigger than it is. Most people finish in 30 to 45 minutes, even first timers.
Here’s the complete swap:
-
Shut off water at the valve behind the toilet. Turn clockwise till it stops.
-
Flush once and hold the handle down to drain as much water as possible.
-
Disconnect the supply line from the bottom of the fill valve. Turn the coupling nut counterclockwise (might need adjustable pliers if it’s tight).
-
Unscrew the locknut holding the fill valve to the tank. Turn counterclockwise (reach under the tank to get at this).
-
Lift the old fill valve straight up and out, tilting slightly if needed to clear the overflow tube.
-
Clean the mounting hole in the tank bottom where the old valve sat. Remove any old gasket stuff or mineral deposits.
-
Insert the new fill valve through the hole from inside the tank. Make sure the rubber gasket or washer sits flat against tank bottom.
-
Reach underneath and thread the locknut onto the valve shank. Tighten by hand until snug (don’t overtighten or you’ll crack the tank).
-
Reconnect the supply line to the threaded shank at the bottom of the new valve. Tighten coupling nut firmly by hand, then add another quarter turn with pliers.
-
Turn water supply back on slowly. Watch for leaks at the base and supply connection while tank fills.
Once the new valve’s in and tank fills for the first time, check height adjustment. The top of the valve should sit high enough that the critical level mark (usually a line molded into the valve) is about an inch above the top of the overflow tube. Most Kohler replacement valves have twist and lock height adjustment. You twist the valve body to unlock, slide it up or down to the right height, twist back to lock. Getting this right stops water from backflowing into your supply line if pressure drops.
The refill tube is that small flexible tube running from the fill valve to the overflow tube. Make sure it’s clipped securely to the overflow and that the end sits above the water line but below the rim of the overflow. This tube refills the bowl after each flush. If it’s positioned wrong, you’ll get weak bowl refill or water spraying around inside the tank. After everything’s connected and adjusted, let the tank fill completely, then check every connection for drips. Paper towel held against each connection spot for 30 seconds will show even tiny leaks.
Identifying Kohler Fill Valve Models and Compatible Replacement Parts
Kohler uses model specific parts that aren’t always swappable between different toilet lines, so finding the right replacement matters. Model number’s usually stamped or printed inside the tank on the back or side wall, or it might be under the tank lid on a sticker. Some older models have the number molded into the underside of the tank. Write down the complete model number before you shop, because Kohler’s made dozens of toilet designs and the fill valves don’t all match up.
Common Kohler fill valve types and what sets them apart:
Canister style fill valves have a taller, cylindrical design with a tower that sits inside the tank. Common in newer one piece Kohler toilets. Uses class specific replacement parts.
GP1083167 and GP1138930 are standard Kohler fill valve models fitting many two piece toilets from the last 15 years. Available at most hardware stores.
Older ballcock style valves use traditional float ball on a rod. Mostly found in toilets made before 2000. Often replaceable with universal fill valves.
Quiet fill valve models reduce noise during tank refill. Identifiable by sound dampening features in the cap assembly. Requires Kohler specific replacement caps.
Low profile one piece toilet valves have compact design for toilets with limited tank space. Model specific parts usually required.
Dual flush toilet valves show up in water saving Kohler models. Paired with specific flush valve systems. Requires matching replacement parts.
Genuine Kohler parts fit precisely and maintain performance standards the toilet was designed for. They cost more than universal alternatives, but they’re worth it if your toilet’s still under warranty or you want guaranteed compatibility. Universal fill valves can work on many Kohler toilets, especially older two piece models, but they might not fit perfectly in compact or one piece designs. If you’re replacing a valve on a toilet less than 10 years old, stick with genuine Kohler. For older toilets or budget conscious repairs, quality universal valve usually does the job.
You can buy Kohler parts directly from the Kohler website, plumbing supply stores, or big box hardware retailers. Bringing your old valve or the model number to the store helps make sure you get the right match.
Testing and Verifying Your Kohler Fill Valve Repair

Don’t assume the repair worked just because the tank filled once without drama. Proper testing catches issues before you walk away and find a flooded bathroom later.
Run these tests to verify your repair:
-
Flush the toilet at least three times in a row. Wait for the tank to fill completely each time. Listen for the fill valve to shut off cleanly without running sounds continuing after the fill cycle.
-
Check every connection point (valve base, supply line coupling, cap assembly) for moisture or drips. Run a dry paper towel along each joint.
-
Watch the water level in the bowl between flushes. Make sure it stays constant and doesn’t slowly drop, which would mean internal leak past the flush valve.
-
Time how long the tank takes to fill from empty to full. Should be under 2 minutes with normal water pressure.
-
Watch that the water level in the tank stabilizes at the correct height and doesn’t creep higher or lower over 5 minutes.
-
Listen carefully for any hissing, whistling, or trickling 10 minutes after the last flush, when the system should be completely silent.
-
Gently lift and release the float cup. Make sure the valve responds by starting and stopping water flow smoothly.
If you still hear running water, hissing, or see water trickling into the overflow after you’ve flushed debris and made adjustments, something else is wrong. The flush valve might be leaking (which looks like a fill valve problem but isn’t), the fill valve itself might be too old and worn to seal anymore, or there could be a crack in the tank letting water seep out. At that point, full valve replacement or professional help makes sense. But if all seven tests pass and everything stays quiet, you’re done. The repair worked, and your Kohler toilet should run reliably until normal wear catches up years down the road.
Maintenance Tips to Prevent Future Kohler Fill Valve Problems

Even when your toilet’s working perfectly, annual debris flush keeps sediment from building up and causing problems later. Pick a regular time, maybe when you change air filters or test smoke detectors, and run through the debris flushing procedure once a year. Takes 10 minutes and clears out particles before they jam the valve. This simple step can double the working life of your fill valve.
Water quality plays a huge role in how long your fill valve lasts. Hard water with high mineral content leaves calcium and lime deposits inside the valve. Sediment in older supply lines breaks loose and clogs the inlet screen. Chlorine and other treatment chemicals gradually break down rubber seals and gaskets. If you have hard water, whole house water softener reduces mineral buildup throughout your plumbing. If sediment’s an issue, inline filter on your toilet supply line catches particles before they reach the valve. These aren’t necessary for everyone, but they make a real difference in areas with challenging water conditions.
Learn to spot early warning signs that mean your fill valve’s getting tired. Minor hissing sounds that come and go, tank fill times that slowly creep longer over months, or water levels that drift slightly lower than they used to. All signs that seals are wearing and the valve’s approaching end of life. Fill valves are wear items with typical lifespan of 7 to 10 years. Catching problems early lets you replace the valve on your schedule instead of dealing with emergency repair when it fails completely. If you have a vacation home or property that sits empty seasonally, check the fill valve before and after winter. Temperature swings and periods of non use can speed up seal deterioration.
When to Call a Professional Plumber for Fill Valve Issues
Most Kohler fill valve problems are straightforward enough for homeowners to handle, but some situations call for professional expertise instead of DIY troubleshooting.
Call a plumber when you run into these:
Cracked tank. If you see a crack in the porcelain near the fill valve mounting hole, replacement parts won’t help and the entire tank (or whole toilet) needs replacement by someone with tools and experience to do it safely.
Supply line problems. Old, corroded, or kinked supply lines can look like fill valve issues, and replacing supply lines in tight spaces or dealing with stuck shutoff valves sometimes needs a plumber’s tools and know how.
Repeated failures. If you’ve replaced the fill valve or major components twice and problems keep coming back, there’s likely an underlying issue like excessive water pressure, backflow, or supply line contamination needing professional diagnosis.
Accessibility challenges. One piece toilets with limited tank access, wall mounted toilets, or installations in tight spaces can make DIY repair difficult or impossible without specialized tools.
Warranty concerns. If your Kohler toilet’s still under warranty, using an authorized service provider protects your coverage and makes sure repairs meet manufacturer standards.
Water damage risk. If the toilet’s on an upper floor, above finished living space, or in a location where a leak could cause significant damage, professional installation provides insurance protection and guaranteed work.
The cost difference between DIY and professional service is real but not always as big as you’d think. Replacement fill valve costs between fifteen and thirty five dollars if you do it yourself. Plumber typically charges between one hundred and two hundred dollars for the same repair, including parts and labor. That extra cost buys you guaranteed work, insurance coverage if something goes wrong, and peace of mind that comes from professional diagnosis. If a plumber finds that your fill valve problems are actually caused by high water pressure or failing pressure regulator, that diagnostic value alone can save you from replacing parts that were never the real problem.
Kohler’s customer service can help identify the right parts for your specific toilet model and point you toward authorized service providers in your area. Their website has installation videos, parts diagrams, and direct support contacts. For complex repairs, warranty related issues, or situations where you’ve tried standard fixes without success, reaching out to manufacturer support or bringing in a licensed plumber is the smart move.
Final Words
Most Kohler toilet fill valve troubleshooting starts and ends with a simple debris flush. That 10-minute procedure fixes the majority of running toilets, especially after new installations.
If flushing doesn’t stop the problem, you’re looking at seal replacement or a full valve swap. Both are manageable DIY jobs with the right parts and a little patience.
Test thoroughly after any repair. Multiple flush cycles, no hissing, clean shutoff. That’s how you know it’s done right.
Your toilet should run quietly, fill completely, and shut off on its own. Anything less means there’s still work to do.
FAQ
How to take apart a Kohler toilet fill valve?
To take apart a Kohler toilet fill valve, first turn off the water supply and flush the toilet to drain the tank. Lift the float cup with your right hand while holding the gray shaft, then turn the cap counterclockwise one-eighth turn to unlock and remove the cap assembly from the valve body.
What are the common problems with toilet fill valves?
The most common problems with toilet fill valves include constant running or refilling noise, hissing or whistling sounds, slow tank refill after flushing, water continuously flowing into the overflow tube, and visible leaks at the valve base or cap assembly connections.
How to clean a Kohler fill valve?
To clean a Kohler fill valve, remove the cap assembly by lifting the float cup and turning the cap counterclockwise one-eighth turn. Hold the cap upside down over the valve opening and turn the water supply on full force for 10 to 15 seconds to flush out sediment and debris.
How does a Kohler fill valve work?
A Kohler fill valve works by controlling water flow into the toilet tank through a float-activated shutoff mechanism. As water fills the tank, the rising float signals the valve to gradually reduce flow until reaching the preset water level, at which point the valve closes completely to stop filling.
Why does my toilet keep running after flushing?
Your toilet keeps running after flushing because debris or sediment lodged in the fill valve cap prevents the valve from shutting off completely. This problem occurs frequently during new toilet installations when turning the water supply on and off loosens sediment in the supply lines.
How long should a Kohler fill valve last?
A Kohler fill valve should last seven to ten years under normal conditions. Fill valves older than seven years commonly experience worn internal seals and components that cause filling issues, slow refills, or constant running, indicating replacement is needed.
Can I use a universal fill valve to replace my Kohler valve?
You can use a universal fill valve to replace your Kohler valve in many cases, but using genuine Kohler replacement parts ensures proper fit and maintains warranty coverage. Model-specific Kohler parts may provide better performance and longevity than universal alternatives for certain toilet models.
What causes a fill valve to make hissing sounds?
A fill valve makes hissing sounds due to worn diaphragm seals, high water pressure forcing water through small gaps, or mineral buildup restricting smooth water flow. Replacing the seal using Kohler part 242 or the complete cap assembly part 385 typically resolves hissing noises.
How do I adjust the water level in my Kohler toilet tank?
To adjust the water level in your Kohler toilet tank, locate the adjustment screw on the fill valve and turn it clockwise to lower the water level or counterclockwise to raise it. The target water level should sit approximately one inch below the overflow tube’s critical level mark.
Why is my toilet tank filling slowly?
Your toilet tank fills slowly because debris in the fill valve, supply line, or shutoff valve restricts water flow, or because the shutoff valve isn’t fully open. Calcium buildup and mineral deposits at the inlet valve opening also commonly cause slow fill rates requiring cleaning or valve replacement.