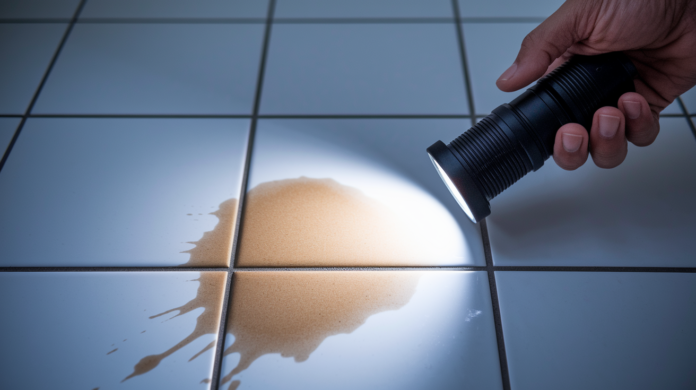

You just found a puddle outside your shower that wasn’t there yesterday. The ceiling below has a faint brown ring. Your shower pan drain is leaking, and you’re wondering if you need to rip out the whole thing. Most of the time, you don’t. A failing gasket or old sealant causes most shower pan drain leaks, and you can fix those without tearing up tile or replacing the entire pan. Here’s how to track down the real problem, stop the leak, and know when a simple repair is enough.
Identifying Causes and Repair Options for Your Leak
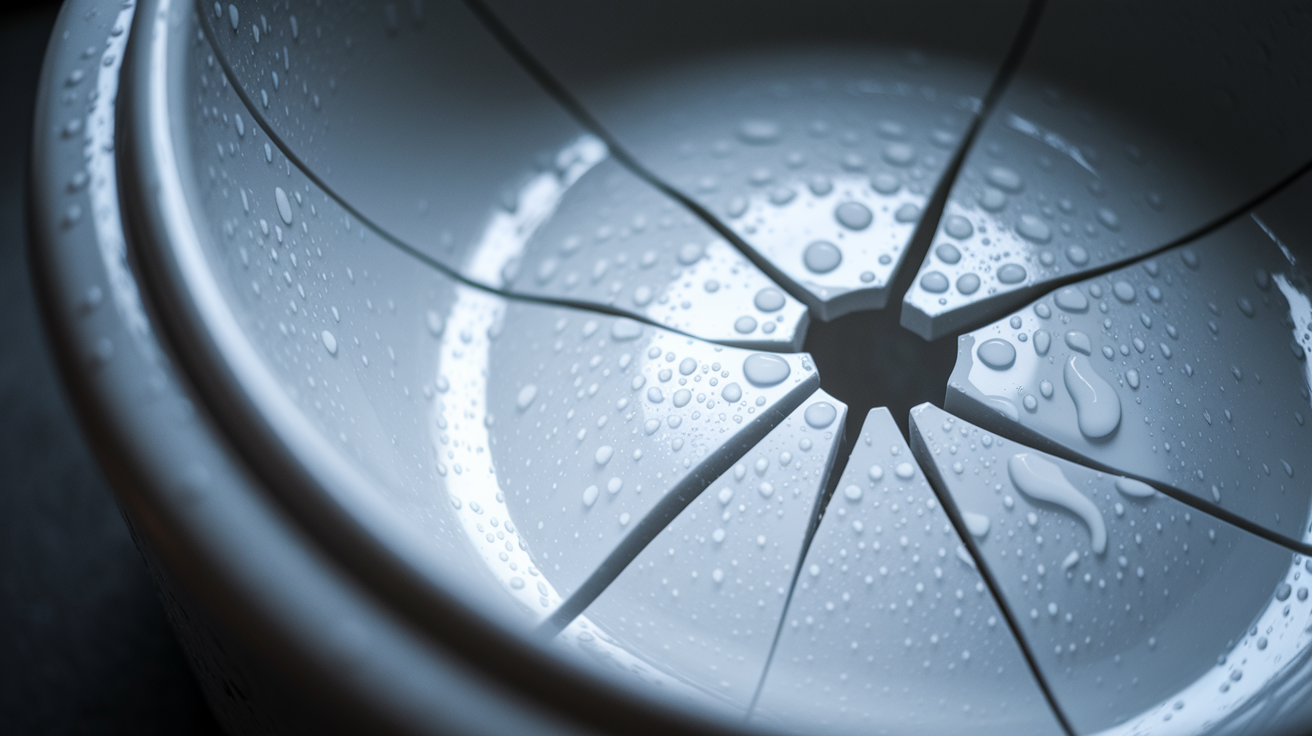
Catching the early warning signs of a shower pan drain leak stops water damage before it reaches your floor joists, subfloor, and the ceiling below.
Warning signs that point to shower pan drain problems:
- Pan movement or shifting when you step on it
- Deflection or weird sloping that makes the floor bounce up and down
- Visible cracks in the pan material
- Loose or damaged tiles around the drain
- Soft spots on the bathroom floor near the shower
- Musty smell that sticks around even after you’ve cleaned
- Water stains on the ceiling directly under the shower
A shower pan drain leak starts when the waterproof layer beneath your shower floor breaks down. Securing materials like sealant, gaskets, and bolts wear out from constant water exposure, temperature swings, and physical stress. Even a properly installed shower pan doesn’t last forever. The rubber gasket gets hard and cracks. Sealant pulls away from surfaces. Daily use loosens connections that used to be tight.
Most failures start at the drain flange. That’s where the shower pan connects to the drain pipe. The rubber gasket that creates a watertight seal degrades from age and exposure to soap, shampoo, and cleaning chemicals. Cracked liners happen when something heavy drops onto the pan or when the house settles and shifts the pan out of position. The waterproofing membrane under the pan can get punctured or just wear out after decades.
Primary causes of shower pan drain leaks:
- Gasket failure – Rubber gaskets harden, crack, and lose flexibility after years of chemical exposure and temperature cycling
- Deteriorated sealant – Silicone or putty breaks down and pulls away from the drain flange, creating gaps where water gets through
- Cracked liner – Impact damage or structural movement creates visible cracks that let water seep through
- Loose drain assembly – Improper tightening during installation or vibration over time causes the drain connection to separate
- Improper installation – Inadequate sealing during original construction leaves vulnerable spots from day one
- Damaged waterproofing membrane – Punctures from installation mistakes or age related breakdown compromise the barrier under the pan
Your repair approach depends on what’s actually failing. Start with diagnosis to identify the specific problem point. Minor issues like deteriorated gaskets or old sealant work fine for DIY repair with basic hand tools and new components. Full pan replacement becomes necessary when you find extensive cracks, deflection that signals subfloor damage, or widespread water damage to the structure below. Those situations need professional installation with proper waterproofing techniques and code compliance.
Detecting the Source of Your Shower Pan Drain Leak

Proper leak detection tells you whether you’re dealing with a simple reseal job or a bigger structural problem that needs professional help.
Water test procedure:
- Seal the drain completely with a rubber test plug or several layers of duct tape
- Add 2 inches of standing water to the shower pan
- Mark the water level on the shower wall using a marker or piece of tape
- Wait 8 hours without using the shower or disturbing the water
- Check for water level drop and inspect the bathroom floor, ceiling below, and surrounding areas for visible damage
A moisture meter helps find hidden leaks behind walls that aren’t visible during a basic inspection. Look for separation between the pan and the wall, small hairline cracks in the pan material, and discoloration around the drain area. Check for a musty smell that lingers even after you’ve cleaned and dried everything. That odor signals hidden moisture trapped in places you can’t see.
Water damage follows a predictable path. The initial leak wets the subfloor directly under the shower pan. Continued exposure softens the wood and creates conditions for mold growth. The moisture spreads outward through floor joists and eventually shows up as ceiling stains in the room below. Drywall gets discolored and soft to the touch. Paint starts peeling. If water reaches light fixtures or electrical outlets in the ceiling below, you’re looking at a safety hazard that needs immediate attention. The longer you wait, the more wood rot develops and the weaker your floor structure becomes.
Tools and Materials Needed for Shower Pan Drain Repair
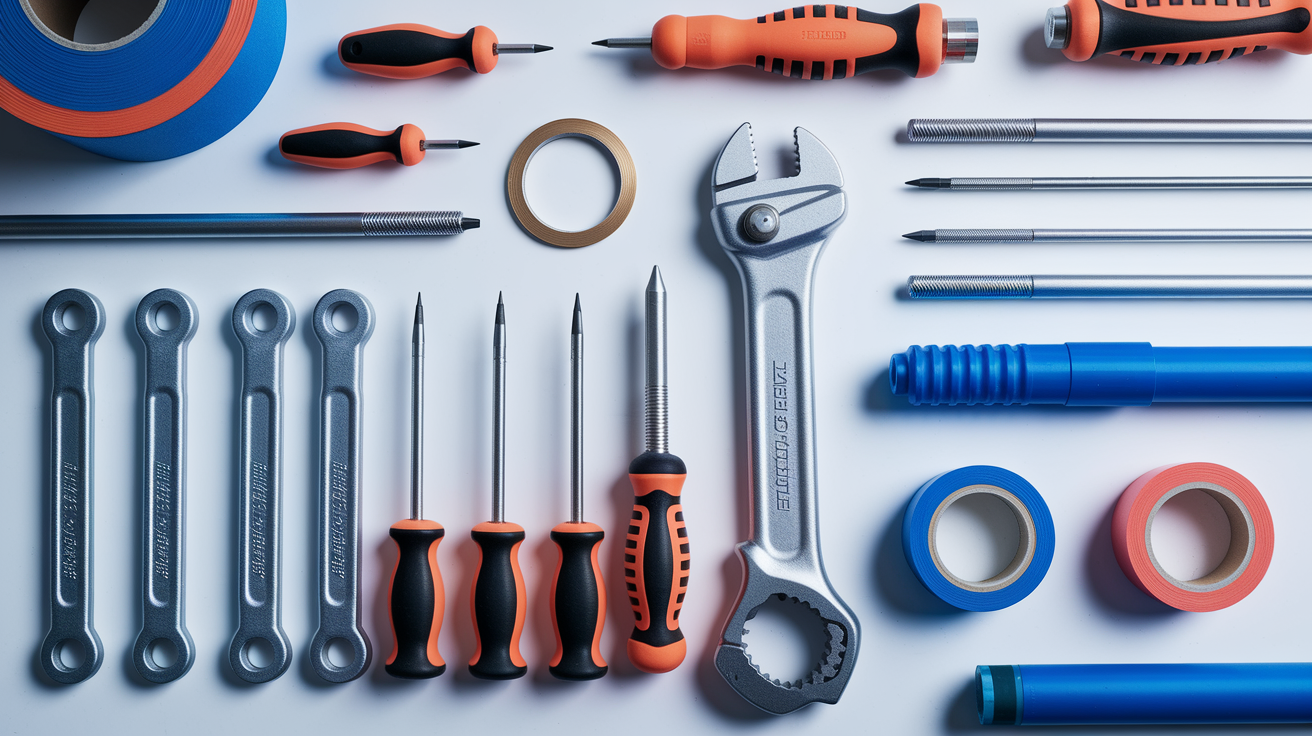
Having the right tools before you start makes the repair process faster and cuts down on the chance of damaging components during disassembly.
| Tool/Material | Purpose |
|---|---|
| Adjustable wrench | Remove and tighten drain assembly and clamping ring |
| Screwdriver set | Remove drain cover and strainer basket screws |
| Rubber gasket replacement | Create new watertight seal between pan and drain |
| Silicone sealant | Seal drain flange connection and fill gaps |
| Plumber’s putty | Create flexible seal under drain flange |
| Teflon tape | Seal threaded pipe connections |
| Cleaning supplies | Remove old sealant, debris, and soap residue |
| Flashlight | Inspect dark areas under sink or in crawlspace |
| Bucket | Catch water during testing and repair |
| Utility knife | Cut away old caulk and sealant |
Material quality matters more than you’d think for a repair that sits underwater most of its life. Use marine grade silicone sealant specifically labeled for wet areas and constant submersion. Regular bathroom caulk breaks down faster. When replacing gaskets, purchase the manufacturer matched part for your specific drain model if possible. Generic gaskets from the hardware store might be slightly wrong in thickness or diameter, which leads to leaks even when properly installed. Cheap substitutes save a few dollars now but fail within months instead of lasting years.
Step by Step Shower Pan Drain Flange Repair
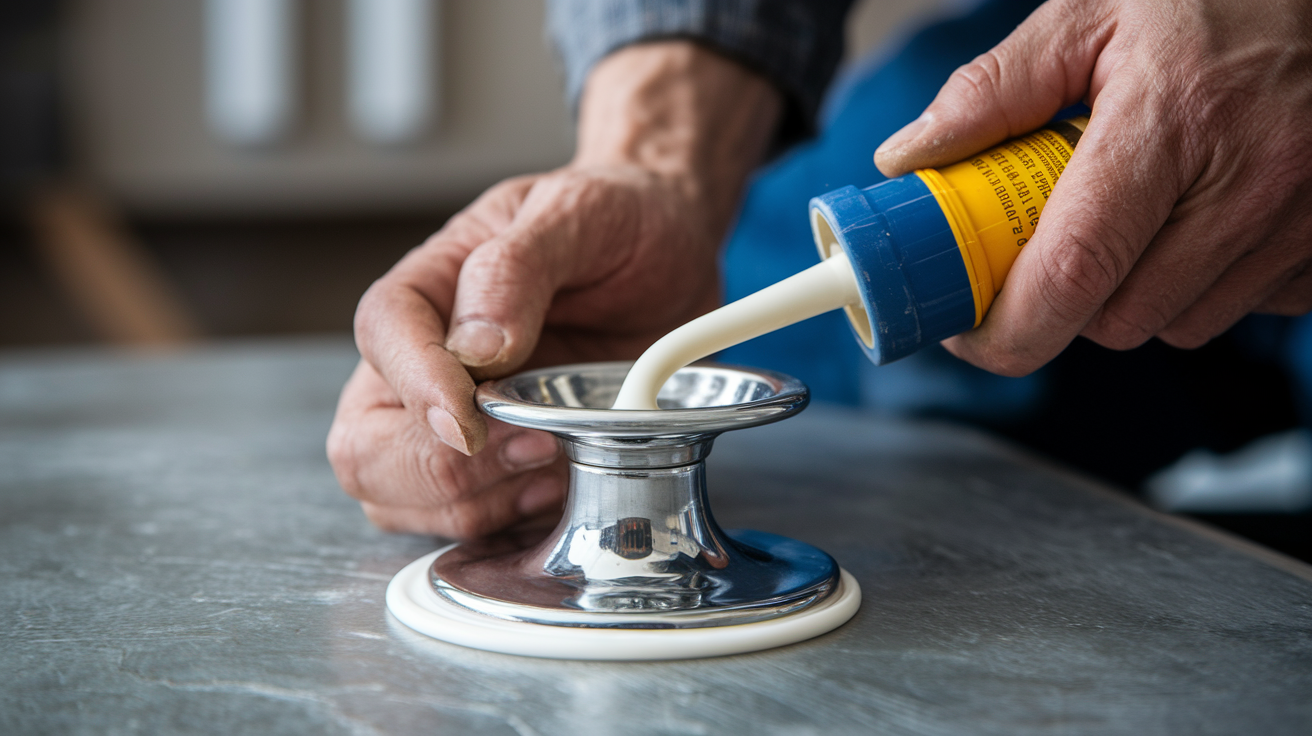
Repairing the drain flange and replacing worn gaskets fixes most shower pan drain leaks without requiring full pan replacement.
Drain flange repair process:
- Remove the drain cover and unscrew the strainer basket
- Clean the drain opening thoroughly and inspect the old gasket for cracks, hardness, or deformation
- Remove all old sealant and debris from both the pan surface and drain body using a utility knife and cleaning solution
- Apply a rope of fresh plumber’s putty or a bead of silicone sealant to the underside of the drain flange
- Position the new rubber gasket on top of the pan, centered over the drain hole
- Insert the drain body through the pan and gasket, then hand tighten the clamping ring from below
- Use a wrench to snug the connection with careful quarter turn increments, checking for resistance
- Wipe away excess sealant that squeezes out, then run water to test the seal
Proper tightening takes more attention than people expect. Too loose and water seeps past the gasket. Too tight and you crack the shower pan right around the drain hole. Hand tighten first until you feel solid contact. Then use your wrench for only a quarter turn at a time. Stop when you feel firm resistance. The gasket should compress slightly but not flatten completely.
Critical mistakes create recurring leaks that waste your time and materials. Don’t use non waterproof sealants like regular silicone or caulk that isn’t rated for submersion. They break down within weeks. Skipping thorough surface cleaning leaves soap scum and old sealant residue that prevents new adhesives from bonding properly. Mixing incompatible products like plumber’s putty with certain types of plastic drain bodies can cause chemical reactions that degrade the seal. Ignoring manufacturer instructions for your specific drain model leads to assembly mistakes that aren’t obvious until water starts leaking again.
Respect the curing time before you use the shower. Most silicone sealants need 24 to 72 hours to fully cure depending on temperature and humidity. Check the product label. Using the shower before the sealant sets causes immediate seal failure because water pressure pushes into gaps before they’ve hardened.
Resealing and Waterproofing Membrane Repairs
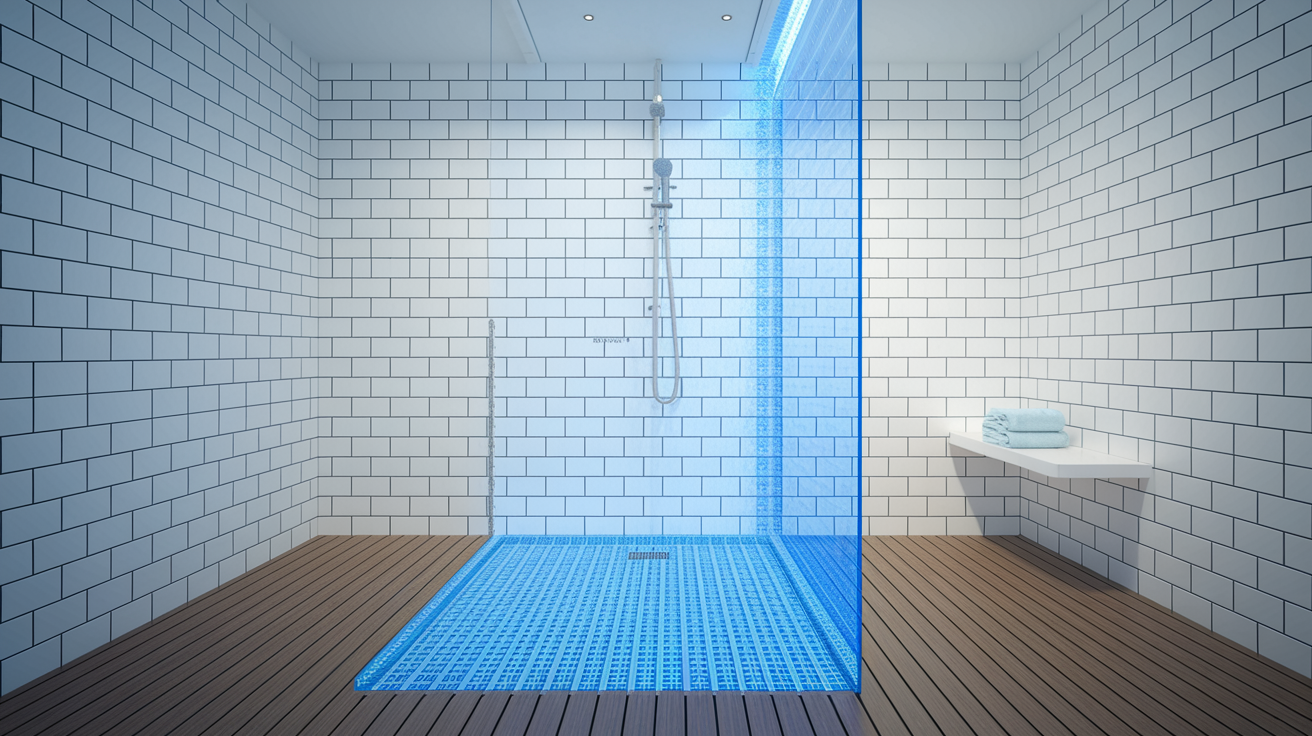
The waterproofing membrane sits between your shower pan and the subfloor, creating a backup barrier that catches water if the pan itself leaks. When this membrane gets punctured, develops age related cracks, or separates at the seams around the drain, water flows straight through to the subfloor below. Punctures happen during initial installation when screws or nails accidentally pierce the membrane, or years later when a heavy impact from above drives through both the pan and membrane. Age related deterioration shows up as brittleness and small cracks that spread over time.
Resealing joints and applying new caulking restores protection around the drain area. Use a utility knife or dedicated caulk removal tool to scrape away every bit of old caulk. It comes off in strips if you’re patient. Clean the surface with rubbing alcohol or a degreasing cleaner, then dry it completely before applying anything new. Apply a continuous bead of silicone sealant without gaps or breaks. Work in one smooth motion if possible. You have about five minutes to smooth the bead with your finger or a caulking tool before it starts to skin over. Inspect horizontal surfaces like built in soap dishes and corner shelves for cracks that let water behind the tile. Check where the shower pan meets the walls, looking for separation or gaps wider than a hairline.
Full membrane replacement becomes necessary when damage is too widespread for spot repairs. Multiple puncture points mean water is finding several paths through the barrier. Extensive cracking that spiderwebs across a large area won’t seal properly even with new caulk. Separation from the drain flange greater than one inch signals that the membrane has pulled away and lost its structural connection. Visible water damage on the subfloor means moisture has been getting through for a while. At that point, attempting DIY resealing is like putting a bandage on a broken bone. The damage underneath needs professional attention with proper liner replacement and subfloor repair before you can waterproof it correctly again.
When Shower Pan Replacement Becomes Necessary
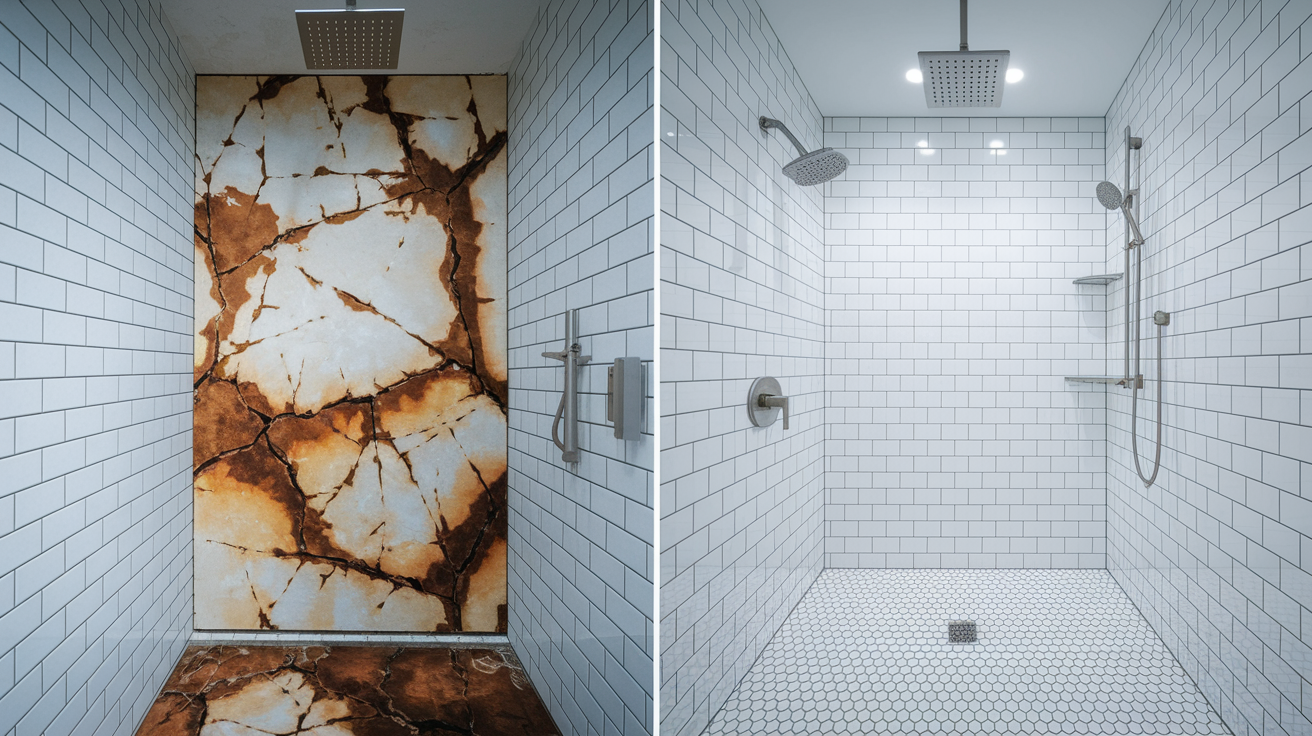
Repairable damage includes single point leaks, worn gaskets, and deteriorated sealant that’s still surrounded by sound material. Complete failure means the pan itself has structural problems that resealing can’t fix. Cracks in plastic pans indicate the material has become brittle and will continue cracking no matter how well you seal the current damage. Cracks in porcelain or ceramic pans signal that impact damage or settling has compromised the integrity of the entire pan.
Delaying necessary replacement turns a contained problem into structural damage. Water continues flowing to the subfloor, soaking deeper into the wood with every shower. Floor joists start developing soft spots and rot. Mold grows behind walls where you can’t see it or clean it. The bathroom floor develops a spongy feel when you step on it. The ceiling below shows water stains that grow larger. Eventually the subfloor weakens enough that the toilet or vanity starts shifting. At that stage you’re not just replacing a shower pan anymore. You’re repairing or replacing floor joists, subfloor sections, drywall, and possibly dealing with mold remediation.
Scenarios requiring full shower pan replacement:
- Extensive cracks in the pan material that spiderweb across multiple sections
- Deflection or bounce that indicates the subfloor beneath has water damage and rot
- Multiple leak points scattered across different areas of the pan
- Age related deterioration in pans older than 40 years, especially fiberglass pans showing surface cracks
- Previous repair attempts that failed within months, indicating the underlying problem is structural
DIY Repair Methods Versus Professional Solutions
Evaluate the repair complexity honestly against your skill level, available time, and comfort with plumbing work.
| Repair Type | DIY Appropriate | Professional Required |
|---|---|---|
| Drain flange resealing | Yes, requires basic tools and careful tightening | No, unless access is severely restricted |
| Gasket replacement | Yes, straightforward component swap | No, unless drain body is corroded or stuck |
| Caulking/grout repair | Yes, minimal tools needed | No, cosmetic work suitable for homeowners |
| Membrane replacement | Maybe, requires tile removal and waterproofing knowledge | Recommended, improper installation causes worse leaks |
| Full pan replacement | No, requires demolition and code compliance | Yes, involves structural work and permits |
| Subfloor repair | No, requires assessing structural integrity | Yes, improper repairs create safety hazards |
A qualified plumber brings licensing, insurance, and experience that protects you from costly mistakes. Verify their license number with your state’s licensing board. Request proof of liability insurance and workers’ compensation coverage before they start work. Ask for multiple quotes from at least three local plumbing companies, making sure each quote includes the same scope of work for accurate comparison. Request and check references from recent jobs similar to yours. Read online reviews but focus on patterns rather than isolated complaints. Make sure they understand local building codes and will obtain necessary permits. A professional who tries to skip permits is creating liability for you. Ask about warranty coverage on both parts and labor. Most reputable plumbers warranty their work for at least one year.
Cost Breakdown for Shower Pan Drain Leak Repairs

Cost determines whether you pursue a repair or commit to full replacement, and helps you budget realistically for professional help if DIY isn’t appropriate.
Repair scenarios with cost ranges:
- DIY gasket and sealant repair: $30 to $100 for materials including new gasket, silicone sealant, plumber’s putty, and cleaning supplies
- Professional drain flange repair: $150 to $400 depending on accessibility and whether the drain body needs replacement
- Grout and caulking repair: $30 to $500 depending on whether you’re sealing a few gaps or regrouting the entire shower perimeter
- Prefab liner replacement DIY: $50 to $150 for a preconstructed liner from a big box store plus adhesive and sealant
- Professional liner replacement: $900 to $2,300 including demolition of tile or surround, new waterproof membrane installation, and reconstruction
- Full pan replacement with custom tile: $2,000 to $4,600 for complete demo, subfloor inspection and repair if needed, new pan installation, tile work, and finishing
Cost variables add up quickly depending on your specific situation. Larger showers require bigger pans and more labor hours. Material choice makes a significant difference. A basic fiberglass pan costs a fraction of what you’ll pay for a custom tile installation with a mortar bed and high end tile. Accessibility issues drive up labor costs when the plumber needs to cut access holes in the ceiling below or work in a tight crawlspace. Water damage to the surrounding structure means additional repair costs for subfloor replacement, floor joist sistering, or drywall work. Geographic location affects both material and labor rates. Urban areas typically cost more than rural regions. Permit requirements vary by jurisdiction but add $50 to $200 to the project when required.
Preventing Future Shower Pan Drain Leaks
Regular maintenance catches small problems before they become expensive water damage emergencies.
Small preventive actions protect against the kind of major water damage that requires subfloor replacement and mold remediation. A few minutes of attention each month saves thousands in repair bills later.
Preventive maintenance steps:
- Clean the drain monthly by removing the strainer and pulling out accumulated hair and soap buildup with a wire hook or drain cleaning tool
- Inspect caulking and grout quarterly, looking for gaps, cracks, or areas where the seal has pulled away from surfaces
- Schedule an annual professional inspection to check components you can’t easily see, including the drain assembly connection and waterproofing membrane condition
- Repair small cracks in grout or caulking immediately when you spot them, before water starts penetrating behind the tile
- Run the bathroom exhaust fan during showers and for 30 minutes afterward to reduce moisture that degrades seals and gaskets
- Avoid harsh chemical drain cleaners that eat away at rubber gaskets, plastic drain components, and sealants
- Test drain flow regularly by watching how quickly standing water disappears. Slow drainage indicates developing clogs that can cause overflow and leaks
Final Words
A shower pan drain leak doesn’t fix itself, and waiting usually means more damage.
Whether you’re dealing with a worn gasket, cracked liner, or full pan failure, the right move is identifying the cause and taking action before water reaches your subfloor or ceiling below.
Some fixes you can handle with basic tools and care. Others need a plumber who knows how to do it right the first time.
Either way, you’re protecting your home from the kind of damage that spreads quietly and costs more the longer it sits.
FAQ
What happens when a shower pan leaks?
When a shower pan leaks, water seeps through the protective waterproof layer beneath your shower floor and damages the subfloor, floor joists, and structures below. You’ll typically notice soft spots on the bathroom floor, water stains on the ceiling beneath the shower, musty odors, or visible mold growth around the shower area.
How much would a plumber charge to replace a shower drain?
A plumber would typically charge between $150 and $400 to replace a shower drain and flange assembly. More extensive repairs involving liner replacement range from $900 to $2,300, while full shower pan replacement with custom tile work costs between $2,000 and $4,600 depending on materials and damage extent.
Does homeowners insurance cover a shower pan leak?
Homeowners insurance typically covers sudden and accidental shower pan leaks and the resulting water damage to surrounding structures. However, insurance usually doesn’t cover leaks caused by gradual deterioration, lack of maintenance, or age-related wear, so it’s important to review your specific policy and document damage immediately when discovered.
What is the life expectancy of a shower pan?
The life expectancy of a shower pan ranges from 20 to 40 years depending on material quality, installation precision, and maintenance practices. Fiberglass and acrylic pans typically last 20 to 30 years, while professionally installed custom tile pans with proper waterproofing membranes can last 40 years or longer with regular maintenance.
How do you test for a shower pan drain leak?
You can test for a shower pan drain leak by sealing the drain with a rubber plug or duct tape, adding 2 inches of standing water, marking the water level, and waiting 8 hours. A drop in water level after 8 hours confirms a leak, and you should also inspect the bathroom floor and ceiling below for water stains or moisture.
Can you repair a cracked shower pan without replacing it?
You can repair minor cracks in a shower pan using high-quality silicone sealant designed for wet areas if the damage is limited to surface cracks. However, extensive cracking, visible deflection when stepped on, or cracks accompanied by subfloor water damage require full pan replacement because temporary fixes won’t prevent continued structural deterioration.
What causes a shower pan drain gasket to fail?
A shower pan drain gasket fails due to age-related rubber deterioration, exposure to harsh cleaning chemicals that break down the material, and constant water pressure over time. Physical stress from drain movement, improper installation with inadequate compression, and using incompatible sealants also accelerate gasket breakdown and create leak paths.
How long should you wait to use shower after resealing the drain?
You should wait 24 to 72 hours to use your shower after resealing the drain, depending on the specific sealant manufacturer’s instructions. Using the shower before the sealant fully cures causes seal failure because water pressure disrupts the chemical bonding process, leading to gaps that allow leaks to continue.
What are the first signs of shower pan water damage?
The first signs of shower pan water damage include movement or shifting when you step on the shower floor, soft spots on the bathroom floor near the shower base, and loose tiles around the drain area. You might also notice a persistent musty odor in the bathroom or water stains appearing on the ceiling in the room directly below.
Should I replace just the drain assembly or the entire shower pan?
You should replace just the drain assembly if the leak is isolated to the drain flange connection and the shower pan itself shows no cracks, deflection, or soft spots. However, replace the entire shower pan if you notice pan movement, multiple leak points, extensive cracking, or subfloor damage indicating long-term water exposure.