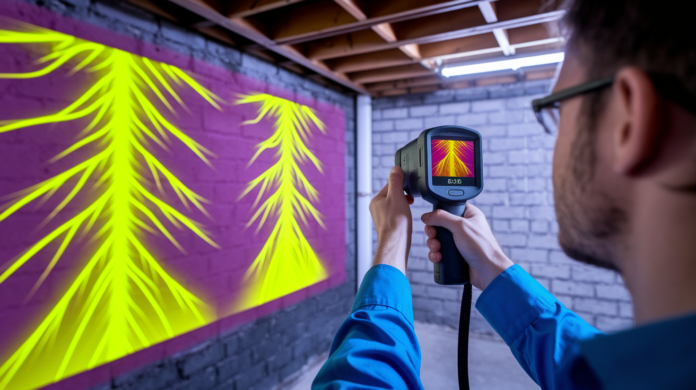

Ever wonder how plumbers find leaks hiding behind your walls without tearing everything open first? Thermal imaging cameras see what your eyes can’t: the temperature changes moisture creates inside finished surfaces. Instead of cutting exploratory holes in three different spots, thermal scanning pinpoints the exact leak location before anyone picks up a saw. This technology finds problems early, documents them for insurance, and saves you from unnecessary demolition costs. Here’s how it actually works and when it makes sense for your situation.
What Thermal Imaging Leak Detection Is and Its Core Benefits
Thermal imaging leak detection uses infrared cameras to find hidden water leaks without cutting into walls, ceilings, or floors. It’s a non-invasive diagnostic method that serves homeowners dealing with mystery leaks, facility managers monitoring large buildings, plumbers investigating concealed pipe problems, home inspectors conducting pre-purchase evaluations, and insurance adjusters documenting water damage claims. Instead of guessing where water is hiding or tearing open multiple areas to find the source, thermal scanning reveals temperature signatures that point directly to moisture infiltration.
The core benefits address what matters most when you’ve got a leak somewhere you can’t see. Thermal imaging finds problems early, before water damage spreads into expensive structural repairs. It eliminates destructive exploratory demolition, saving you the cost of repairing walls that didn’t even have the leak. The technology pinpoints exact leak locations, which means contractors spend less time searching and more time fixing. This reduces both labor hours and total repair scope. You get documentation that insurance companies accept for claims, and your property’s landscaping, driveways, and building structures stay intact since there’s no excavation during the outdoor leak detection process.
The basic physics behind why it works involves infrared cameras that visualize temperature differences caused by moisture through three mechanisms. Evaporative cooling happens when moisture evaporates from surfaces, creating cold spots that show up on thermal scans. Heat capacitance means wet materials retain temperature differently than dry ones. Water saturated drywall stays warmer or cooler longer than dry sections nearby. Thermal conductivity variations occur because moisture changes how building materials transfer heat compared to their dry state. These temperature changes create visible patterns on infrared cameras even when the moisture itself is completely concealed behind finished surfaces.
The cameras detect the temperature signatures water creates rather than seeing water directly. This makes concealed leaks visible as distinct thermal patterns before physical damage like stains, bubbling paint, or soft spots becomes apparent to the naked eye.
Types of Leaks Detectable With Thermal Scanning
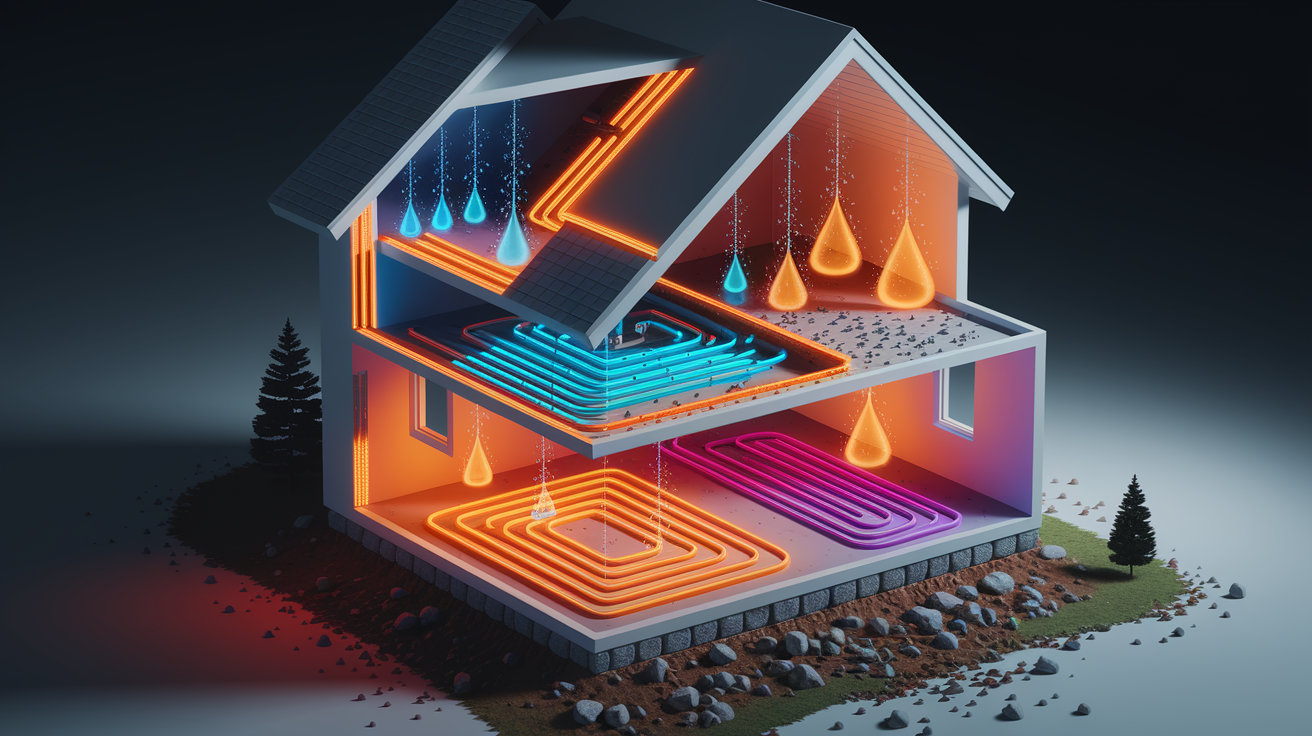
Thermal imaging works across multiple building systems, structural components, and environments. The versatility matters because water finds its way through dozens of different paths in buildings, and traditional detection methods only catch the obvious ones after damage is already visible.
Different leak types create distinct temperature patterns that trained professionals can identify. Understanding what thermal imaging can and cannot detect helps you know when to call for this type of inspection versus other diagnostic methods.
Different leak types and their thermal signatures:
Plumbing supply lines. Localized cool spots where pressurized water escapes through pipe connections, corroded sections, or cracked fittings. The pattern appears as a concentrated cold area distinct from surrounding dry wall surfaces.
Hot water systems. Warm areas on thermal images showing elevated temperatures where hot water leaks from water heaters, recirculation lines, or fixture supply pipes. Temperature signature contrasts with cooler ambient building materials.
Slab leaks under foundations. Floor temperature anomalies indicating water escaping from pipes embedded in concrete slabs. Pattern shows as warmer zones when hot water leaks or cooler zones for cold water supply line failures beneath flooring.
Roof membrane failures. Trapped moisture in roof insulation creates temperature retention differences from dry insulation. Saturated sections hold heat during day and release it slowly at night, appearing warmer on evening thermal scans.
HVAC condensation. Cool zones near ductwork where condensate drips or air conditioning refrigerant lines develop leaks. Evaporative cooling from moisture creates distinct cold patterns on ceiling or wall surfaces adjacent to cooling equipment.
Radiant floor heating. Linear hot patterns showing exactly where heated fluid lines develop leaks. Failed sections appear as abnormally warm zones compared to properly functioning adjacent loop sections in concrete floors.
Underground irrigation. Exterior cool zones on ground surface where subsurface water saturates soil from broken sprinkler lines. Moisture evaporation creates cooler surface temperatures visible in thermal scanning.
Swimming pool plumbing. Ground temperature differentials near pool equipment, underground return lines, or structural shell leaks. Pattern intensity varies based on whether leak involves heated pool water or unheated fill lines.
Water heater connections. Warm leak trails originating from supply connections, drain valves, temperature pressure relief valves, or tank corrosion spots. Thermal pattern shows path of escaping hot water as it travels down walls or across floors.
Radiator systems. Hot spots at connection points where steam or hot water heating systems develop leaks. Thermal signature appears as concentrated warm areas at valve packings, union connections, or corroded radiator sections.
Window and door penetrations. Perimeter cool patterns indicating water intrusion around improperly sealed openings. Moisture infiltration during rain events creates temperature differentials at frame interfaces with building envelope.
Exterior wall intrusion. Top down triangular moisture spread visible as cooler zones starting from water entry point and spreading downward through wall cavity as gravity pulls moisture through insulation and wall studs.
Insulation failures. Thermal bridging and missing coverage showing as temperature variations that also reveal moisture migration paths. Combined insulation and air sealing failures often indicate conditions conducive to condensation and water accumulation.
Foundation leaks. Basement wall moisture patterns appearing as cooler interior wall sections where groundwater seeps through cracks, failed waterproofing, or porous concrete block. Wicking creates upward moisture spread visible in thermal images.
Air infiltration gaps. Temperature variations at envelope breaches where exterior air carries moisture into building cavities. Thermal scan reveals both the air leakage path and any resulting condensation moisture from humidity differences.
Pattern recognition and location context help differentiate between leak types during professional inspection. Wall moisture shows triangular downward spread as water works with gravity through studs and insulation. Ceiling moisture displays amorphous outward patterns with varying temperatures as water spreads across flat surfaces between structural members. Flooding creates upward wicking into wall cavities where moisture soaks into drywall and insulation from floor level. These distinct signatures, combined with knowledge of what building systems exist in each location, allow trained inspectors to diagnose both the leak type and likely source before any destructive investigation.
Complete Thermal Imaging Inspection Workflow and Environmental Optimization
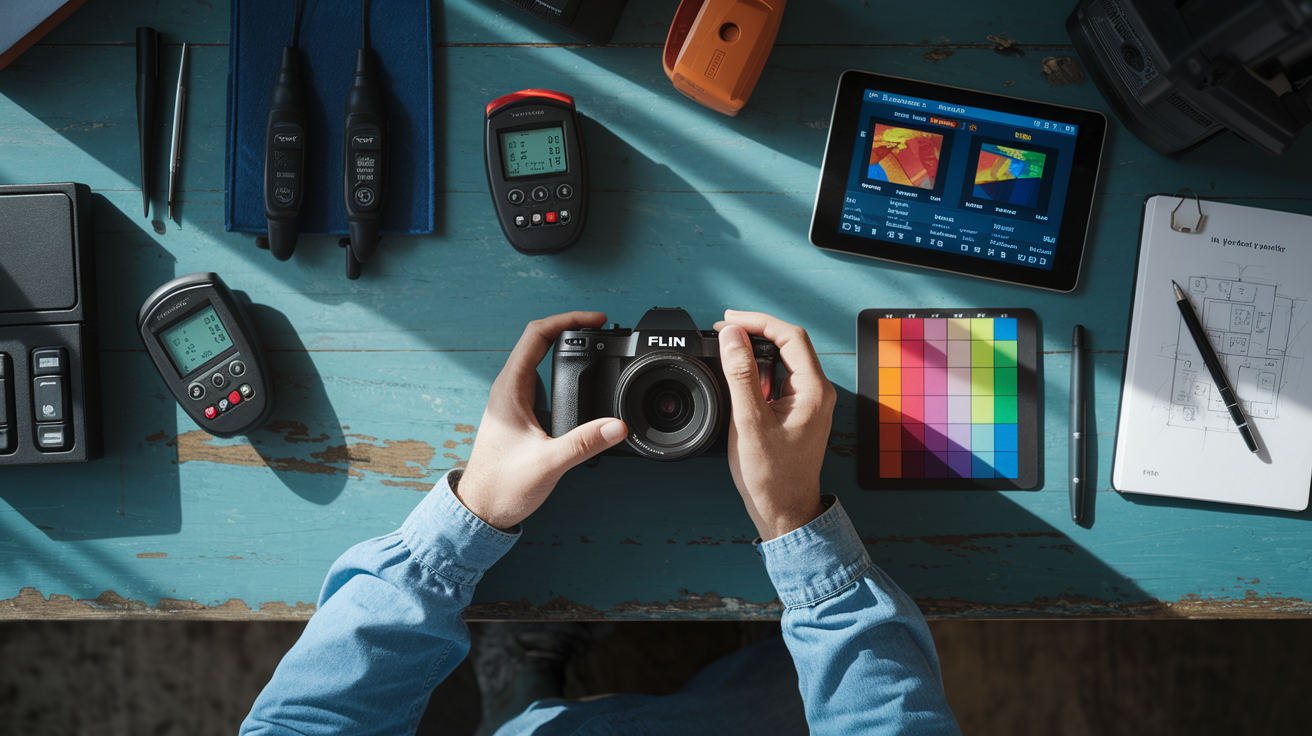
Successful thermal imaging requires systematic methodology combining proper environmental conditions, equipment settings, and verification tools. Not just pointing a camera at walls.
Pre-Inspection Assessment
Gather building history to understand construction details, material types, and previous moisture problems. Identify current problem areas by asking when moisture issues first appeared and what symptoms are visible. Note weather conditions during leak occurrences since some leaks only manifest during rain, snow melt, or specific wind directions. Review recent repairs or modifications that might have created new leak paths or concealed existing ones. Assess building age and construction type because moisture behavior differs between modern construction with vapor barriers versus older buildings with different material assemblies. Understand landscaping and drainage patterns around the building since grading problems, irrigation systems, and planter boxes create exterior moisture sources. Identify multiple story considerations since water from upper floors can travel surprising distances through wall cavities before appearing on lower levels.
Environmental Conditioning and Timing Optimization
Create temperature differential between suspected leak area and surroundings with minimum 10 to 15 degrees Fahrenheit recommended for reliable detection. In cold weather, increase interior heat to create warm interior surfaces so moisture evaporation produces detectable cooling. In hot weather, maximize air conditioning to create cool interior baseline so moisture affected areas with higher heat capacitance show as warmer zones. Allow sufficient time for temperature stabilization. Heating or cooling a building takes hours, not minutes, before surfaces reach steady state temperatures.
Schedule inspections during optimal conditions. Overcast days work best for exterior thermal work since direct solar radiation heats building surfaces unevenly, masking moisture related temperature patterns. Winter inspections with heated interiors excel for pipe leak detection because warm indoor temperatures create clear contrast with evaporative cooling from concealed moisture. Summer evening scans work well for roof moisture after daytime heating has warmed saturated insulation more than dry sections. Post rain inspections reveal envelope penetration points where water recently entered, creating fresh moisture signatures before complete drying occurs.
Consider humidity levels between 40 and 60 percent for balanced evaporation detection. Too dry and evaporation happens too quickly to create sustained cooling signature. Too humid and evaporation slows, reducing the temperature difference. Wind conditions affect evaporation rates. Calm conditions provide more consistent readings than gusty weather that accelerates surface drying unevenly. Surface material porosity matters significantly. Stucco exteriors are more porous, absorbing and retaining moisture better for thermal scanning compared to vinyl siding which hides water behind thick planks. Time of day impacts results since solar heat interference overwhelms subtle moisture signatures, making dawn or dusk preferable for exterior scans.
Systematic Scanning Process
Begin scanning at lower elevations working upward, following water’s tendency to settle into lower building areas even when entry point is high. Spend 8 to 10 minutes per test location when conducting active water testing, allowing time for moisture to migrate and create detectable temperature patterns. Limit total active water testing to 30 to 45 minutes per specific area to prevent over saturating building components, which can cause secondary damage while also making it harder to pinpoint the original leak source. Document baseline thermal conditions before introducing test water so you can differentiate between pre-existing moisture and new test water. Systematically cover all suspected areas rather than spot checking, since leaks often appear far from where water enters a building.
Camera Adjustment and Image Capture
Manually adjust level and span settings to 10 degrees Celsius to 20 degrees Celsius range for optimal moisture visualization. This narrow temperature span highlights the minute temperature differences caused by moisture while filtering out larger environmental variations that aren’t related to water problems. Capture both thermal and visible light photos since thermal images alone sometimes lack spatial context. Side by side thermal and visible images show exactly where the temperature anomaly exists in relation to recognizable building features. Use voice annotation features for real time documentation, recording observations about what you’re seeing, test procedures being conducted, and environmental conditions during scanning. Adjust emissivity settings for different surface materials because concrete, painted drywall, glass, metal, and wood all emit infrared radiation differently. Incorrect emissivity settings produce inaccurate temperature readings.
Moisture Meter Verification
Use pin type moisture meters for precise moisture content percentage readings in specific locations. Insert pins directly into suspected moisture areas that thermal imaging identifies. Employ pinless meters for surface scanning without creating pin holes that could worsen moisture intrusion. Confirm thermal anomalies with physical moisture measurements since temperature differentials can result from multiple causes beyond water presence. Air leaks, insulation voids, thermal mass differences, and solar heating can all create temperature patterns that aren’t related to leaks. Document meter readings alongside thermal images, creating correlated evidence that proves moisture exists at locations showing thermal anomalies. Readings above 15 to 17 percent moisture content in wood materials or elevated readings in drywall confirm water presence rather than benign temperature variations.
Documentation and Reporting
Record start and stop times for all testing procedures so insurance adjusters and repair contractors understand the sequence of investigation. Photograph affected areas before and during testing, establishing baseline condition before water testing begins. Create thermal reports with annotated images showing affected areas in existing condition, temperature scales, measurement points, and visual markers identifying leak locations. Include digital and thermal photographs with brief descriptions explaining what each image shows and why it matters. Prepare findings with moisture meter confirmation data for repair prioritization. Areas with highest moisture content need immediate attention, while marginal readings might indicate old moisture that’s already drying. Insurance claims require this documentation level, and detailed reports help contractors provide accurate repair estimates without contingencies for unknown conditions.
Proper workflow combining environmental optimization, systematic scanning, and verification ensures accurate diagnosis while providing comprehensive documentation for repair decisions, insurance claims, and legal purposes. The documentation protects everyone involved. Homeowners get proof of what needs repair, contractors know exactly what scope to bid, and insurance carriers see validated evidence of damage extent, reducing disputes over coverage and preventing later requests for additional abatement work that could have been identified during initial thermal investigation.
Infrared Camera Specifications for Leak Detection Applications
Thermal sensitivity stands as the most critical specification for leak detection, with 30mK required for detecting subtle moisture related temperature differences. This sensitivity level detects temperature variations of thirty one thousandths of a degree Celsius. The tiny cooling effect from moisture evaporating inside wall cavities or the slight heat retention difference between wet and dry insulation. Cameras with 100mK sensitivity work fine for industrial high temperature applications tracking overheating motors or electrical panels running hot, but they miss the small temperature shifts that indicate hidden water problems in buildings.
Resolution quality, temperature range capabilities, adjustable emissivity settings, multiple color palette options, and documentation features all contribute to effective moisture investigation. Higher resolution provides clearer images where you can pinpoint exact locations of temperature anomalies. Temperature range needs to cover both cold winter conditions and hot summer surfaces. Adjustable emissivity settings let you compensate for different building materials. Painted drywall emits infrared differently than bare concrete or metal ductwork. Multiple color palettes help visualize data differently depending on what you’re investigating. Documentation features like voice notes, photo storage, and annotation tools let you create complete records during the inspection rather than trying to remember details later.
Specialized features beneficial for leak detection include spot measurement tools for reading exact temperatures at specific points, area analysis functions that calculate average temperatures across regions, moisture meter integration for single device inspection systems, and real time analysis capabilities that highlight temperature differences as you scan. The IR PhotoNotes feature on Fluke thermal cameras stores photo and voice notes with thermal images for later reference. Essential when investigating multiple rooms or returning weeks later to check if repairs worked.
| Camera Specification | Leak Detection Requirement | Why It Matters |
|---|---|---|
| Thermal Sensitivity | 30mK or better (0.03°C) | Detects subtle evaporative cooling and heat capacitance differences caused by concealed moisture; 100mK sensitivity misses small temperature variations from hidden leaks |
| Resolution | 160×120 pixels minimum; 320×240 preferred for detailed work | Higher resolution pinpoints exact leak locations and reveals moisture pattern details; low resolution creates blurry images where leak boundaries are unclear |
| Temperature Range | -20°C to +150°C (-4°F to 302°F) | Covers cold surfaces during winter inspections and hot surfaces from sun exposure or heating systems; narrow range limits inspection versatility |
| Adjustable Settings | Manual level and span control; emissivity adjustment 0.1 to 1.0 | Manual adjustment optimizes moisture detection by narrowing temperature span to 10-20°C; automatic only cameras don’t isolate subtle moisture signatures |
| Documentation Features | Voice notes, photo annotation, image storage, report generation | Creates organized records correlating thermal images with observations and findings; lacking documentation features requires separate note taking prone to errors |
| Display Type | Color LCD 3+ inches; image blending capability | Clear display for field interpretation; image blending overlays thermal data on visible photos for precise location identification |
| Portability | Pocket or pistol grip design; one handed operation | Enables scanning hard to reach areas like attics, crawl spaces, and tight mechanical rooms; bulky cameras limit access to common leak locations |
Advantages and Limitations of Thermal Leak Detection Methods
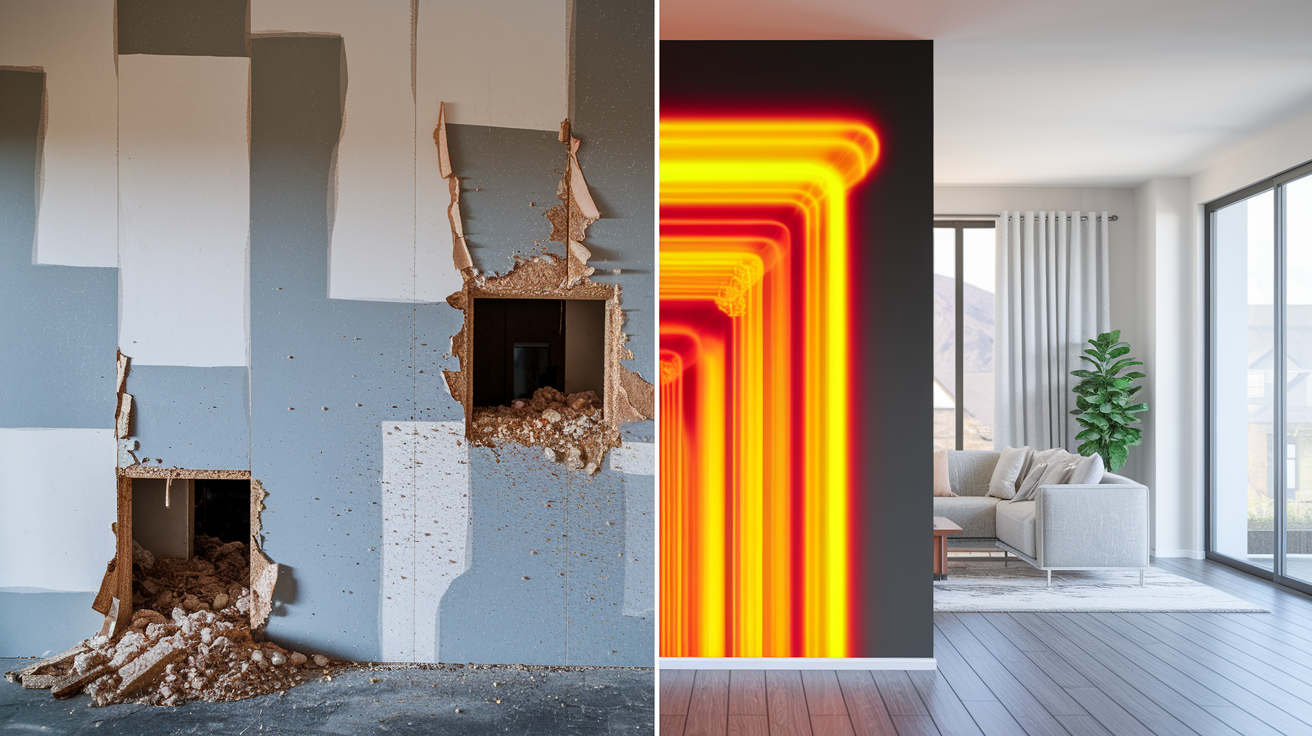
Thermal imaging represents a significant step forward from traditional destructive leak detection methods. Conventional approaches often involve cutting exploratory holes in walls, removing sections of ceiling, or excavating trenches across landscaping just to find where water is coming from.
While thermal imaging offers significant benefits, understanding limitations ensures proper application. The technology works within specific physical constraints, and knowing these boundaries helps set realistic expectations for what a thermal scan can and cannot reveal.
Advantages of thermal imaging over traditional methods:
Non-invasive inspection preserves property by locating leaks without cutting holes in walls, removing drywall, or damaging finished surfaces that would require costly restoration even when holes don’t find the leak.
Faster diagnosis reduces labor costs since technicians spend minutes scanning large areas rather than hours conducting visual inspection of accessible pipes or destructive investigation behind walls.
Early detection prevents expensive water damage by identifying small leaks before they saturate insulation, rot framing lumber, or create conditions for mold growth requiring remediation.
Pinpoints leak location reducing repair scope from “somewhere in this wall” to specific coordinates where contractors can make single targeted access point.
Documents conditions for insurance claims with visual thermal and moisture meter evidence showing damage extent, leak location, and before repair conditions required by adjusters.
Detects hidden problems behind finished surfaces that show no visible symptoms yet. Catching leaks during latent stage before stains, soft spots, or odors develop.
Minimal disruption to occupants since scanning happens quickly without moving furniture, cutting into living spaces, or creating repair mess before diagnosis confirms where work is actually needed.
Environmentally friendly by preventing water waste from undetected leaks that can dump hundreds of gallons daily from small pipe failures.
Limitations of thermal imaging:
Cannot see through metal surfaces like aluminum siding, steel roofing, or metal studs which block infrared radiation, requiring removal or alternative investigation methods.
Requires temperature differential to function. Without temperature difference between wet and dry areas, moisture remains invisible to thermal cameras regardless of how much water is present.
Cannot definitively confirm moisture without meter verification since temperature patterns can result from insulation gaps, air leaks, thermal mass differences, or other non-moisture causes.
Affected by environmental humidity and weather. Rain soaked exteriors, high interior humidity, or recent weather changes can mask leak signatures or create false readings.
Surface materials impact detection accuracy with porous materials like stucco absorbing and revealing moisture better than vinyl siding that conceals water behind impermeable planks.
Requires trained interpretation for reliable results because distinguishing moisture patterns from benign temperature variations needs experience recognizing what building defects look like thermally.
Thermal imaging works best as part of comprehensive building diagnostics approach combined with moisture meters for verification and visual inspection for confirming access points and damage extent. The technology excels at quickly narrowing investigation scope from entire building to specific walls or roof sections, then moisture meters and selective access confirm exactly where water exists and how extensively it has spread. Used together, these tools deliver accurate leak diagnosis with minimal property disruption compared to purely destructive traditional methods.
Professional Thermal Imaging Services Versus DIY Detection
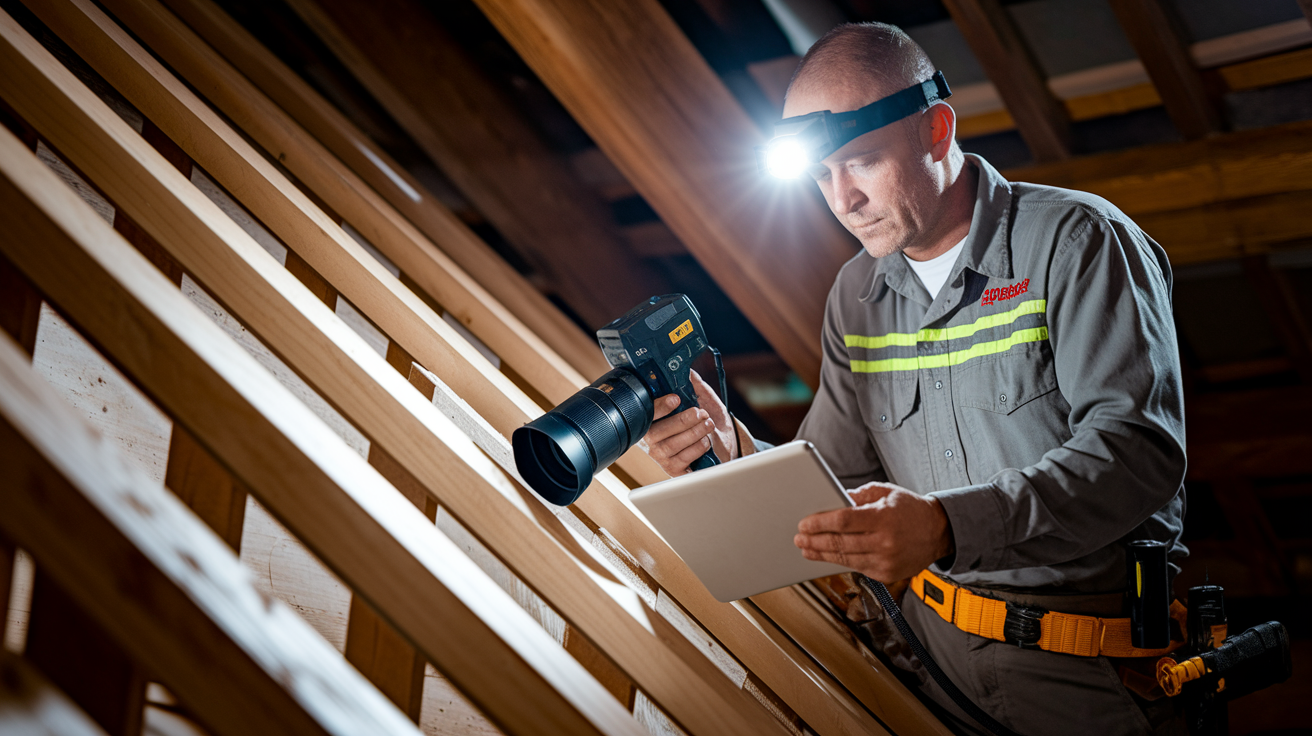
The decision between hiring certified thermographers versus using consumer grade thermal cameras depends on situation complexity, equipment investment, and skill requirements. Thermal cameras have become more affordable and accessible, but effective moisture detection involves more than owning the technology.
Professional services provide certified training that teaches pattern recognition, high resolution equipment with the 30mK sensitivity needed for subtle moisture detection, comprehensive thermal reports with image interpretation explaining what findings mean, documentation suitable for insurance claims that adjusters accept as evidence, experience recognizing moisture patterns across various building types and construction methods, and follow up verification with calibrated moisture meters confirming thermal findings. Professionals also understand environmental conditioning requirements. When to scan, what temperature differentials to create, and how weather affects readings. Their reports connect thermal evidence to building science principles, explaining why water traveled the path it did and what conditions allowed the leak to develop.
Viable DIY scenarios include simple leak verification in visible areas where you already know moisture exists and want to trace extent, monitoring known problem areas over time to check if prior repairs worked or if moisture is returning, preliminary screening before calling professionals to identify general problem zones reducing diagnostic time, and basic home maintenance checks for preventive monitoring. Consumer thermal cameras like smartphone attachments or entry level standalone units work for these applications. They help homeowners understand their properties better and catch developing problems early.
DIY limitations become apparent with concealed leaks and complex investigations. Consumer cameras have lower sensitivity, often 100mK or higher versus the 30mK professional units offer, which means they miss the subtle temperature differences from early stage leaks or moisture deep in wall cavities. Lack of training in pattern recognition leads to missed findings where moisture signatures exist but aren’t recognized, or misinterpreted findings where benign temperature patterns look like leaks. Adjusting environmental conditions for optimal detection requires understanding building science and thermography principles not covered in camera user manuals. You also get no certified documentation for legal or insurance purposes, which matters when you need evidence for claims or property transaction disputes.
Recommend professional inspection for home purchases where concealed moisture could represent thousands in future repairs, insurance claims requiring documented proof of damage extent and cause, suspected hidden leaks with symptoms like unexplained water bills or moisture odors but no visible source, commercial buildings where leak consequences include business disruption and tenant issues, warranty disputes where thermal documentation proves defects, and situations requiring documented evidence for legal proceedings or real estate disclosures. Professional reports protect you by establishing clear facts about property condition when stakes are high.
Cost Factors and Investment Analysis for Thermal Leak Detection
Cost considerations represent a critical decision factor for homeowners and facility managers weighing inspection options against potential water damage. Understanding pricing structures helps you make informed choices about when to invest in thermal scanning.
Upfront thermal inspection costs should be weighed against prevented water damage and targeted repairs. A leak that runs undetected for months can cause damage far exceeding the inspection fee. Thermal scanning finds problems early and pinpoints locations, reducing total repair costs by eliminating wasted time and unnecessary demolition.
| Service/Equipment Type | Typical Cost Range | Application Scope |
|---|---|---|
| Residential Inspection Service | $300-$600 per visit | Single family home leak investigation including scanning, documentation, and moisture meter verification; additional fees for extensive or multi-story properties |
| Commercial Building Inspection | $500-$2,500+ | Depends on building size, roof area, systems complexity; large facilities may require multiple visits or ongoing monitoring contracts |
| Camera Purchase Entry Level | $200-$800 | Consumer grade smartphone attachments and basic handheld units; adequate for preliminary screening and basic monitoring but limited sensitivity for concealed leaks |
| Camera Purchase Professional Grade | $3,000-$10,000+ | High resolution units with 30mK sensitivity, documentation features, and moisture detection optimization; suitable for professionals conducting regular inspections |
| Specialized Moisture Detection System | $1,500-$4,000 | Integrated thermal imaging and moisture meter combinations providing both detection and verification in single device; reduces equipment needs for building diagnostics |
| Annual Preventive Maintenance Contract | $800-$3,000 | Scheduled thermal inspections for commercial properties or high value homes; includes periodic scanning, trending reports, and priority service for leak response |
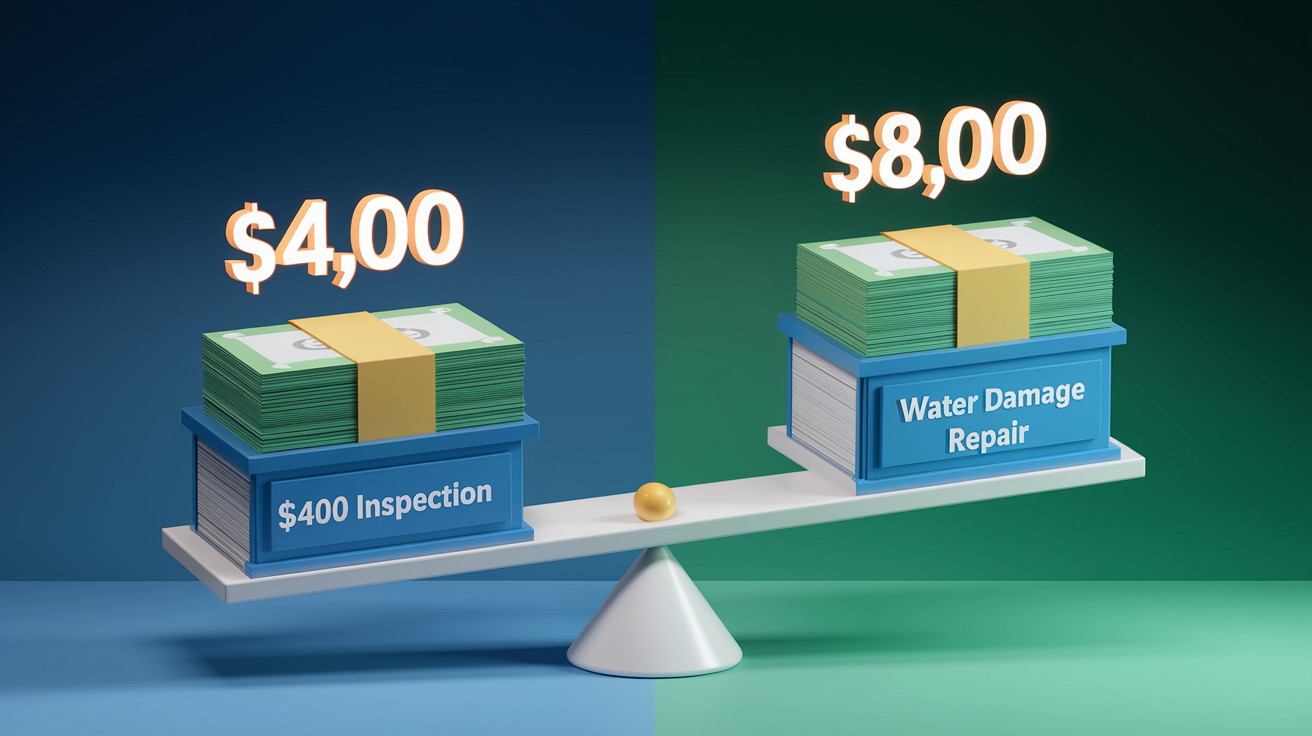
Calculate ROI through realistic scenarios. A $400 thermal inspection that finds a slow slab leak prevents $8,000 in foundation repairs, flooring replacement, and mold remediation that would be necessary if the leak continued for six more months. The inspection fee represents 5 percent of the prevented damage cost. For commercial buildings, a $1,500 roof thermal scan identifying saturated insulation sections lets you repair 20 percent of your roof instead of replacing the entire membrane when small leaks spread. Saving $40,000 or more. Even when thermal scans find no problems, the documentation provides peace of mind and baseline data for future comparison.
Additional value comes from reduced repair time since pinpointed leak locations mean contractors spend one hour making targeted access instead of three hours cutting exploratory holes. Documentation for insurance claims reduces dispute costs by providing evidence adjusters accept without argument. Preventive maintenance scheduling based on thermal findings prevents emergency calls during nights or weekends when service rates triple. Water bill savings from identifying waste add up significantly. A toilet flapper leak wasting 200 gallons daily costs $200 to $300 annually depending on water rates. An irrigation line leak costs even more, with typical leaks wasting 5,000 to 10,000 gallons monthly. Finding these problems with thermal imaging pays for the inspection through reduced utility bills alone.
The investment calculation becomes clear when comparing one time inspection costs against the cumulative expense of prolonged water damage, emergency repairs, and property value loss from undisclosed moisture problems.
Thermal Imaging Applications in Commercial Buildings and Industrial Facilities
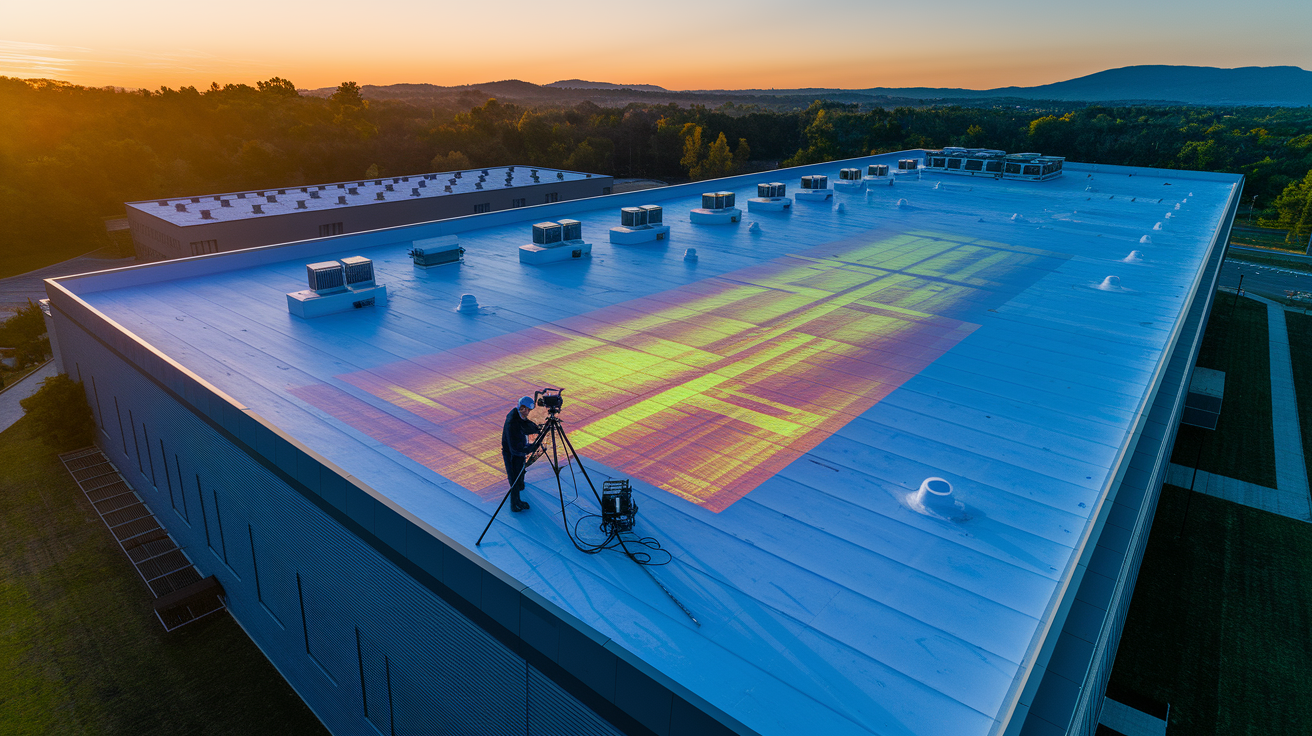
The expanded scope and complexity of moisture detection in commercial buildings and industrial facilities requires systematic thermal imaging programs. Large properties present leak detection challenges that don’t exist in residential settings. Extensive roof systems, complex mechanical equipment, underground process piping, and multiple floors where water can travel long distances from entry points.
Flat Roofing and Large Scale Roof Systems
Thermal scanning methodology for commercial flat roofs identifies trapped moisture in insulation layers without removing roof membrane samples. Evening thermal scans after sunny days reveal saturated insulation sections that retained solar heat longer than dry areas. Moisture patterns show distinct warm signatures on infrared images while dry insulation cools rapidly after sunset. Membrane separation areas appear as temperature boundaries where debonded sections create air gaps that insulate differently than adhered membrane. Ponding water locations that don’t drain properly within 48 hours after rain show as cooler zones from evaporative cooling. Prioritizing roof section repairs based on moisture saturation extent lets facility managers budget systematically. Severely saturated sections get immediate replacement while marginal areas get scheduled for future work. This prevents wholesale roof replacement when targeted repairs to compromised sections would have been sufficient. Documentation from thermal scans also supports warranty claims when roofing installations develop premature failures.
HVAC Condensation and Cooling System Leaks
Thermal detection of condensate line failures reveals clogged drains causing overflow before water stains appear on ceilings. Cooling coil leaks show as abnormally cold zones where refrigerant escapes. Ductwork sweating from insulation failures appears as linear cool patterns following duct runs through unconditioned spaces. Chilled water system problems in large commercial cooling plants show temperature anomalies at failed valve packings, corroded pipe sections, and connection points. Rooftop unit drainage issues creating interior moisture damage trace back to thermal patterns at ceiling penetrations where HVAC equipment sits above occupied spaces. These leaks often go undetected until significant ceiling damage occurs because moisture accumulates slowly in concealed cavities. Thermal scanning during routine maintenance catches condensation problems early, preventing damage to interior finishes and avoiding mold growth in mechanical spaces.
Process Equipment and Industrial Piping Systems
High temperature steam line leaks appear dramatically on thermal images as bright hot spots where superheated steam escapes through failed gaskets or corroded pipes. Underground process piping in manufacturing facilities gets scanned from above grade, with thermal cameras detecting temperature variations where buried lines leak into surrounding soil. Cooling tower distribution problems show as temperature inconsistencies indicating where water isn’t flowing properly through heat exchange systems. Compressed air system moisture appears where inadequate dryers allow condensation accumulation. Chemical processing equipment integrity monitoring uses thermal imaging to identify temperature variations indicating where corrosion or erosion has thinned vessel walls or pipe sections. Industrial applications particularly value thermal imaging because process interruptions for inspections cost substantially more than potential leak damage. Non-invasive scanning during operation keeps production running while monitoring system integrity.
Facility management benefits include preventive maintenance scheduling based on thermal data trends tracked over multiple inspection cycles, documentation for maintenance budgeting showing which systems need near term capital investment, reduced unplanned downtime from early leak detection before failures cause emergency shutdowns, and energy savings from identifying inefficiencies alongside moisture problems. Thermal scans revealing both missing insulation and moisture damage guide capital improvement decisions by quantifying energy losses and water waste simultaneously. Systematic thermal imaging programs transform reactive emergency repairs into planned maintenance executed during scheduled downtime, reducing total facility operating costs.
Thermal Imaging in Real Estate Transactions and Property Inspections

Thermal imaging has become increasingly standard practice during home inspection processes for high value properties. Buyers, sellers, and insurers all benefit from revealing hidden moisture issues before closing, reducing disputes and protecting transaction participants from unexpected problems.
Buyer benefits include discovering concealed water damage before purchase commitment lets you avoid properties with expensive hidden problems. Negotiating repairs or price reductions based on documented moisture findings gives you leverage backed by objective thermal evidence rather than subjective visual opinions. Avoiding surprise repair costs post closing protects your investment. Identifying previous water damage repairs that may indicate recurring problems helps you assess whether prior owners addressed root causes or just covered symptoms. Thermal inspection before closing purchase contingency deadlines gives you time to request additional investigation or walk away if problems are extensive.
Seller advantages include proactive pre-listing thermal scans identifying issues for repair before showing the property. Fixing concealed problems before listing prevents buyers from discovering them during inspection contingency periods when you have less negotiating leverage. Documentation proving absence of moisture problems protects against future liability claims from buyers alleging you concealed known defects. Faster transaction closing happens when thermal inspection reveals clean results, eliminating concerns that slow negotiations. Sellers who provide pre-listing thermal inspection reports demonstrate transparency that makes properties more attractive to cautious buyers willing to pay premium prices for verified condition.
Warranty and insurance applications include new construction thermal scans documenting builder compliance with moisture barriers and proper installation. These baseline scans prove that moisture problems developing during warranty periods resulted from defects rather than homeowner neglect. Warranty claim evidence showing leak timeline and extent helps you prove that damage occurred during coverage periods. Insurance underwriting inspections for high value policies use thermal imaging to identify pre-existing moisture conditions that affect coverage eligibility and premium rates. Insurers increasingly require thermal inspections before issuing policies on older properties or homes with prior water damage history. Claim documentation showing scope of water damage gives adjusters accurate loss assessment, preventing underpayment disputes and ensuring complete repairs get authorized.
Disclosure protection represents critical value for sellers in states with strict disclosure laws. Thermal reports establish baseline property condition at time of sale. If buyers later discover moisture and claim you concealed known problems, thermal documentation proves you conducted reasonable due diligence. Providing buyers with verified condition assurance through thermal inspection reduces post sale disputes and potential litigation over undisclosed defects. These reports protect sellers from claims that they should have known about concealed problems, establishing that professional inspection found no moisture at transaction time.
Training Requirements and Certification for Thermal Imaging Professionals
Operating a thermal camera is straightforward. Point it at surfaces and read temperature displays. Interpreting moisture patterns accurately requires specialized training and field experience distinguishing actual leaks from benign temperature variations. Someone with an expensive camera but no training might scan a wall and see temperature differences without understanding whether they indicate water damage, insulation gaps, air leaks, or simply thermal mass variations from sun exposure.
Primary certification programs include Level I, II, and III thermographer certifications following ASNT guidelines covering infrared theory, equipment operation, and application specific techniques. Building specific moisture detection training focuses on construction methods, moisture behavior in different materials, and leak pattern recognition. Manufacturer certification programs for equipment operation teach proper settings, calibration procedures, and documentation features specific to camera models. Continuing education requirements for maintaining credentials ensure thermographers stay current with evolving technology and building science research. Training programs typically require 16 to 40 hours of classroom instruction plus field practice demonstrating competency before certification.
What certification demonstrates goes beyond camera operation skills. Understanding infrared physics principles including emissivity, reflectivity, thermal conductivity, and heat transfer modes lets certified thermographers interpret complex thermal patterns accurately. Knowledge of building science and moisture behavior explains why water appears where it does and how construction assemblies respond to moisture intrusion. Proper documentation and reporting standards create defensible records suitable for insurance claims, litigation, and engineering analysis. Equipment calibration and maintenance protocols ensure cameras produce accurate measurements rather than drifting out of specification over time. Legal and ethical inspection practices protect both inspector and client by maintaining appropriate scope boundaries and disclosure standards.
Questions to ask when hiring certified thermographer:
What certification level do you hold and which organization issued your credentials? ASNT Level II minimum recommended for professional moisture investigations. Confirm certification is current and maintained through continuing education.
How many years have you specifically spent conducting moisture detection and leak investigations? General thermography experience doesn’t automatically translate to building moisture expertise requiring different skills than mechanical or electrical applications.
What types of properties do you regularly inspect? Residential moisture patterns differ from commercial buildings. Flat roof experience matters if that’s what you need evaluated. Ask for examples matching your property type.
Can you provide sample thermal reports showing how you interpret and document findings? Review reports for clarity, detail level, and whether images include annotations explaining what thermal patterns mean.
What complementary tools do you use for moisture verification? Moisture meters, hygrometers, and other diagnostic equipment should accompany thermal cameras. Reliance on thermal imaging alone without verification indicates insufficient methodology.
Do you carry professional liability insurance covering thermal inspection work? Minimum $1 million coverage recommended. Ask for certificate of insurance proving current coverage and whether moisture detection falls within policy scope.
Final Words
Thermal imaging leak detection gives you a way to find hidden water problems before they turn into expensive damage. The technology works, but it needs the right conditions, proper equipment settings, and someone who knows how to read the patterns.
For most homeowners, calling a certified thermographer makes sense when you suspect a leak but can’t find it. You’ll get documentation you can actually use, and you won’t waste money tearing into walls that are perfectly dry.
The investment pays for itself fast when it saves you from chasing the wrong problem or missing moisture that’s quietly destroying your home.
FAQ
Can thermal imaging detect leaks?
Thermal imaging can detect leaks by identifying temperature differences created by moisture through evaporative cooling, heat capacitance variations, and thermal conductivity changes in water-saturated materials. The camera visualizes these temperature patterns rather than seeing water directly, revealing hidden leaks as distinct thermal signatures before visible damage appears.
Is there a device that can detect underground water leaks?
Thermal imaging cameras can detect underground water leaks by identifying exterior cool zones and ground temperature differentials caused by moisture. For best results with buried pipes, thermal scanning works alongside other methods like acoustic leak detection and requires proper environmental conditions with sufficient temperature contrast between wet and dry soil.
Can I use my phone as a thermal camera?
Your phone cannot function as a thermal camera without specialized attachments, since standard phone cameras detect visible light rather than infrared radiation. Consumer thermal imaging attachments are available for smartphones but typically offer lower sensitivity (100mK or higher) compared to professional moisture detection cameras (30mK), limiting effectiveness for subtle leak detection.
How do you use a thermal imaging camera for water leaks?
You use a thermal imaging camera for water leaks by creating a temperature differential between the suspected area and surroundings, systematically scanning from bottom to top, adjusting camera span to 10-20°C for optimal moisture visualization, and confirming thermal anomalies with moisture meters. Proper technique requires environmental conditioning, methodical coverage, and verification since temperature differences have multiple causes beyond water presence.
What types of leaks show up best on thermal cameras?
Hot water pipe leaks and radiant heating system failures show up best on thermal cameras because they create strong temperature contrasts as warm areas against cooler backgrounds. Active plumbing leaks with ongoing moisture evaporation also display clearly as localized cool spots, while older dried leaks become harder to detect without reactivating water flow.
When is thermal imaging not effective for finding leaks?
Thermal imaging is not effective for finding leaks behind metal surfaces, when insufficient temperature differential exists between wet and dry areas, or when environmental conditions like high humidity interfere with evaporative cooling detection. The technology also cannot confirm moisture presence without verification tools, as temperature anomalies result from insulation gaps, air leaks, and other non-water causes.
What’s the difference between professional and DIY thermal leak detection?
Professional thermal leak detection uses high-sensitivity cameras (30mK), certified training in pattern interpretation, comprehensive documentation suitable for insurance claims, and moisture meter verification, while DIY detection relies on consumer cameras with lower sensitivity (100mK+), limited pattern recognition skills, and no certified reporting. Professionals provide accurate diagnosis across complex building systems, whereas DIY works best for simple verification in visible areas.
How much does a thermal imaging leak inspection cost?
A thermal imaging leak inspection costs typically between $300-500 for residential properties and higher for commercial buildings depending on size and complexity. This upfront cost prevents potential $5,000-15,000 water damage repairs from undetected leaks while providing pinpointed leak location that reduces repair scope, insurance claim documentation, and water bill savings.
Do I need thermal imaging for a home inspection?
You need thermal imaging for a home inspection when purchasing high-value properties, investigating suspected hidden moisture issues, or requiring documented evidence for negotiations and disclosure protection. While not standard for every inspection, thermal scanning reveals concealed water damage before closing, identifies previous repair areas indicating recurring problems, and provides baseline condition documentation protecting buyers and sellers.
What certifications should a thermal imaging inspector have?
A thermal imaging inspector should have Level I, II, or III thermographer certification following ASNT guidelines, building-specific moisture detection training, and years of field experience interpreting moisture patterns in various property types. Ask about their certification issuing organization, sample thermal reports, complementary moisture verification tools used, and professional liability insurance coverage before hiring.