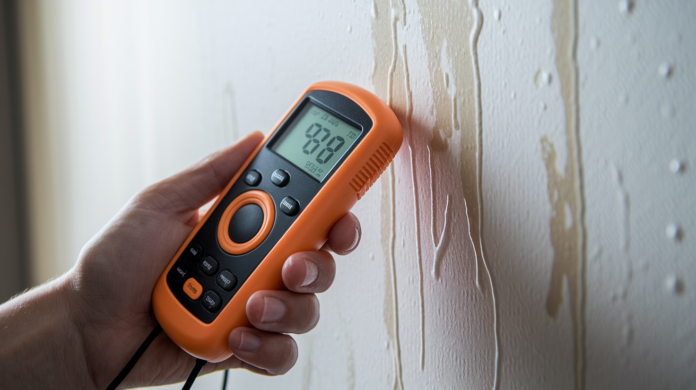

You grab a moisture meter, scan the wall, and see a high reading. Great. Now what? You know there’s water in that drywall, but you still don’t know where it’s coming from, if it’s still leaking, or what needs fixing. A moisture meter measures the effect. Leak detection finds the cause. The difference isn’t just technical, it’s the difference between documenting a problem and actually solving it. Here’s how to know which tool you need and when a DIY moisture check turns into a job for professional leak detection.
Understanding the Core Difference Between Moisture Meters and Leak Detection
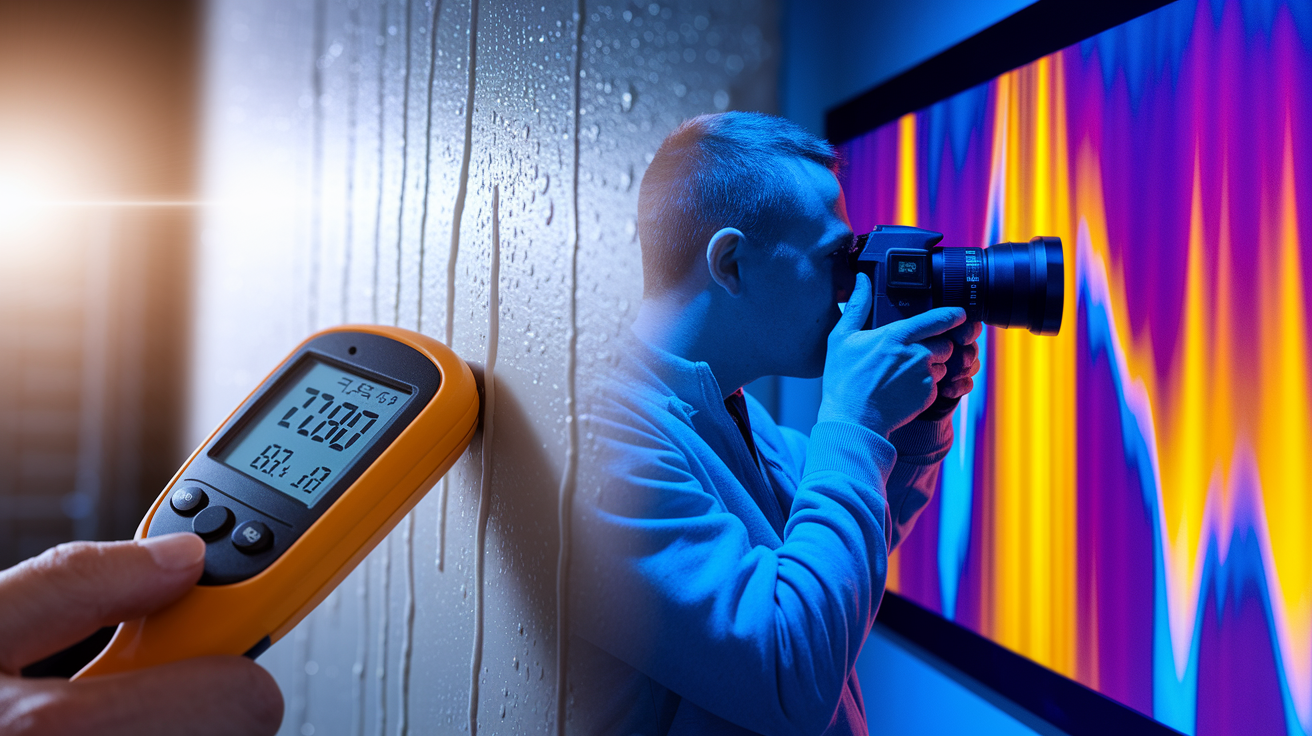
A moisture meter tells you how wet something is right now. You press it against drywall, wood, concrete, whatever, and you get a number. That number shows whether the material has more water in it than it should. But here’s what it doesn’t tell you: where that water came from. Or if it’s still coming in.
Leak detection finds the actual source. Where’s the water getting in? Is it a pipe? A crack in the foundation? A roof failure? Professionals use acoustic listening gear, thermal cameras, tracer gas systems, and pipe cameras to track down the exact spot that’s leaking. These tools locate what needs fixing.
Moisture meters give you data. Leak detection gives you answers.
People get confused because both come up when you’re dealing with water problems. A plumber might scan your bathroom wall with a moisture meter, see high readings near the shower, then grab a thermal camera or acoustic tool to trace it back to a specific fitting. The meter confirmed moisture was there. The other equipment found where it was coming from. One measures the effect. The other locates the cause.
Step-by-Step Moisture and Leak Detection Process

A solid process keeps you from wasting time and helps you figure out if this is something you can handle or if you need professional gear.
-
Start with your eyes. Walk the area. Look for water stains, bubbling paint, discoloration, soft spots, white crusty deposits, peeling finishes. Anything that screams moisture.
-
Run broad pinless scans. Use a pinless meter to sweep across suspected walls, ceilings, floors. You’re looking for patterns. How far does the problem reach?
-
Get baseline readings. Test areas you know are bone dry. Opposite walls, upper floors, rooms without plumbing. You need normal numbers to compare against.
-
Map how moisture spreads. Pay attention to gradients. How do readings change as you move across a surface? Water travels and spreads. A smooth gradient from high to low tells you direction better than one random spike.
-
Use a pin meter for confirmation. Once you’ve narrowed things down, go targeted. Pin meter at the highest moisture zones, along trim, at transitions between materials, anywhere the pinless scan flagged something.
-
Come back in a day or two. Test the same spots again under similar conditions. Same time of day, similar weather. Is moisture climbing? Holding steady? Drying out?
-
Call in the pros if needed. If you’ve confirmed moisture but can’t find the source from your inspection, you need someone with thermal imaging or acoustic tools.
This separates what you can check yourself from what requires specialized equipment. You’re not guessing. You’re gathering data, tracking patterns, deciding whether the next step is monitoring or picking up the phone. The goal? Confirm moisture exists, understand if it’s active or leftover from something old, and know when you’ve hit the limit of what a moisture meter can tell you.
Moisture Meter Technology and Selection Guide
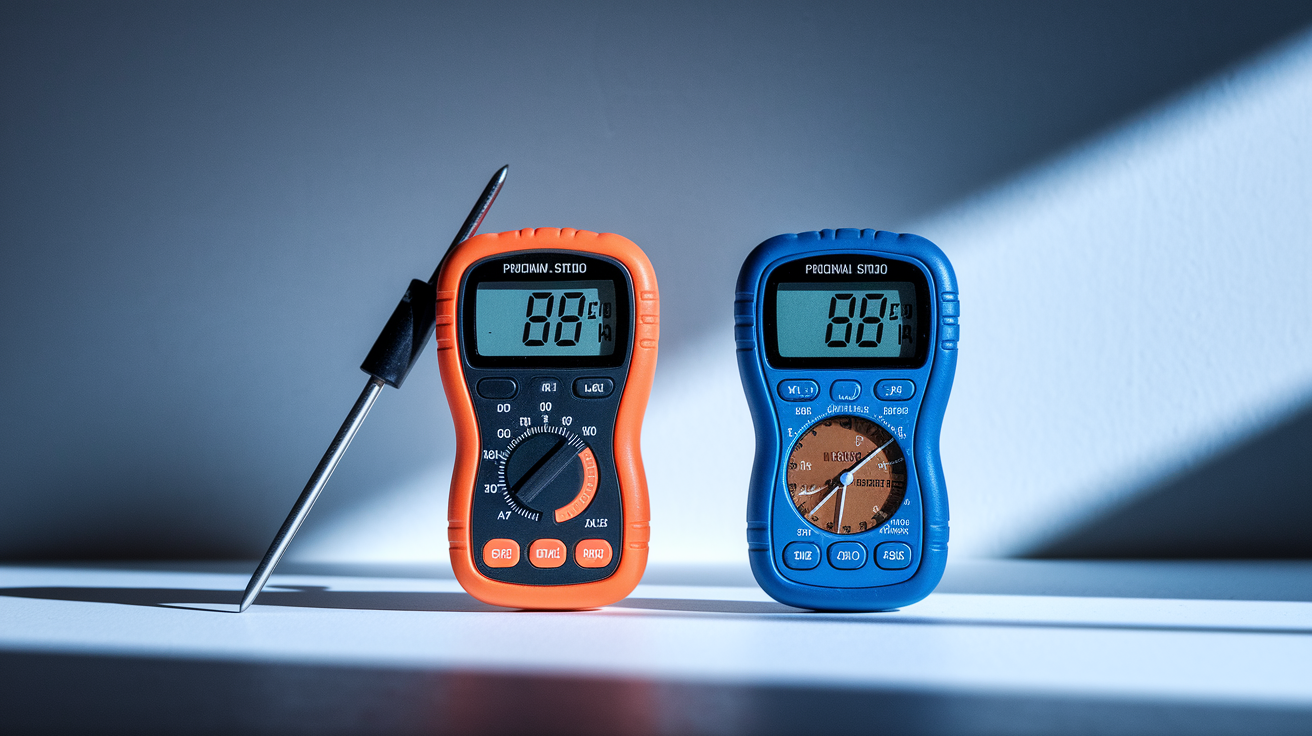
The right moisture meter depends on what you’re testing, whether you can poke holes in it, and how much ground you need to cover. The two main types work completely differently.
Moisture meters don’t detect leaks directly. But they’re critical for confirming where water has been and tracking whether it’s still building up.
Pin-Type Moisture Meters
Pin meters measure electrical resistance between two metal probes you push into the material. Water conducts electricity better than dry stuff, so higher moisture means lower resistance. The meter converts that into a reading. The pins go in about a quarter to half inch depending on the model. You get a number from that specific depth and contact point.
These work well when you need precision. Checking a suspect piece of trim. Testing exposed framing. Confirming moisture at a specific spot after a broader scan narrowed your search. They’re direct. You get a number from exactly where you stuck the pins. Material density and surface hardness affect accuracy, so really hard or really soft materials might not give you reliable results.
Pinless Moisture Meters
Pinless meters use electromagnetic fields or capacitive sensing to detect moisture below the surface without breaking through paint, wallpaper, or finishes. You place the meter flat against the surface and it scans moisture within a certain depth. Usually three quarters of an inch to an inch, though some deep-reading models go farther.
This makes them perfect for broad scans across walls, ceilings, floors when you’re trying to identify patterns or see how far moisture has spread. You’re not damaging anything and you can cover a lot of ground fast. But the readings represent an average across the scanned area and depth. Dense substrates, multiple layers, or metal behind the surface can mess with the numbers.
When you’re picking a moisture meter, think about dual-mode models that combine pin and pinless in one unit so you don’t need to switch tools mid inspection. Measurement depth matters if you’re testing thick materials or trying to detect moisture behind finishes. Look for material specific calibration settings, a display you can read in dim crawl spaces or bright sun, data logging if you’re tracking readings over time, and construction that holds up to repeat use. Deep reading pinless meters let you spot problems beneath finished surfaces early. Multi-function systems add environmental monitoring like humidity and temperature alongside moisture readings.
Start with pinless for initial broad scans to identify moisture patterns across wide areas. Then switch to pin meters for targeted confirmation once you’ve narrowed the search. Dual-mode meters offer the most versatility when you’re working across different materials or don’t know what you’ll encounter. If you’re also tracking environmental conditions that might influence moisture levels, a multi-function instrument makes sense.
Professional Leak Detection Methods and Equipment
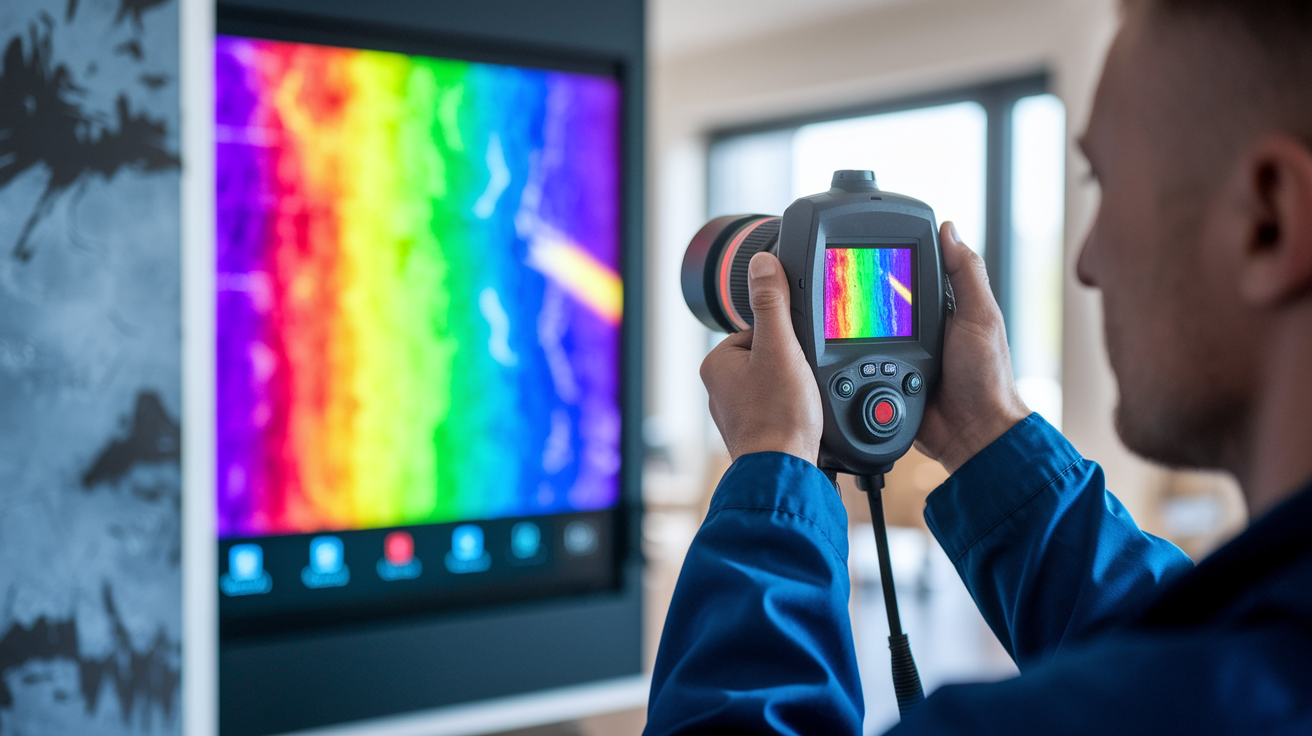
Professional leak detection uses specialized tech to locate active water sources, not just measure moisture presence.
Thermal Imaging and Infrared Cameras
Thermal cameras display temperature differences across surfaces as colored heat maps. Water changes thermal patterns because wet materials hold temperature differently than dry ones. Evaporating water cools surfaces. A vertical pipe leak often shows up as a top down triangle on the thermal image as water runs down inside the wall. Ceiling leaks appear as irregular blobs where water spreads across drywall or insulation.
Thermal imaging excels at scanning large areas quickly and spotting hidden problems. But it doesn’t confirm moisture on its own. A cold spot could be an air leak, poor insulation, or a thermal bridge. You still need a moisture meter to verify that the temperature difference actually means water.
Acoustic Leak Detection
Acoustic tools use sensitive ground microphones or listening discs to hear water moving through pressurized pipes. They pick up the sound of water dripping, running, spraying, flowing inside walls, under slabs, underground. If you’ve turned off a fixture but the acoustic device still hears water moving in that line, you’ve got a leak.
For underground main water line leaks, soil probes detect vibrations caused by water spraying out under pressure. Main line pressure is way higher than inside the house, so even a pinhole leak creates enough vibration to locate. The technician inserts the probe along the suspected line. The sound or vibration reading gets louder as they get closer to the source.
Camera Pipe Inspection
Camera inspections let a technician see inside drain lines, sewer lines, sometimes water lines to spot cracks, holes, loose connections, tree root intrusion, blockages. For drains, the camera feeds through a cleanout or access point. For water lines, the plumber has to shut off water, drain the pipe, and remove a faucet or fixture to access the line. More involved.
Tracer Gas Detection
Tracer gas methods introduce a safe, detectable gas mixture into a system, then use a sensitive detector to find where it escapes. This works for leaks that are hard to reach, buried under landscaping, or hidden behind finished spaces where other methods can’t pinpoint the exact spot.
When each method excels:
Thermal imaging for large area scanning, identifying patterns across multiple rooms, narrowing the search zone before more invasive testing. Acoustic detection for pressurized water line leaks, underground main line leaks, situations where you hear water but can’t see it. Camera inspection for visible defects inside drain and sewer lines, root intrusion, confirming pipe condition. Tracer gas for leaks in inaccessible areas, complex plumbing layouts, or when other methods haven’t located the source. Combined approaches when the leak is intermittent, affects multiple areas, or initial testing didn’t provide a clear answer.
Moisture Meter and Leak Detection Limitations: Common Errors to Avoid
Understanding what moisture meters can’t do keeps you from opening walls in the wrong spot or missing the real problem.
Moisture meters measure moisture presence accurately. But they don’t tell you why it’s there. A high reading could be an active leak, condensation from high indoor humidity, leftover dampness from a leak that’s already fixed, or seasonal moisture migration through porous materials. You need context. Material specific limitations add to the challenge. Metals create false high readings. Dense concrete reduces how deep pinless meters can see. Layered wall assemblies complicate interpretation because you’re getting an average across everything in the scanned depth. Environmental conditions matter too. Relative humidity, temperature, recent weather influence readings. That’s why you need baseline measurements in known dry areas and why calibration settings exist for different materials.
Common mistakes that lead to misdiagnosis:
Taking a single high reading and assuming it’s a leak without comparing to baseline readings in dry areas. Treating all elevated moisture as an active leak when it could be condensation, seasonal humidity, or a past water event that’s still drying. Not rechecking the same spots over time to confirm whether moisture is increasing, stable, or decreasing. Ignoring environmental factors like a rainy week, unusually high indoor humidity, or temperature swings that cause condensation. Using a pin meter on material it’s not calibrated for, or expecting a pinless meter to read accurately through metal or very dense concrete. Failing to scan adjacent walls, ceilings, floors to map how moisture spreads and identify the direction water is traveling. Opening a wall based solely on a moisture reading without using other methods to confirm the actual water entry point. Expecting a pinless meter to penetrate thick assemblies or multiple layers beyond its depth capability and getting a reading that only reflects the surface material.
Professional interpretation prevents these errors, especially in complex scenarios where moisture patterns don’t match what you’d expect or where structural damage is possible.
When to Use DIY Moisture Detection vs Professional Leak Location Services
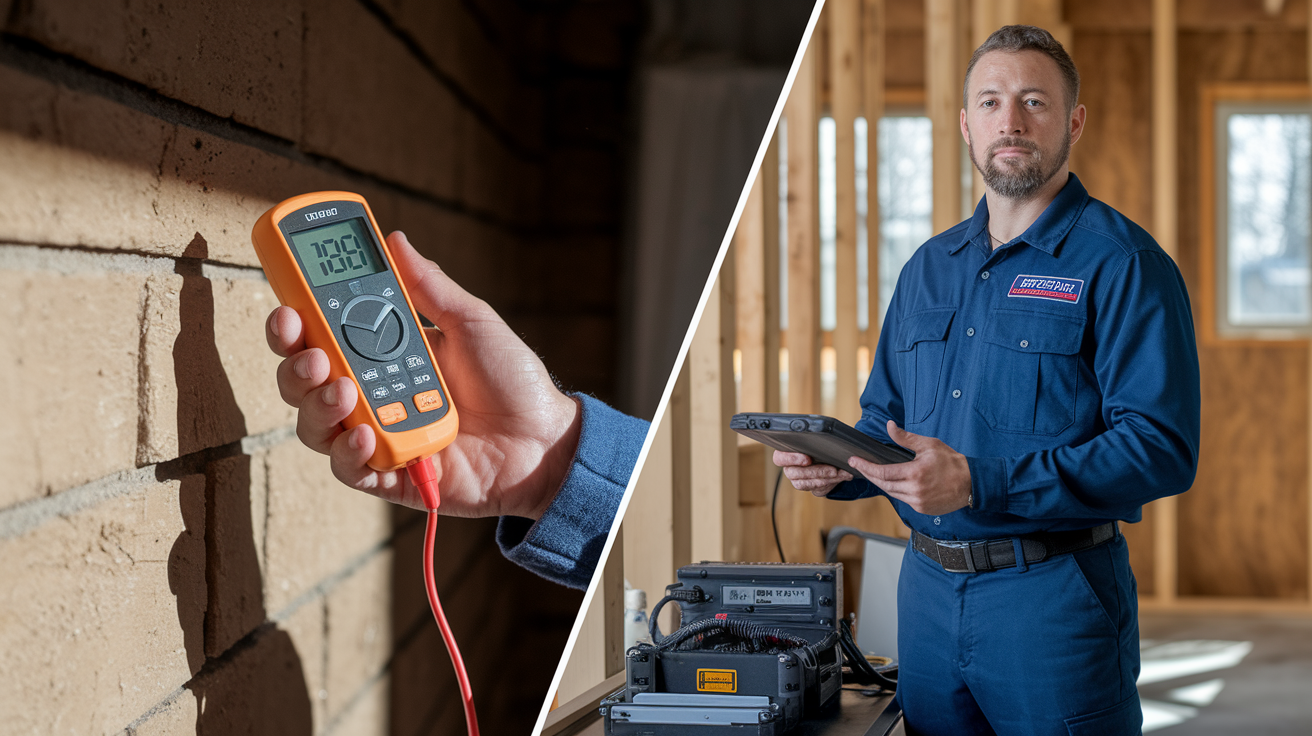
Knowing when a moisture meter is enough and when you need a pro with specialized leak detection equipment saves time and prevents damage from guessing wrong.
A moisture meter is affordable, simple to use, helpful for ongoing monitoring. But it doesn’t replace the combination of thermal imaging, acoustic listening, experience based interpretation, and access tools that professionals bring when they’re locating a hidden leak. If you know where water entered and just want to confirm it’s drying, a moisture meter works. If you don’t know where it’s coming from, you need leak detection.
| Approach | Best For | Typical Cost | Limitations |
|---|---|---|---|
| DIY Moisture Meter | Tracking repairs, monitoring known problem areas, confirming dry conditions, seasonal basement checks | $30 to $300 one-time purchase | Identifies moisture presence but not source; requires baseline comparison; interpretation depends on user experience |
| Professional Leak Detection | Locating hidden leaks, unexplained moisture, recurring problems, pre-repair diagnosis, insurance documentation | $200 to $600 per visit depending on complexity | Higher upfront cost; requires scheduling; may involve access work like removing fixtures |
Professionals combine thermal imaging to scan temperature patterns, acoustic tools to hear water movement in pressurized lines, moisture mapping to track wetness across surfaces, and years of experience interpreting what those patterns mean in real world buildings. They prevent unnecessary demolition by accurately locating leaks before you cut into walls, ceilings, floors. A moisture meter tells you where to look. A leak detection service tells you where to cut.
| Situation | Recommended Approach | Reason |
|---|---|---|
| Monitoring known problem area after repair | DIY moisture meter | You’re confirming dryout progress, not searching for a source |
| Visible water stain but no clear source | Start with moisture meter, escalate to professional if source unclear | Meter confirms moisture and spread; if pattern doesn’t point to obvious fixture or roof area, you need detection tools |
| Suspected hidden pipe leak | Professional leak detection | Pipes are behind finishes; acoustic or thermal methods locate the leak without guessing where to open walls |
| Basement seasonal dampness | DIY moisture meter | Track moisture levels over seasons to see if it’s normal humidity variation or a worsening problem |
| Sudden ceiling drip | Professional leak detection | Active leak requires immediate source location; moisture meter won’t tell you if it’s a pipe, roof, or fixture above |
| Pre-purchase home inspection | DIY moisture meter for initial scan, professional if concerns found | Meter identifies problem areas during walkthrough; inspector or specialist confirms significance |
| Persistent moisture without visible source | Professional leak detection | Unexplained ongoing moisture suggests hidden leak, slab leak, or envelope failure requiring diagnostic tools |
| Recurring water damage in same area | Professional leak detection | Repeat problems mean the source wasn’t correctly identified or repaired; detection tools confirm what’s actually happening |
Homeowners can use moisture meters to track whether a repair worked, monitor basements for worsening dampness, confirm an area is dry before closing it back up, or check suspect areas after storms. But you may misinterpret readings without experience. Thinking condensation is a leak. Or missing that elevated readings are leftover from something that’s already been fixed.
Start with a moisture meter for simple monitoring and ongoing tracking of known issues. Escalate to professional detection services when the moisture source is unclear, hidden behind finished walls or ceilings, recurring in the same spot after repairs, potentially structural, or when you need documentation for insurance claims. Moisture meters work as first line monitoring tools. Leak detection services are essential when moisture patterns are unexplained or when you need to locate the exact entry point before making repairs.
Cost Comparison: Moisture Meters and Leak Detection Services

Cost influences whether you invest in a tool for ongoing use or call a professional for a one time diagnosis.
A moisture meter is a one time purchase you can use repeatedly. Leak detection is a service you pay for when you need it, but it often prevents far more expensive repairs by finding the problem before you start cutting into the wrong wall.
| Item | Price Range | What It Provides |
|---|---|---|
| Basic pin moisture meter | $30 to $80 | Targeted moisture readings at specific contact points; works for exposed wood, simple drywall checks |
| Quality pinless meter | $100 to $250 | Non-invasive surface scanning across broader areas; depth varies by model |
| Dual-mode moisture meter | $150 to $400 | Pin and pinless functions in one unit; eliminates need to switch tools; better versatility across materials |
| Professional leak detection service (single visit) | $200 to $400 | Thermal or acoustic scan, source location, technician interpretation, same-day results |
| Comprehensive leak detection with report | $400 to $700 | Multi-method diagnosis, detailed reporting, photo documentation, written findings for insurance or contractor use |
Moisture meters make sense if you’re monitoring a known issue over weeks or months, checking multiple properties, or want the ability to confirm dry conditions anytime. Professional services provide definitive answers when your own testing hits a dead end or when the cost of opening the wrong wall outweighs the service fee.
Interpreting Moisture Readings and Taking Action
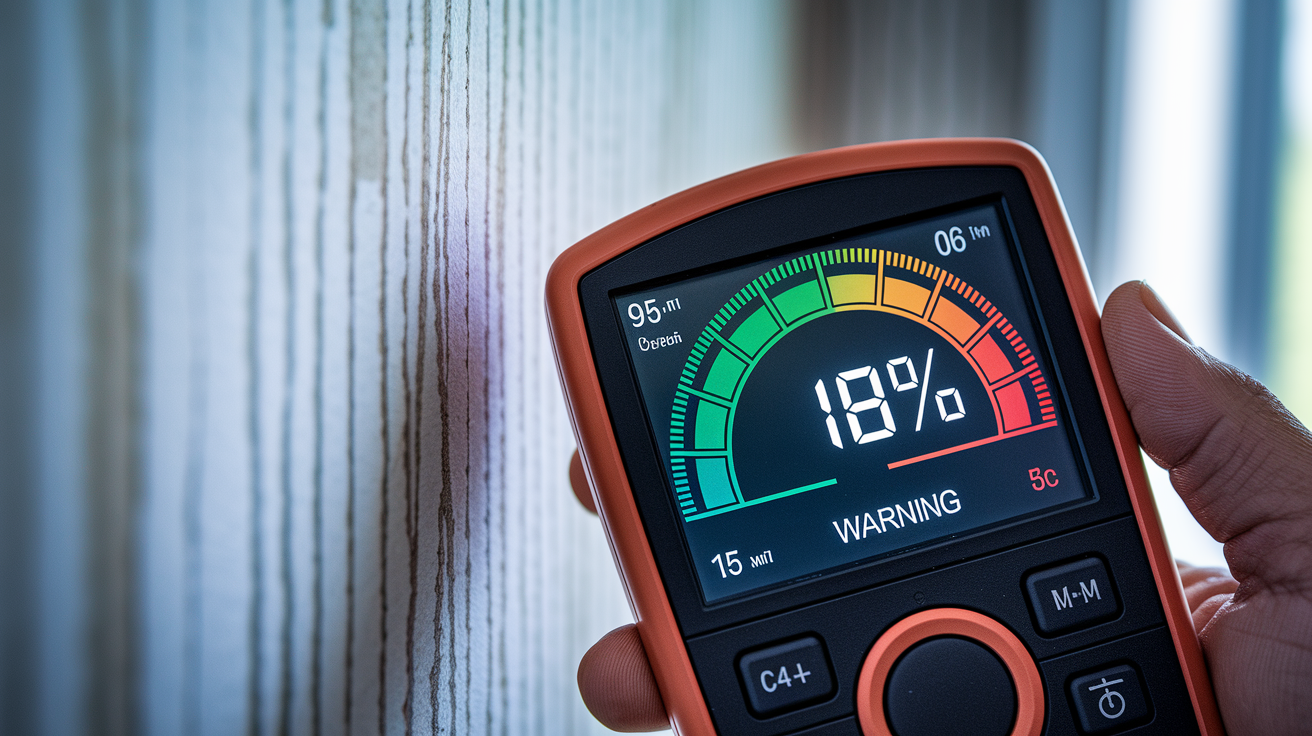
Moisture meter numbers mean nothing without context. You need to know what’s normal for the material you’re testing and whether the reading represents a problem.
| Material | Normal Range | Concerning Level | Action Required |
|---|---|---|---|
| Drywall/Sheetrock | 5% to 12% | 15% or higher | Investigate source immediately; readings above 15% indicate active moisture or recent water intrusion |
| Wood framing/trim | 6% to 12% | 16% or higher | Check for leaks, ventilation issues, or exterior water entry; sustained high moisture risks rot and mold |
| Concrete/masonry | Varies by structure and climate; typically under 4% on relative scale | Readings significantly higher than baseline | Compare to known-dry areas; investigate drainage, groundwater intrusion, or plumbing leaks |
| Subfloor | 7% to 12% | 14% or higher | Check for plumbing leaks above or below, check crawlspace ventilation, look for exterior water entry |
Single readings don’t tell the full story. Moisture levels can spike after heavy rain, during humid summer months, or in poorly ventilated areas, then drop back to normal as conditions stabilize. A reading that’s borderline high today might be within normal range next week if it was caused by temporary conditions. That’s why trending matters. Test the same spots over several days or weeks under similar conditions. If readings stay elevated or climb higher, you’ve got an ongoing problem. If they’re dropping steadily, you’re likely seeing the tail end of something that’s already drying out.
Take immediate action when readings exceed material thresholds, when you see rising trends over multiple checks, or when elevated moisture appears alongside visible damage like stains, soft drywall, or peeling paint. Those patterns indicate active water intrusion that needs a source located and repaired. Monitor rather than react when readings are borderline, when you’ve just had unusual weather, or when you’re testing areas known to experience seasonal variation. Basements in humid climates. Exterior walls during rainy stretches. Confirm the pattern before you start repairs.
Final Words
Moisture meters tell you how wet something is. Leak detection finds where the water’s coming from.
Both matter, but they do different jobs.
Use a moisture meter to track problem spots, confirm dry repairs, or check baselines. When moisture shows up but the source stays hidden, that’s when you call in leak detection pros with thermal imaging and acoustic gear.
The right approach depends on what you’re facing. Simple monitoring? Grab a meter. Mystery leak behind a wall? Get professional help before you start tearing things apart.
Understanding moisture meter vs leak detection keeps you from guessing and helps you protect your home the right way.
FAQ
Can a moisture meter detect a leak?
A moisture meter cannot detect a leak directly but measures moisture levels in building materials to identify wet areas that may indicate water intrusion. The meter shows where moisture exists, but professionals still need to locate the actual leak source using additional detection methods.
Are moisture meters really accurate?
Moisture meters are accurate at measuring moisture content in materials when properly calibrated and used correctly, but readings require context for interpretation. Environmental factors, material density, metals in walls, and layered assemblies can affect accuracy, so baseline comparisons and professional interpretation ensure reliable results.
Do plumbers use moisture meters?
Plumbers use moisture meters as part of their leak detection workflow to confirm wet areas and track moisture patterns during investigations. They typically combine moisture readings with thermal imaging, acoustic listening devices, and visual inspection to pinpoint the exact leak source requiring repair.
What can throw off a moisture meter?
Metals in walls, material density variations, layered assemblies, seasonal humidity, recent weather, and condensation can throw off moisture meter readings. Material thickness, surface hardness, and environmental conditions like temperature also influence readings, which is why professionals compare measurements to dry baseline areas for accurate interpretation.
How deep can moisture meters read?
Moisture meters can read at different depths depending on the meter type and model, with pinless meters typically scanning 0.5 to 1.5 inches below the surface. Deep-reading pinless models detect moisture beneath finished surfaces, but dense substrates and multiple material layers reduce penetration depth and accuracy.
What is the difference between pin and pinless moisture meters?
Pin moisture meters measure electrical resistance through two probes inserted into material for targeted point readings, while pinless meters scan broader surface areas using electromagnetic signals without penetrating finishes. Pin meters work best for confirmation measurements, and pinless meters excel at initial pattern identification across large areas.
When should I hire a professional instead of using a DIY moisture meter?
You should hire a professional when moisture appears without a clear source, recurs in the same area, hides behind finished surfaces, or when your moisture meter confirms wetness but you cannot locate the water entry point. Professionals use thermal imaging, acoustic detection, and combined methods to pinpoint leak locations without unnecessary demolition.
Can moisture meters tell if a leak is active or old?
Moisture meters cannot directly tell if a leak is active or old, but rechecking readings after 24 to 48 hours under consistent conditions reveals whether moisture levels are rising, stable, or decreasing. Rising or persistent readings suggest an active leak, while declining levels may indicate residual moisture from a past event.
What moisture level in drywall indicates water damage?
Drywall moisture levels between 5 and 12 percent are normal under typical conditions, and readings should generally never exceed 15 percent. Readings above 15 percent indicate concerning moisture that requires investigation, and levels above 17 percent typically signal active water intrusion needing immediate attention.
How do professionals combine moisture meters with other leak detection tools?
Professionals combine moisture meters with thermal imaging to confirm whether temperature differences indicate actual wetness, and use acoustic listening devices to detect water movement in pressurized lines. This multi-method approach maps moisture patterns, identifies leak signatures on thermal images, and pinpoints exact water entry points before opening walls.