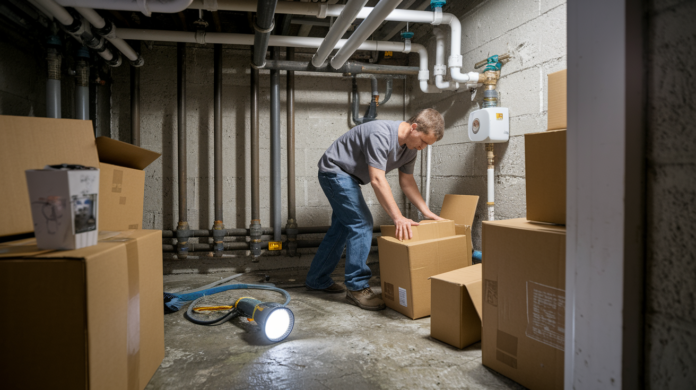

You might think prepping for a leak detection service just means “stay home and unlock the door.” But showing up isn’t enough. When technicians arrive with acoustic sensors, thermal cameras, and moisture meters, they need clear access to crawl spaces, attics, utility rooms, and walls where hidden leaks actually hide. If they’re moving boxes, searching for shutoff valves, or working around furniture, that’s wasted time you’re paying for. A little prep cuts inspection time, improves accuracy, and helps you get real answers faster.
Comprehensive Preparation Checklist for Leak Detection Service
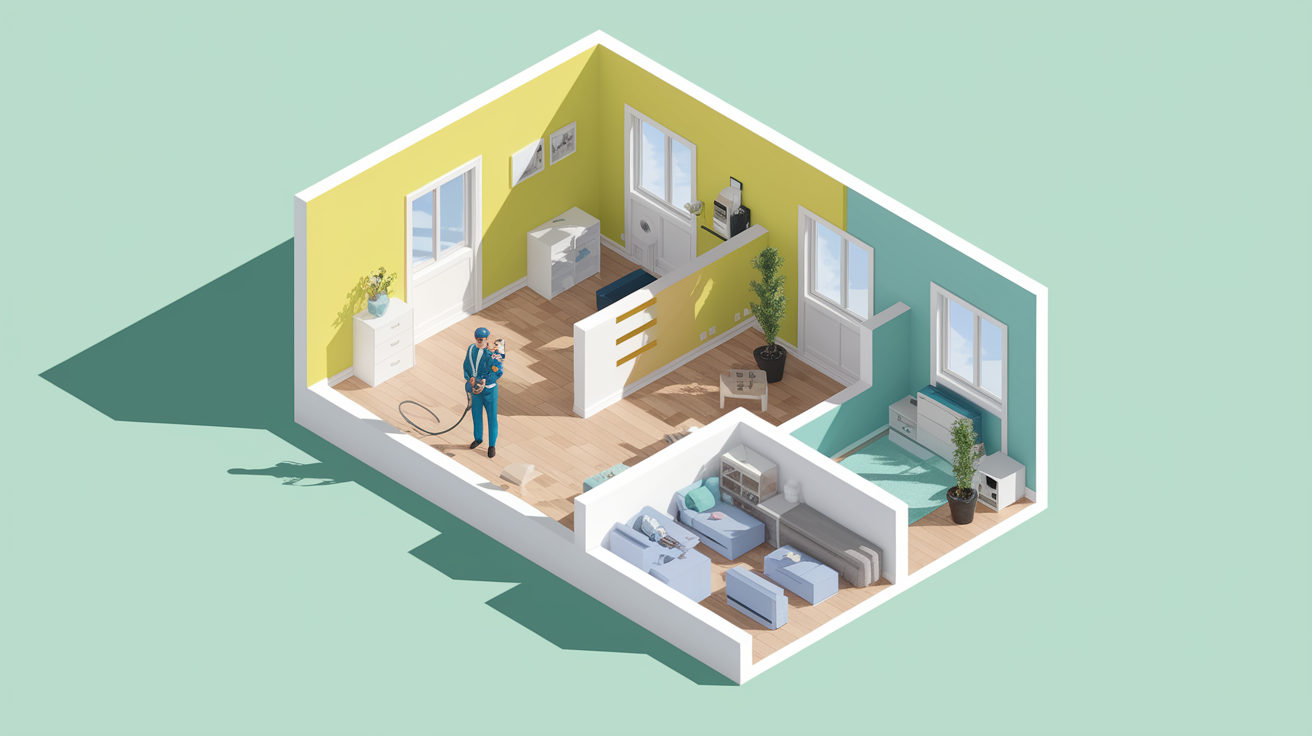
Proper preparation before a leak detection service saves time, cuts costs, and helps technicians work efficiently. When they can move freely through your home with specialized equipment and access all inspection areas without obstacles, they finish faster and more accurately. That directly translates to less billable time and better results.
Here’s your complete preparation checklist:
-
Locate and test your main water shut off valve. Find where it’s located (usually near the water meter or where the main line enters your home), turn it clockwise to close, then open it again to confirm it works.
-
Identify your water meter location and note the current reading. Write down the meter number and current reading so technicians can reference it during inspection.
-
Clear access to crawl spaces and remove all stored items. Take out boxes, holiday decorations, tools, or anything else blocking entry points or making movement difficult.
-
Make sure attic access is completely unobstructed. Move furniture, clothing, or storage bins away from attic openings and pull down stairs.
-
Declutter basement and utility rooms. Create clear pathways to all plumbing fixtures, the water heater, sump pumps, and exposed pipes.
-
Remove obstacles from areas near walls, floors, and ceilings. Pull furniture away from walls where technicians might need to use acoustic detection equipment or thermal imaging cameras.
-
Create clear pathways to water heaters and under sink cabinets. Empty the area under sinks, move cleaning supplies temporarily, and make sure there’s easy access to water heater connections.
-
Secure pets in a separate room or outdoor area. Keep dogs, cats, or other animals away from work areas for their safety and to prevent interference with sensitive detection equipment.
-
Inform all household members about the appointment. Let everyone know technicians will be working throughout the home for 1 to 3 hours and which areas will be accessed.
-
Gather recent water bills from the last 3 to 6 months. Collect statements showing your usage history and any unexplained spikes.
-
Compile maintenance records and previous plumbing repair invoices. Having this history helps technicians understand your system’s age, past issues, and potential problem areas.
-
Make sure there’s adequate lighting in all inspection areas. Replace burned out bulbs in basements, crawl spaces, closets, and utility areas so technicians can see clearly.
-
Clear spaces around washing machines and other appliances. Pull these away from walls if possible, or at least remove items stored beside or on top of them.
-
Turn off automatic sprinkler systems if outdoor detection is needed. Document your irrigation schedule and controller location.
-
Perform a 30 to 60 minute water meter test with all fixtures off. Turn off all water using appliances and fixtures, record your meter reading, wait without using any water, then check again. Any change confirms a leak.
You generally don’t need to turn off your water before the appointment unless specifically instructed by your service provider. Technicians may need water flowing to perform certain tests. Make sure your schedule allows someone 18 or older to be home during the entire appointment, as technicians need access to multiple areas and may have questions about symptoms you’ve noticed.
These preparation steps directly improve detection accuracy by giving technicians unrestricted access to potential leak locations. When they don’t waste time moving furniture, searching for access points, or working around obstacles, you get more thorough service for less money.
Documentation and Information for Your Leak Detection Service

Having the right paperwork and information ready helps technicians understand your plumbing system’s history and current problems. Documentation provides context about unusual water usage patterns, previous repairs that might affect current issues, and a baseline for comparison if problems worsen later.
Essential documents and information to prepare:
Recent water bills showing the last 3 to 6 months of usage, especially statements with noticeable spikes. All maintenance records for your plumbing system, including routine inspections and minor repairs. Previous plumbing repair invoices with dates, work performed, and contractor information. Homeowner’s insurance policy information, including coverage details for water damage. Property age and any known details about your plumbing system materials (copper, PVC, galvanized steel). Your water meter number and location. Written notes documenting when you first noticed suspicious symptoms like water stains, damp spots, or unusual sounds.
A detailed list of all observed warning signs with specific room locations and approximate sizes. Clear photographs of any visible water stains, ceiling discoloration, or wall damage from multiple angles. Images showing damp spots, peeling paint, bubbling drywall, or any moisture related deterioration.
Creating effective documentation means being thorough and specific. Take photos from several angles so technicians can see the full scope of visible damage. Note exact dates when you first spotted water stains or heard running water with no fixtures on. Document musty odors by writing which rooms smell damp and whether the smell is constant or only appears at certain times. Record the size of affected areas using measurements or comparisons. Create a timeline showing how issues have changed over days or weeks, whether stains have grown, dampness has spread, or new symptoms have appeared.
Before your appointment, complete a water meter test and document the results. Write down your starting meter reading with the exact time, confirm all fixtures and appliances are off, wait 30 to 60 minutes without using any water, then record the ending reading and time. If the meter moved at all, note how much it changed. This information helps technicians understand whether you have an active leak and roughly how much water you’re losing.
Understanding Leak Detection Equipment and Methods
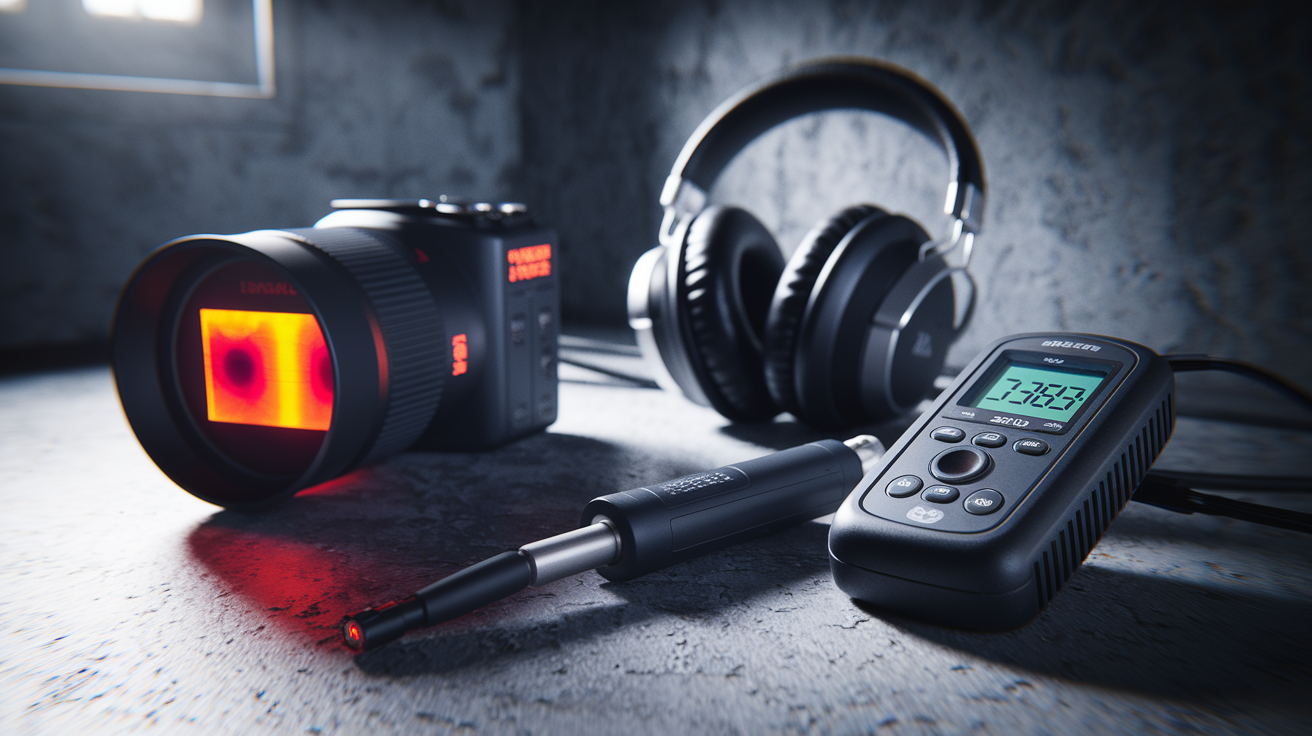
Professional leak detection uses specialized tools that locate hidden leaks without tearing into walls or floors unnecessarily. Knowing what equipment technicians will use helps you understand why certain preparations matter and what to expect during the inspection.
| Detection Method | Purpose | Preparation Needed |
|---|---|---|
| Acoustic Detection | Listens for sounds of water escaping from pipes behind walls, under floors, or in ceilings | Clear access to walls and floors; quiet environment without running appliances or background noise |
| Thermal Imaging Cameras | Detects temperature differences caused by water leaks, showing cooler areas where moisture is present | Unobstructed view of walls, ceilings, and floors; furniture moved away from suspected problem areas |
| Moisture Meters | Measures dampness levels in walls, floors, and ceilings to pinpoint hidden moisture | Direct access to suspected areas; remove wall decorations or coverings if possible |
| Pressure Testing Equipment | Tests water pressure in pipes to identify drops that indicate leaks in the system | Access to main water line and shut off valves; temporary water shutoff may be needed |
| Video Inspection Cameras | Inserts small cameras into drain lines and pipes to visually identify cracks, blockages, or deterioration | Clear access to drain cleanouts, toilet connections, and crawl spaces where cameras enter pipes |
These non invasive detection methods work effectively without drilling unnecessary holes or creating damage to find leaks. Technicians position equipment against walls, move thermal cameras across ceilings, and place acoustic sensors near suspected leak locations. When you’ve cleared furniture away from walls and made sure there’s open access to plumbing fixtures, technicians can position detection tools exactly where they need them. This improves accuracy and helps pinpoint leak sources faster, which means less time spent searching and more certainty about where the problem actually exists.
Cost Expectations and Service Timeline for Leak Detection

Most standard residential leak detection inspections take 1 to 3 hours, depending on your home’s size and complexity. Understanding what affects this timeline helps you plan your day and set realistic expectations about how long technicians will be working in your home.
Factors that influence inspection duration:
Home square footage. Larger homes with more rooms, bathrooms, and plumbing fixtures require more time to inspect thoroughly.
Number and accessibility of plumbing fixtures. Homes with multiple bathrooms, wet bars, or laundry rooms on different floors take longer to evaluate.
Pipe accessibility. Exposed pipes in basements are faster to inspect than pipes concealed in finished walls or under concrete slabs.
Whether the leak is obvious or hidden. Visible leaks are faster to confirm, while mysterious symptoms require systematic detection work.
Preparation level. Well prepared homes with clear access save significant time compared to homes where technicians must move obstacles.
Standard leak detection pricing typically includes the inspection time, use of detection equipment, and a written report of findings with repair recommendations. Additional charges usually apply for actual repairs, which are priced separately based on what needs fixing. Emergency leak detection services often cost more than scheduled appointments because they require immediate response and may happen outside normal business hours. Some companies charge a flat rate for detection that gets credited toward repairs if you hire them for the fix, while others separate detection fees from repair costs entirely.
Scheduling your appointment during normal business hours usually costs less than evening or weekend service. Thorough preparation directly reduces billable time because technicians spend less time moving furniture, locating access points, or working around obstacles. When everything is ready, they can focus entirely on detection work rather than setup.
Questions to Ask Your Leak Detection Technician

Clear communication with your leak detection technician makes sure you understand their findings, your options, and what happens next. Asking informed questions helps you make good decisions about repairs and follow up service.
Important questions to ask:
-
Are you licensed and insured for plumbing work in this area? Confirm they have current credentials and liability coverage.
-
What specific detection methods will you use during this inspection? Understanding their approach helps you know what to expect.
-
What does your inspection include? Clarify whether they check indoor plumbing only or also inspect outdoor fixtures and irrigation lines.
-
How will you protect my home during the service? Ask about floor coverings, shoe covers, and cleanup procedures.
-
What happens if you find a leak? Understand whether they provide immediate repair options or just detection and reporting.
-
Can you provide a repair cost estimate today if you find something? Know whether you’ll get pricing immediately or need a follow up quote.
-
Do you offer any warranty on your detection service? Find out if they’ll return at no charge if the reported leak location turns out to be incorrect.
-
When will I receive a written report of your findings? Ask whether you get documentation immediately or within a certain timeframe.
-
What are your follow up recommendations regardless of whether you find an active leak? Professional guidance on preventive maintenance helps you avoid future problems.
-
If repairs are needed, what’s the typical timeline to schedule that work? Understanding their availability helps you plan next steps.
Request complete documentation of all findings, including photographs of problem areas, descriptions of which detection methods identified each issue, and moisture readings or other measurements. Ask for a prioritized list of repair recommendations that clearly indicates what needs immediate attention versus what can be monitored. This documentation helps you get comparative quotes if you’re seeking multiple repair bids, and it provides a baseline for tracking whether problems worsen over time.
Identifying Warning Signs Before Leak Detection Begins
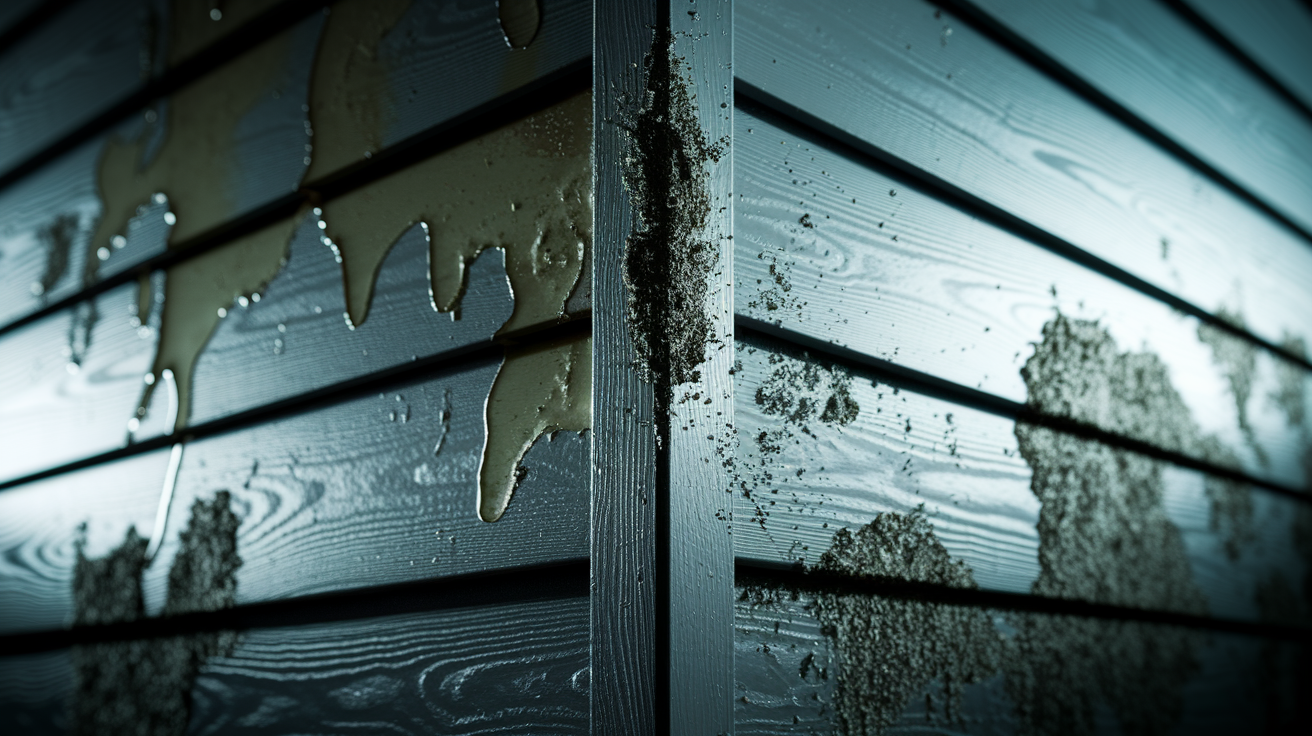
Beyond obvious water stains and visible puddles, several less obvious warning signs indicate hidden leaks that need professional detection. Recognizing these symptoms helps you describe problems accurately to technicians and gives them starting points for their investigation.
Pay attention to musty or moldy smells in specific rooms, especially bathrooms, kitchens, laundry areas, or closets where plumbing runs through walls. These odors suggest moisture is accumulating somewhere out of sight, creating conditions where mold grows even though you don’t see standing water.
Listen carefully for unusual water sounds when all fixtures are turned off, especially at night when your home is quiet and background noise doesn’t mask subtle sounds. Running water, dripping, or trickling noises when no one is using plumbing indicates water is moving through pipes when it shouldn’t be. Check for mold growth in unexpected places like the backs of cabinets, corners of ceilings far from bathrooms, or along baseboards in rooms without obvious water sources. Unexplained puddles that appear regularly in the same spots point to moisture coming from somewhere hidden. Damp carpet or flooring with no visible source above means water is likely coming up from below or through walls. Warm spots on floors can indicate hot water line leaks under the surface, while cold spots may signal cold water leaks or poor insulation creating condensation.
Go outside at night or during quiet hours and walk around your property listening for water sounds near exterior walls or the foundation. Small leaks in hidden pipes make noise that’s easier to hear when competing sounds aren’t present.
Check your yard for wet or soggy spots that stay damp even when it hasn’t rained recently. These patches, especially if they’re near your home’s foundation or where water lines run underground, signal potential pipe leaks below ground. Look for areas where grass grows unusually lush and green compared to surrounding areas, or where you see unexpected puddles forming without an obvious water source. Small leaks that seem minor today can turn into major problems if you ignore them, causing foundation damage, increased water bills, and extensive repairs that cost far more than early detection and simple fixes.
Outdoor Plumbing Areas and Leak Detection Preparation

Outdoor plumbing often gets overlooked during preparation, but exterior leaks cause significant damage to foundations, landscaping, and underground infrastructure. Preparing these areas properly makes sure technicians can complete a thorough inspection.
Clear access to all outdoor spigots, hose connections, and hose bib locations by moving planters, garden decorations, stacked firewood, or equipment stored against exterior walls. Remove anything blocking access to irrigation control boxes, backflow preventers, and water meter pits. Take away obstacles so technicians can move freely around your home’s entire perimeter with detection equipment.
Mark or document any areas of your yard showing suspicious moisture, unusual plant growth patterns, or soft ground that might indicate underground leaks. Use temporary markers like small flags, stakes, or even chalk marks on pavement to show technicians exactly where you’ve noticed problems. Photograph these areas from multiple angles, especially spots where water pools after you run sprinklers or where grass stays greener than surrounding areas. Note any sections where the ground feels spongy or where you’ve seen water bubbling up. If you’ve noticed changes in water pressure when using outdoor faucets or if certain irrigation zones don’t work properly, write down these details with dates when you first noticed the problems.
Preparing for slab leak detection requires clearing areas around your home’s foundation perimeter. Move mulch, decorative rocks, or plantings away from the foundation if technicians need to access the concrete slab or use detection equipment along exterior walls. Note any foundation cracks, areas where concrete has settled unevenly, or spots where you’ve seen moisture on the foundation surface. Document whether these cracks are new or have been present for years and if they’ve grown larger recently.
If your property has an irrigation system, document the automatic schedule including which days and times it runs, how many zones you have, and where the controller is located. Turn off the automatic schedule before your appointment so it doesn’t interfere with detection work. Make sure technicians can access valve boxes, which are often buried under grass or landscaping. If you know roughly where underground water lines run based on your system layout or previous work, sketch a basic map showing these locations. This information helps technicians focus their detection efforts on the most likely problem areas.
What Happens After Leak Detection Service Completes

Once technicians finish their inspection, you’ll receive a detailed report explaining what they found, where leaks are located, and how serious each problem is. This report typically includes photographs showing leak locations, descriptions of which detection methods confirmed each issue, measurements of moisture levels in affected areas, and an assessment of damage severity. Technicians rank repairs by urgency, identifying what needs immediate attention to prevent further damage versus minor issues you can monitor over time. Understanding this report helps you make informed decisions about repairs and next steps.
The written documentation gives you everything you need to get comparative quotes if you want multiple repair estimates.
You’ll need to decide whether to proceed with immediate repairs or monitor minor issues that aren’t causing active damage. For serious leaks actively damaging your home’s structure or driving up utility bills significantly, prompt repair prevents mold growth, structural deterioration, and costly consequences that get worse the longer you wait. Small drips or seepage that haven’t caused visible damage yet might be acceptable to monitor for a short period, especially if repairs require significant work or expense. Your technician can explain which problems genuinely need immediate action versus which ones are safe to watch, but don’t ignore recommendations for repairs marked as urgent.
Typical follow up procedures include scheduling repair work if the same company will handle it, obtaining multiple quotes for major repairs involving pipe replacement or extensive drywall work, and coordinating with your homeowner’s insurance if damage is severe enough to file a claim. Some insurance policies cover leak detection costs if you’re filing a water damage claim, so check your coverage before paying out of pocket. If technicians found multiple problems, ask them to provide a clear timeline for addressing each one, explaining which repairs should happen first and why sequencing matters.
Regular plumbing inspections help catch potential leaks early before they turn into expensive emergencies.
Most leak detection reports include preventive maintenance recommendations based on what technicians observed about your plumbing system’s age, condition, and vulnerabilities. These might include installing water pressure regulators if pressure is too high, insulating pipes in unheated areas to prevent freezing, replacing old fixtures showing signs of wear, or scheduling routine inspections every few years. Implementing a simple monitoring routine helps you catch future leaks early. Check your water meter regularly using the same 30 to 60 minute test you performed before this appointment. Monitor your water bills each month for unexpected increases. Walk through your home periodically looking for new stains, listening for unusual sounds, and checking under sinks for dampness. Routine maintenance of plumbing fixtures and appliances, like replacing washing machine hoses every few years or checking toilet flapper valves, helps you avoid costly repairs down the road.
Final Words
Knowing how to prepare for leak detection service makes a real difference in how smoothly your appointment goes.
When you’ve cleared pathways, gathered your water bills, secured your pets, and documented those suspicious stains, technicians can move faster and focus on finding the source instead of navigating obstacles.
A little preparation on your end means more accurate results, less time spent searching, and a clearer plan for fixing whatever’s causing the problem. You’re protecting your home and making the repair process as straightforward as possible.
FAQ
How much does leak detection service cost?
Leak detection service typically costs between $150 and $400 for most residential inspections, depending on home size, plumbing complexity, and detection methods used. Emergency services, specialized equipment, or follow-up visits may increase the total price.
How long does a standard leak detection inspection take?
A standard leak detection inspection takes between 1 and 3 hours for most homes. The actual duration depends on your home’s square footage, number of plumbing fixtures, pipe accessibility, and whether the leak is obvious or hidden.
What should a professional leak detection service include?
A professional leak detection service should include visual inspection of accessible areas, use of specialized equipment like acoustic detectors or thermal cameras, moisture meter readings, water pressure testing, and a written report documenting findings with repair recommendations and photos.
When should I schedule leak detection service?
You should schedule leak detection service when you notice unexplained increases in water bills, water stains on walls or ceilings, musty odors, sounds of running water with fixtures off, damp spots without a visible source, or mold growth in unexpected areas.
Do I need to turn off my water before the leak detection appointment?
You do not need to turn off your water before the leak detection appointment unless the technician specifically instructs you to do so. Professionals typically need water flowing through the system to accurately locate leaks using their detection equipment.
What documents should I have ready for the leak detection technician?
You should have recent water bills showing usage patterns, previous plumbing repair invoices, maintenance records, insurance policy information, property age details, and notes about when you first noticed symptoms. Photographs of visible damage are also helpful.
How do I prepare my home for leak detection service?
Prepare your home by clearing access to crawl spaces, attic, basement, and utility areas. Remove obstacles from walls and floors, secure pets, ensure adequate lighting in inspection areas, locate your main shut-off valve and water meter, and inform household members about the appointment.
Can leak detection find hidden leaks behind walls?
Leak detection can find hidden leaks behind walls using acoustic detectors that listen for water escaping from pipes, thermal imaging cameras that show temperature differences, and moisture meters that measure dampness levels without cutting into walls or floors.
What happens if the technician finds a leak during inspection?
When the technician finds a leak during inspection, they will document its location, assess severity, explain repair options with cost estimates, and prioritize repairs based on urgency. You can then decide whether to proceed immediately or obtain additional quotes.
How often should I schedule professional leak detection?
You should schedule professional leak detection when you notice warning signs or experience unexplained water bill increases. For preventive maintenance, consider inspections every 2 to 3 years or before purchasing a home to catch potential problems early.
Will leak detection service damage my walls or floors?
Leak detection service will not damage your walls or floors when using non-invasive methods like acoustic detection, thermal imaging, or moisture meters. These technologies locate leaks without cutting into surfaces, minimizing property disruption and repair needs.
What warning signs indicate I need leak detection service?
Warning signs indicating you need leak detection service include musty smells in specific rooms, unusual water sounds when fixtures are off, wet carpet without a visible source, warm spots on floors, soggy yard patches when it hasn’t rained, and mold growth.