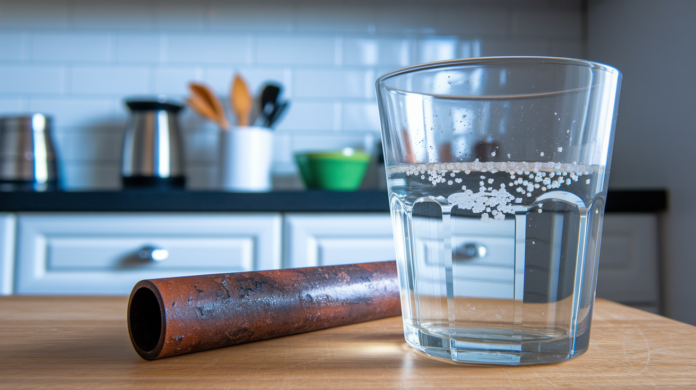

Most homeowners don’t even know their water heater has an anode rod, let alone that it needs replacing every few years. Here’s the thing: this $30 part is the only reason your tank isn’t corroding from the inside out right now. When it wears down and you ignore it, you’re not looking at another $40 rod. You’re looking at a flooded utility room and a $1,200 emergency replacement. The good news? Swapping it yourself takes about an hour, requires basic tools, and can double your water heater’s lifespan.
Signs Your Water Heater Anode Rod Needs Replacement
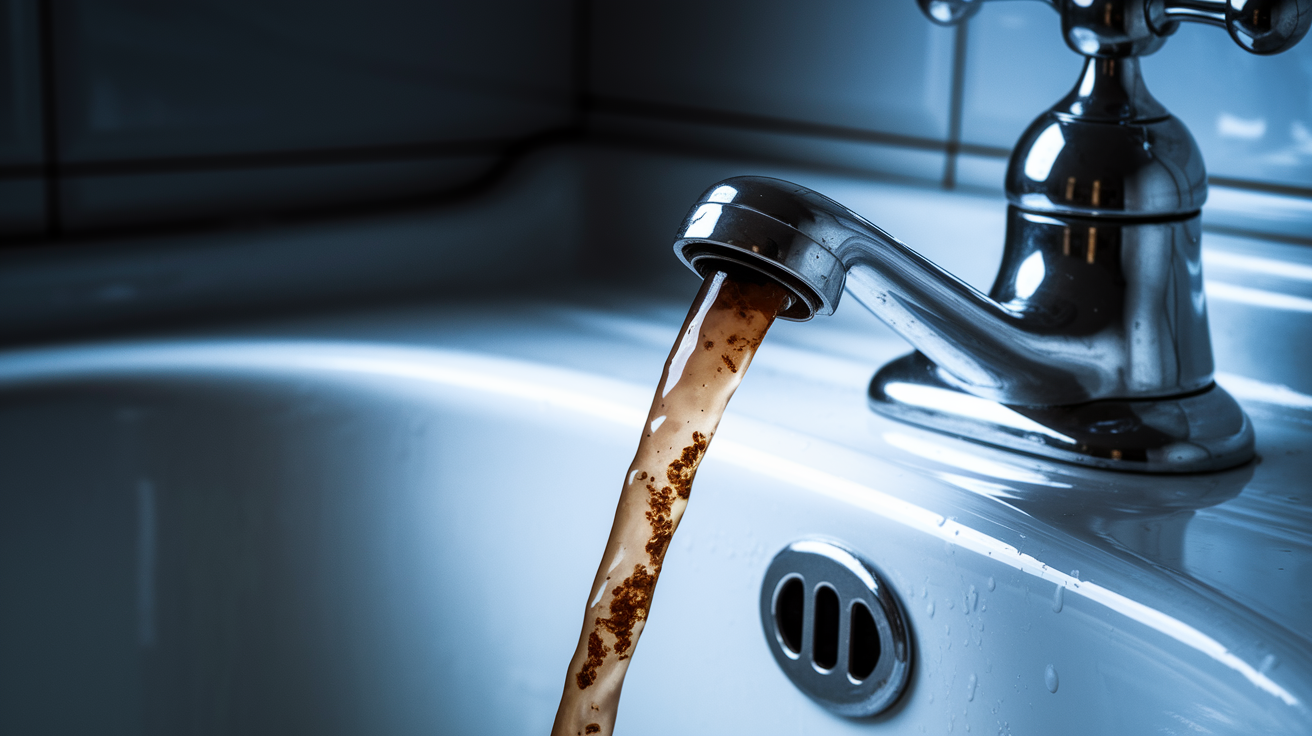
Your water heater tells you pretty clearly when the anode rod isn’t doing its job anymore. Catching these warnings early means you’re looking at a quick rod swap instead of replacing the whole tank.
The most obvious signs show up in your water and around the heater. Rusty or brownish water coming from hot taps means corrosion is happening somewhere in the system. That rotten egg smell, the sulfuric odor from hydrogen sulfide, tells you bacteria are growing on a worn out rod. Popping sounds from the tank? That’s sediment buildup messing with the heating process. Other warnings include:
- Rotten egg smell from hot water taps (bacteria growing on a depleted rod)
- Rusty or discolored water flowing from hot faucets
- Popping or rumbling sounds from inside the tank when it’s heating
- Visible corrosion on the exposed hex head at the top
- Reduced hot water supply or water that doesn’t stay hot as long
- Higher heating bills without any change in how you’re using water
You should check your anode rod at least once a year through visual inspection. Most rods need replacement every 3 to 5 years, but your water conditions might speed that timeline up. When you inspect, look for heavy corrosion down to the core wire or excessive calcium buildup that’s eaten through most of the rod material.
If you drain a few gallons and see rusty flakes in the bucket, that’s a different situation entirely. Those flakes might mean the tank itself is corroding from the inside. A new anode rod won’t help at that point. The tank is likely past saving and needs full replacement.
Anode Rod Replacement Cost and Time Investment

DIY anode rod replacement runs $30 to $70 total for most homeowners. The replacement rod itself costs $20 to $40 depending on material and length. If you don’t already own an impact wrench and the rod won’t budge with a regular socket wrench, adding a $30 impact tool brings your first time cost to around $60 to $70.
Here’s how the numbers break down over time:
- DIY time requirement: 1 to 2 hours for your first replacement, about 45 minutes once you’ve done it before
- Professional installation cost: $150 to $300 including the service call and parts
- Replacement frequency: Every 5 years on average
- 10 year ownership cost: $60 to $140 doing it yourself versus $300 to $600 hiring it out
Warranty considerations matter here. Missing manufacturer recommended maintenance intervals can void your coverage. If your water heater is still under warranty, check whether DIY maintenance is allowed or if certified service is required to keep that protection active.
A functioning anode rod does more than just prevent tank failure. It stops sediment buildup that makes your heater work harder, which means lower heating bills month after month. When you’re protecting an $800 to $1,500 water heater investment, spending $30 to $40 every five years makes sense.
Understanding How Anode Rods Protect Your Water Heater Tank

The anode rod works through a process called galvanic corrosion. Inside your water heater, you’ve got two different metals: the steel tank lining and the more reactive anode rod material. When both are submerged in water, the more reactive metal corrodes instead of the less reactive one. That’s cathode protection, and it’s the same principle used to protect ship hulls and underground pipelines.
Here’s the electrochemical process in plain terms. Corrosive elements in your water (minerals, oxygen, and other compounds) are constantly looking for metal to attack. The anode rod material, whether that’s magnesium, aluminum, or zinc, is more attractive to these corrosive elements than the steel tank. So the rod sacrifices itself, getting eaten away slowly while the tank stays intact.
This protection can double the life of your water heater. A properly maintained tank with regular anode rod replacement can last 10 to 20 years. A neglected tank might start leaking in 5 to 8 years once the original rod is gone and corrosion reaches the steel. That’s the difference between a $40 part and a $1,200 emergency replacement. The sacrificial rod takes the hit so your tank doesn’t, preventing tank deterioration that leads to leaks, water damage, and the mess of a failed water heater.
Complete Step by Step Anode Rod Replacement Process
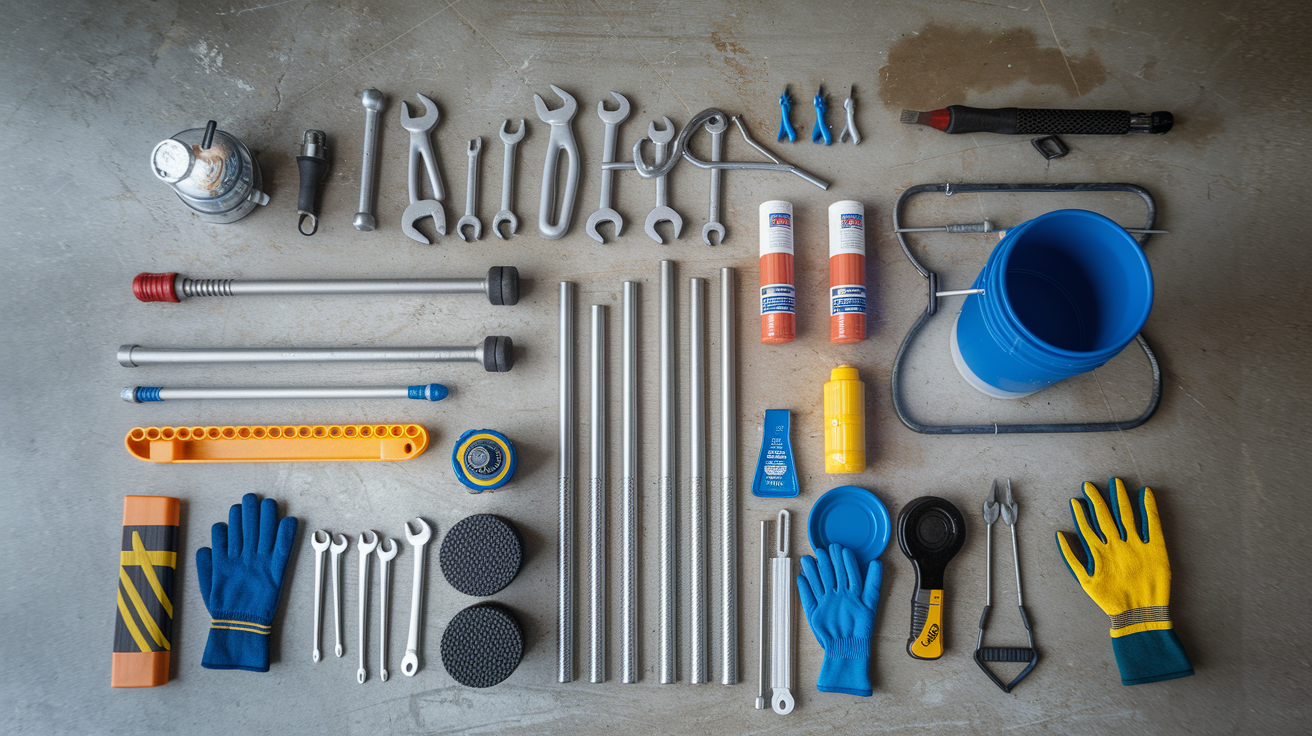
This is a manageable 1 to 2 hour project that most homeowners can handle with basic tools and a little patience. The trickiest part is usually loosening a hex head that’s been in place for years, but there are ways around that.
Required Tools and Materials
- 1 1/16 inch (27mm) socket wrench for the hex head
- Breaker bar or cheater pipe for extra leverage on stuck rods
- Impact wrench (optional but helpful for severely stuck rods, costs around $30)
- Replacement anode rod matched to your water conditions
- Pipe joint compound (never Teflon tape, tape reduces rod effectiveness)
- Bucket for draining water
- Garden hose to direct drainage away from the work area
- Adjustable wrench for backup support
- Penetrating oil like WD 40 for stuck threads
- Safety gloves to protect your hands
- Flashlight for seeing the hex head clearly
- Towels for cleanup
Note: You must use pipe joint compound on the threads, not Teflon tape. Tape interferes with the electrical connection the rod needs to protect your tank.
Here’s the complete replacement process:
-
Turn off the gas supply shutoff valve and extinguish the pilot light completely.
-
Turn off the cold water inlet valve at the top of the tank.
-
Open a hot water faucet somewhere in the house to relieve pressure in the system.
-
Drain 2 to 3 gallons from the drain valve using a garden hose or bucket positioned below the valve.
-
Locate the hex head on top of the tank. It’s usually near the center or slightly off to one side.
-
Use the 1 1/16 inch socket wrench to loosen the hex head. This may require significant force. If it won’t budge, slip a cheater pipe over the wrench handle for extra torque. An impact wrench makes this step much easier on stuck rods.
-
Remove the old anode rod by unscrewing it completely. If your ceiling height is tight, you might need to bend the rod as it comes out rather than pulling it straight up.
-
Apply pipe joint compound to the threads of your new rod. Cover the threads well but avoid getting compound in the tank opening.
-
Install the new rod by threading it in by hand first, then tightening about half a turn past hand tight with your socket wrench. Don’t over tighten. If the entire heater starts to move, you’ve gone too far.
-
Refill the tank by opening the cold water inlet valve. Leave a hot water faucet open to burp air from the system. Once water flows steadily from the faucet, close it. Check all connections for leaks. Restore the gas supply and relight the pilot according to your heater’s instructions.
Expect the first replacement to take closer to 2 hours as you get familiar with your specific setup. The hex head can be stubborn. That’s normal after years in place. Use proper torque and leverage rather than banging on the heater, which can damage the tank or contaminate your water supply.
Choosing the Right Anode Rod for Your Gas Water Heater
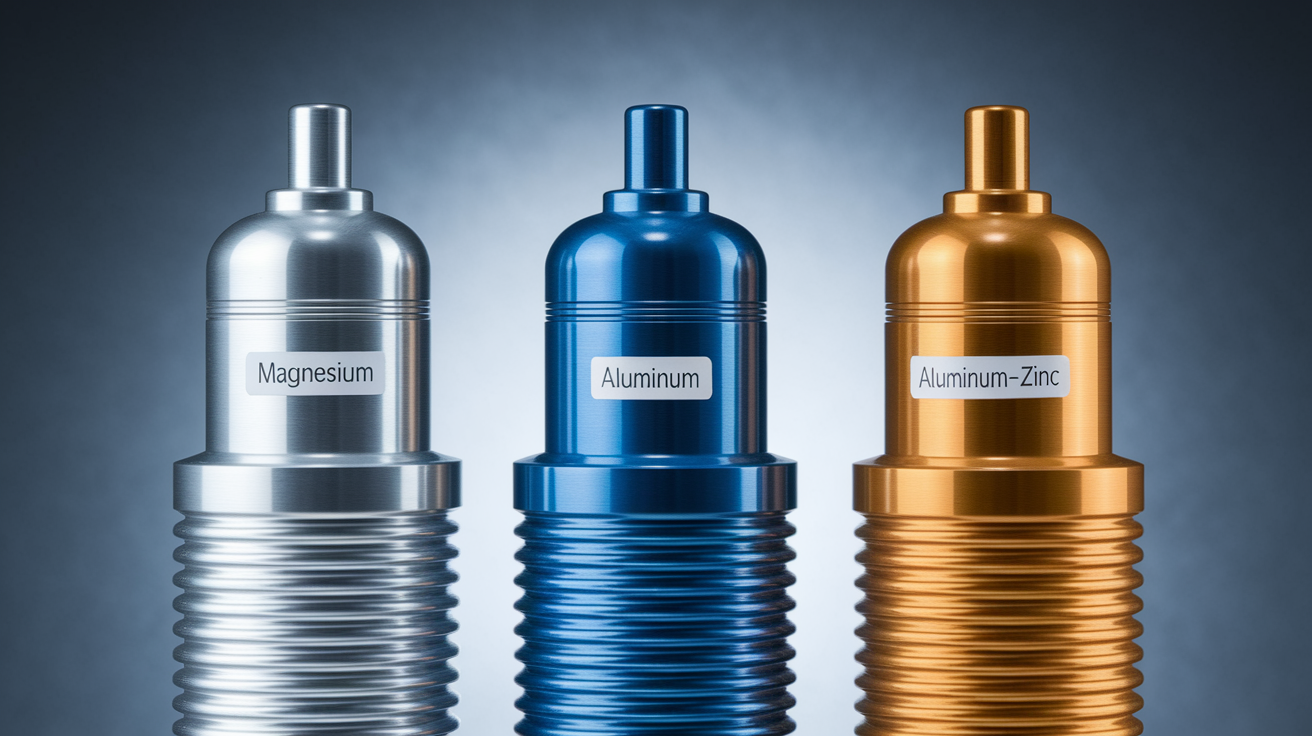
Matching your anode rod to your water chemistry makes a real difference in how long the rod lasts and how well it protects. The three main types handle different water conditions.
| Rod Material | Best For | Lifespan | Cost |
|---|---|---|---|
| Magnesium | Normal, balanced water | 3-5 years | $25-$40 |
| Aluminum | Hard water, high mineral content | 4-6 years | $20-$35 |
| Aluminum-Zinc Combination | Softened water, odor problems | 3-5 years | $20-$30 |
| Powered/Electronic | Permanent solution, all water types | 8-10+ years | $200+ |
Flexible versus rigid rods comes down to your ceiling clearance. Most installations don’t have the 44+ inches of overhead space needed to pull a rigid rod straight out. Flexible rods use a segmented construction that bends during removal and installation, making them practical in basements or tight utility rooms. They protect just as well as rigid rods. The segments are connected so the rod still functions as one continuous piece once installed.
Check your manufacturer specifications before ordering a replacement. You need the correct thread size (usually 3/4 inch NPE), rod diameter (typically 0.75 to 0.84 inches), and total rod length that matches your specific tank capacity and model. A 40 gallon tank typically uses a different length than a 50 gallon tank. Getting this wrong means ordering again and delaying protection for your tank.
Troubleshooting Stuck or Difficult Anode Rod Removal
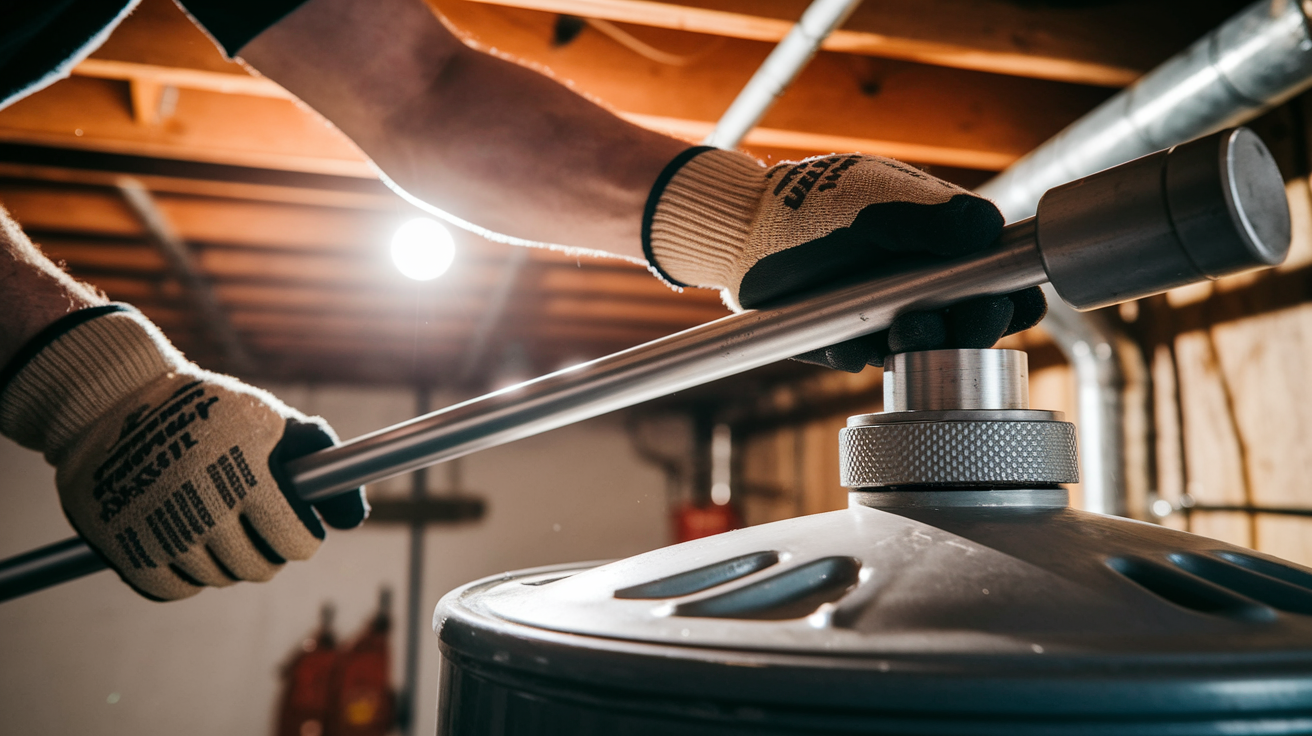
Rods often become seriously stuck after years of corrosion and mineral buildup around the threads. That’s one of the most common frustrations during this job, but there are proven ways to handle it.
Here are five techniques that work, listed from least to most aggressive:
-
Apply penetrating oil and wait 15 to 30 minutes. Spray it around the hex head where it meets the tank. Let it soak in. Just be careful. Too much can contaminate your water supply, so use it sparingly and wipe away excess before removal.
-
Use a breaker bar or slip a cheater pipe over your wrench handle for additional leverage. A 2 foot length of steel pipe slipped over your socket wrench handle can double or triple your torque without excessive force.
-
Try an impact wrench with a 1/2 inch drive socket. A $30 corded or battery powered impact wrench delivers repeated striking force that often breaks corrosion loose where steady pressure fails.
-
Heat the hex head gently with a heat gun (never a torch near the gas line). Fifteen seconds of heat can expand the metal enough to break the corrosion seal. Keep the heat gun moving and don’t overheat the tank top.
-
Bend the old rod during removal if your ceiling height won’t allow straight extraction. Once you get the threads started, the rod will flex. You’re replacing it anyway, so bending it to work around a low ceiling is fine.
Never bang on the water heater with a hammer or mallet. That can crack the glass lining inside the tank or damage connections. Excessive force that makes the entire tank rock or move means you’re risking tank integrity.
If the rod absolutely won’t budge even with these techniques, and there’s heavy sediment attached to the threads, the rod might still be functional. A rod that’s stuck due to sediment buildup rather than complete corrosion may not need immediate replacement. Professional evaluation makes sense at that point.
Water Chemistry Impact on Anode Rod Performance

Your water chemistry determines how fast the anode rod corrodes and which material will last longest. Water conditions vary dramatically from one area to another, and what works well for normal water can fail quickly in softened or highly mineralized water.
| Water Condition | Recommended Rod Type | Typical Replacement Interval |
|---|---|---|
| Normal/Balanced pH | Magnesium | 3-5 years |
| Hard Water/High Minerals | Aluminum or Al-Zinc | 4-6 years |
| Softened Water | Zinc Alloy or Al-Zinc | 2-4 years |
| Acidic/Low pH | Powered Anode | 8-10+ years |
High water usage accelerates anode rod depletion simply because more corrosive water is flowing through the tank. A household of five people goes through significantly more hot water than a household of two, which means the rod works harder. Sediment buildup from naturally occurring minerals (calcium, magnesium, iron) also affects how quickly the rod corrodes and can cause additional tank stress.
Extreme pH levels hit especially hard. Water with a pH below 7 (acidic) is more aggressive toward metal. Water with a pH above 8.5 (alkaline) can cause different types of deterioration. Either condition shortens the replacement interval. If you’re on softened water, magnesium rods can corrode in 2 years or less. That’s why zinc alloy or aluminum zinc combinations perform better in those conditions. More frequent inspection, every 12 months instead of every 18 to 24 months, helps you catch deterioration before it reaches the tank.
Safety Precautions for Gas Water Heater Anode Rod Work
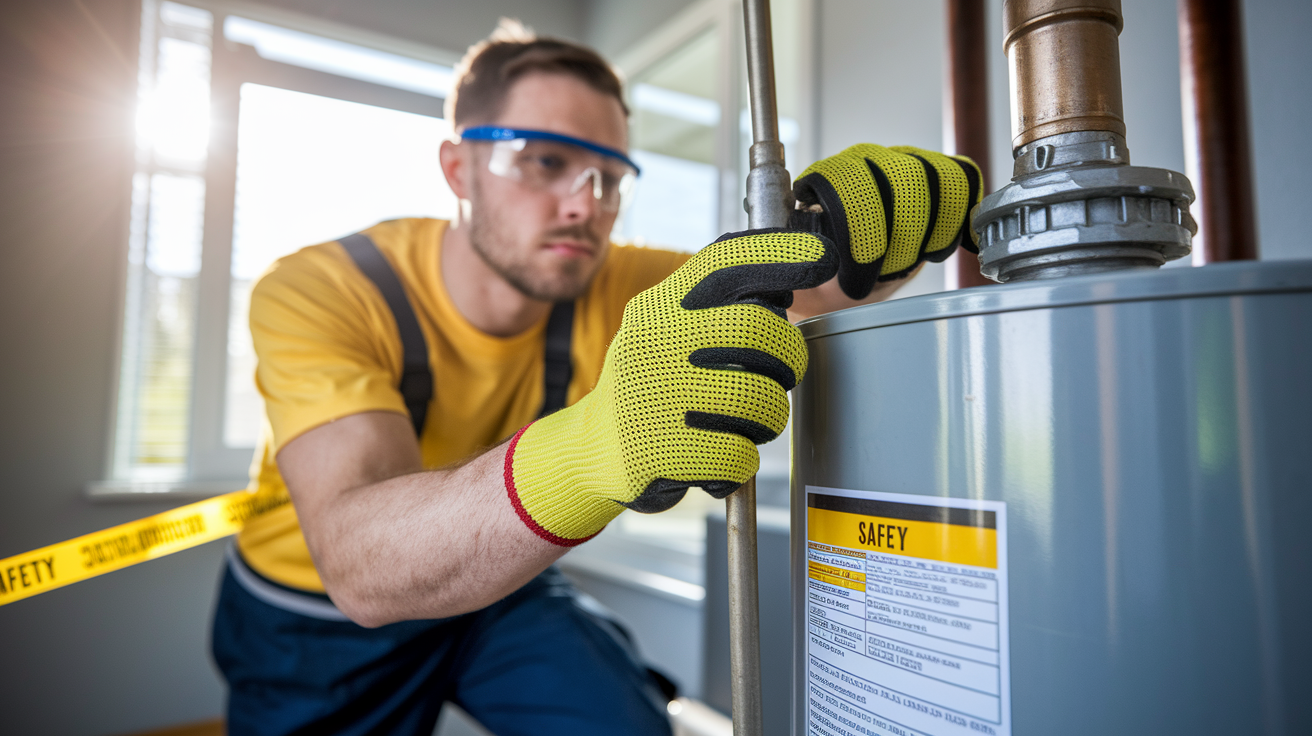
Gas water heaters require specific safety steps that you can’t skip. This isn’t just about protecting the equipment. It’s about preventing gas leaks, burns, and water damage during the work.
Follow these eight safety steps in order:
-
Turn off the gas supply shutoff valve completely. This is usually located on the gas line leading into the heater. Turn it perpendicular to the pipe.
-
Extinguish the pilot light according to your water heater’s instructions. Don’t attempt work with an active flame.
-
Close the cold water inlet valve at the top of the tank to stop fresh water from entering.
-
Allow water to cool for 2 or more hours if the heater was recently heating. Working with scalding water creates serious burn risk.
-
Open a hot water faucet somewhere in the house to relieve water pressure in the system before you start draining.
-
Attach a hose to the drain valve before opening it. Direct drainage into a floor drain, sump, or outside area to control the water flow.
-
Never apply excessive force that moves or damages the tank. If the entire heater shifts during your work, you’re risking connections and tank integrity.
-
Test the pressure relief valve function after you’ve restored water and gas. Lift the lever briefly to confirm water discharges, then ensure it reseats without dripping.
After installation is complete, burp air from the system by running hot water faucets until water flows steadily without sputtering. Check every connection you touched for leak prevention: the anode rod threads, the drain valve, and the cold water inlet. Verify proper pilot light ignition following your heater’s lighting instructions. Confirm the pressure relief valve isn’t dripping before you consider the job done. A small drip from the relief valve can indicate overpressure or a faulty valve that needs attention.
When to Call a Professional Instead of DIY Replacement
DIY works well for most standard residential installations, but certain situations call for professional service from the start. Knowing when to call someone saves you time, potential damage, and warranty headaches.
Consider hiring a professional in these scenarios:
- Active warranty requiring certified service to maintain coverage per manufacturer recommendations
- Commercial applications or large tank capacity systems (75+ gallons) with complex access
- Plastic lined tanks or unusual configurations that need verification before you start removing parts
- Severely stuck rod that won’t budge even with proper tools and techniques
- Signs of tank leaks or visible metal degradation beyond just the anode rod
- Complex venting requirements or concerns about the gas line connections
- Lack of overhead space or access clearance making removal dangerous or nearly impossible
Professional installation typically runs $150 to $300 for the complete job. That includes diagnosing whether your tank is worth saving, selecting the appropriate rod material for your specific water chemistry, and completing the work with warranty preserving documentation. If your heater is still under manufacturer warranty, professional service often makes sense just to protect that coverage. Missing required maintenance or using unauthorized service can void warranties entirely, leaving you on the hook for a full replacement if something fails.
Final Words
Gas water heater anode rod replacement protects your tank from corrosion and doubles its lifespan when done right.
The process takes 1-2 hours, costs $30-70 in parts for DIY, and pays off with years of reliable hot water and avoided tank failure.
Check your rod annually. Replace it every 3-5 years depending on your water chemistry. Match the rod type to your conditions—magnesium for normal water, aluminum-zinc for hard or softened water.
If the hex head won’t budge or you’re still under warranty, calling a pro makes sense. Otherwise, this is a straightforward project that keeps your water heater running strong and your home protected.
FAQ
How often should you replace the anode rod in a gas water heater?
You should replace the anode rod in a gas water heater every 3 to 5 years under normal conditions. Water chemistry, usage levels, and whether you have a water softener can affect this timeline, requiring more frequent inspection and earlier replacement.
What are the symptoms of a bad anode rod in a water heater?
The symptoms of a bad anode rod in a water heater include rotten egg smell from hydrogen sulfide, rusty or discolored water, popping sounds from sediment buildup, visible corrosion on the hex head, reduced hot water supply, and increased heating bills.
Does a gas water heater need an anode rod?
A gas water heater needs an anode rod to protect the steel tank from corrosion. This sacrificial rod attracts corrosive elements in the water, preventing tank deterioration and potentially doubling the lifespan of your water heater to 10-20 years.
Do I need to drain the water heater to replace the anode rod?
You need to drain only 2 to 3 gallons from the water heater to replace the anode rod, not the entire tank. Draining a few gallons relieves pressure and lowers the water level enough to safely remove and install the rod.
Can I use Teflon tape on anode rod threads?
You should not use Teflon tape on anode rod threads because it reduces the rod’s effectiveness. Always use pipe joint compound instead, as it allows proper electrical contact needed for the sacrificial corrosion protection to work correctly.
What tools do I need to replace a water heater anode rod?
The tools you need to replace a water heater anode rod include a 1-1/16 inch socket wrench, breaker bar for leverage, bucket or hose for draining, pipe joint compound, and potentially an impact wrench for severely stuck rods.
How do I know if my anode rod is completely worn out?
You know your anode rod is completely worn out through visual inspection showing heavy corrosion to the core wire, excessive calcium buildup, or the rod being worn down to less than half its original diameter with exposed core wire.
What type of anode rod is best for hard water?
The best type of anode rod for hard water is aluminum or aluminum-zinc combination rods. These materials handle high mineral content better than magnesium and typically last 4 to 6 years in hard water conditions.
Why does my hot water smell like rotten eggs?
Your hot water smells like rotten eggs because bacteria in the tank produce hydrogen sulfide gas, which reacts with a deteriorating magnesium anode rod. Switching to an aluminum-zinc rod or powered anode typically eliminates this sulfur smell.
How much does professional anode rod replacement cost?
Professional anode rod replacement costs between $150 and $300 including the service call. This covers proper diagnosis, appropriate rod selection for your water chemistry, installation, and warranty-preserving documentation for your water heater.
Can I replace an anode rod myself?
You can replace an anode rod yourself as a 1 to 2 hour DIY project requiring basic tools and costing $30 to $70 for parts. However, situations like active warranties, commercial systems, or severely stuck rods may require professional installation.
What happens if I never replace my anode rod?
If you never replace your anode rod, the steel tank begins corroding once the sacrificial rod is completely consumed. This leads to tank leaks, premature water heater failure, and costly replacement of the entire $800 to $1,500 unit.
How do flexible anode rods work?
Flexible anode rods work using segmented construction that allows them to bend during installation in spaces with less than 44 inches of ceiling clearance. They provide the same corrosion protection as rigid rods while solving overhead space limitations.
Should I replace my anode rod if my water heater is leaking?
You should not replace your anode rod if your water heater tank is already leaking, as rusty flakes during draining and active leaks indicate tank failure beyond what rod replacement can fix. The entire water heater needs replacement at this point.
How long does it take to replace a water heater anode rod?
It takes 1 to 2 hours to replace a water heater anode rod for first-time DIY projects, with subsequent replacements typically taking about 45 minutes once you’re familiar with the process and have the proper tools ready.