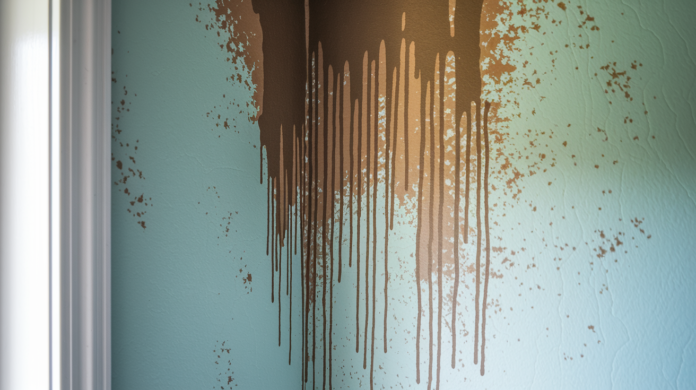

You just painted your living room last year, and now there’s a weird yellow stain creeping across the wall. It wasn’t there last week. That stain isn’t a cosmetic problem. It’s wet drywall telling you water’s getting in somewhere, and you’ve got maybe 24 to 48 hours before mold starts growing and the damage gets expensive. This guide shows you exactly what to look for, how to confirm hidden moisture, and what to do right now to stop a small leak from turning into a $15,000 repair.
Signs You Have Wet Drywall: Visual, Tactile, Odor & Simple Tests
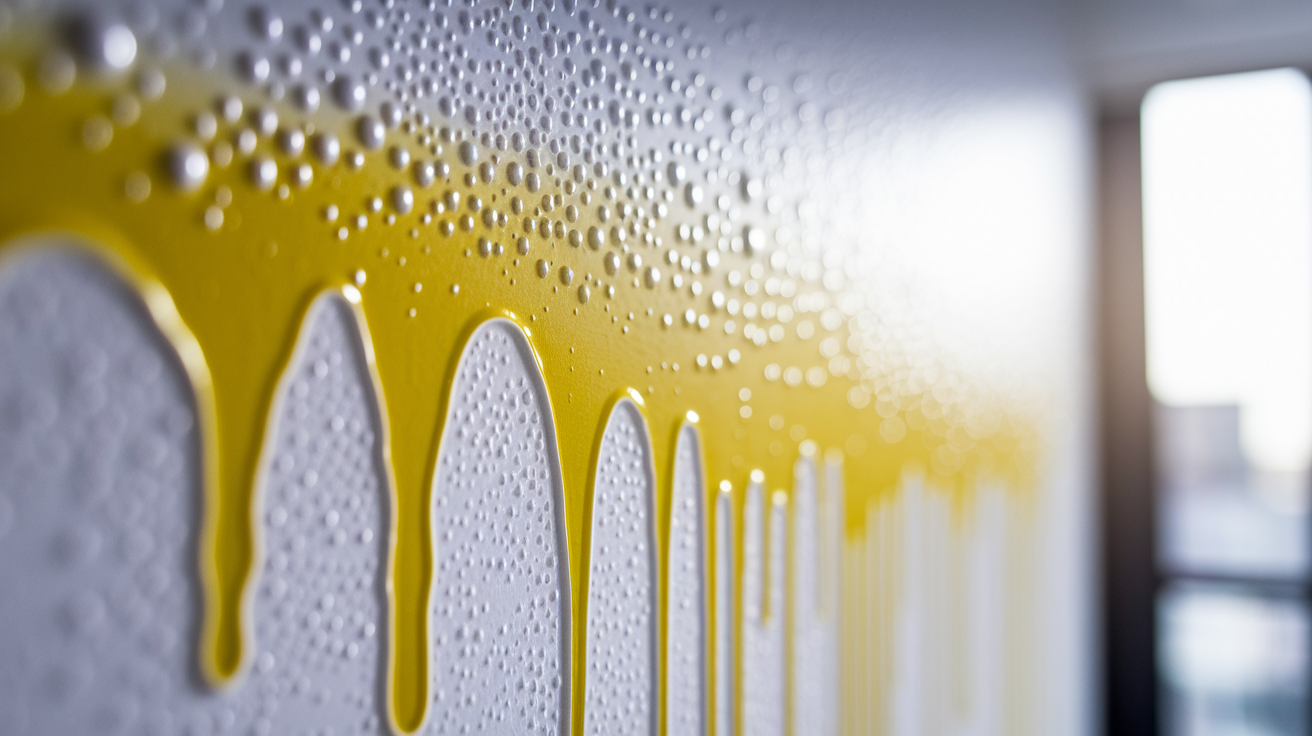
Wet drywall shows up in a bunch of different ways. Paint starts acting weird, walls feel wrong when you touch them, smells develop, and temperatures shift. You’ve just got to know what you’re looking for and where to check.
Catch these signs early and you’ll prevent serious damage. When several signs show up at once, that’s telling you the water problem is worse and needs attention now.
Common warning signs of wet drywall include:
- Yellow spots or stains – Usually the first thing you’ll see, coming from roof leaks, pipe condensation, or slow moisture creeping in
- Brown patches – Water’s been there long enough to pull crud out of your building materials
- Copper-colored stains – Point to ongoing moisture, maybe from plumbing condensation
- Dark brown or black stains – Advanced water damage or potential mold that you need to deal with immediately
- Bubbling paint – Moisture pushing the paint away from the drywall underneath
- Peeling or flaking paint – Happens when sheetrock soaks up too much water and the paint bond breaks
- Blistering paint – Little raised pockets where water collects between paint layers and drywall
- Cracking paint or wallpaper – Drying cycles make surface materials contract and separate
- Soft spots – Areas that give a bit when you press gently with your finger
- Dampness to the touch – You can feel moisture right there on the surface
- Spongy areas – Drywall’s absorbed so much water it’s lost its structure
- Warping or sagging – Sheetrock bends and curves after absorbing too much water, sometimes looks wavy or lumpy
- Swelling or buckling – Internal pressure from moisture pushes walls outward, creates uneven surfaces
- Growing stain patterns – Water stains that keep getting bigger mean you’ve got an active hidden plumbing leak
The pressing test helps you find moisture that’s not visible yet. Apply gentle pressure across different wall sections, especially near spots you’re worried about. Soft, mushy, or spongy spots mean water’s gotten in. Run your hand across the wall to find dampness through touch and temperature differences. Cold spots often mean trapped moisture behind the wall. Feel for texture problems where the surface isn’t smooth like it should be. Check how solid things are by pressing at different heights. Areas that flex more than they should or feel different from the sections next to them deserve a closer look.
Musty smells give you critical clues about hidden moisture. The smell’s like earthy dampness, similar to what you get on rainy days or in damp outdoor areas. This odor often comes through electrical outlets and baseboards where walls meet floors. Crown molding and door frames also let moisture-related smells escape. To track down where the smell’s coming from, get close to electrical outlets and sniff carefully around the plate edges. Check under baseboards by getting down on the floor and sniffing along the baseboard line. Persistent musty or moldy smells near wall areas mean water’s soaked into sheetrock, wood, or drywall, or you might have mold growing in wall cavities.
DIY water meter test to confirm hidden leaks:
- Turn off all faucets and water-using appliances throughout the home, including washing machines, dishwashers, ice makers, and outdoor hoses
- Record the current water meter reading exactly, write down all the numbers you can see or take a clear photo
- Leave water off for about 3 hours without anyone using any water
- Check the meter reading again after the waiting period
- Compare readings carefully. Any increased usage confirms you’ve got a hidden leak somewhere in your plumbing system
Within 24 to 48 hours of water exposure, mold can start growing and structural damage begins. This narrow window makes immediate action necessary once you spot signs of wet drywall.
Why Wet Drywall Is Urgent: Causes and Consequences
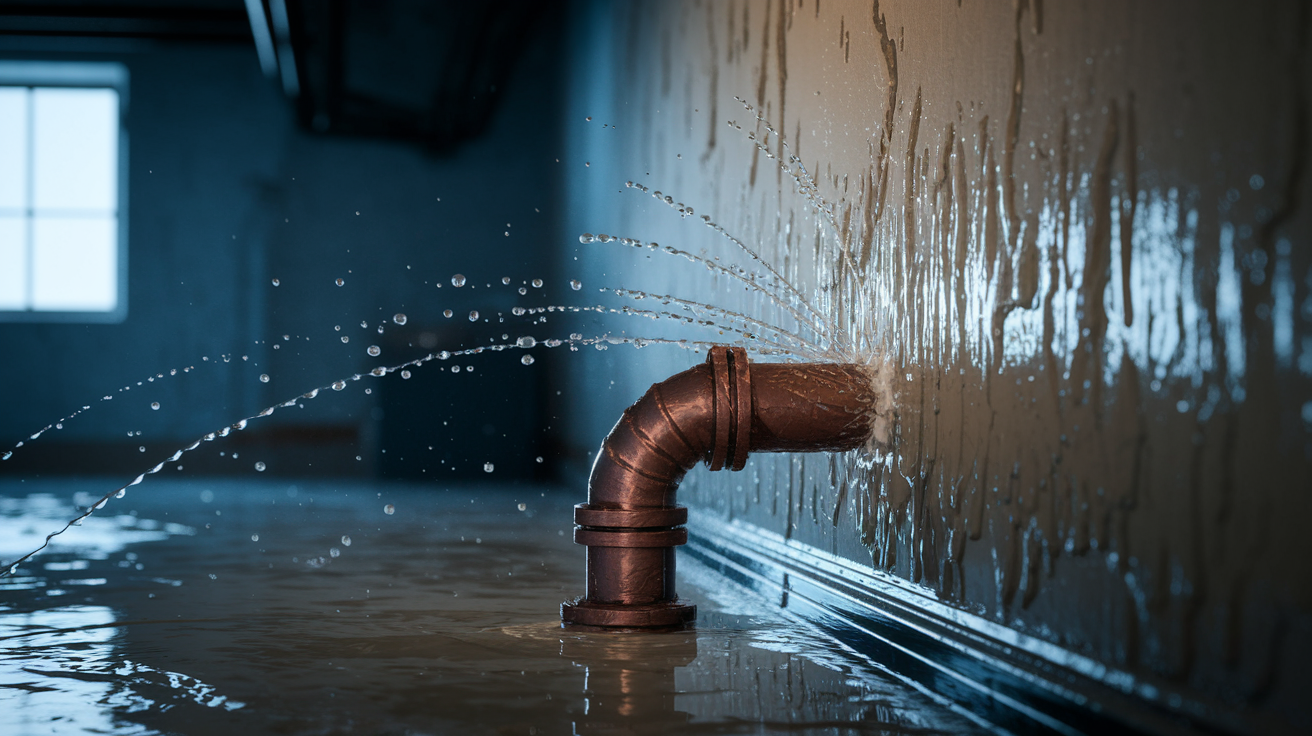
Understanding where water comes from helps you do targeted inspections. Recognizing why you need to respond fast connects the dots between water sources and damage that gets worse quickly.
Plumbing failures rank among the most common causes of wet drywall. Supply line leaks develop at connection points, valve seats, and aging pipe sections. Drain pipes crack or separate at joints, letting wastewater seep into walls. Burst pipes during freezing temperatures dump massive amounts of water quickly. Slow leaks behind walls go undetected for months, continuously soaking drywall and surrounding materials. Pipe condensation from temperature differences creates persistent moisture that builds up over time. One Rochester homeowner discovered a tiny supply line leak that ran unnoticed for three months, resulting in $15,000 in structural damage.
Building envelope failures let exterior water reach interior drywall. Roof leaks from damaged shingles, flashing problems, or ice dams allow water to travel down through ceilings and walls. Foundation cracks channel groundwater and surface runoff into basement walls. Window seal breaks around frames create entry points during rain and snow. Poor drainage around the home perimeter directs water toward the foundation instead of away from it. Water damage triage and prevention repairs address these vulnerable points before major water gets in.
Climate and environmental factors speed up moisture problems. High humidity creates condensation on cold surfaces inside walls. Temperature swings cause materials to expand and contract, opening gaps for water entry. Freezing winters cause pipe bursts when water inside lines expands. Humid summers in Florida and Southeast regions create perfect conditions for moisture getting in and condensation building up. Seasonal flooding during storm seasons in low-lying areas overwhelms drainage systems and pushes water through foundation walls.
Standard drywall consists of a gypsum core sandwiched between paper backing, making it super absorbent like a sponge. This porous makeup means moisture soaks in quickly and spreads through the material. The critical timeline is brutal. Within 24 to 48 hours of water exposure, mold spores begin growing and structural damage starts. Emergency response within 30 minutes for water extraction prevents damage from getting catastrophic. The paper backing on drywall provides food for mold growth once moisture shows up.
Water doesn’t stay put. It spreads through connected building materials in predictable ways. Wooden frame structures absorb moisture from saturated drywall, leading to rot and weakening. Insulation becomes waterlogged and loses effectiveness while creating additional mold growth zones. Adjacent walls receive moisture transfer through shared framing members. Electrical systems face corrosion and short circuit risks. Wallpaper traps moisture against drywall surfaces, speeding up bubbling and deterioration. Warping begins as materials swell unevenly. Stains develop and spread outward from the moisture source. Cost goes up when you delay. That small roof leak that caused $15,000 in damage started as something that seemed minor. Waiting turns a $1,000 repair into a $10,000 or $50,000 restoration project.
Advanced Detection Tools and Professional Assessment

When DIY tests suggest moisture problems or signs appear but you can’t find the source, professionals use specialized equipment to detect moisture you can’t see.
Professional detection tools that reveal hidden moisture:
- Thermal imaging cameras – Display temperature variations across wall surfaces, with cooler areas showing moisture presence
- Infrared moisture scanners – See through wall surfaces to identify moisture concentration patterns without cutting holes
- Electronic hygrometers – Measure humidity levels inside wall cavities through small access points
- Acoustic leak detectors – Listen for water movement sounds behind finished surfaces
- Pin-type and pinless moisture meters – Give you precise moisture content readings in building materials
Professional inspections catch problems before they become emergencies. Technicians find tiny leaks in supply lines that won’t show visible signs for weeks. They identify potential mold growth zones by mapping moisture patterns across multiple wall sections. Structural water vulnerability assessments reveal weak points where future leaks are likely. Insulation moisture risk evaluation shows whether hidden saturation has already begun. One Rochester homeowner saved $22,000 by hiring a professional who caught a hidden pipe leak before total structural collapse occurred behind a wall section that looked fine.
Smart water sensors provide ongoing monitoring between professional inspections. These devices cost about $200 and install near water heaters, under sinks, near washing machines, and in basements. They send alerts to your phone when moisture gets detected, letting you respond immediately before drywall damage develops. The investment prevents the average $15,000 in damage costs. Sensors with automatic water shutoff capability stop the source immediately, containing damage to minimal square footage. Annual professional assessments combined with continuous sensor monitoring create a comprehensive early warning system. Detection catches issues in the preventable stage rather than the expensive fix-it stage.
Immediate Steps When You Discover Wet Drywall
The first 30 minutes to 3 hours are critical for damage control. Water extraction within this window prevents damage from getting catastrophic and mold from establishing.
Immediate response actions to minimize damage:
- Shut off the water source – Find and close the shutoff valve for the affected plumbing line, or shut off the main water supply if you’re not sure where it’s coming from
- Document the damage thoroughly – Take timestamped photos and videos of all affected areas, stains, wet spots, and surrounding conditions before anything changes
- Remove furniture and valuables – Clear the affected area of anything that water could damage or that could block drying and repair access
- Increase ventilation immediately – Open windows, turn on fans, and point them toward wet areas to start air circulation and moisture removal
- Contact water damage professionals – Call for emergency assessment and extraction services, especially if water’s actively flowing or pooling
- Isolate the affected area – Close doors to contain humidity and prevent moisture from spreading to rooms that aren’t affected
- Turn off electricity to affected circuits – If water’s near outlets, switches, or electrical panels, shut off power to those circuits at the breaker box
Documentation serves multiple purposes beyond insurance claims. Photos establish the damage timeline when working with contractors. They provide before repair records showing what got affected. Measurements of wet areas help estimate material replacement needs. Identifying the potential source in your documentation guides repair teams to check specific systems first. Write down when you first noticed signs, when water exposure likely began based on how the stain developed, and what conditions were happening around that time.
Safety situations require you to get out rather than take action. Leave immediately if you see electrical sparking or outlets near water. Sagging or bulging ceilings could collapse. Lots of visible mold covering multiple wall sections creates breathing hazards when you disturb it. Strong sewage smells mean contaminated water that requires professional hazmat protocols. In these cases, shut off power if you can reach the panel safely, leave the property, and call professionals from outside the home.
Drywall Repair and Replacement: What to Expect
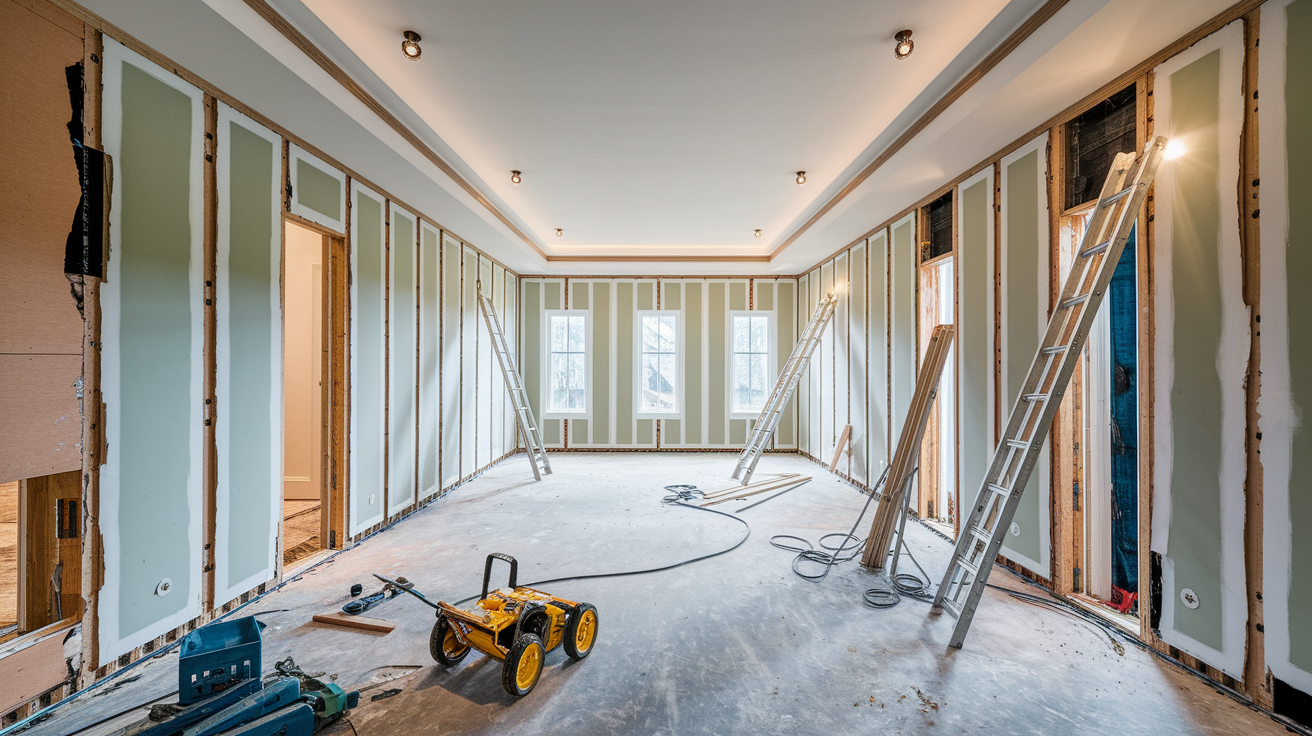
Wet drywall can’t be dried and reused effectively. The material’s porous makeup means absorbed water messes up structural integrity and creates permanent mold growth conditions even after you try drying it.
Typical repair scope depends on how much water exposure you had and how long. Following flooding events, contractors generally remove the bottom half of drywall throughout affected rooms since water wicks upward from floor contact. Isolated leak repairs involve cutting out the saturated section plus an additional 12 to 24 inches beyond visible damage to make sure you get all the moisture out. Wall cavities get inspected for wet insulation that needs replacing. Wooden framing members get moisture readings to figure out if drying is enough or if they need replacement. Hidden damage behind cabinets, inside closets, and below windows often goes beyond what you can see on main wall surfaces.
Cost ranges reflect how bad the damage is and what complications you find. Multiple factors influence final pricing including how much square footage got affected, whether there’s mold requiring special cleanup protocols, structural damage to framing or joists, and whether electrical or plumbing systems are involved. Water that travels through wall cavities often affects multiple rooms even when stains appear in just one area. Drywall layers connect, wooden frame structures continue through walls, and electrical systems run between floors and rooms. What looks like a single wet wall frequently turns out to be a multi-wall replacement project once you do a complete inspection.
| Damage Level | Typical Scope | Estimated Cost Range |
|---|---|---|
| Minor localized damage | Single wall section, limited mold, accessible source | $1,000 – $3,000 |
| Moderate wall section | Multiple wall sections, some framing involved, moderate mold | $3,000 – $15,000 |
| Extensive multi-wall | Several rooms affected, insulation replacement, electrical work | $15,000 – $50,000 |
| Severe structural | Major framing damage, multiple systems affected, extensive mold | $50,000 – $100,000+ |
Professional water damage restoration handles the complete process more effectively than DIY approaches. Teams remove wet materials properly to prevent mold spore spread. Industrial-grade drying equipment reduces cavity moisture to safe levels. Mold prevention treatments get applied before reconstruction begins. Moisture verification testing confirms drywall replacement areas are truly dry. The alternative is installing new drywall over hidden moisture problems that keep causing damage.
Prevention Strategies to Protect Your Drywall
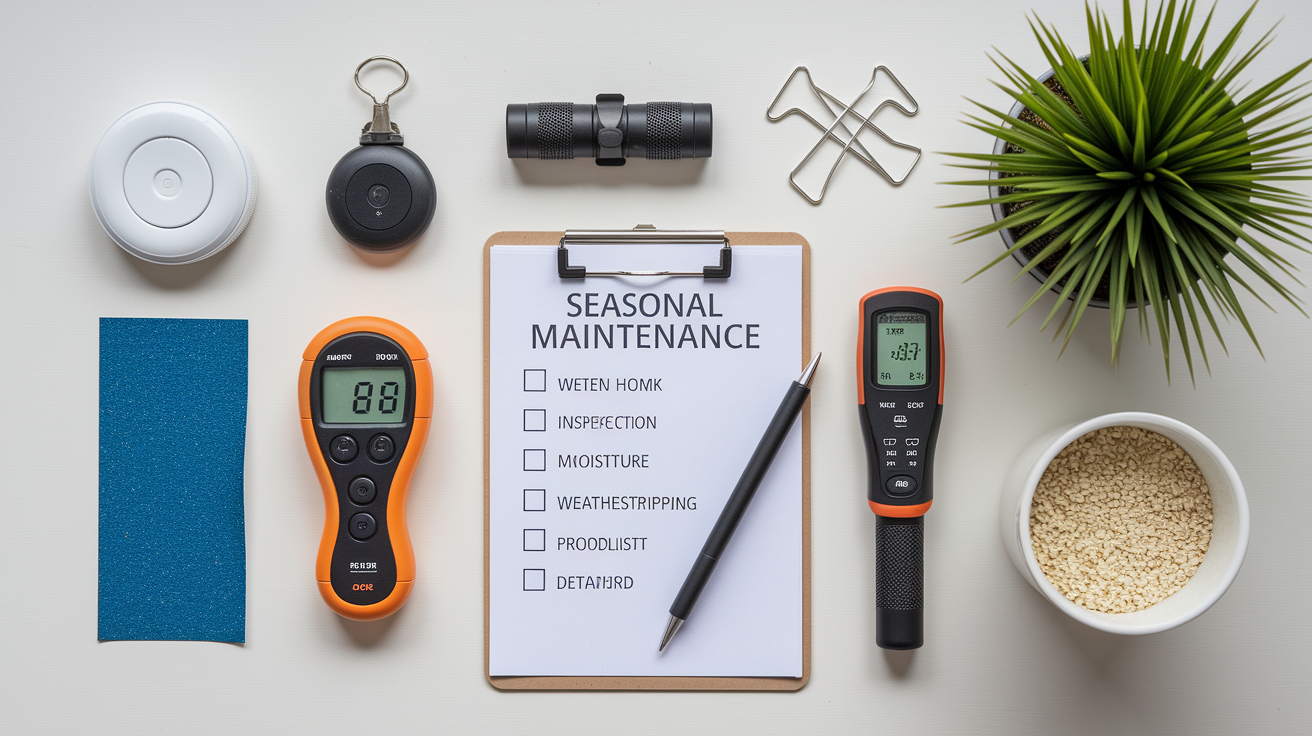
Investing $200 to $500 in preventative measures can prevent $15,000 to $50,000 in water damage costs. Prevention focuses on keeping water where it belongs and detecting problems before drywall gets wet.
Critical prevention tactics for homeowners:
- Quarterly plumbing inspections – Check under sinks, around water heaters, near washing machines, and at toilet bases for early leak signs
- Annual roof checks – Inspect shingles, flashing, gutters, and downspouts before and after severe weather seasons
- Window and door seal maintenance – Test and replace weatherstripping, inspect caulking around frames, make sure drainage slope is right
- Foundation drainage verification – Confirm downspouts direct water at least 6 feet from foundation, check sump pump operation quarterly
- Humidity control systems – Use dehumidifiers in basements and crawl spaces, keep indoor humidity between 30-50%
- Proper ventilation – Make sure bathroom and kitchen exhaust fans vent outside, not into attics or wall cavities
- Smart water sensor installation – Place monitors near all water-using appliances, under sinks, and in basements
- Regular attic inspections – Look for roof leak evidence, check insulation for dampness, verify proper ventilation
- Basement and crawl space checks – Examine walls for moisture, check for standing water, test sump pump function
- Pipe insulation – Wrap exposed pipes in unheated areas to prevent freezing and condensation issues
Smart water sensors and leak detection systems provide 24/7 monitoring that catches problems in real time. Basic sensors cost around $200 and send phone alerts when moisture gets detected. Advanced systems work with smart home platforms and can automatically shut off water supply when leaks occur. Installation near water heaters, washing machines, dishwashers, refrigerator ice makers, and under bathroom sinks creates a comprehensive monitoring network. These devices paid for themselves many times over for the homeowner who avoided $15,000 in damage through early leak alerts. Another Rochester homeowner prevented potential $50,000 damage through rapid response triggered by basement sensor alerts during a pipe failure.
Seasonal maintenance addresses climate-specific risks throughout the year. Winter prep includes insulating pipes in unheated areas, keeping garage doors closed where pipes run through walls, and keeping interior temperatures above 55°F even when you’re away. Spring roof inspections catch winter damage before heavy rains begin. Summer humidity control prevents condensation buildup in wall cavities during temperature swings. Fall drainage maintenance clears gutters and downspouts before freezing weather hits. Preventative home maintenance checks on a quarterly schedule identify vulnerable points before they fail. Rochester homeowners face particular challenges with freeze-thaw cycles that create expansion and contraction stress on building materials. Humid summers create condensation risks that winter heating masks. Addressing both seasonal extremes cuts year-round water intrusion risk.
Insurance Claims and Documentation for Water-Damaged Drywall

Insurance coverage for water-damaged drywall varies a lot based on the water source and damage timeline. Sudden and accidental events like burst pipes or roof damage from storms typically get covered. Gradual deterioration from long-term leaks, maintenance neglect, or seepage usually falls outside policy protection.
Documentation requirements determine claim success as much as actual damage. Timestamped photos show damage extent and how it progressed. Multiple angles of each affected wall section establish the complete picture. Close-ups of stains, bubbling, and texture changes provide detail adjusters need. Photos of the suspected water source connect cause to effect. Moisture readings from professionals create objective damage measurements that support claim amounts. Professional assessment reports detail hidden damage behind surfaces and provide expert opinions about cause and necessary repairs. Repair estimates from licensed contractors establish reasonable cost expectations. Timeline records showing when signs first appeared, when you took action, and what temporary measures you put in place demonstrate responsible homeowner response.
Working effectively with insurance adjusters protects your interests during the claims process. Be there during the adjuster’s inspection to point out all affected areas including less obvious damage zones. Highlight safety concerns like potential mold or electrical hazards. Provide complete organized records rather than making adjusters ask repeatedly. Question low estimates by providing competing professional assessments. Document everything the adjuster says about coverage decisions and next steps. If initial claim decisions seem wrong, understand your policy’s appeal process. Some adjusters focus on minimizing claim costs rather than complete damage assessment. Professional water damage restoration companies often help with insurance documentation and adjuster interactions based on extensive claim experience.
| Documentation Type | Purpose | When to Collect |
|---|---|---|
| Photos and video | Visual evidence of damage extent and progression | Immediately when you discover it, before any cleanup or repairs |
| Moisture readings | Objective measurements proving water presence and saturation levels | Within 24 hours of discovery, repeated during drying process |
| Professional assessment | Expert evaluation of cause, extent, and necessary repairs | Within 48 hours to support claim filing |
| Repair estimates | Establish reasonable cost expectations for complete restoration | Before adjuster visit when possible, or within one week |
| Timeline records | Demonstrate when damage occurred and your responsive actions | Ongoing journal from first sign through claim resolution |
File claims quickly while documenting thoroughly. Most policies require notification within days of discovery, not weeks. Delayed reporting can result in claim denial regardless of how bad the damage is. But rushing the claim filing before complete assessment risks underestimating damage and getting an insufficient settlement. The balance involves immediate notification to your insurer about the incident, followed by thorough professional assessment before finalizing the claim amount. Quick notification preserves your rights. Complete documentation before final submission protects your financial recovery.
Final Words
Wet drywall doesn’t announce itself with an alarm. It shows up as paint bubbling in the corner, a brown patch that keeps spreading, or that damp smell you can’t quite place.
The good news is that once you know the signs of wet drywall behind paint, you can move fast. A soft spot caught early, a stain tested with your hand, a musty odor traced to an outlet—these are all moments when you still have time to stop the damage and protect your home.
Check the walls. Trust what you’re seeing and feeling. And if something feels off, it probably is.
FAQ
How do you know if you have water behind drywall?
You know you have water behind drywall by looking for discoloration (yellow, brown, or dark stains), bubbling or peeling paint, soft spots when you press the wall, warping or sagging surfaces, and a persistent musty smell near walls or outlets.
What happens if I paint over wet drywall?
If you paint over wet drywall, the paint will bubble, peel, or crack within days as trapped moisture pushes outward, and mold will likely grow behind the new paint layer, making the damage worse and more expensive to fix.
How long does it take for mold to grow on wet drywall?
Mold can start growing on wet drywall within 24 to 48 hours of water exposure, which is why immediate action to dry or remove saturated drywall is critical to prevent health risks and structural damage.
What does water damage behind paint look like?
Water damage behind paint looks like yellow, brown, or copper-colored stains on walls, bubbling or blistering paint surfaces, peeling or flaking areas, and dark brown or black patches that signal advanced damage or mold growth.
Can you dry out wet drywall or does it need replacement?
Wet drywall typically needs complete removal and replacement because the gypsum core and paper backing absorb moisture like a sponge, creating permanent structural weakness and ideal conditions for hidden mold growth that drying cannot reverse.
Where should you check for hidden moisture in walls?
You should check for hidden moisture around electrical outlets, under baseboards, near plumbing fixtures, along exterior walls, under windows, in corners where walls meet ceilings, and anywhere you notice temperature differences or cold spots.
What causes drywall to get wet in the first place?
Drywall gets wet from plumbing leaks (burst pipes, slow drips behind walls), roof leaks, foundation cracks, failed window seals, condensation buildup, poor drainage around the home, and flooding events that allow water intrusion through multiple entry points.
How much does it cost to repair water-damaged drywall?
Water-damaged drywall repair costs range from $1,000 for minor localized damage to $100,000 for severe structural damage, depending on the affected square footage, mold presence, structural involvement, and whether electrical or plumbing systems need repair.
Should you call a professional or handle wet drywall yourself?
You should call a professional for wet drywall because they have moisture meters, thermal imaging cameras, and expertise to find hidden damage, assess structural safety, prevent mold growth, and complete proper remediation within the critical 24-48 hour window.
How can you prevent water damage to drywall?
You can prevent water damage to drywall by conducting quarterly plumbing inspections, checking your roof annually, sealing window and door frames, maintaining proper foundation drainage, controlling indoor humidity, installing smart water leak detectors, and inspecting attics and basements regularly.