
You just discovered a water leak, dried up the puddle, and now you’re staring at a damp wall wondering if you need to cut it out and replace it. Here’s the truth: wet drywall doesn’t always need replacement, but whether you can save it depends on three specific factors working together. The type of water that soaked it, how long it stayed wet, and how deeply saturated the material became all determine whether you’re looking at a drying project or a full tear-out. We’ll walk you through exactly what to check, what can be saved, and when replacement is the only safe option.
When Wet Drywall Can Be Saved vs. When Replacement Is Required

No, wet drywall doesn’t always need replacement. But the outcome depends on three critical factors: the type of water involved, how long the drywall stayed wet, and how deeply saturated the material became. These conditions work together to determine whether you’re looking at a drying project or a replacement job.
The basic principle comes down to timing and water quality. Minor water exposure from a clean source like a supply line, caught and dried within the first 24 to 48 hours, can often be salvaged through proper drying methods. Picture a small leak under a sink that you noticed the same day. That’s usually fixable without tearing out walls. But drywall that stayed wet for days or got soaked with contaminated water from flooding or sewage? That typically needs to come out, no matter how quickly you respond after discovering it.
The critical factors work as a system, not in isolation. Clean water from a burst pipe might seem manageable, but if that drywall stayed soaked for five days before you found it, mold has likely started growing and the gypsum core has begun breaking down. Even brief exposure to contaminated water creates health risks that make salvage unsafe. The saturation level matters too. Surface dampness is one thing. Drywall wet clear through to the studs is another. When professionals evaluate water damage, they’re weighing all these variables together to determine whether the material can be saved or must be replaced for safety and structural reasons.
Critical Factors That Determine if Water Damaged Drywall Must Be Replaced
Professionals don’t use a simple yes or no checklist when evaluating wet drywall. They assess specific diagnostic indicators that reveal whether the material can be safely dried and saved or must be removed. Understanding these factors helps homeowners recognize why some water damage gets patched while other situations require full replacement.
Water Source and Contamination Level
Water damage gets classified into three categories based on contamination level, and this classification heavily influences whether drywall can be salvaged. Category 1 water comes from clean sources like supply lines, water heaters, or rainwater that hasn’t contacted contaminants. This is the most salvageable type if caught early.
Category 2 water, called gray water, comes from appliances like dishwashers, washing machines, or toilet overflow with no solid waste. It contains some contamination but not sewage. Gray water exposure increases replacement likelihood but doesn’t automatically require it, depending on exposure time and drywall type.
Category 3 water, known as black water, comes from sewage backups, flooding that’s contacted ground contaminants, or any water that’s been standing long enough to support bacterial growth. Category 3 water damage always requires drywall replacement due to serious health hazards. No amount of drying makes sewage contaminated drywall safe to keep in your home.
Duration of Water Exposure
The clock starts ticking the moment water contacts drywall, creating a narrow window for salvage decisions. Drywall that’s been wet for less than 48 hours has reasonable salvage potential if other conditions are favorable. This timeframe matters because the material hasn’t had time to fully break down and mold hasn’t established visible colonies yet.
Once water exposure passes the 48 to 72 hour mark, you’re entering mold development territory. Mold spores are always present in the air, but they need moisture and time to colonize building materials. That three day window represents when invisible mold activity becomes a visible problem.
Drywall that stayed wet for a week or longer is almost never worth salvaging, even if it came from clean water. The paper backing has broken down, the gypsum core has started crumbling, and mold has likely penetrated deep into the material where you can’t see it or effectively treat it.
Extent of Saturation
There’s a meaningful difference between damp drywall and thoroughly soaked material. Surface moisture from condensation or minor splashing may only affect the paper covering and outer gypsum layer. This type of limited wetting can often be dried successfully if addressed within 24 hours.
Partial saturation means water has penetrated into the gypsum core but hasn’t fully soaked through to the back side. You might see water staining on the surface and feel slight softness when you press on it. Whether this level of saturation is salvageable depends heavily on exposure time and water type.
Complete saturation means water has soaked entirely through the drywall from the front surface through the gypsum core to the paper backing on the stud side. This level of wetting causes the material to lose structural integrity. The gypsum becomes soft and crumbly. The paper backing starts separating. Complete saturation typically means replacement, especially if the material stayed in this condition for more than 24 hours.
Type of Drywall Material
Standard drywall consists of a gypsum core sandwiched between paper facing layers. It’s the most common and most vulnerable to water damage. The paper facing acts like a sponge, quickly absorbing water and providing an ideal surface for mold growth.
Moisture resistant drywall, often called green board due to its green paper facing, uses treated paper and modified gypsum core that resist water absorption better than standard drywall. It’s commonly installed in bathrooms and laundry rooms. Green board has higher salvage rates after water exposure, particularly if the source was clean water and exposure was brief.
Mold resistant drywall goes a step further, using fiberglass facing instead of paper and special gypsum formulations. This material doesn’t provide the organic food source that mold needs to establish colonies. Mold resistant drywall has the best chance of being salvaged after water exposure, though it’s not immune to damage from prolonged saturation or contaminated water.
Visible Signs and Mold Risks That Mean Wet Drywall Cannot Be Salvaged
Certain damage patterns signal that drywall has crossed the line from salvageable to must be replaced. Some of these signs are immediately obvious when you look at a wall or ceiling. Others require touching the surface or getting close enough to smell what’s happening behind the paint.
Not every wet spot means automatic replacement. But specific combinations of visible damage indicate the material has deteriorated beyond the point where drying will restore its function or safety.
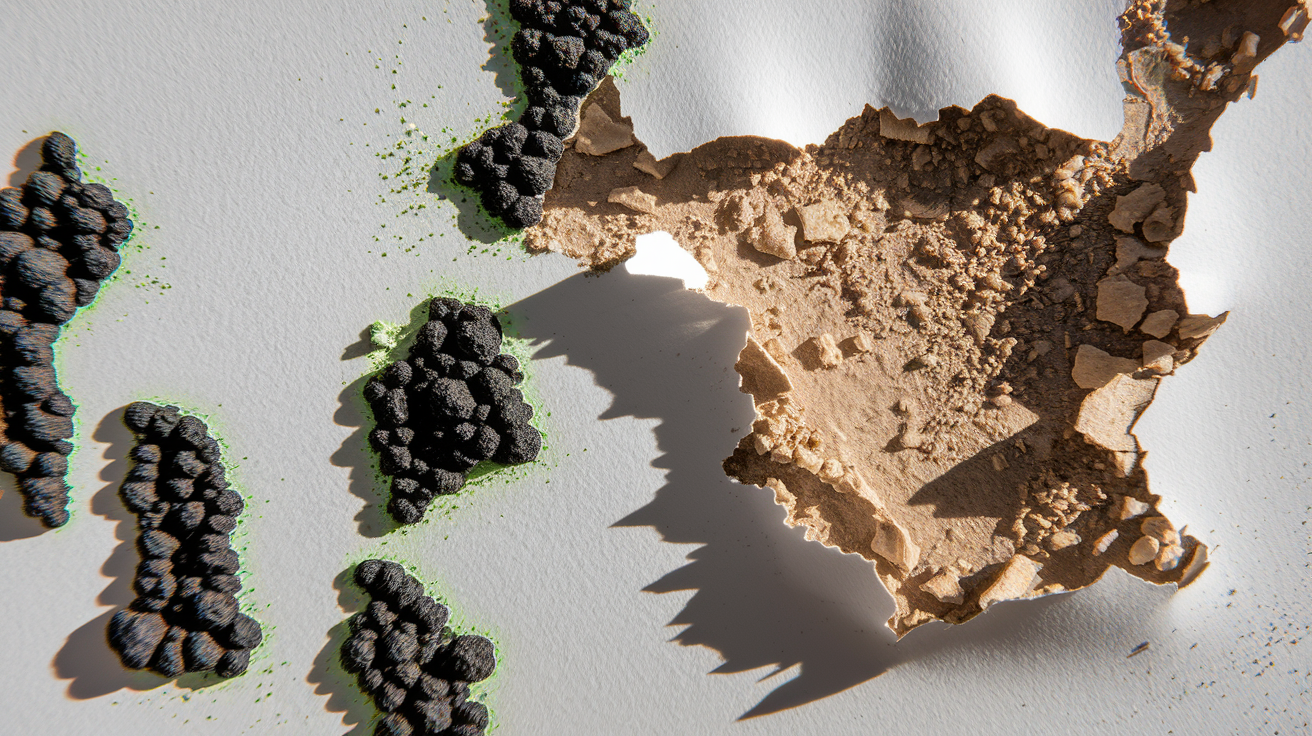
Clear replacement indicators include visible mold growth appearing as black, green, or white fuzzy patches or discolored spots. Sagging or bulging surfaces where the drywall has absorbed so much water it’s pulling away from fasteners. Crumbling texture when you touch it, with the surface breaking apart or feeling powdery. Brown or yellow water stains that have set into the material, indicating prolonged moisture exposure. Soft or spongy areas when you press on the wall, showing the gypsum core has lost its rigid structure. Paper backing peeling away from the gypsum core in sheets or bubbles. Persistent musty odors even after the surface appears dry, suggesting hidden mold growth. Warped or bowed wall sections that no longer sit flush or straight.
The mold timeline is what often pushes water damaged drywall from “maybe salvageable” into “definitely needs replacement.” Mold spores exist everywhere in normal indoor air. They’re harmless until they find the right conditions: moisture, organic material to feed on, and time to establish colonies. Wet drywall provides all three.
Within 24 to 48 hours of water exposure, mold spores begin colonizing the wet surfaces. This early activity isn’t visible yet, but it’s happening. By 48 to 72 hours, those invisible colonies grow large enough to see as discoloration or fuzzy growth. The porous nature of drywall material, with its paper facing and absorbent gypsum core, creates ideal conditions for mold to spread quickly once moisture is present.
Mold creates several serious health risks. Respiratory issues like coughing and wheezing. Allergic reactions such as sneezing and skin irritation. Asthma aggravation in people who already have breathing conditions. Particular danger for immunocompromised individuals whose bodies can’t fight off mold exposure effectively.
Once mold is visible on drywall or detected through musty odors, replacement becomes the only safe option. Surface cleaning doesn’t work because mold penetrates beyond what you can see into the gypsum core and paper backing layers where cleaning solutions and scrubbing can’t reach. Trying to save visibly moldy drywall leaves health hazards literally built into your walls.
How to Properly Dry Wet Drywall to Avoid Replacement

Successful salvage drying requires immediate action within 24 to 48 hours and proper equipment. This approach only works for minor water exposure from clean sources, meaning Category 1 water that affected a limited area. If you’re dealing with flooding, sewage backup, or drywall that’s been wet for days, skip the drying process and move straight to replacement planning.
The salvage drying process starts with stopping the water source immediately and ensuring no active leaking continues. You can’t dry out drywall while water is still entering the wall cavity. Shut off the water supply to the affected fixture or area. For situations where you can’t immediately identify or stop the leak, you may need leak detection and repair services to locate the source before drying makes sense.
Remove standing water using wet/dry vacuums or extraction equipment. Get as much liquid water out of the space as possible before starting the drying phase. This includes water on floors, in carpets, and any pooled water at the base of walls.
Position high volume fans to create air circulation across wet surfaces, angling airflow parallel to walls rather than directly at them. You want air moving along the surface to pick up moisture, not just blowing at one spot. Use multiple fans if the affected area is larger than one small section of wall.
Run dehumidifiers continuously in the affected space to reduce ambient moisture levels below 50 percent relative humidity. The fans move air across wet surfaces to pull moisture out. The dehumidifier removes that moisture from the air so the process can continue. Without dehumidification, you’re just moving wet air around.
Ensure adequate ventilation by opening windows if outdoor conditions are dry, or using HVAC systems to circulate air. If it’s humid outside, keep windows closed and rely on dehumidifiers and conditioned air from your HVAC system.
Use moisture meters to verify drywall has returned to normal levels, typically below 15 percent moisture content, before considering salvage successful. Check multiple spots across the affected area, not just one location.
The typical drying timeframe runs three to five days for minor damage when you’re using proper equipment. That’s not three to five days of “let’s see what happens.” It’s three to five days of continuous fan and dehumidifier operation with regular monitoring. Don’t rely on visual assessment alone because drywall can look and feel dry on the surface while still holding moisture inside the gypsum core. That hidden moisture will lead to mold growth and material breakdown even though you thought the problem was solved.
This salvage approach only works for surface level moisture from clean water sources caught within 24 to 48 hours. Any other scenario requires professional assessment or moves directly to replacement.
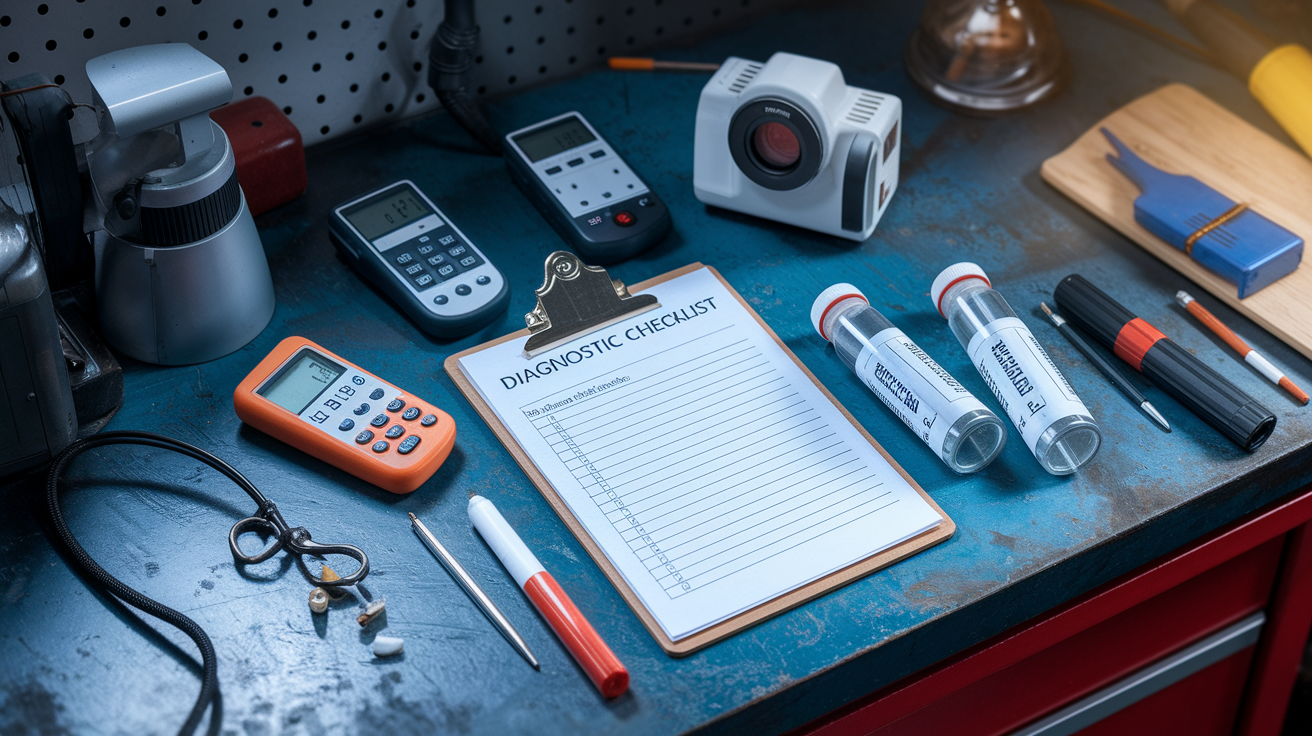
Professional Assessment vs. DIY Evaluation of Wet Drywall Damage

Visual inspection can identify obvious damage like water stains, sagging sections, or visible mold growth. You can see brown spots on a ceiling or feel soft drywall when you press on it. What you can’t see or feel is moisture trapped in wall cavities, water wicking up inside insulation, or early stage mold colonies that haven’t produced visible growth yet.
Professionals use specialized equipment that isn’t available to most homeowners and wouldn’t make financial sense to purchase for a one time situation. These tools detect problems that would otherwise remain hidden until they become serious visible damage.
| Assessment Method | DIY Capability | Professional Tools |
|---|---|---|
| Visual inspection | Can identify obvious surface damage, stains, and visible mold | Same visual assessment plus trained recognition of damage patterns |
| Moisture measurement | Limited handheld pin type or pinless meters (if purchased) | Commercial grade meters with extended probe capability and data logging |
| Hidden moisture detection | Not possible without specialized equipment | Thermal imaging cameras and infrared scanners that reveal moisture behind surfaces |
| Mold testing | Not recommended due to health exposure risks | Lab tested air samples and material samples with species identification |
| Structural assessment | Surface level observation only | Behind wall inspection using moisture meters and cameras to check studs, insulation, and wall cavities |
Professional assessment becomes necessary for any water damage beyond minor surface wetting, especially when the water source is unknown, exposure exceeded 24 hours, or contamination is suspected. Hidden moisture causes the most expensive long term damage because it continues deteriorating building materials while you assume everything’s fine.
Thermal imaging reveals temperature differences that indicate wet insulation, soaked framing, or moisture patterns spreading behind finished walls. Standard moisture meters measure through drywall into the wall cavity to confirm whether framing lumber has gotten wet. That matters because wet studs will re-wet drywall even after you’ve dried the surface.
Water damage triage and prevention repairs combine this detection technology with immediate mitigation to stop damage from spreading. The cost of professional assessment is typically a few hundred dollars. The cost of missing hidden water damage that leads to structural rot or widespread mold growth runs into thousands.
Step by Step Process for Drywall Replacement After Water Damage

Replacement is more extensive than simple patching and requires proper preparation for lasting results. Cutting out damaged material and installing new drywall sounds straightforward, but doing it correctly prevents future problems and ensures the repaired area looks and functions like the rest of the wall.
Start by removing damaged drywall sections cutting to the nearest studs, extending at least 12 inches beyond visible damage to ensure all compromised material is eliminated. This extra margin accounts for wicking, where water travels through the gypsum beyond where you can see staining. Cut in straight lines and expose the full stud face so you have solid backing for new drywall edges.
Inspect and dry the wall cavity, studs, and any remaining building materials. Once the damaged drywall is out, you can see what’s happening inside the wall. Check for wet insulation, damp framing lumber, mold growth on studs, or signs the water source is still active.
Replace wet insulation if present, as it cannot be salvaged. Fiberglass and cellulose insulation lose their insulating properties when wet and provide ideal conditions for mold growth. There’s no effective way to dry insulation inside a wall cavity. Pull it out and install fresh material.
Install new drywall sheets, securing to studs with appropriate screws at proper intervals. Standard practice is screws every 12 inches on walls and every 8 to 12 inches on ceilings. Set screws just below the surface without breaking the paper facing.
Apply joint compound and tape to seams using proper technique. This means embedding paper tape or mesh tape in a base coat of mud, then smoothing it flat. The tape reinforces the seam and prevents cracking.
Apply additional mud coats, allowing proper drying time between applications. Most seams need at least two additional coats after the tape coat, feathering each layer wider than the last to create a smooth transition.
Sand smooth once fully dried. Use fine grit sandpaper or sanding screens and work in good lighting so you can see any remaining ridges or imperfections.
Prime and repaint to match the existing finish. Primer seals the new drywall and joint compound so paint absorbs evenly. Without primer, the repaired area will show through as a different texture or sheen.
Proper replacement prevents future problems and restores structural integrity and appearance. The wall should be as strong and smooth as it was before water damage occurred. Skipping steps or rushing the process leads to visible seams, uneven texture, or cracks developing within months.
Cost Factors and Insurance Considerations for Wet Drywall Replacement

Replacement costs vary widely based on damage extent. Small areas covering 50 to 100 square feet typically run $300 to $800 including materials, labor, and finish work. That’s what you might pay for a section of wall damaged by a leaking pipe. Whole room replacement involving multiple walls or ceilings can reach several thousand dollars, especially after flooding events that affect entire floors of a home.
Several factors affect the final cost beyond just square footage. Ceiling work costs more than wall work due to difficulty and the need for additional support during installation. Matching existing texture requires skill and sometimes multiple attempts to blend properly. Smooth walls are easier to match than heavy knockdown or popcorn textures. If water damage affected flooring, baseboards, or electrical outlets in addition to drywall, those repairs add to the total. Mold remediation before replacement can add $500 to $3,000 depending on the extent of contamination.
Most homeowner’s insurance covers sudden water damage from events like burst pipes, appliance malfunctions, or roof leaks during storms. This is considered accidental damage, which falls under standard policy coverage. However, flood damage from rising water, gradual leaks from poor maintenance, or damage that developed over time due to neglected repairs typically gets excluded. You’d need separate flood insurance for rising water situations, and no insurance covers damage that resulted from failing to maintain your home properly. If you discovered a slow leak that’s been dripping for months, your insurer will likely deny the claim because the damage was preventable.
Important insurance and documentation steps include documenting damage with photos before any work begins, capturing wide shots showing the full extent and close ups of specific problem areas. Contact your insurance company within 24 to 48 hours of discovering damage to report the claim while evidence is fresh. Keep receipts for emergency mitigation expenses like fans, dehumidifiers, or temporary repairs to stop active leaking. Obtain multiple contractor estimates so you understand the reasonable cost range and can provide options to your adjuster. Understand your policy exclusions for flooding or gradual damage so you know what’s covered before filing. Consider whether filing a claim affects future premiums based on claim size, as small repairs sometimes cost less than the long term rate increase.
Preventing Future Drywall Water Damage in Your Home
Preventing water damage is significantly less expensive and disruptive than dealing with wet drywall replacement. Most water damage in homes comes from predictable sources that can be monitored, maintained, or protected against with straightforward measures.
Inspect plumbing regularly for slow leaks under sinks, around toilets, and at washing machine connections. Maintain your roof and gutters to prevent water intrusion during rain, cleaning debris at least twice yearly. Monitor your water heater for signs of failure like rust stains, moisture around the base, or age beyond 10 to 12 years. Insulate pipes in unheated areas like crawl spaces, attics, and exterior walls to prevent freezing and bursting.
Install water leak detectors near appliances and water heaters that alert you to moisture before damage spreads. Check HVAC condensation drainage to ensure lines aren’t clogged and water drains properly away from the unit. Ensure proper bathroom and kitchen ventilation by running exhaust fans during and after showers or cooking. Maintain caulking around tubs and showers, replacing it when it cracks or pulls away from surfaces. Know the location of your main water shutoff valve for emergencies and verify it operates smoothly.
Early detection and prompt response are key factors in minimizing damage when water exposure does occur. The difference between wet drywall you can dry and wet drywall you must replace often comes down to hours, not days. Preventative home maintenance checks catch small problems before they become water damage situations. A slow drip you fix today doesn’t become the soaked wall you discover next month. Regular attention to water using systems and building envelope integrity keeps drywall dry and eliminates the salvage or replace question entirely.
Final Words
Does wet drywall always need to be replaced? Not always, but the window for saving it is narrow.
Clean water caught within 24-48 hours often responds well to aggressive drying. But once mold appears, contamination is present, or the paper backing starts to break down, replacement becomes the only safe option.
The key is acting fast, using the right equipment, and knowing when to call for professional assessment. When you catch it early and dry it right, you protect your home and avoid the bigger expense down the road.
FAQ
What happens if you don’t replace wet drywall?
If you don’t replace wet drywall when necessary, mold growth develops within 48-72 hours, creating respiratory health risks and allergic reactions. The gypsum core continues deteriorating, losing structural integrity and causing sagging, crumbling, and potential wall collapse in severely damaged areas.
Can drywall still be used if it gets wet?
Drywall can still be used if it gets wet only when caught within 24-48 hours, exposed to clean water, and properly dried to below 15% moisture content. Surface-level wetting from minor leaks can often be salvaged, while prolonged saturation or contaminated water requires replacement.
How long does it take for mold to grow on wet drywall?
Mold grows on wet drywall beginning within 24-48 hours after water exposure, with visible colonies typically appearing by 48-72 hours. The porous gypsum core and paper backing create ideal conditions for mold spores to colonize quickly once moisture is present.
Will drywall always mold if it gets wet?
Drywall will not always mold if it gets wet, provided you dry it completely within 24-48 hours using fans, dehumidifiers, and proper ventilation. Quick action that reduces moisture below 15% content before the 48-hour mark prevents mold colonization and allows salvage.
What are the signs that wet drywall must be replaced?
Wet drywall must be replaced when showing visible mold growth, sagging or bulging surfaces, brown or yellow water stains, crumbling texture, soft spongy areas when pressed, peeling paper backing, persistent musty odors, or warped sections indicating structural compromise.
How long does wet drywall take to dry properly?
Wet drywall takes 3-5 days to dry properly for minor surface moisture using high-volume fans, dehumidifiers, and adequate ventilation. Complete drying requires moisture meter verification showing levels below 15% rather than relying on visual assessment alone.
Can you dry wet drywall yourself or do you need professionals?
You can dry wet drywall yourself only for minor clean water exposure caught within 24-48 hours using fans and dehumidifiers. Professional assessment becomes necessary for contaminated water, hidden moisture detection, exposure beyond 24 hours, or any suspected mold growth.
Does insurance cover wet drywall replacement?
Insurance covers wet drywall replacement for sudden water damage like burst pipes but typically excludes flood damage, gradual leaks, or maintenance-related issues. Contact your insurance company within 24-48 hours and document damage with photos before starting any repair work.