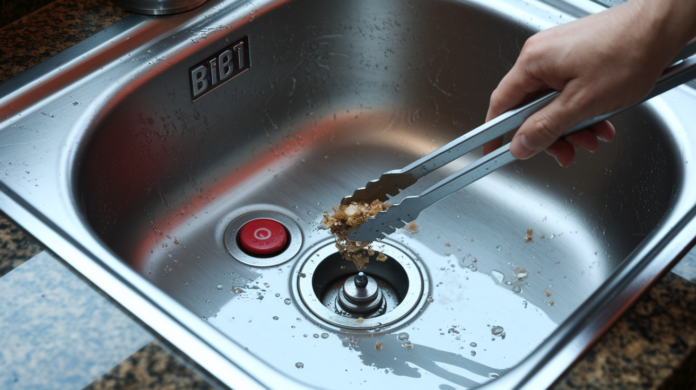

You just noticed brown water backing up into the sink while your disposal whirs helplessly. That’s not normal, and it’s also not a crisis. Most kitchen sink clogs with a garbage disposal clear in under 30 minutes with steps you can do yourself. No fancy tools, no guesswork. Just a reset button, cold water, and checking the obvious culprits like bones, pits, and fibrous peels. This guide walks you through simple fixes in order from easiest to more involved, so you can get back to normal drainage fast.
Immediate Steps to Fix Your Clogged Disposal Sink
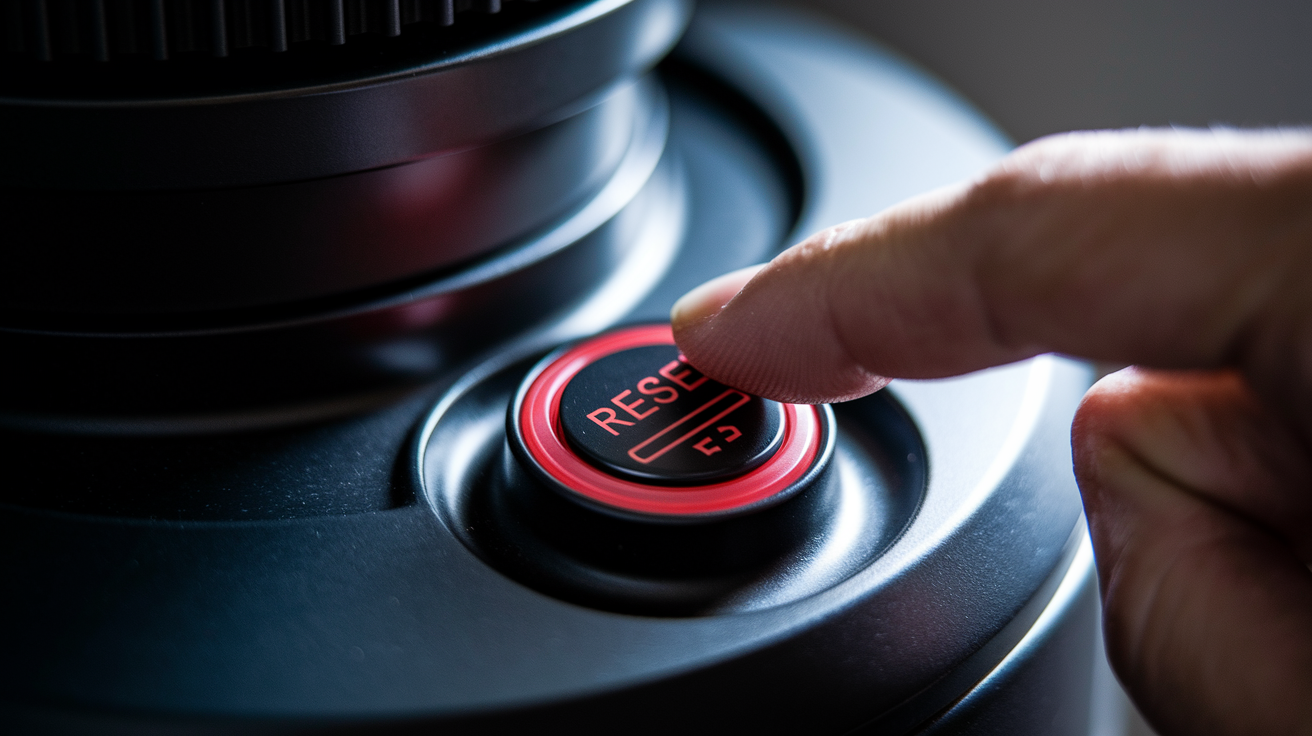
Press the red reset button on the bottom of your disposal unit. That’s it. This one step fixes 60 to 70 percent of disposal problems. You’ll find it on the base under your sink. Press firmly until you hear a click.
Most kitchen sink clogs with a garbage disposal are fixable in under 30 minutes. You don’t need special skills or expensive tools. But safety comes first.
- Kill the power at the circuit breaker or unplug the unit
- Press that reset button (seriously, this alone clears most clogs)
- Check for standing water and peek down the drain for obvious blockages
- Pull out visible debris with tongs or pliers. Bones, fruit pits, fibrous peels, and silverware are the usual suspects
- Test it with cold water running
Common Clog Culprits
Don’t put these down your disposal: fibrous foods like celery or onion skins, grease, oil, bones, pits, shells, pasta, rice, coffee grounds, or tons of eggshells.
These five steps clear about 60 to 70 percent of clogs. Still backed up after pressing reset and clearing visible stuff? The next sections walk through deeper fixes. You’ll tackle plunging, manual jam clearing, natural cleaning, and trap removal in order from simple to more involved.
How to Clear a Jammed Garbage Disposal Unit
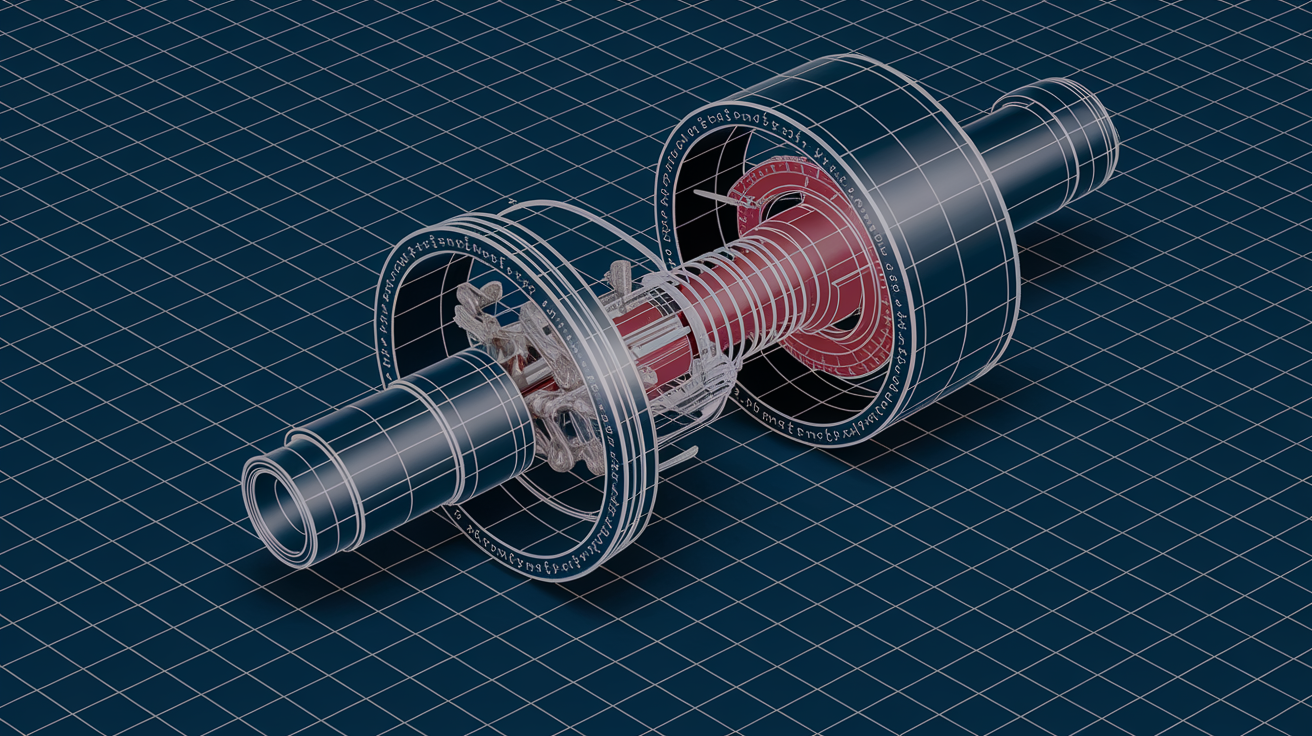
Humming without grinding means your disposal’s jammed. The motor’s running but something’s blocking the impeller. This is different from total silence, which points to electrical trouble.
Manual rotation breaks trapped debris loose from the impeller and flywheel. You’ll turn the grinding mechanism by hand with a hex key until whatever’s stuck gives way.
- Make sure power’s completely off at the breaker or outlet
- Find the hex socket hole at the bottom center of the disposal
- Stick a hex key (usually 1/4 inch) or Allen wrench in the socket
- Turn hard clockwise and counterclockwise until the resistance breaks
- Pull out the hex key and check from above for loose debris with tongs
- Turn the power back on and test with cold water for 10 to 15 seconds
When the jam clears, the flywheel will start spinning freely both ways. It should feel smooth, no catching or grinding. Can’t get any movement after trying a few times? You’ve probably got internal damage to the impeller or motor bearings. That needs professional help or replacement.
Plunging Method for Kitchen Sink Drain Clogs
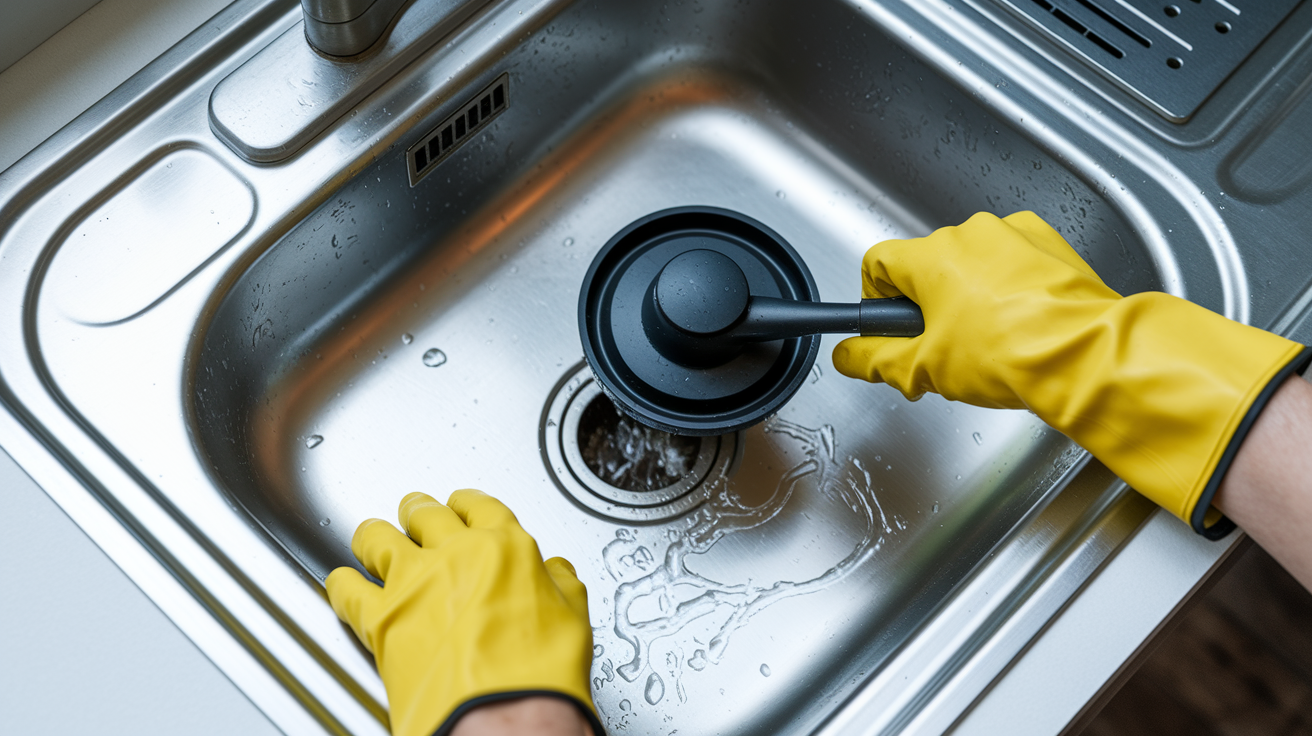
Kitchen plungers have flat cups. Toilet plungers have that extended flange. Using the right one creates proper suction.
Plunging tackles clogs in the drain line past the disposal. Food bits, grease buildup, or debris can get stuck downstream from where the disposal connects.
- Clamp or disconnect the dishwasher drain line if there’s one attached to your disposal
- Fill the sink with 3 to 4 inches of water to cover the plunger cup
- Got a double sink? Seal the other drain tight with a wet cloth so air can’t escape
- Put the plunger right over the disposal drain
- Plunge with firm steady strokes for 20 to 30 seconds
- Let go and check drainage, repeat for 3 to 4 rounds if needed
- Hook the dishwasher line back up and test with running water
You’ll know it’s working when water drains fast with gurgling sounds as air pushes through. Still not clearing after 4 to 5 tries? The blockage is too far down or too solid for suction to move.
Natural Drain Cleaning With Baking Soda and Vinegar
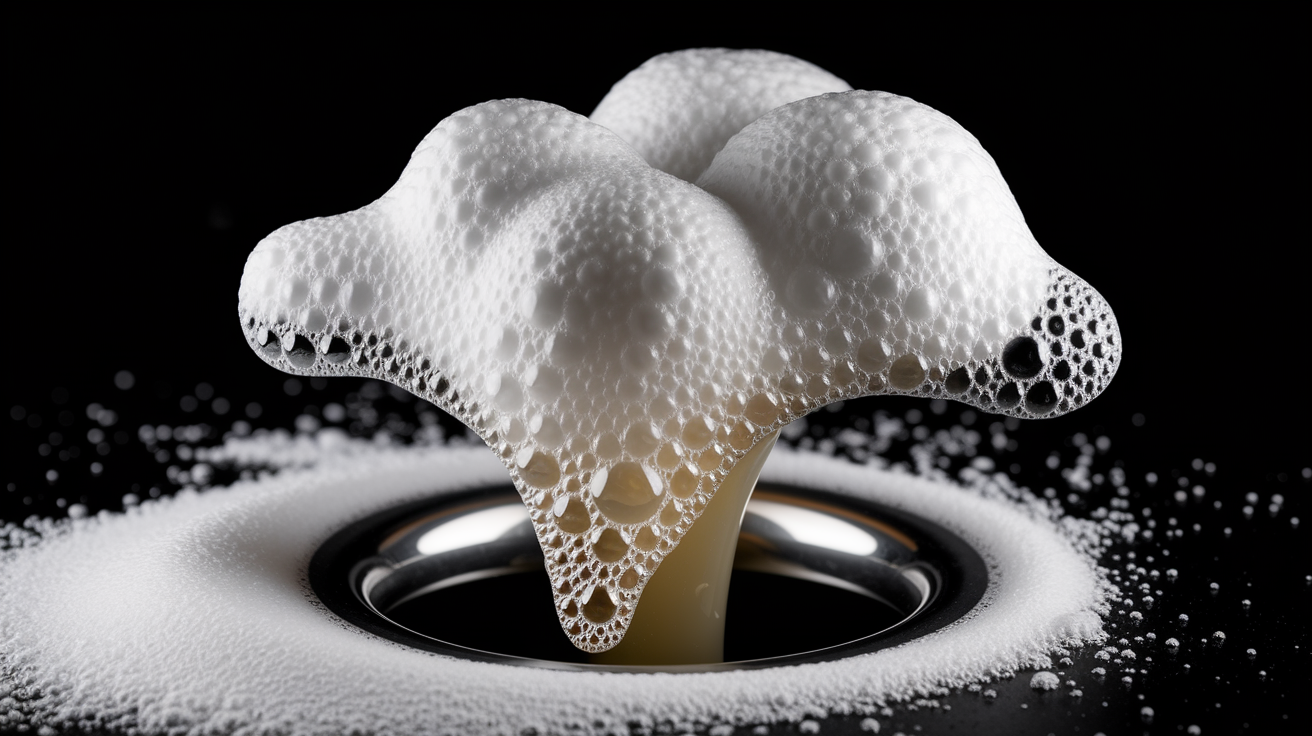
This works well for grease buildup and food particle clogs causing slow drainage. It’s gentle and won’t hurt pipes or disposal parts.
- Scoop out standing water with a cup or bucket
- Pour 1 cup of baking soda straight into the disposal drain
- Follow right away with 1 cup of white vinegar
- Let it fizz for 15 to 20 minutes
- Flush with hot water (not boiling) for 60 seconds
| Ingredient | Amount | Wait Time |
|---|---|---|
| Baking Soda | 1 cup | None (add immediately) |
| White Vinegar | 1 cup | 15-20 minutes |
The reaction between baking soda and vinegar makes carbonic acid and releases carbon dioxide bubbles. This breaks down organic gunk and dissolves grease coating the drain. Skip boiling water if you’ve got older PVC pipes. Extreme heat can warp or soften plastic at the joints. Hot tap water works fine for flushing.
This method’s best for maintenance and mild clogs. Won’t clear total blockages where water won’t drain at all.
Removing and Cleaning the P-Trap Under Your Sink
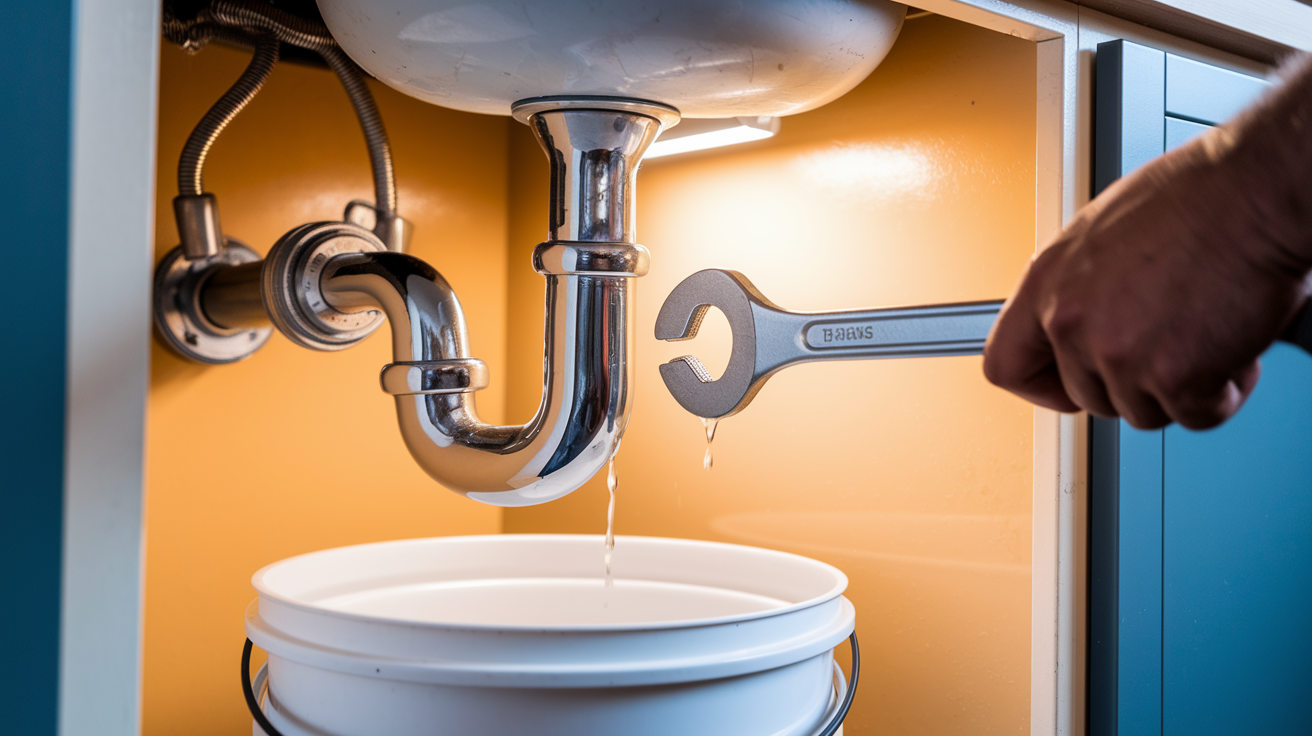
The P-trap is that curved pipe section right under your sink. It holds a bit of water that stops sewer gases from getting into your home. The curve also catches heavy stuff, making it a common spot for total blockages that other methods can’t touch.
- Put a bucket under the P-trap to catch water and crud
- Spread towels around the work area
- Find the slip nuts connecting the P-trap on both ends
- Loosen the slip nuts by hand or with channel pliers (turn counterclockwise)
- Lower the P-trap carefully and dump everything into your bucket
- Clean inside the P-trap with a bottle brush or rag, get all debris and buildup out
- Check the connecting pipes on both sides for more blockages
- Put the P-trap back, hand tighten the slip nuts, then snug with pliers
Most people finish this in 15 to 20 minutes. After you put it back together, run water and watch all connections for leaks. Tighten slip nuts a bit more if you see dripping. The water test also shows whether your blockage was in the trap or deeper down. Water still backing up with a clean P-trap? The clog’s further into the drainage system.
When Chemical Drain Cleaners Are Unsafe for Disposal Systems
Most chemical drain cleaners will wreck your disposal and void the warranty. These products get insanely hot as they work. That heat warps plastic drain connections and eats away at the aluminum and steel grinding parts.
The chemical reaction also creates risk in that closed cabinet space under your sink. Heat generating drain openers can melt rubber gaskets and destroy the seals where your disposal meets the sink drain.
Chemical drain cleaners cause these problems:
- Corrosion of aluminum and steel grinding parts
- Melting or warping of plastic drain connections
- Toxic fumes in the enclosed space
- Splashback burns if you turn on the disposal with chemicals present
- Voided warranty
Some products say they’re disposal safe. These use enzyme formulas instead of caustic chemicals. Check your owner’s manual before using any chemical product. The manual tells you which cleaners work with your model.
Mechanical methods like plunging, snaking, and trap cleaning are always safer to try first. No chemicals that can damage stuff or create hazards.
Using a Plumber’s Snake to Clear Deep Drain Blockages
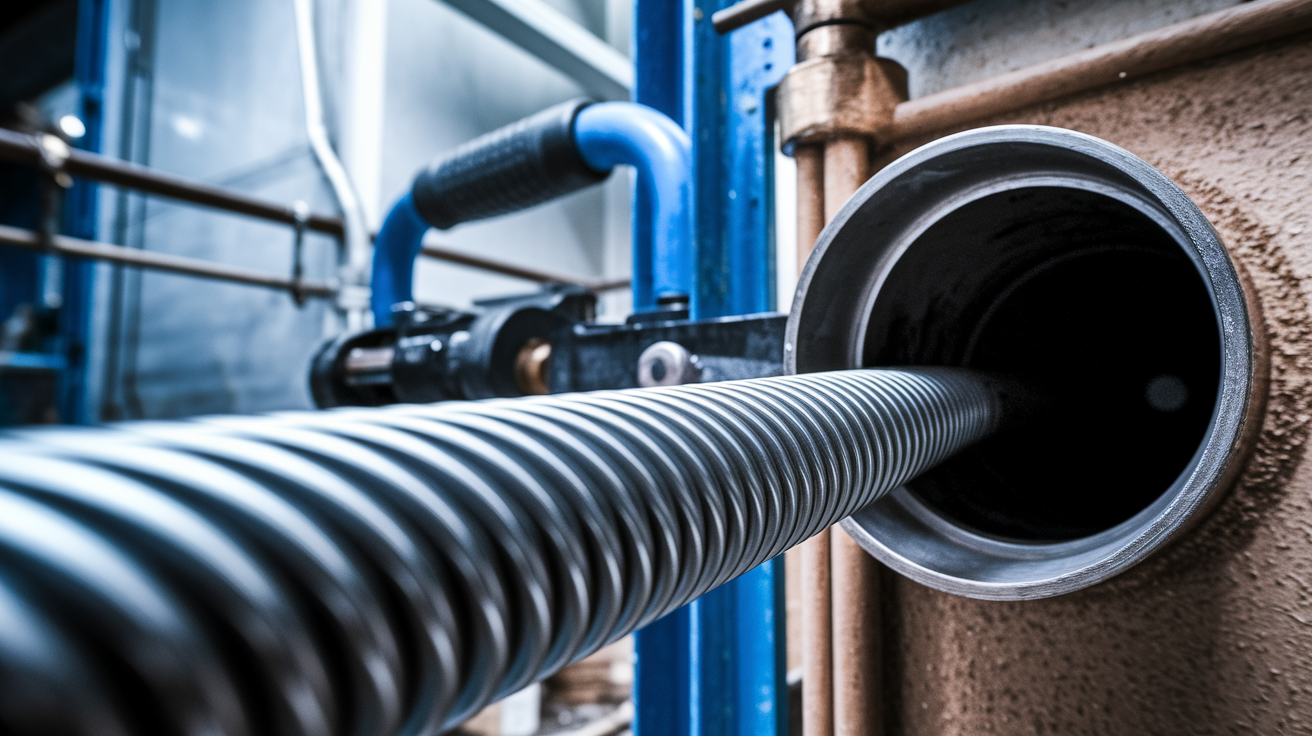
You need snaking when water drains slowly or not at all after trying other fixes. The blockage’s past the P-trap in the main drain line. A plumber’s snake or drain auger reaches into those lines to break up or grab blockages other tools can’t get to.
- Take off the P-trap to access the main drain pipe (follow those P-trap removal steps from earlier)
- Stick the snake cable into the drain pipe opening
- Extend the cable while turning the handle clockwise
- Keep going until you feel resistance (that’s the blockage, usually 3 to 15 feet in)
- Rotate and push through, then pull the cable back to grab debris
- Put the P-trap back and test with running water
Hardware stores rent powered drain augers for $30 to $50 for four hours. The job usually takes 30 to 60 minutes with setup and cleanup. Powered models do the heavy work while you guide the cable.
Still blocked after 2 to 3 tries? You’ve got a stubborn clog that needs professional equipment. Main line blockages sometimes involve tree roots, collapsed pipes, or solid objects that won’t break up with standard cables.
Preventive Maintenance and Best Practices for Disposal Longevity
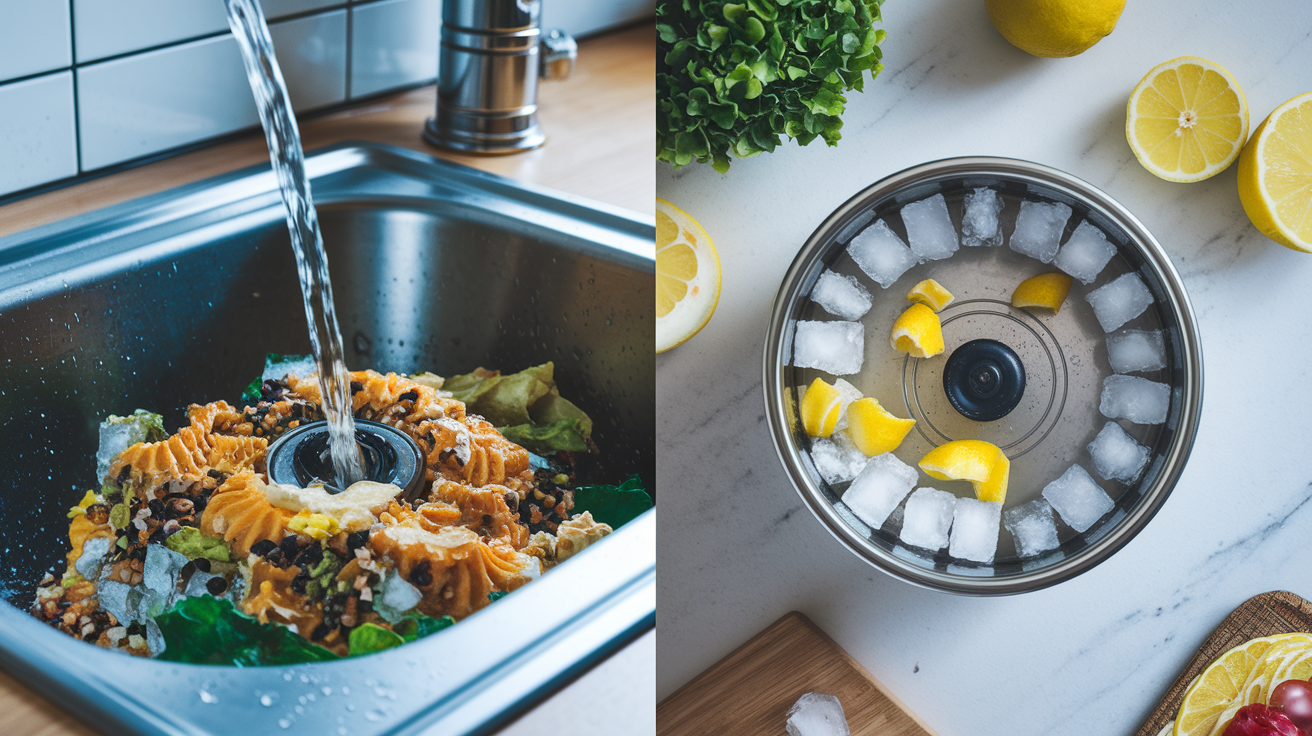
Maintenance is the cheapest way to avoid clogs and repairs. Five minutes per week beats hours of emergency work and the stress of a backed up sink.
Proper Water Temperature and Flow Timing
Cold water’s essential when you’re grinding. Not a suggestion. Cold water solidifies fats so the blades can chop them into small pieces that flush away. Hot water melts fats, which flow down and re-solidify in your pipes. Those solidified fats make sticky deposits that trap food.
Keep cold water running for 10 to 30 seconds after you turn off the disposal. This continued flow pushes all food particles through the grinding chamber and far enough down to reach the main sewer line. Stop the water too soon and debris sits in the disposal.
Hot water has a purpose, but timing matters. After meals, run hot water for about 60 seconds. This clears grease film from the pipe walls. The key: cold water during grinding, hot water for cleaning between uses. Not flushing enough is one of the top causes of clogs.
Regular Cleaning and Operational Habits
Routine maintenance is just simple habits that stop most problems before they start.
- Grind ice cubes monthly to scrub the chamber walls and knock loose stuck food
- Use citrus peels (lemon or orange) for cleaning and freshening instead of harsh chemicals
- Put in a sink strainer to catch debris before it gets to the disposal
- Feed food scraps gradually, don’t dump big batches at once
- Run the disposal weekly even if you haven’t used it to prevent rust
- Check the reset button monthly to make sure it hasn’t tripped
- Look at visible connections under the sink quarterly for moisture or leaks
- Get annual professional inspection if you use the disposal heavily
Foods and Materials to Avoid
Most clogs are preventable by avoiding certain foods. Manufacturer guidelines vary by model, but some categories are problems across all brands.
| Food Category | Examples | Why It Clogs |
|---|---|---|
| Fibrous Foods | Celery, corn husks, onion skins, artichokes, asparagus, banana peels | Strings wrap around impeller blades and stop rotation |
| Starchy Foods | Pasta, rice, potato peels, bread | Expand with water and create thick paste |
| Fats/Oils/Grease | Bacon grease, butter, cooking oil, animal fats | Solidify and coat pipes creating sticky surfaces |
| Hard Objects | Bones, fruit pits, shells, large ice quantities, corn cobs | Jam grinding chamber or break down into sand-like grit that accumulates |
| Sludge-Forming Items | Coffee grounds, eggshells in large amounts | Form dense sludge and accumulate in drain lines |
| Other Problem Items | Non-food items, paper, cigarettes, produce stickers | Do not break down and jam mechanisms |
Garbage disposals usually last 10 to 15 years with proper care. Preventive habits beat emergency clog clearing at 9 PM when you’re trying to clean up after dinner. Compost bins or regular trash work better for problem materials than forcing them down a disposal that wasn’t built for them.
Warning Signs That Require Professional Plumbing Service

DIY works for most clogs. Some situations need professional expertise to prevent more damage or safety problems. Safety and avoiding water damage matter more than the cost of a service call.
Call for professional service when you see these signs:
- Water backs up after you’ve tried everything
- Disposal motor hums but won’t turn even after hex key attempts
- Visible water leaking from the unit body or connections
- Reset button trips over and over (more than 2 to 3 times quickly)
- Grinding sounds or metal on metal noises when it’s running
- Multiple drains backing up at once (points to a main line issue beyond the disposal)
- Disposal’s older than 12 to 15 years with declining performance
Service calls typically run $150 to $300 for diagnosis and basic repairs. Full disposal replacement with installation costs $200 to $500 depending on unit quality and local labor rates. Professional diagnosis often finds issues beyond just the disposal. Main drain problems, bad installation, or venting issues need tools and expertise most homeowners don’t have.
Water damage from waiting too long costs way more than timely repair. A small leak can wreck cabinets, flooring, and create mold in hidden spots. When you’re not comfortable continuing, when to call a plumber vs DIY becomes practical rather than giving up.
Active water backup needs immediate attention. If water’s rising in your sink and won’t drain at all, emergency water damage prevention steps can protect your home while you line up professional service.
Final Words
A kitchen sink clog with garbage disposal doesn’t have to derail your day. Most issues resolve with the reset button, basic debris removal, or simple plunging.
If those don’t work, you’ve got solid options: the hex key method, baking soda flush, P-trap cleaning, or snaking deeper blockages.
The real game-changer is prevention. Cold water during grinding, gradual feeding, and avoiding fibrous foods or grease keeps your disposal running clean for years.
When water keeps backing up or the unit shows signs of damage, call a pro. You’ll save time and protect your home from bigger problems down the road.
FAQ
Is it okay to plunge a kitchen sink with a garbage disposal?
It is okay to plunge a kitchen sink with a garbage disposal as long as you clamp or disconnect the dishwasher drain line first and use proper technique. Fill the sink with 3-4 inches of water to cover the plunger cup, and for double sinks, seal the opposite drain with a wet cloth before plunging. Use firm steady strokes for 20-30 seconds and repeat several rounds if needed.
Why is water backing up in my kitchen sink with a garbage disposal?
Water backs up in your kitchen sink with a garbage disposal because of blockages caused by fibrous foods, grease buildup, coffee grounds, or hard objects jamming the grinding chamber. Other common causes include a tripped reset button, clogged P-trap, or deeper blockages in the main drain line beyond the disposal unit. Most backups can be resolved by checking the reset button first, then removing visible debris with tongs.
Can you put Draino down a kitchen sink with a garbage disposal?
You should not put standard Draino or chemical drain cleaners down a kitchen sink with a garbage disposal because they corrode aluminum and steel grinding components, melt plastic connections, and void manufacturer warranties. These chemicals also release toxic fumes and can cause dangerous splashback if the disposal is activated. Some products are specifically formulated as disposal-safe, but mechanical methods like plunging or snaking are always safer first options.
Can a garbage disposal cause a sink to clog?
A garbage disposal can cause a sink to clog when improper items like fibrous foods, grease, coffee grounds, pasta, or hard objects are put down the unit. Fibrous materials wrap around impeller blades, grease solidifies in pipes, and starchy foods expand to create paste-like blockages. Most disposal-related clogs occur because food scraps are fed too quickly without adequate cold water flow or because the unit jams and stops grinding properly.