
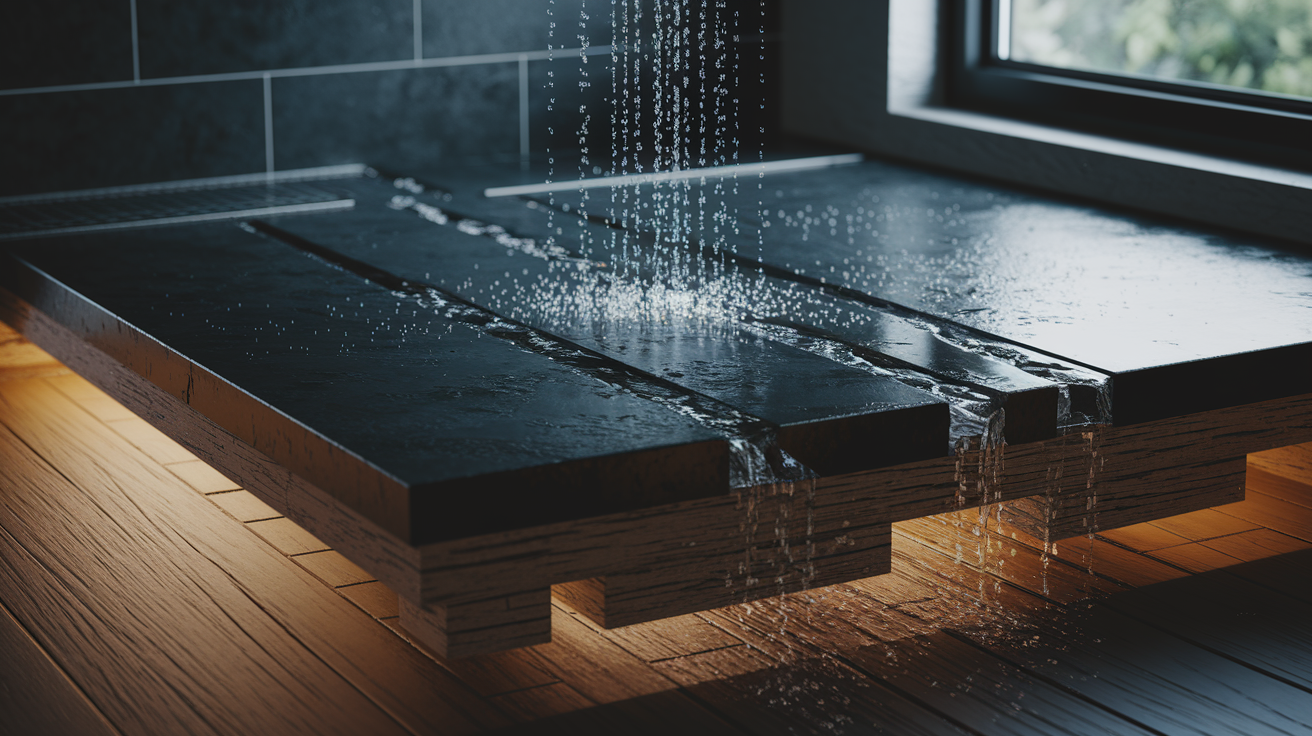
You probably think shower leaks happen fast and loud. They don’t. Most shower pan leaks hide for months, quietly soaking wood framing and feeding mold behind walls while you see nothing more than a small ceiling stain or catch a faint musty smell. By the time the floor feels soft or you spot water in the room below, the damage is already spreading. This guide walks you through how to confirm a shower pan leak, what repairs actually work, and how to stop hidden water damage before it reaches the point where you’re replacing floor joists.
What a Leaking Shower Pan Means and How to Identify the Problem
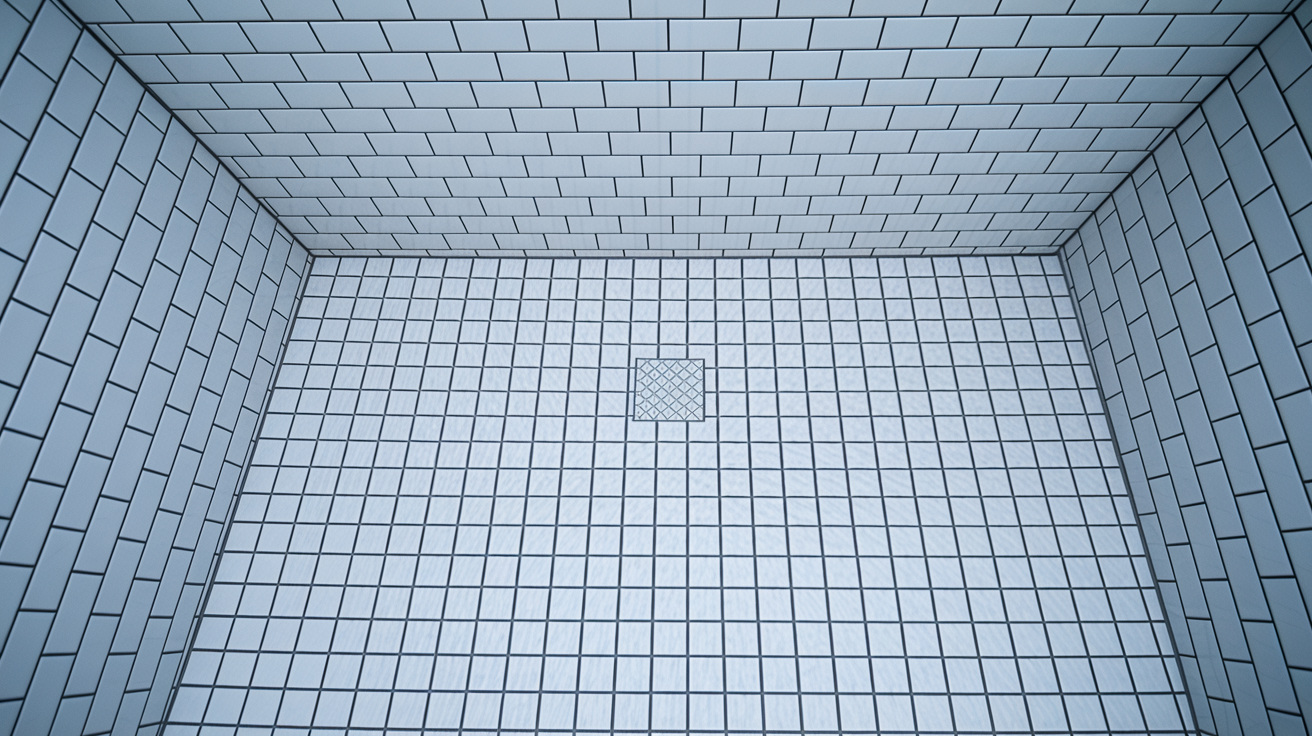
Your shower pan is the sloped floor section inside the shower that channels water toward the drain. When it’s working right, it keeps water from pooling and directs every drop where it belongs. When it’s leaking, water escapes through cracks, gaps, or failed waterproofing layers and starts damaging everything underneath.
Most homeowners first notice something’s wrong when they spot moisture where it shouldn’t be. You might see water stains creeping across baseboards in the room next to the bathroom. A closet that shares a wall with the shower suddenly smells musty, even though nothing in there is wet. If your bathroom sits on a second floor, you’ll see brown rings or wet spots spreading across the ceiling below. These are the early warnings that water is getting past your shower pan and moving through your home.
Here are the specific signs that point to a shower pan leak:
- The pan moves or feels spongy when you step on it, showing the supports underneath have weakened
- The floor inside the shower feels unstable or slopes in odd directions, indicating subfloor damage
- Visible cracks appear in the shower floor material itself, not just in grout lines
- Water stains or dripping appear on the ceiling directly below the bathroom
- A musty, sour smell develops in the bathroom or adjacent rooms that won’t go away with cleaning
- Flooring around the shower base shows warping, soft spots, or discoloration
Every day you keep using a leaking shower adds more damage. Water that escapes the pan soaks into wood framing, weakens floor joists, and creates conditions for mold growth inside walls where you can’t see it. What starts as a small leak becomes structural rot that requires major carpentry repairs. The fix only gets more expensive the longer water keeps moving where it shouldn’t.
Understanding Shower Pan Construction and Why They Fail

A properly built shower pan has multiple layers working together to keep water contained. The bottom layer is a sloped mortar bed that pitches 1/4 inch per foot from the walls down to the drain. This creates the drainage angle. Next comes a waterproof membrane liner, usually PVC, CPE, or rubber material that forms the actual water barrier. A layer of felt paper sits between the membrane and the final mortar layer to prevent abrasion. The top mortar bed, mixed at a ratio of 4 parts sand to 1 part portland cement and 2 to 3 inches thick, provides a stable base for tile. The tile and grout you see are just the finished surface. They’re not waterproof on their own.
The waterproof membrane is the critical layer most people never see but absolutely need. Vinyl membranes like Chloraloy by The Noble Company run about $360 for a 4 foot by 50 foot roll, or roughly $50 for a 4 foot by 6 foot section for smaller showers. The membrane must seal completely around the drain flange using PVC membrane cement or elastomeric sealant. It should extend at least 7 inches beyond all fold lines and run up the walls past the height of the curb. Without this membrane installed correctly, every shower you take sends water straight into the subfloor, whether you see surface problems or not.
Installation failures happen more often than they should. Some installers skip the waterproof membrane entirely, relying on tile and grout alone. That’s like expecting a screen door to hold back a rainstorm. Others connect drain assemblies improperly, joining a 2 inch shower drain to a 1 1/2 inch pipe that creates leaks at the connection point. Inadequate slope means water pools instead of draining. Poor sealing around the drain flange lets water slip past the membrane at the one spot it absolutely must stay sealed. Weak subfloors that weren’t reinforced with an additional 1/2 inch plywood layer shift and crack the pan over time.
Common failure categories include:
- Complete absence of any waterproofing membrane beneath the tile and mortar
- Deteriorating sealants and adhesives that break down after years of moisture exposure
- Cracked or punctured pan materials from dropped objects, age related brittleness, or installation damage
- Shifting caused by foundation settling, inadequate subfloor reinforcement, or loose securing bolts
- Worn drain assemblies where the connection between pan and plumbing has corroded or separated
- Improper mortar bed thickness or slope that allows standing water and accelerates material breakdown
When you understand how these systems should work and where they typically fail, you can make better decisions about whether surface repairs will help or if you’re looking at a membrane problem that needs proper waterproofing work.
Step by Step Testing to Confirm Your Shower Pan Leak
Testing before you start ripping things apart saves you from unnecessary demolition. You need to know if water is actually escaping through the pan or if your problem is something simpler like failed caulking or a loose fixture connection.
Flood Test Method
The flood test shows you exactly whether your waterproof membrane has failed:
- Seal the drain completely using a test plug designed for this purpose, or wrap a rag tightly in plastic and jam it firmly into the drain opening
- Fill the shower floor with 2 to 3 inches of standing water, making sure it reaches into all corners and up against the curb
- Mark the water level on the wall using tape or a permanent marker so you can measure any change accurately
- Wait at least 8 hours, or let it sit overnight if you can avoid using that bathroom
- Check whether the water level has dropped, and inspect the ceiling below the bathroom and all surrounding walls for new moisture or stains
- Remove the drain plug and watch how the water drains, noting whether it flows freely or slowly, which could indicate drain problems separate from pan leaks
If the water level drops or you find new moisture somewhere below the bathroom, your pan is leaking. If the water level stays exactly where you marked it, the pan membrane is still doing its job and your leak is coming from somewhere else.
Visual Inspection Checklist
Before and after the flood test, examine these specific areas.
Look for cracks running through the shower floor material itself, not just missing grout between tiles. Press down on different spots across the pan to feel for movement, soft spots, or areas that flex when they shouldn’t. Check all caulk lines where the pan meets walls, the curb, and fixtures for gaps or separation. Run your hand along grout lines feeling for loose or crumbling material. Step firmly in different locations to see if the pan shifts or makes creaking sounds.
If your flood test shows a leak or your visual inspection reveals cracks and movement, you’re past the point where surface fixes will solve the problem. That’s when you need professional assessment to determine how much of the system needs replacement.
Temporary Fixes for Shower Pan Leaks
Temporary repairs buy you time to plan and budget for permanent work. They won’t replace a failed waterproof membrane, but they can slow down damage while you line up contractors and coordinate the real fix.
Short term solutions you can try:
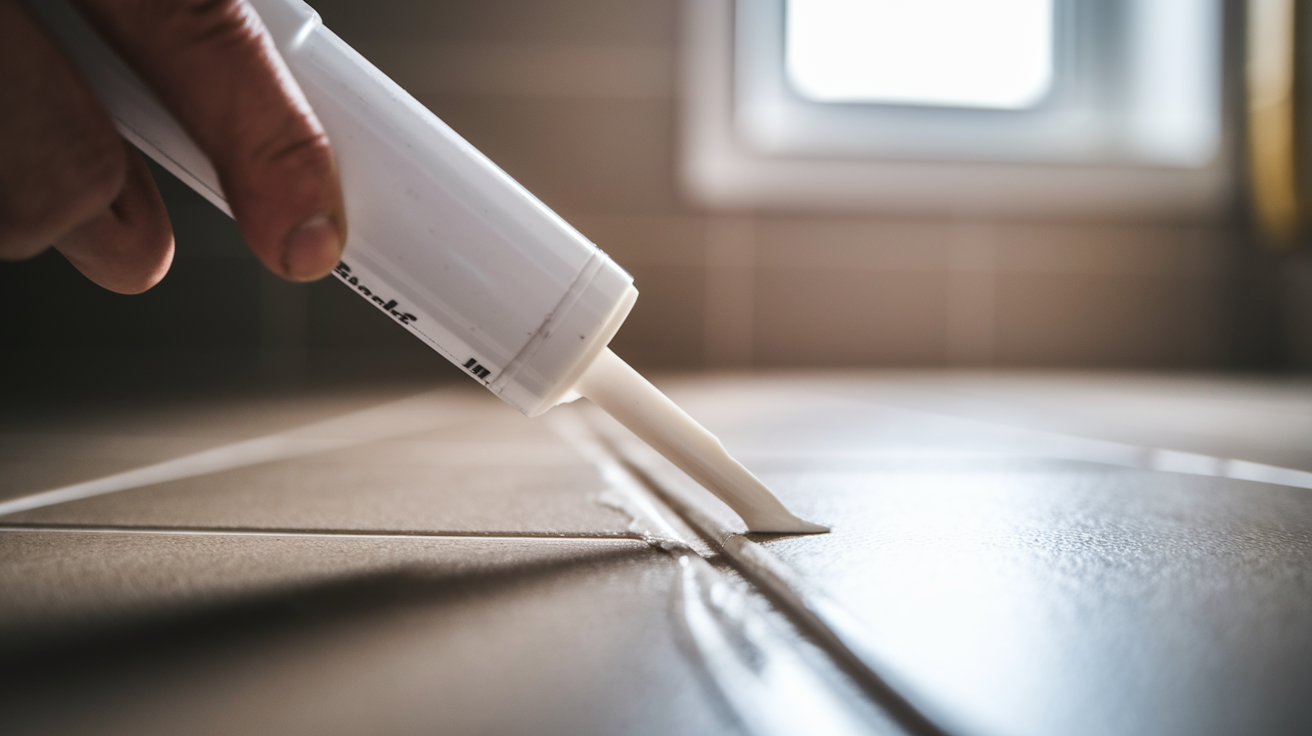
- Regrout damaged areas by removing old grout with a grout saw and packing in fresh grout in thick layers, making sure it fills completely
- Apply silicone sealant directly over visible surface cracks, spreading it smooth and letting it cure for 24 hours before using the shower
- Brush masonry sealer or epoxy over holes, loose areas, and anywhere the surface looks deteriorated, following product instructions for application and drying time
- Install a temporary pan liner from a home improvement store, which costs $50 to $100 and drops into place over your existing pan to create a new waterproof layer
These fixes address surface problems only. Masonry sealer and epoxy can plug holes in tile or grout. Silicone creates a flexible barrier over cracks. Replacement liners from big box stores are preconstructed plastic or rubber sheets that provide a temporary waterproof layer, though they won’t fit as tightly as permanent installations. If your actual membrane layer has failed underneath all this, surface treatments won’t stop water from escaping.
Surface repairs run between $30 and $500 depending on materials and how much area you’re treating. A couple tubes of quality silicone sealant costs $15. Masonry sealer for a standard shower might run $40. A temporary liner kit is $50 to $100. If you hire someone to do the work instead of DIY, add labor costs.
Expect temporary fixes to last anywhere from a few months to maybe a year before you’re back where you started. They’re interim measures while you save up for proper repair or finish planning a larger bathroom renovation that includes permanent waterproofing work.
Permanent Shower Pan Repair Options and Methods
Permanent repairs mean properly waterproofing the system so it actually contains water instead of letting it through. You’ve got two main approaches depending on how much you need to save and what condition the rest of your shower is in.
Partial Repair Method
This approach preserves your upper wall tile and shower glass while replacing everything from the pan up to about two feet high. You remove the floor tile, the curb, and the first couple rows of wall tile. The upper walls stay if they’re on sound cement backerboard. You demo down to the plywood subfloor, which lets you see what water damage exists underneath. Any rotted wood gets replaced. Plumbing gets updated to work with modern drain assemblies, often switching to a Kerdi drain system that integrates with fabric waterproofing.
You rebuild the pan starting with a properly sloped mortar base, maintaining that 1/4 inch per foot pitch from all sides down to the drain. Modern waterproofing goes on next. Schluter Kerdi fabric creates a continuous waterproof layer across the floor and up the walls. RedGard paint on waterproofing seals the vertical surfaces. KerdiFix sealant bonds all the seams between different waterproofing materials. This triple layer protection, Kerdi fabric for the floor combined with RedGard for walls and KerdiFix at every seam, gives you better water resistance than old vinyl membranes ever provided.
The curb gets rebuilt to exactly the same height as before, within 1/16th inch tolerance. This precision matters if you’re reusing existing frameless glass doors and panels, which can be worth $1,500 to $2,000. Miss that measurement and the glass won’t fit.
Complete Replacement Method
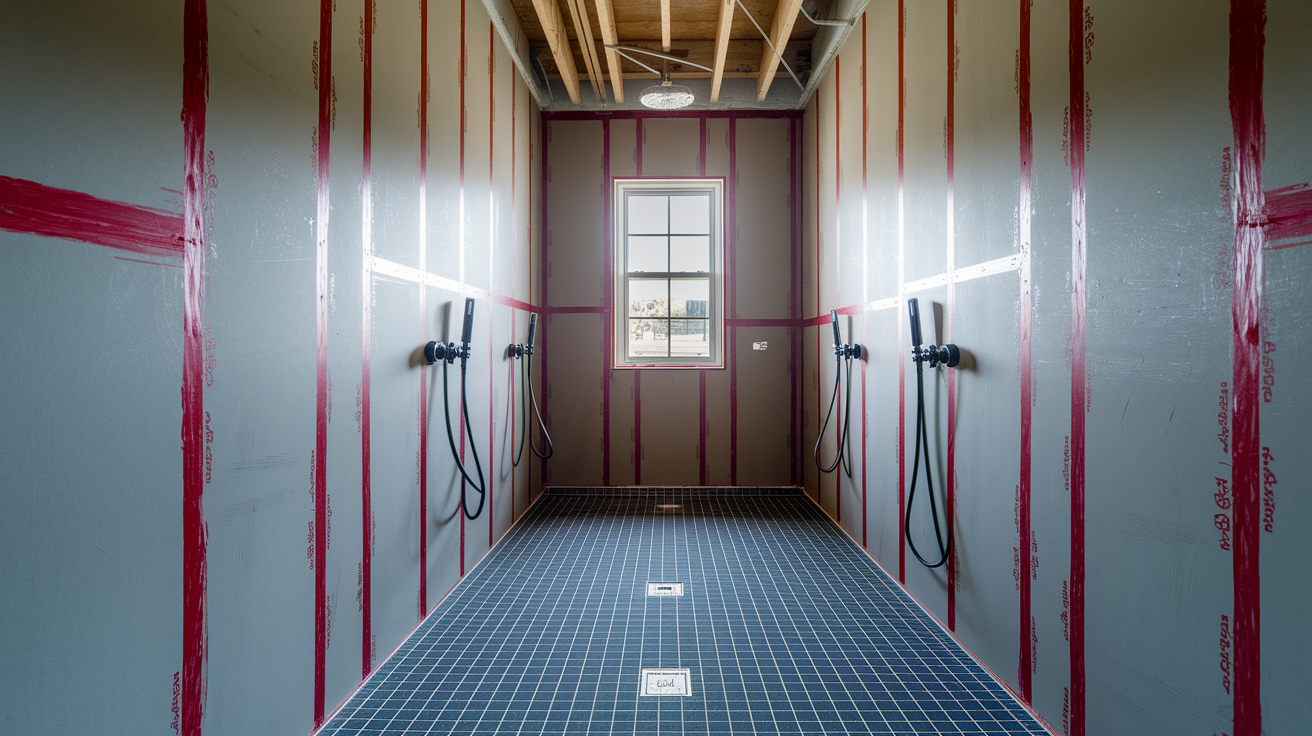
Full replacement means tearing out everything. All tile, the entire pan, the curb, and often the wall substrate. You’re starting from bare studs and subfloor. This approach makes sense when water damage has spread beyond just the pan area, when you’re changing the shower size or layout, or when the existing walls are damaged or built wrong.
After demolition, you inspect and repair all framing and subfloor damage. Install the waterproof membrane system across the entire shower enclosure. Build new mortar beds with proper slope. Install fresh cement backerboard on walls, keeping it at least 1.5 inches above the pan floor so moisture doesn’t wick up into it. Set all new tile.
Modern waterproofing products have changed how professionals build shower pans. Schluter Kerdi is a flexible fabric membrane that bonds to thin set mortar and creates a continuous waterproof layer. You can tile directly over it. RedGard is a paint on liquid membrane that brushes onto cement backerboard and cures into a waterproof coating. HydroBan works the same way. KerdiFix is a sealant specifically formulated to bond Kerdi fabric pieces together at seams and transitions. These products work together or separately depending on what your installer prefers.
A properly waterproofed shower base with continuous membrane protection across the floor and curb should last a couple decades minimum before you need to think about it again. The weak points have been eliminated. Water can’t get behind the waterproofing because the waterproofing extends continuously with no gaps.
Cost Breakdown for Shower Pan Leak Repairs

What you’ll pay depends on how extensive the damage is, what materials you choose, how big your shower is, and what labor costs in your area. Small surface repairs and full custom rebuilds live in completely different price ranges.
| Repair Type | Cost Range | Timeline |
|---|---|---|
| Temporary fixes (caulk, sealant, grout) | $30-$500 | 1-2 hours |
| Partial repair with waterproofing | $900-$2,000 | 2-4 days |
| Full pan replacement, standard materials | $1,500-$3,000 | 3-5 days |
| Full pan replacement, premium materials | $2,500-$4,600 | 4-7 days |
| Custom tiled installation | $3,000-$5,000+ | 5-10 days |
Professional service covers more than just labor hours. You’re paying for demolition work and disposal of old materials. Material costs include the waterproof membrane (around $50 for a small shower section or $360 for a full roll), mortar and cement, the drain assembly, thin set, grout, and tile. Labor covers the skilled work of properly sloping the base, installing waterproofing without gaps or punctures, and setting tile level and plumb. Many contractors warranty their installation work for a specific period, which adds value you don’t get from DIY attempts.
Partial repairs that preserve your upper walls and shower glass save roughly half the cost of complete replacement. You avoid the expense of retiling entire walls and replacing frameless glass enclosures worth $1,500 to $2,000. If your walls are sound and built on proper cement backerboard, partial repair makes financial sense and gets you back to a working shower faster.
DIY Repair Versus Hiring a Professional Plumber

Some shower pan work is manageable for experienced DIYers. Regrouting damaged sections, applying new caulk, brushing on surface sealers. These tasks don’t require specialized skills or licensing. You can watch a video, buy the materials, and complete the work in an afternoon.
Waterproof membrane installation, drain assembly work, and structural repairs are different. These jobs directly affect whether water stays contained or destroys your house. A professional who’s installed over 1,000 shower pans in 10 years has seen every failure mode and knows how to prevent them. That experience led to only 2 leaks over a decade, both from faulty drain fittings rather than installation errors.
You need professional help when:
- Subfloor shows rot, soft spots, or structural damage requiring carpentry to bring framing to code with reinforced joists
- Multiple potential leak sources exist and you can’t isolate which one is causing your problem
- Local building codes require licensed plumbers for drain work and waterproofing inspections
- The drain assembly needs replacement, which involves plumbing connections below the floor
- Waterproof membrane installation crosses into territory where mistakes cause expensive damage
- You want warranty protection on the completed work
Continuing to use a leaking shower leads to dry rot and structural problems that spread far beyond the shower pan itself. What starts as a membrane leak becomes a subfloor repair requiring two lengths of 2×6 screwed onto floor joists with doubled 2x4s between them to meet code. That carpentry work costs significantly more than proper waterproofing would have cost in the first place.
Selecting a qualified contractor means verifying their plumbing license through your state licensing board, checking references from recent shower pan jobs, confirming they carry liability insurance and workers compensation coverage, and getting detailed written estimates that specify materials and methods. Ask what waterproofing products they use and what warranty they provide on completed installation work.
Improper DIY repairs make the situation worse. Puncturing a membrane while trying to install it creates new leak points. Incorrect slope means standing water that accelerates deterioration. Inadequate sealing around the drain leaves gaps where water escapes. When those mistakes happen, you end up paying a professional to fix your fix plus the original problem, which costs more than hiring correctly the first time.
Preventing Future Shower Pan Leaks

Regular maintenance catches small problems before they become structural damage. A few simple checks and minor upkeep tasks extend your shower pan’s life and help you avoid emergency repairs.
Prevention tasks that protect your investment:
- Inspect caulking around fixtures, the curb, and where walls meet the pan every year, recaulking anywhere you see gaps or deterioration
- Check grout condition annually and apply penetrating sealer every 1 to 2 years to keep moisture from working through grout lines
- Clear the drain cover monthly and verify weep holes around the drain stay open, using a small wire to poke through any buildup
- Test for pan movement or unusual flexibility every few months by stepping firmly in different locations and feeling for soft spots or shifting
- Run exhaust fans during and after every shower to reduce humidity that accelerates sealant and grout deterioration
- Fix any plumbing leaks immediately instead of letting them drip, which saturates materials and causes hidden damage
- Avoid harsh chemical cleaners that break down sealants, grouts, and waterproofing materials over time
- Schedule professional inspections every 3 to 5 years to catch developing problems before they cause visible damage
Proper daily use reduces moisture exposure. Squeegee walls and the pan after each shower to remove standing water. Don’t let water pool on the floor, which means your drain is getting clogged or your slope isn’t adequate. Clean with pH neutral products designed for tile and grout instead of acidic or alkaline cleaners that degrade sealing materials.
Small stones placed around the drain base keep weep holes clear. These holes let water drain from the space between the waterproof membrane and the tile surface. When they clog, water gets trapped and pressure builds up, which can push water past seals. Keeping weep holes functional is simple prevention.
When your shower pan was installed correctly with proper materials, quality mortar beds (1 part portland cement to 3 to 4 parts sand for the base layer, 4 parts sand to 1 part cement for the top layer), continuous waterproofing membranes, and secure fastening, it should never move or deflect underfoot. A properly installed pan secured with concrete, sealant, and bolts stays stable for decades. That stability is your baseline for normal. Any movement or flex means something has failed.
Dealing with Water Damage from Shower Pan Leaks
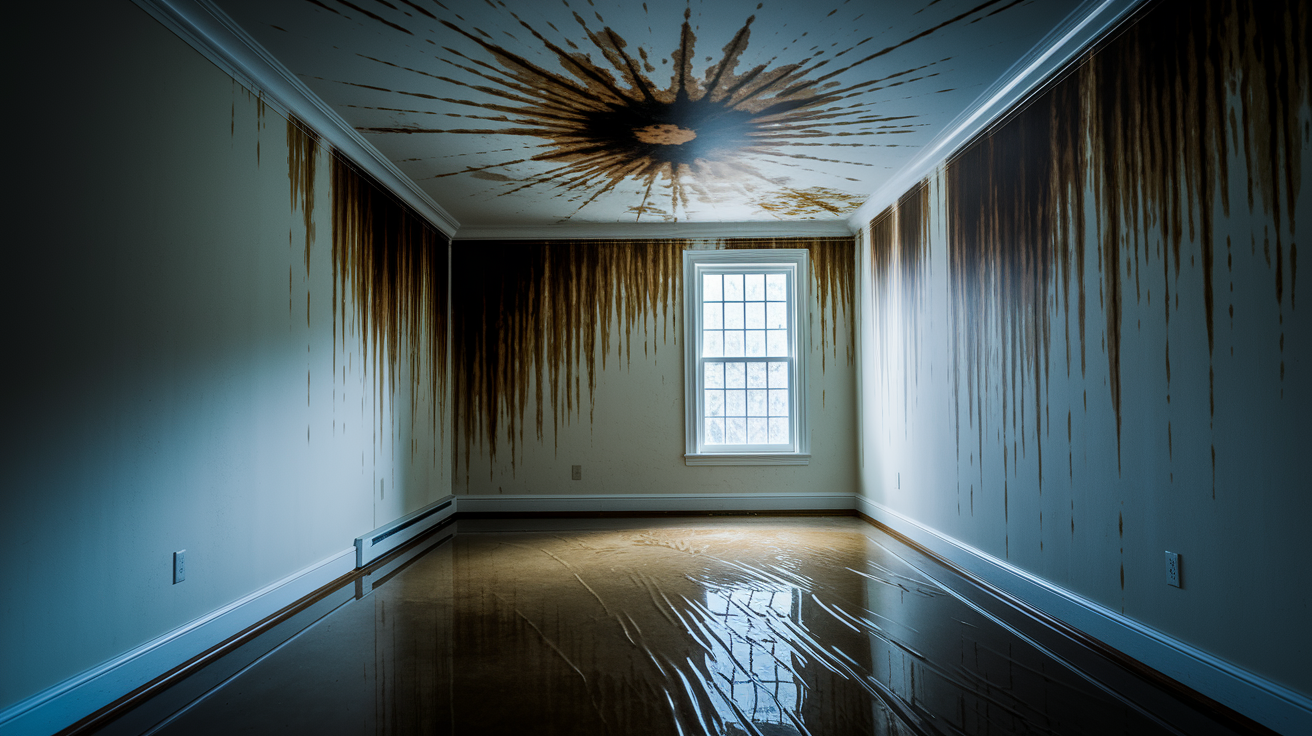
Shower pan leaks cause damage that spreads slowly and hides in places you can’t see without opening walls and floors. Water escapes through the failed pan and soaks into the subfloor. From there it wicks along joists, seeps into wall cavities, drips through ceilings in rooms below, and creates damp conditions where mold grows. The longer water keeps escaping, the further the damage spreads and the more expensive repairs become.
Progressive damage from ongoing leaks includes rotted plywood subfloors that turn spongy and lose all structural strength. Floor joists develop dry rot where they stay consistently damp, weakening the framing that supports your entire bathroom floor. Ceilings below the bathroom show spreading brown stains as water works through insulation and drywall. Mold colonizes inside wall cavities where moisture and darkness create perfect growing conditions. Eventually the bathroom floor becomes structurally unstable, flexing and sagging in ways that indicate serious framing damage.
Warning signs of existing water damage:
- Bathroom flooring around the shower feels soft, spongy, or gives slightly when you step on it
- Ceiling stains or visible sagging appear in the room directly below the bathroom
- Persistent musty or moldy odors develop in the bathroom or adjacent closets even after cleaning
- Visible mold growth shows up on baseboards, walls, or in corners near the shower
- The entire shower pan or surrounding floor shows movement or instability suggesting compromised support structure
Addressing water damage requires more than just fixing the leak. You need professional assessment to determine how far damage has spread. Moisture meters detect hidden dampness in walls and floors. Inspection cameras see inside wall cavities. Once you know the extent, you start with drying everything thoroughly using fans and dehumidifiers. Wet materials need complete drying before you close anything back up or mold will just keep growing in the dark.
Structural repairs come next. Rotted plywood subfloor gets cut out and replaced with fresh material, typically adding 1/2 inch thickness if the original subfloor wasn’t adequate. Damaged joists need reinforcement. That might mean sistering new 2×6 boards alongside compromised joists and adding doubled 2×4 blocking between joists to bring the framing to code. Mold remediation requires removing contaminated materials, treating affected surfaces with antimicrobial solutions, and confirming mold levels return to normal before closing walls. The restoration timeline depends on damage extent but typically runs at least a week once you include drying time, structural repairs, waterproofing installation, and finish work.
Document everything with photos and detailed notes about what you found and when you discovered it. If you’re filing an insurance claim, this documentation supports your case. Even if you’re not making a claim right now, having records of what damage existed and what repairs were completed adds value when you eventually sell the property.
Insurance and Warranty Coverage for Shower Pan Failures

Different types of coverage apply to different aspects of shower pan failure. Understanding what might be covered helps you know whether to file a claim or just pay for repairs directly.
Homeowners insurance typically covers sudden or accidental water damage. If a pipe bursts and floods your bathroom overnight, that’s usually covered. If your shower pan has been leaking slowly for months or years and you’re just now seeing the results, that’s gradual deterioration and most policies exclude it. Insurance may cover the water damage caused by the leak if your policy includes water damage coverage and you can show the failure happened suddenly rather than developing over time. Review your specific policy language about water damage, gradual damage exclusions, and maintenance requirements. Call your insurance company when you first discover significant damage to ask whether your situation might be covered before you start making assumptions.
Home warranty plans are service contracts that cover mechanical systems and appliances. Most home warranty plans specifically exclude water damage from coverage. They might cover the cost to repair or replace plumbing components that failed, but they won’t pay for the damaged subfloor, rotted joists, or mold remediation that resulted from the leak. Read your home warranty contract to see what’s explicitly included and excluded. If your drain assembly failed due to normal wear rather than poor maintenance, the warranty might cover replacing it while leaving you to pay for everything else.
Contractor installation warranties guarantee the workmanship on completed repairs. When you hire a professional to replace your shower pan, they should warranty the installation for a specific period, often 1 to 5 years depending on the contractor and the work performed. This warranty covers failures resulting from installation errors like improper membrane installation, inadequate sealing, or incorrect slope. It doesn’t cover damage you cause later or failures of products beyond their expected lifespan. Get the warranty terms in writing before work begins and understand what circumstances void the coverage.
When you discover a leak, document everything immediately. Take dated photos of visible damage including stains, soft spots, mold growth, and the condition of the shower pan itself. Get a professional assessment from a licensed plumber or contractor and keep their written report. Contact your insurance company right away if the damage might be covered so you stay within claim filing deadlines. Save every receipt and report from the entire repair process. This documentation protects you whether you’re making an insurance claim now or just keeping records for future reference.
Final Words
A shower pan leak won’t fix itself, and waiting only leads to bigger problems.
The faster you test, identify the source, and get it fixed correctly, the less damage you’ll deal with. Whether you tackle temporary fixes while planning a permanent repair or go straight to professional replacement, the key is stopping the water and protecting what’s underneath.
A properly waterproofed shower pan should give you decades of worry-free use. Stay on top of simple maintenance, watch for early warning signs, and address small issues before they become expensive ones.
Your bathroom (and your peace of mind) will thank you.
FAQ
What is the lifespan of a shower pan?
The lifespan of a shower pan typically ranges from 10 to 45 years, depending on the material quality and proper installation. Porcelain and ceramic pans last longest, while fiberglass and plastic options have shorter lifespans. Proper maintenance and quality waterproofing extend durability significantly.
How much does it cost to fix a shower pan leak?
Fixing a shower pan leak costs between $530 and $4,600, with most repairs averaging $900 to $2,300. Minor surface repairs like regrouting run $30 to $500, while complete pan replacement with professional installation costs $1,500 to $3,000 for standard materials.
Why is there water coming out of the bottom of my shower?
Water coming out of the bottom of your shower indicates a failed shower pan or waterproofing membrane beneath the tile. The pan’s job is directing water to the drain, so leaks mean cracks, missing waterproofing layers, or deteriorated drain seals are letting water escape.
Does insurance cover a leaking shower pan?
Insurance covers a leaking shower pan only if the damage was sudden and accidental rather than gradual deterioration. Most homeowners policies exclude slow leaks from age or poor maintenance, but may cover related water damage if it happened unexpectedly. Review your specific policy language.
How do I test if my shower pan is leaking?
Testing if your shower pan is leaking involves sealing the drain, filling the shower floor with 2 to 3 inches of water, and marking the water level. Check after 8 hours for water level drops and inspect the ceiling below for moisture or stains.
Can I temporarily fix a shower pan leak myself?
You can temporarily fix a shower pan leak by regrouting damaged areas, applying silicone sealant to visible cracks, or using masonry sealer on holes. These DIY fixes cost $30 to $500 but only delay permanent repairs since they don’t address underlying waterproofing failures.
What are the signs of a failing shower pan?
Signs of a failing shower pan include movement or deflection when stepping on the shower floor, visible cracks in the pan surface, water stains on ceilings below the bathroom, musty odors in nearby spaces, and damaged or spongy flooring around the shower base.
Should I repair or replace my shower pan?
You should replace your shower pan when waterproofing membranes have failed or structural damage exists beneath the surface. Temporary repairs only work for minor surface issues, while complete replacement with modern waterproofing systems like Schluter Kerdi provides long-term protection lasting decades.
What causes shower pans to fail?
Shower pans fail due to missing waterproofing membranes, deteriorating sealants over time, cracked pan materials from age or impact, improper installation with incorrect slope, worn drain assemblies, and foundation settling causing the pan to shift. Complete absence of waterproofing is a common construction defect.
How long does shower pan repair take?
Shower pan repair takes 1 to 2 hours for temporary fixes, 2 to 4 days for partial repairs preserving upper walls, and 3 to 7 days for full replacement depending on materials. Custom tiled installations require 5 to 10 days including proper curing time.
Can a shower pan leak cause structural damage?
A shower pan leak can cause serious structural damage including subfloor rot, joist deterioration, ceiling collapse in rooms below, and mold growth in wall cavities. Continuing to use a leaking shower creates dry rot and structural problems requiring expensive carpentry repairs beyond the pan itself.
What waterproofing products work best for shower pans?
The best waterproofing products for shower pans include Schluter Kerdi fabric systems, RedGard paint-on membranes, and HydroBan liquid waterproofing. Modern installers often combine Kerdi fabric for floors with RedGard for walls and KerdiFix sealant at seams for triple-layer protection lasting decades.
Do I need a plumber to fix a shower pan leak?
You need a plumber or qualified contractor to fix most shower pan leaks since proper repairs involve waterproofing membrane installation, drain assembly work, and meeting building codes. Surface repairs like regrouting are DIY-friendly, but structural fixes require professional expertise to prevent worse damage.
How can I prevent shower pan leaks?
You can prevent shower pan leaks by inspecting and replacing deteriorated caulking annually, resealing grout every 1 to 2 years, keeping drain weep holes clear, checking for pan movement quarterly, and maintaining proper bathroom ventilation. Professional inspections every 3 to 5 years catch problems early.